UniFi Protect Camera Setup: No battery charging, no subscriptions
Why and how I switched to UniFi Protect for our security cameras, how I get the most out of them in our smart home, and if I would do it all over again.
Introduction
When I got started with security cameras in my smart home years ago, it was…frustrating. I had to constantly charge batteries, which required getting a ladder and a screwdriver just to reach the camera and open up the battery compartment.
My home was using cameras from several brands, so my wife and I had to remember which app to open to see the camera we wanted, and then flip back to another app to see another camera. So by the time we got the right camera opened, the event that we wanted to check on had already passed.
And they didn’t allow us to see 24/7 live recording with local storage — we could only get a live view in that one moment, but we couldn’t scrub back through each moment in time to check something. And if we wanted full access to all our video footage, we would have had to pay a monthly subscription, which also meant our camera data was in the cloud.
I had to do something about this!
Main Points
Requirements
When I decided it was time to upgrade our security cameras, I had five requirements:
- It had to be subscription-free. This is video footage of our home. I didn’t want to pay someone else into perpetuity just to access this content.
- It had to use local, expandable storage. I didn’t want to be entirely dependent on the cloud, which would likely require paying a subscription, and meant all of our data was…in the cloud. With local storage, I’m in control of the storage volume.
- It had to have continuous power. Charging security camera batteries is a hassle, inconvenient, and time-consuming. Rule #1 in my smart home is that it should make me more productive, not less.
- I wanted everything in one platform. No more hopping back and forth between different apps to check different cameras.
- It had to integrate into my smart home for home automations. This one is obvious.
Now, at the same time that I was looking at cameras, I was also looking at improving our home’s internet. I was tired of dropped video calls, or having pockets around the home with spotty connections. This was a barrier to expanding my smart home. Both of these searches converged to Ubiquiti UniFi, which has both networking and security camera offerings. I actually made a whole separate video about my UniFi networking setup for home internet.
I liked UniFi because it met all five of my requirements, had good customer support, and a strong online community that could help with troubleshooting or leveling up your system.
Setup
So, I decided to go all in with UniFi networking and camera security. I purchased everything with my own money, and Ubiquiti is not sponsoring this video.
Now, similar to their networking equipment, UniFi offers a wide range of security cameras, and it can be overwhelming knowing which is right for you. As of this recording, they have around two dozen options ranging from $79 up to $2,500 for a single camera.
In the end, I went with four different types of UniFi cameras: G4 Doorbell for the front door, a few G4 Bullets and a G4 Pro for outside the home, and several G3 Instants for inside the home.
All of my G4 cameras include AI event detections. This means I can get alerts for different types of video events, including motion, person, package, vehicle, and animal detection. The AI also works for audio events, like carbon monoxide or smoke alarms. Additionally, the G4 cameras allow me to set a custom motion or smart detection zone. This way you can tell the camera to send alerts when something enters a particular area of view, and not just the entire field of view. You can even add privacy zones, meaning that area will not be recorded. Or, you can add a crossing line, which will trigger a motion recording when something crosses it.
With the G3, I’m limited to motion or privacy zones, which I’m fine with since I use these indoors. All of my cameras have two-way audio for speaking to anyone through the camera. They are also all plugged in for constant power, but in different ways. The G4 Doorbell is hardwired in, whereas the G3 Instant cameras each plug into a wall outlet. Both of these also connect to my network using WiFi.
In contrast, the G4 Bullet and G4 Pro cameras use a single power over ethernet, or PoE, cable for both power and data. The PoE cables all meet up at the UniFi 24-port switch on my networking rack in the basement. Ideally, all cameras would use PoE, but it wasn’t practical to open up all the walls and add ethernet drops in every room. Even though the G4 Doorbell and G3 Instants are connected via WiFi with 24/7 recording, they don’t have any connection issues or lag.
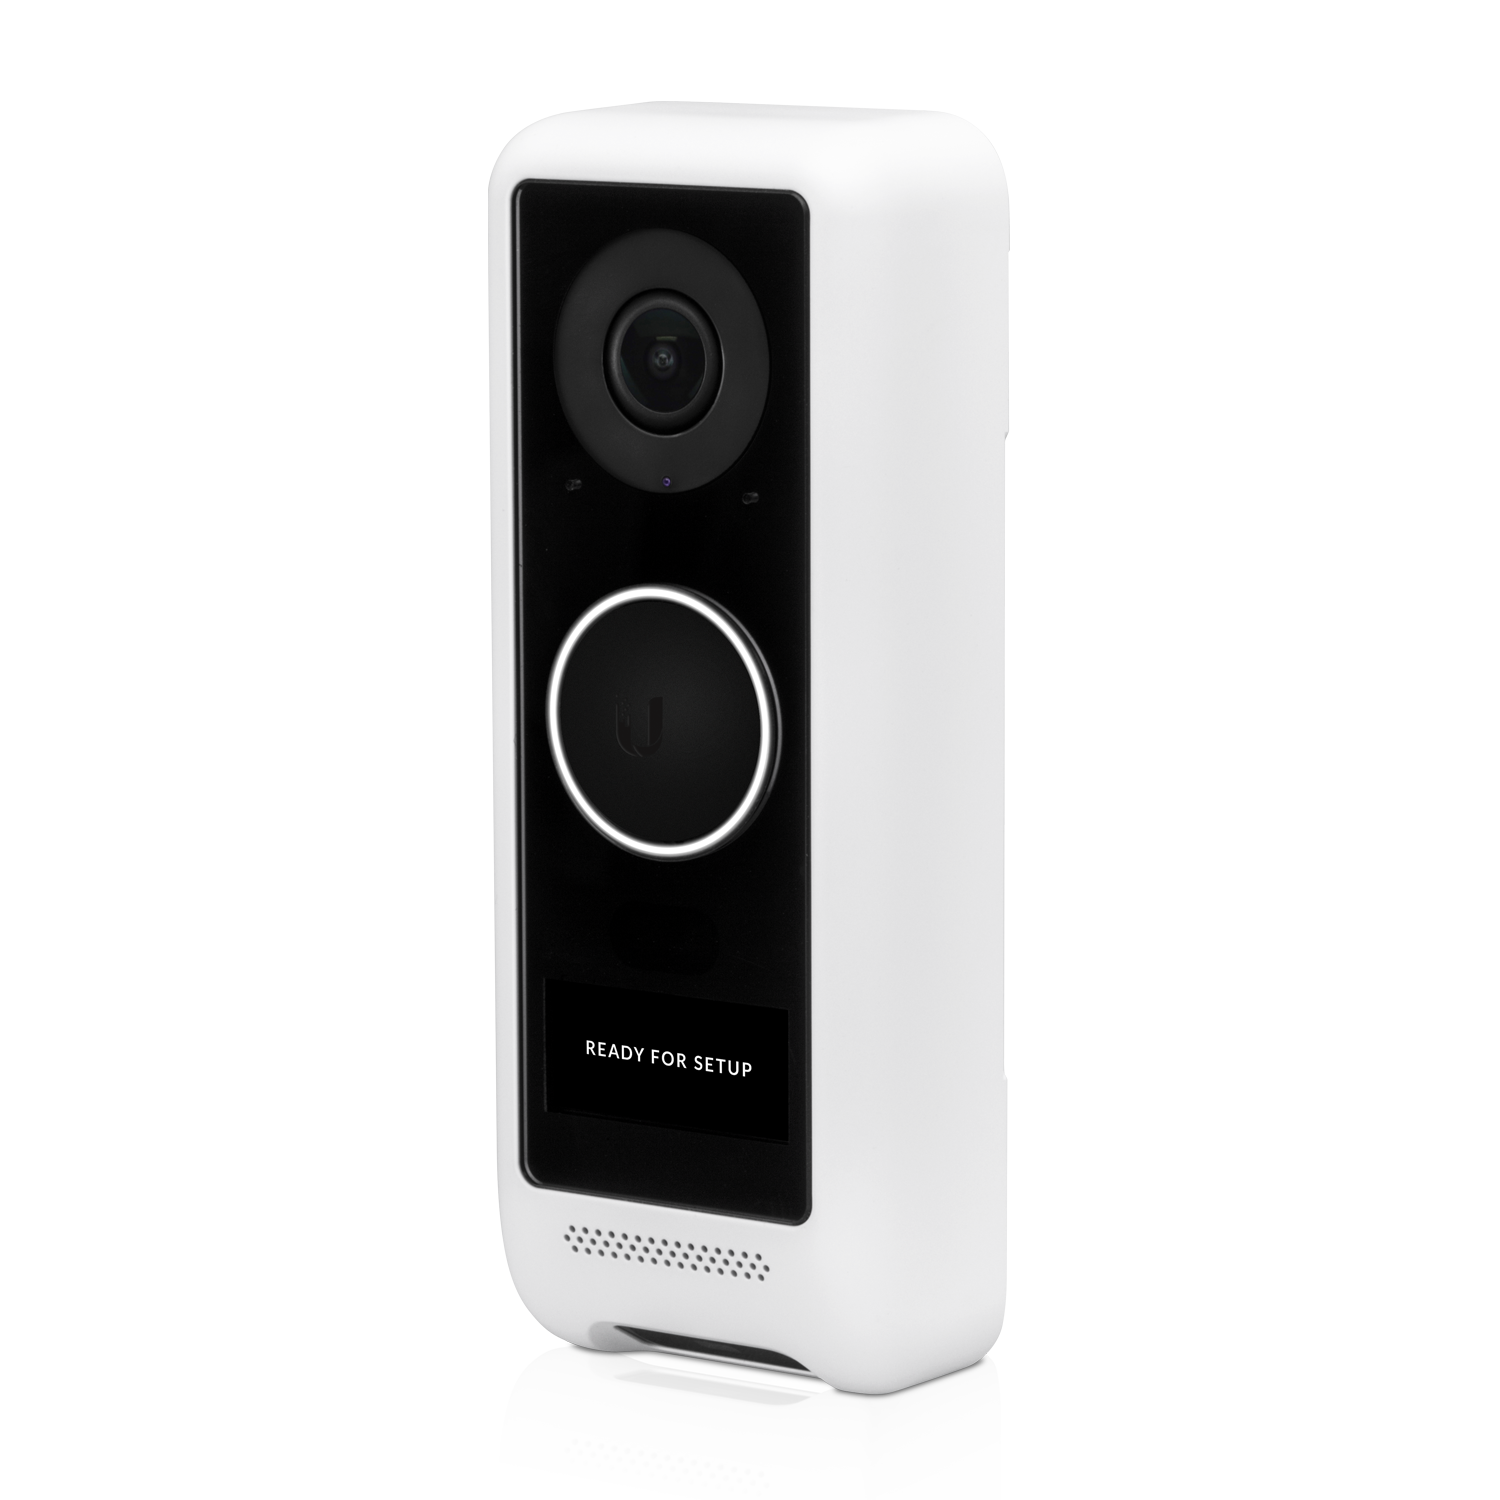
The G4 Doorbell can be positioned on an angle mount so you can tailor the viewing angle to your home. This is great for us since we have a somewhat unusual front door layout with an entire flight of steps coming up on one side. It has a high definition, two megapixel video resolution, and IR night vision that is good for about 20 feet. The G4 Doorbell cost $199 and includes a small, LCM display where you can show one of several pre-programmed messages, such as Welcome, Leave Package at Door, or Do Not Disturb, or you can add a custom message. You can even choose a duration for how long to display any given message, though we don’t make much use of this feature. This doorbell can work with a mechanical chime on your wall, or with a digital chime using smart home automations. While I have the option for both, I’ve got it paired with a digital Ring Chime. This way, I can have an automation to prevent the chime from ringing if it’s during a time when my kids are napping, or overnight.
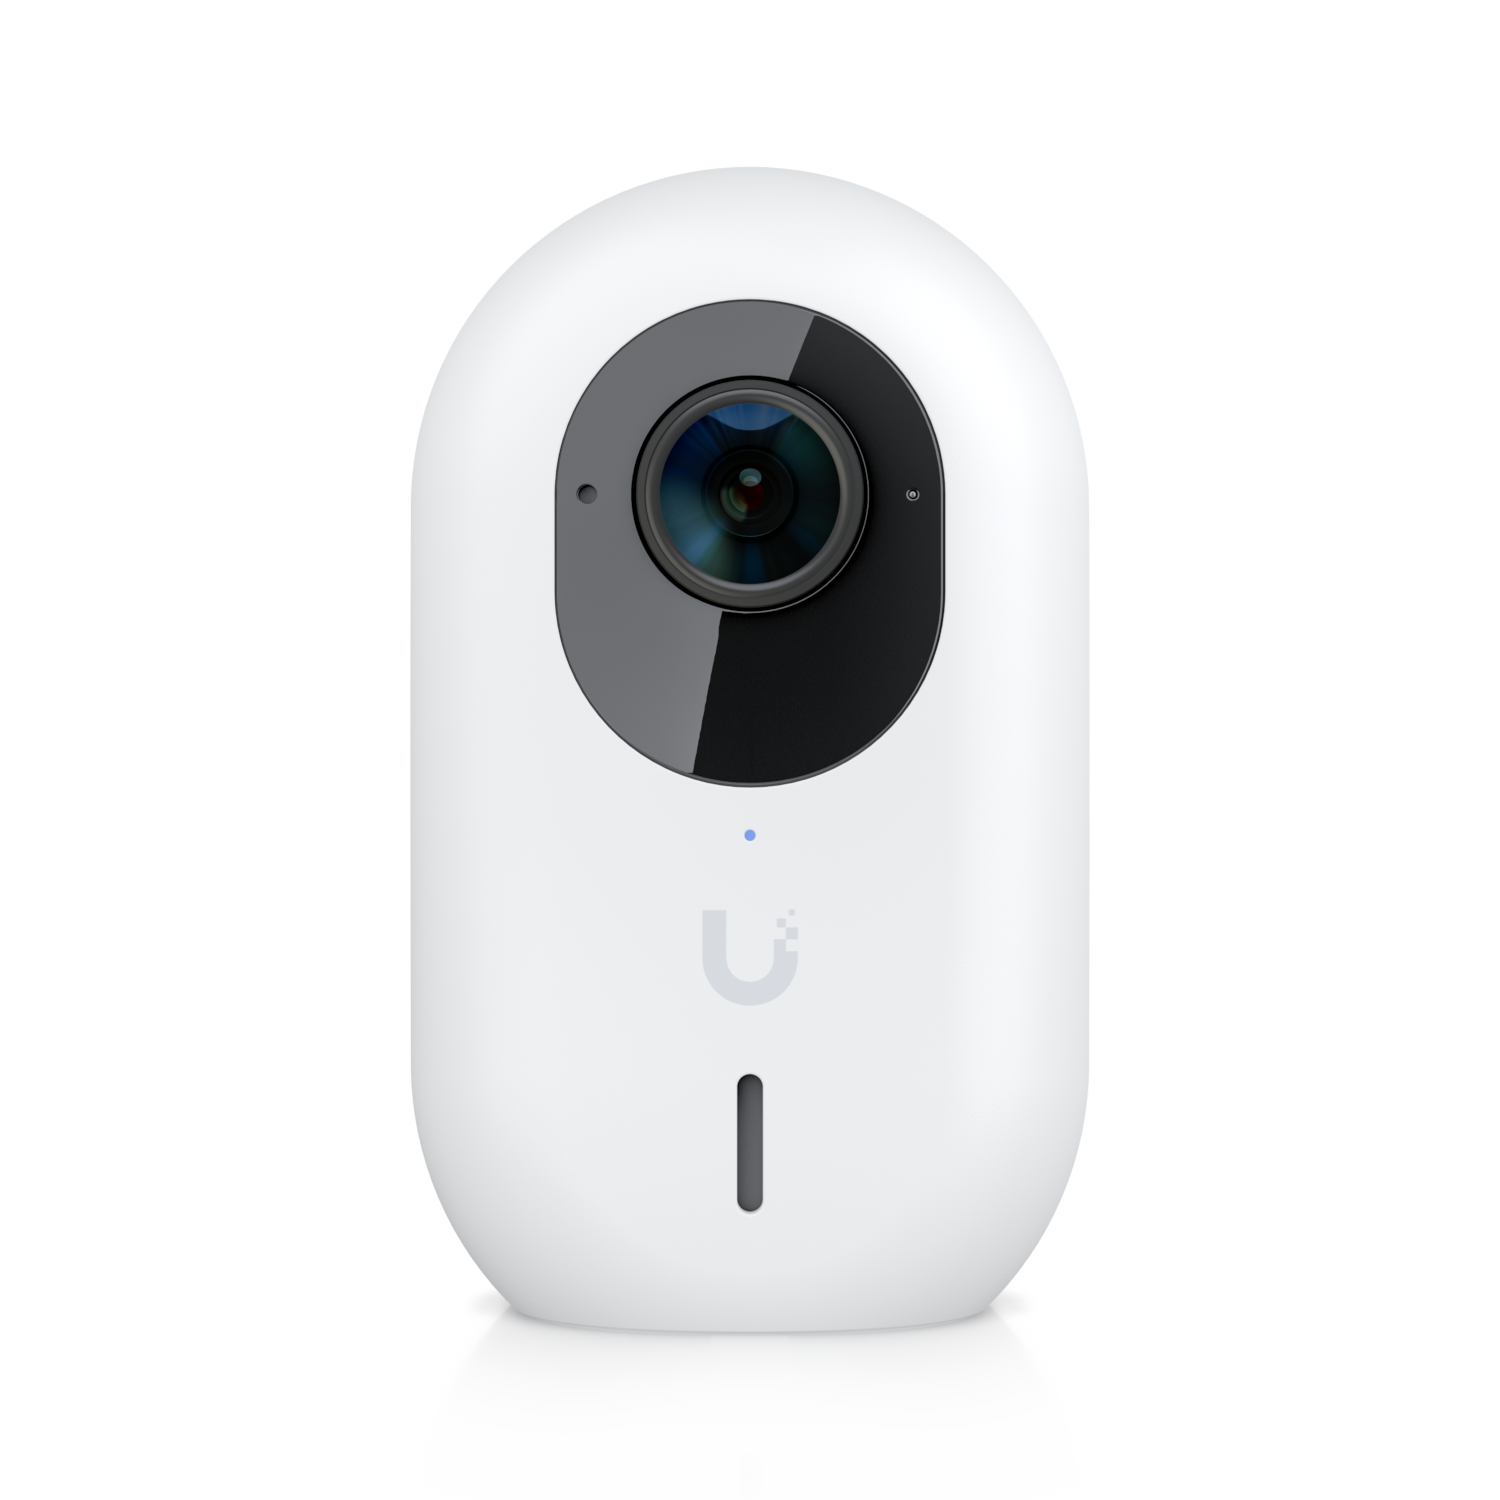
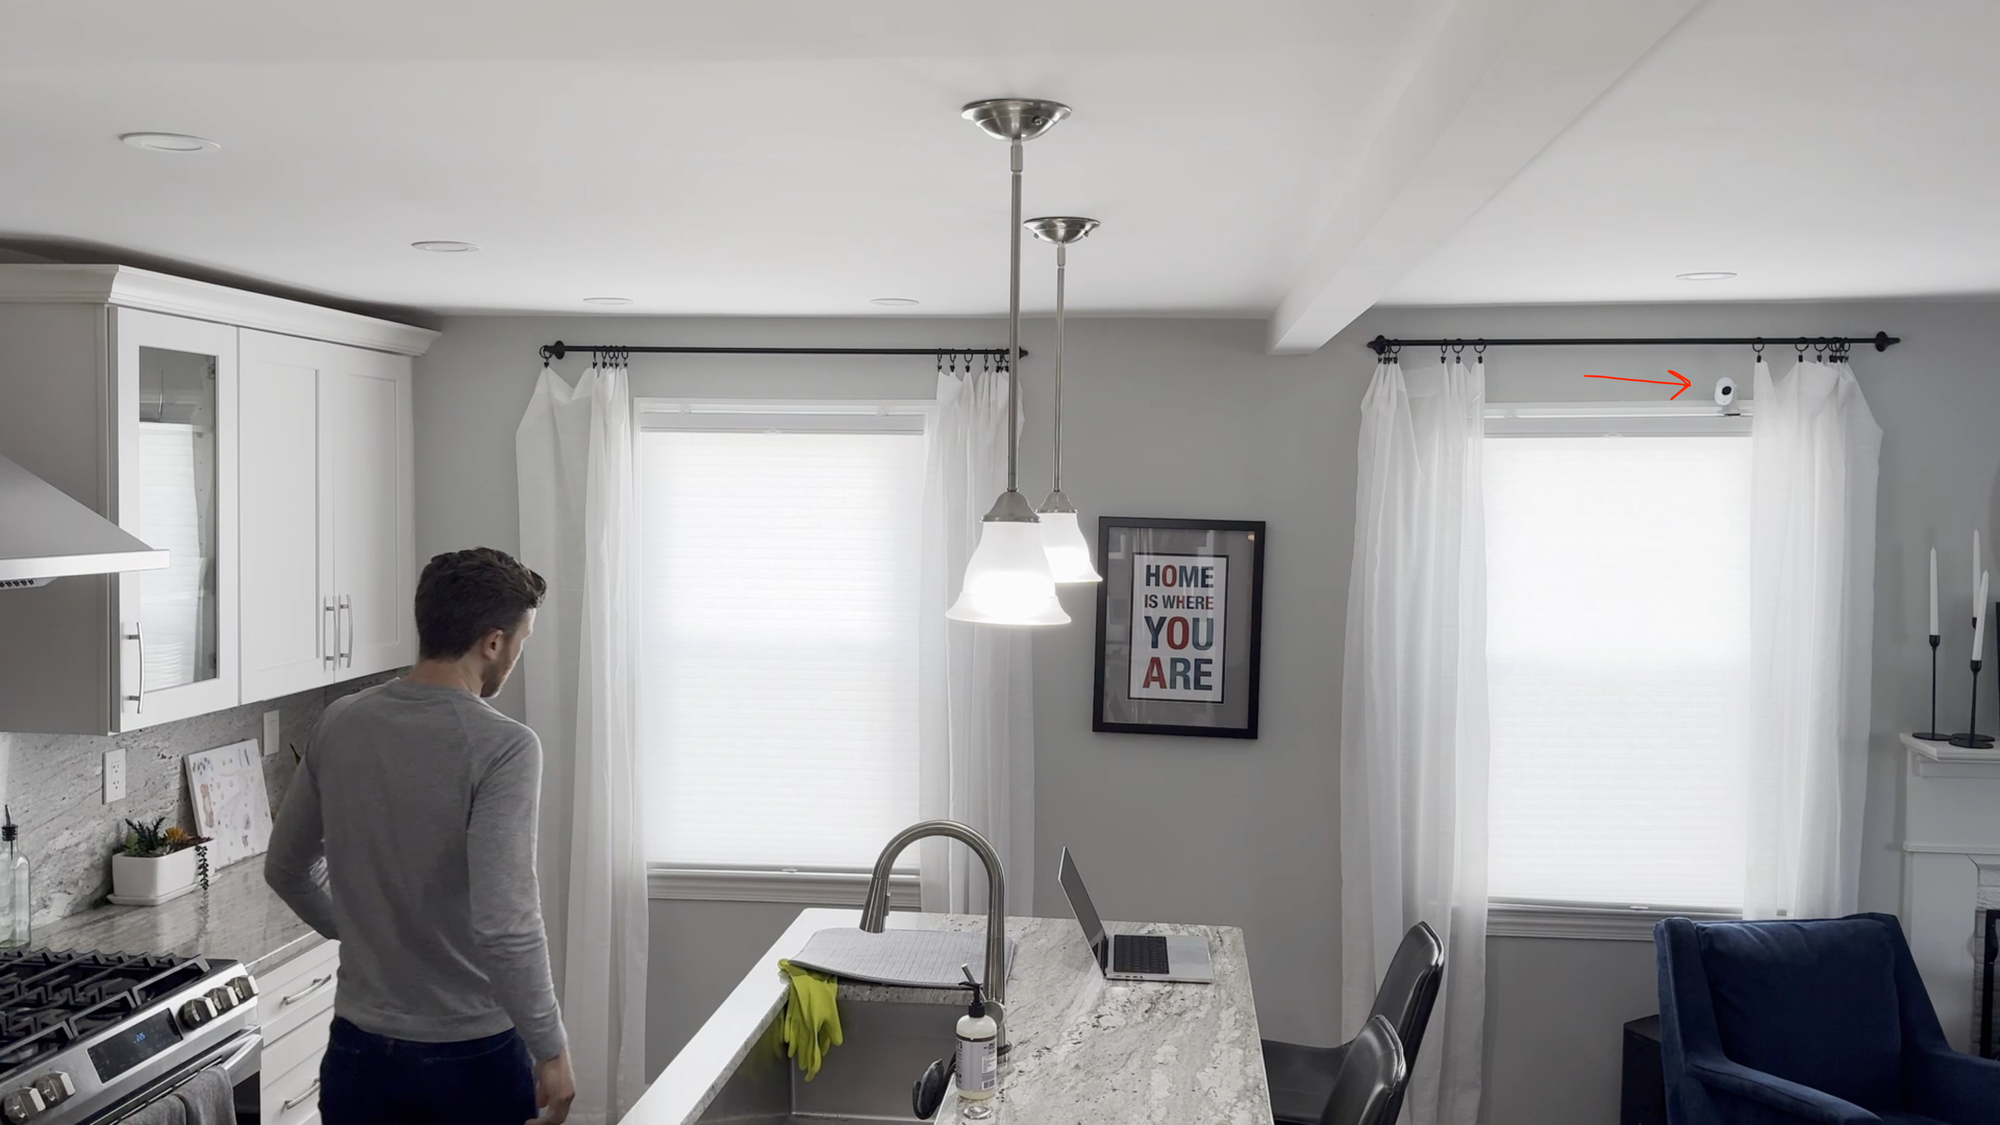
I have most of the G3 Instants on this little mount that I found on Amazon. The G3 Instant by itself doesn’t offer much flexibility in terms of mounting, so this accessory solves that. I can get any viewing angle I want with hit. I just have them sitting on top of a window shade bracket, and kept in place with 3M hook and loop tape. This camera has similar night vision capability as the G4 Doorbell. The G3 Instant is $79, though I got them back when they were only $29. It’s frustrating how the suggested retail price of this camera increased by 172%.
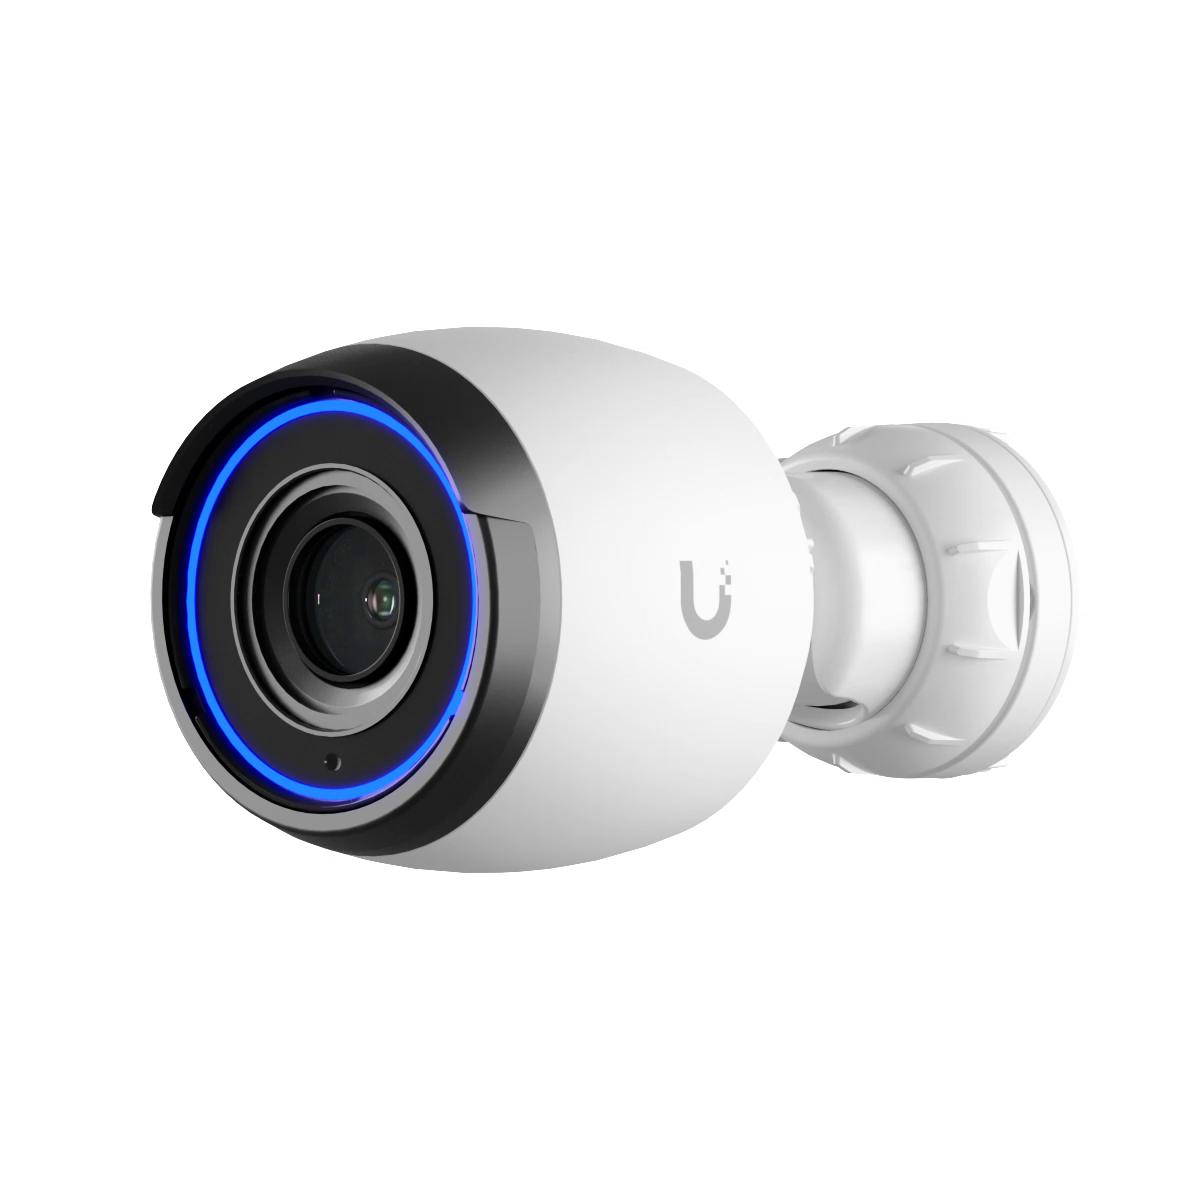
The G4 Bullet is an outdoor PoE camera with a 2K or four megapixel video resolution. It comes with a 3-axis adjustable mount and better night vision, rated for up to 30 feet. You can buy a separate IR range extender for up to 82 feet of night vision, but I haven’t used this. The G4 Bullet is $199, just like the G4 Doorbell.

The G4 Pro is the most capable, with a 4K, eight megapixel video resolution, three-times optical zoom, and 50-foot IR night vision. While I’d love for all of my outdoor cameras to be the Pro version for the improved video quality and wider field of view, I found it cost prohibitive at $449 per camera, which is more than double the cost of the Bullet.
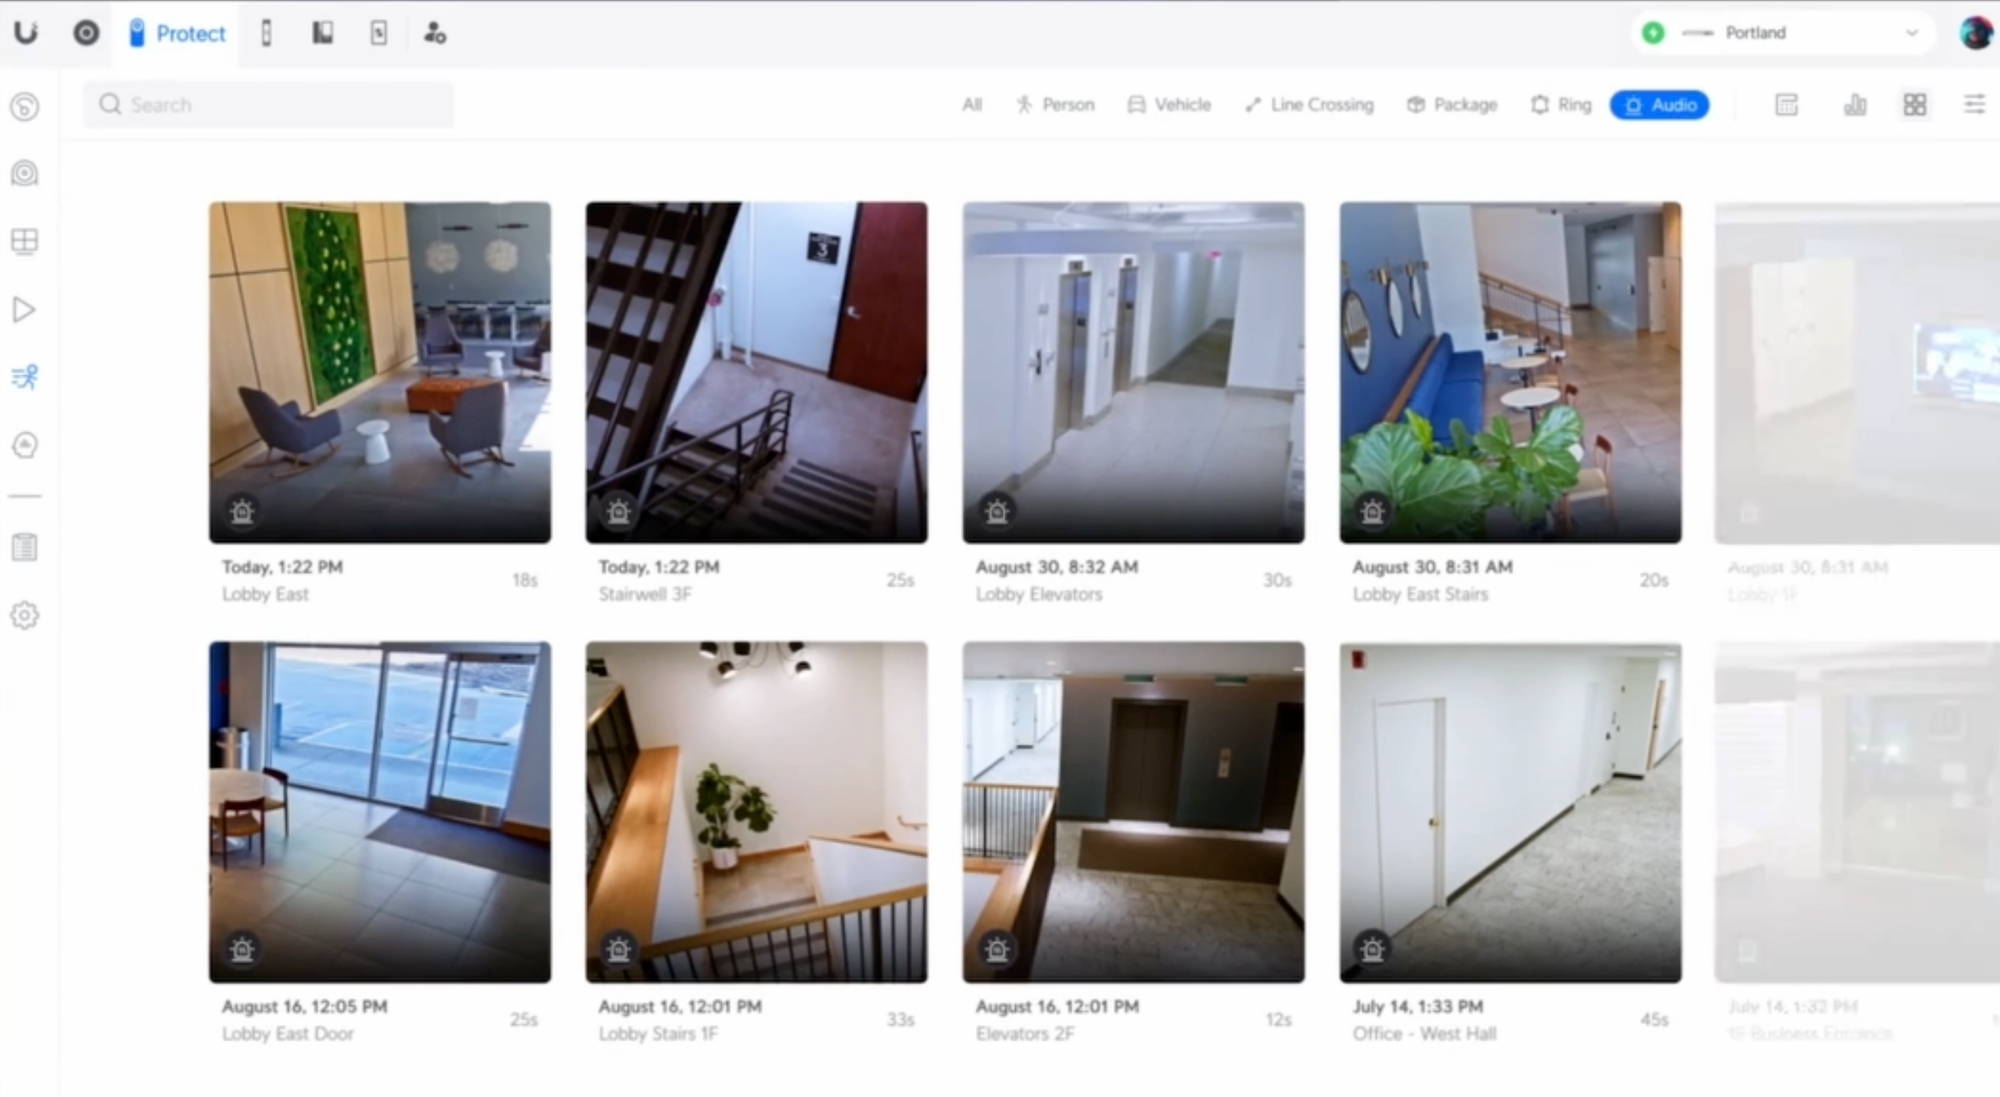
I can view a live stream from all cameras at once using the UniFi Protect app, along with any motion or AI detection events. If you want to be able to view your camera feeds when you are outside your network, then you must enable remote access. With any UniFi camera, you’ll need a UniFi console running UniFi Protect and compatible external storage for saving video recordings. I’m using the Dream Machine Pro as my console, which includes a single bay where I’ve got an eight terabyte hard disk drive, or HDD, for my recordings. This HDD combined with the camera array in my home is good for about five weeks of continuous video recording history. You can upgrade to a dedicated Network Video Recorder, or NVR, with multiple bays and the ability to save even more recordings. But the additional cost of the NVR coupled with the cost of more HDDs is not something I can justify…yet.
Home Automations
Thankfully, there is a UniFi Protect integration for Home Assistant, which is my smart home platform. I can see real-time camera snapshots on my smart home dashboard, and click into any camera for a live stream of the video and audio. Each camera exposes a ton of entities to Home Assistant, which allows me to create home automations based on detection events, like when a person approaches the front door, or the car enters the driveway, or an animal causes mischief in my backyard.
Let’s check out some of my home automations using UniFi Protect cameras. The first and perhaps most logical use case is for events at the video doorbell. When a person is detected at the front door, my wife and I get a notification on our phones including a thumbnail image of the person. When someone rings the doorbell, the same thing happens, but we also get a real-time image on our smart home control panel and Apple TV 4K showing us who is at the front door. This is in addition to having sound play from the connected digital chimes, and an announcement across our smart speakers that someone is at the front door. My family and I really benefit from these doorbell automations. The one frustrating aspect is the time delay between the detection event and the notification arriving on our phones. I’ve read that WebRTC may be one way to speed this up, but if you have proven experience or tips for reducing this delay, please let me know in the comments.

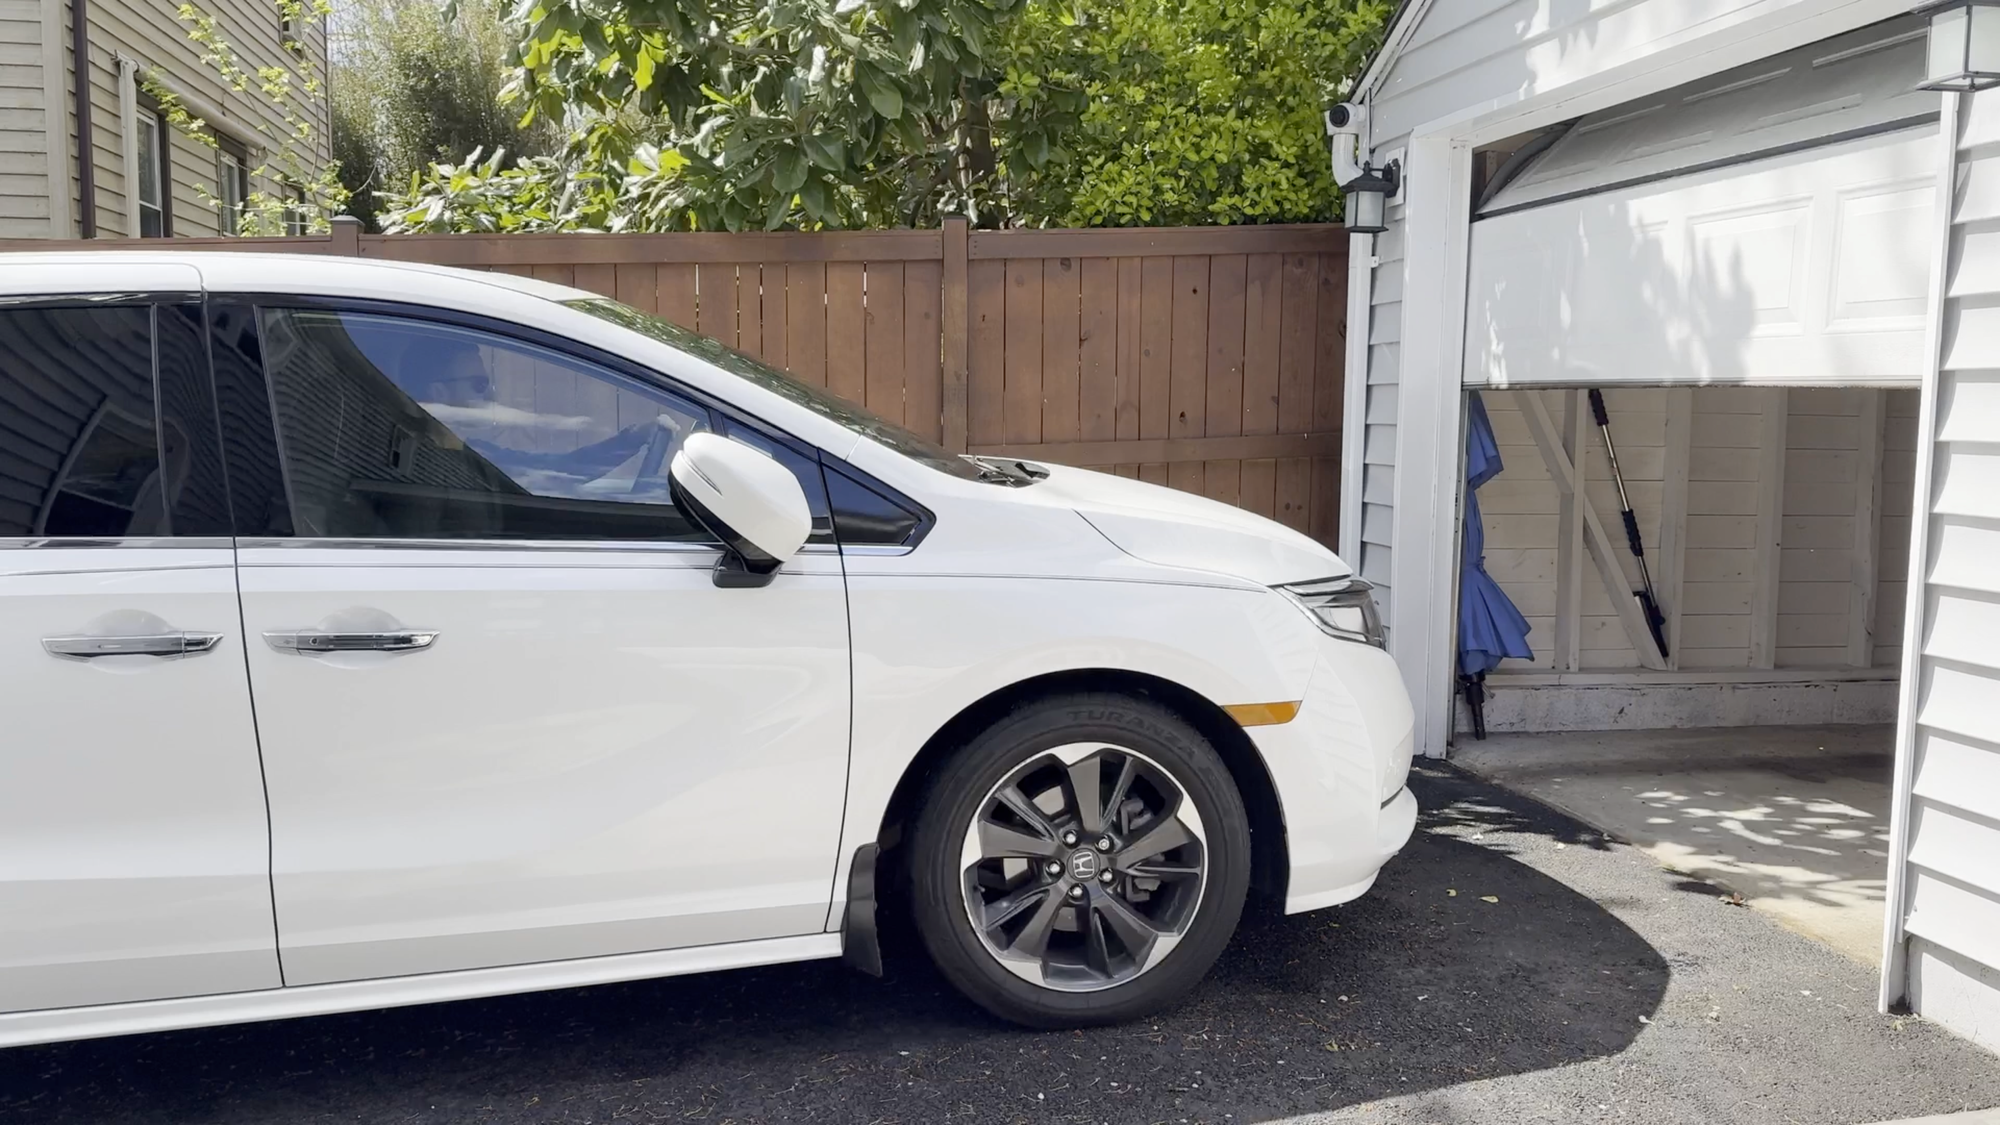
The second use case is automatically opening the garage door when my vehicle enters the driveway. Configuring this automation for my exact setup was a little more involved, and I’ll link to a separate video where I explain it in full detail. At a high level, the automation works by knowing when my iPhone is connected to CarPlay and using the Driving Focus mode. When that happens, and I re-enter the geofence around my home, and the UniFi camera pointing at our driveway detects a vehicle, it will open the garage door just as I approach it in a way that feels like magic.
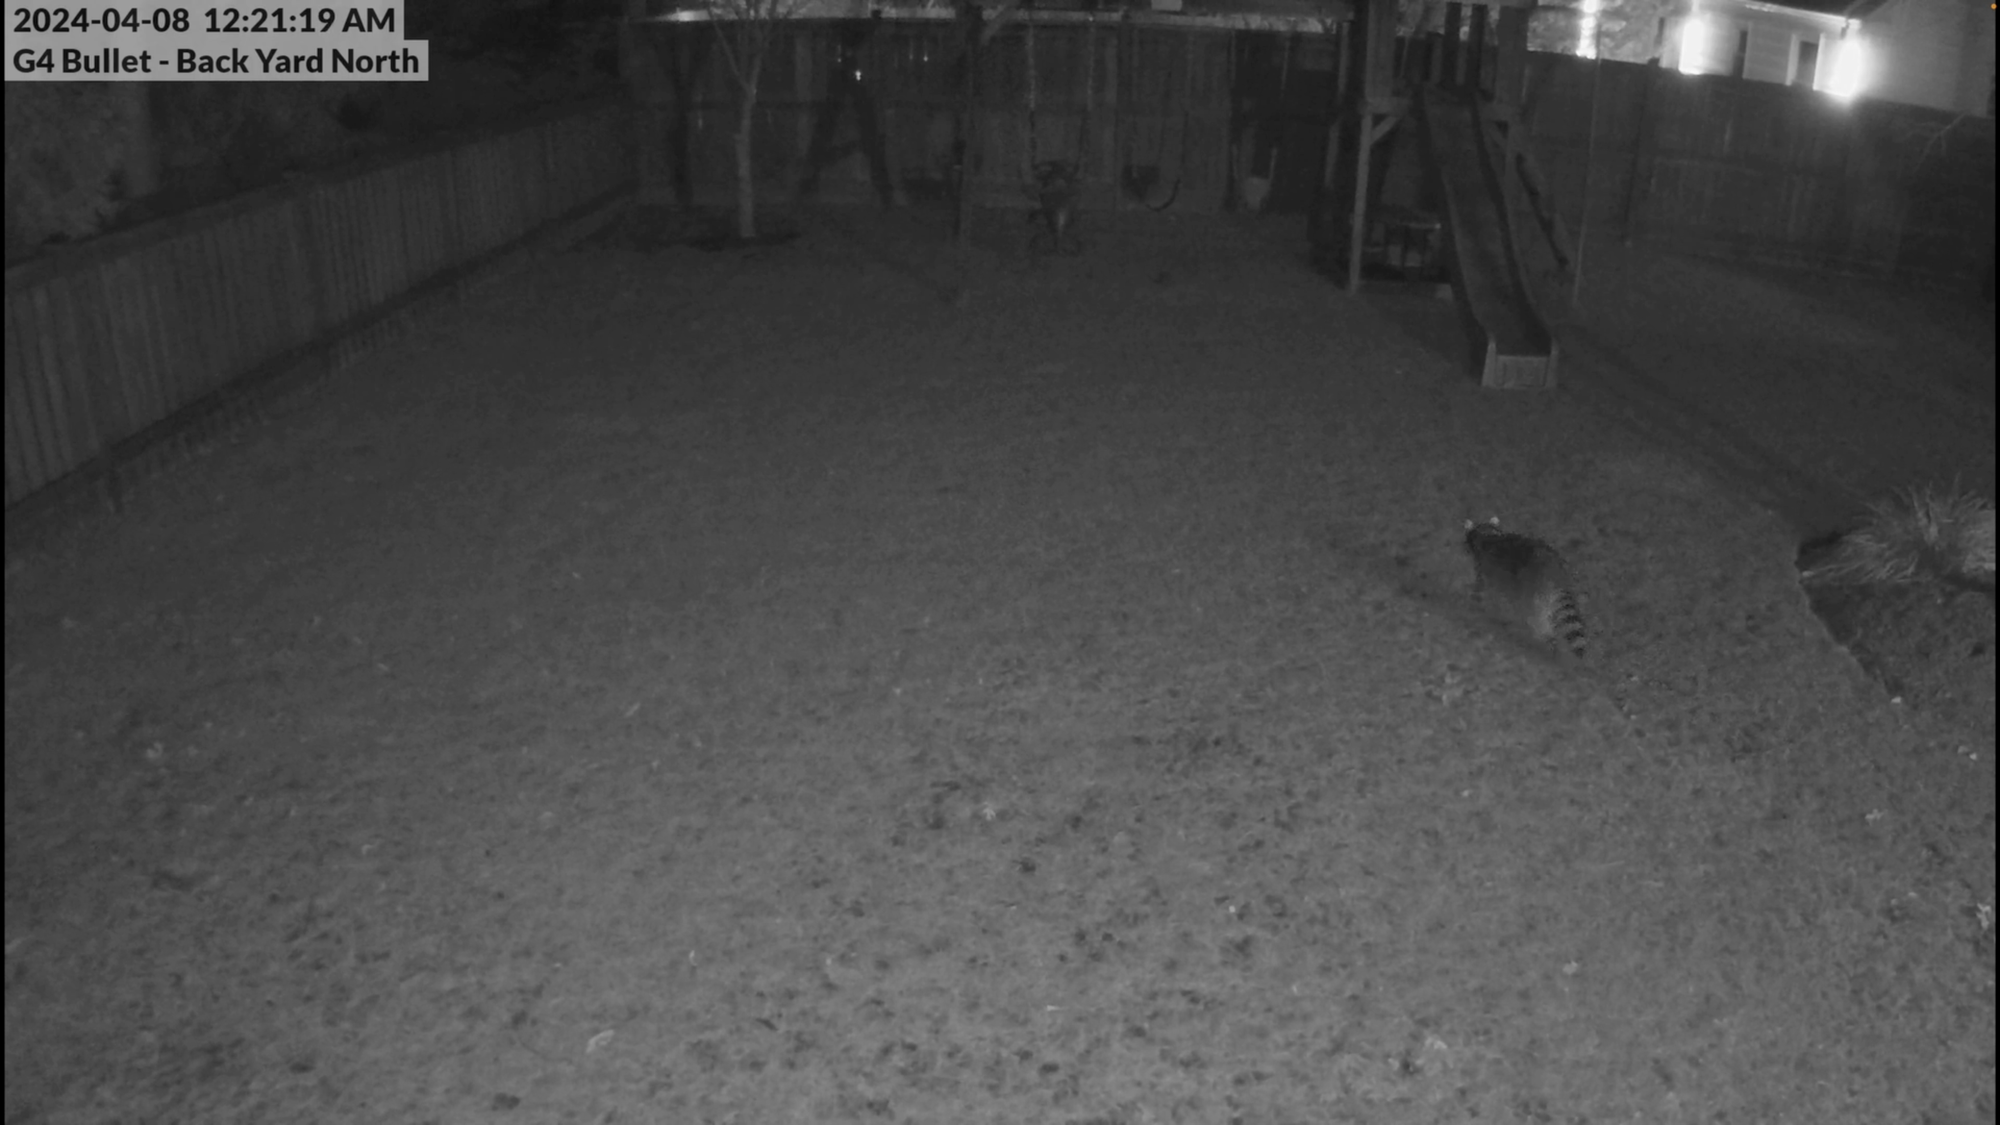
A third example is deterring raccoons from digging up the yard. Our backyard can get pretty lively each evening with nighttime critters. I created an automation to run the in-ground irrigation system for a few seconds when one of two UniFi cameras detects animal motion at night. The sound of the sprinkler rising out of the ground coupled with the spraying water is enough to send them running.
A fourth way that I’m using UniFi cameras in my smart home is just a simple lighting automation. Since each camera has a motion detection entity, I can use that as a trigger to turning on a light when someone enters the room. So, if you already have a camera in a room, you don’t necessarily need a separate motion sensor. In larger spaces, you can combine the camera’s motion sensor with other, standalone motion sensors as automation triggers to avoid any delay in turning the lights on.
Final Thoughts
Overall, I’m really happy with my UniFi security camera setup. It has given me everything I was looking for: subscription-free, local storage, and continuous power all on one platform that integrates nicely with my smart home.
If you’re using UniFi for your home network, it makes sense to seriously consider their line of security cameras if that’s something that you’re interested in adding.
But if you’re not already using UniFi to power your home’s internet — or even if you are — it’s worth considering comparable options that may offer more value for the money, depending on your situation. Alternative camera brands worth considering include Amcrest, Annke, Dahua, Hikvision, and Reolink, with Reolink probably offering the best value.
Watch on YouTube
Featured Tech
Ubiquiti UniFi Protect Camera G5 Pro: https://go.michaelsleen.com/camera-g5-pro
Ubiquiti UniFi Protect Camera G5 Bullet: https://go.michaelsleen.com/camera-g5-bullet
Ubiquiti UniFi Protect Camera G4 Doorbell Pro PoE Kit: https://go.michaelsleen.com/g4-doorbell-pro-poe-kit
Ubiquiti UniFi Protect Camera G4 Doorbell Pro WiFi: https://go.michaelsleen.com/g4-doorbell-pro
Ubiquiti UniFi Protect Camera G4 Pro: https://go.michaelsleen.com/camera-g4-pro
Ubiquiti UniFi Protect Camera G4 Bullet: https://go.michaelsleen.com/camera-g4-bullet
Ubiquiti UniFi Protect Camera G4 Instant: https://go.michaelsleen.com/camera-g4-instant
Ubiquiti UniFi Protect Camera G3 Instant: https://go.michaelsleen.com/camera-g3-instant
Adjustable Mount for G3 Instant: https://amzn.to/4byugdv
Ring Chime (using it with UniFi G4 Doorbell): https://amzn.to/3Wap5dH
Ring Chime Pro (using it with UniFi G4 Doorbell): https://amzn.to/3Wu5Kpn