Smart Motorized Shades with Matter-over-Thread (SmartWings Review)
Review of SmartWings Motorized Blackout Cellular Shades with Matter-over-Thread, including installation, smart home setup, buying options, and potential drawbacks consider.
Introduction
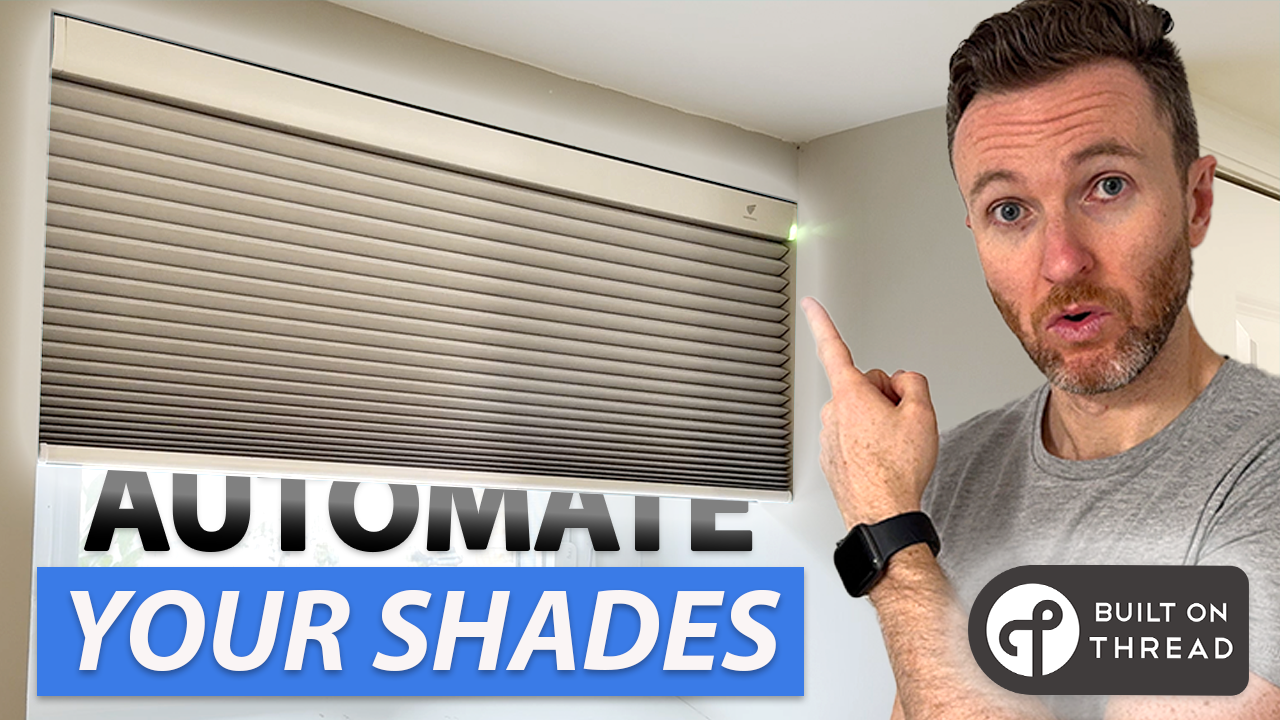
This is a motorized shade. You can automate it to open and close at any time, like sunrise and sunset, or when your TV turns on to create a home theater ambiance. It works with Amazon, Apple, Google, Home Assistant, and SmartThings smart home systems. You can control it using a physical remote control or button on the shade, or by using your preferred smart home app or voice assistant. This one uses Matter-over-Thread, so no third-party app is required, and requests are processed locally in my home, not in the cloud. It also blends in seamlessly with all the other shades in my home.
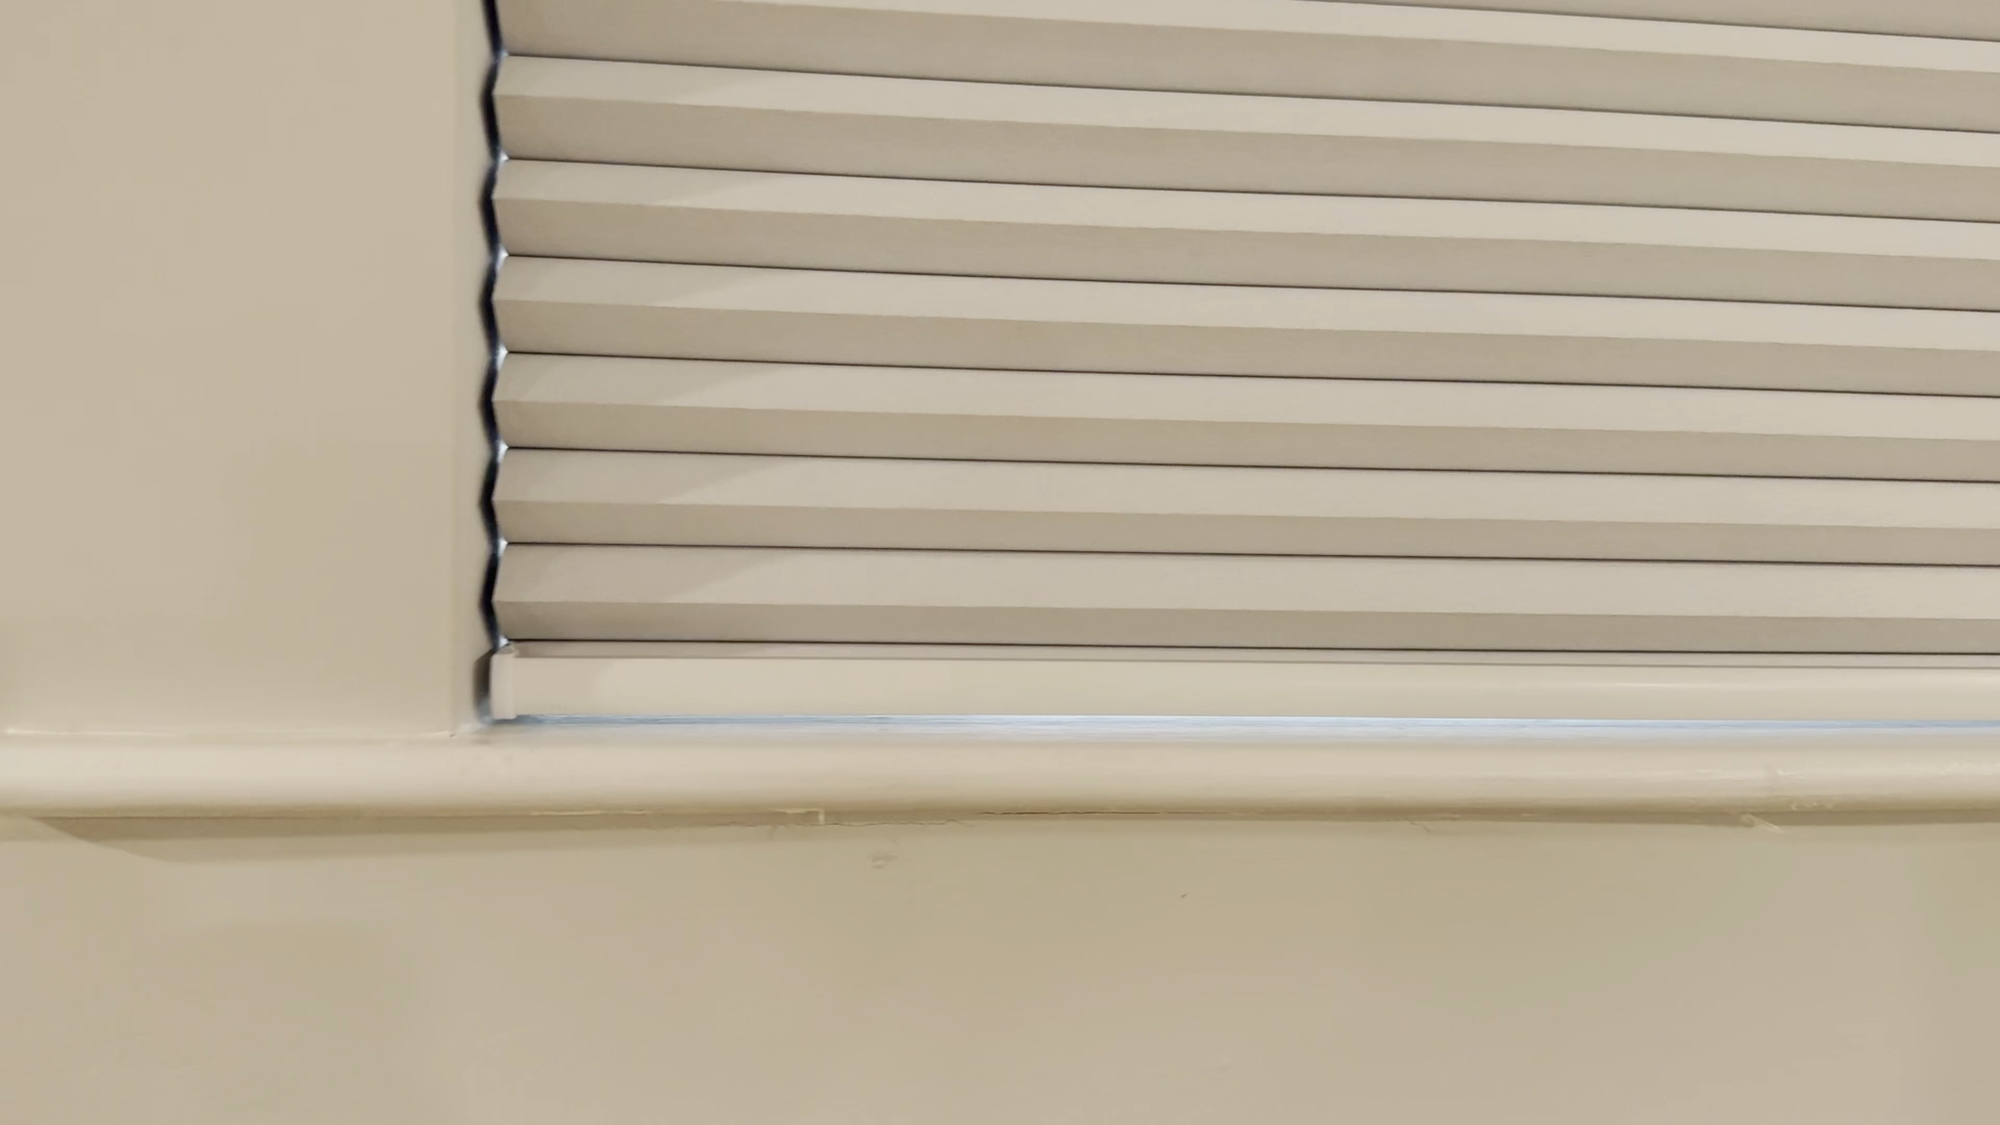
SmartWings Motorized Blackout Cellular Shades Nowa
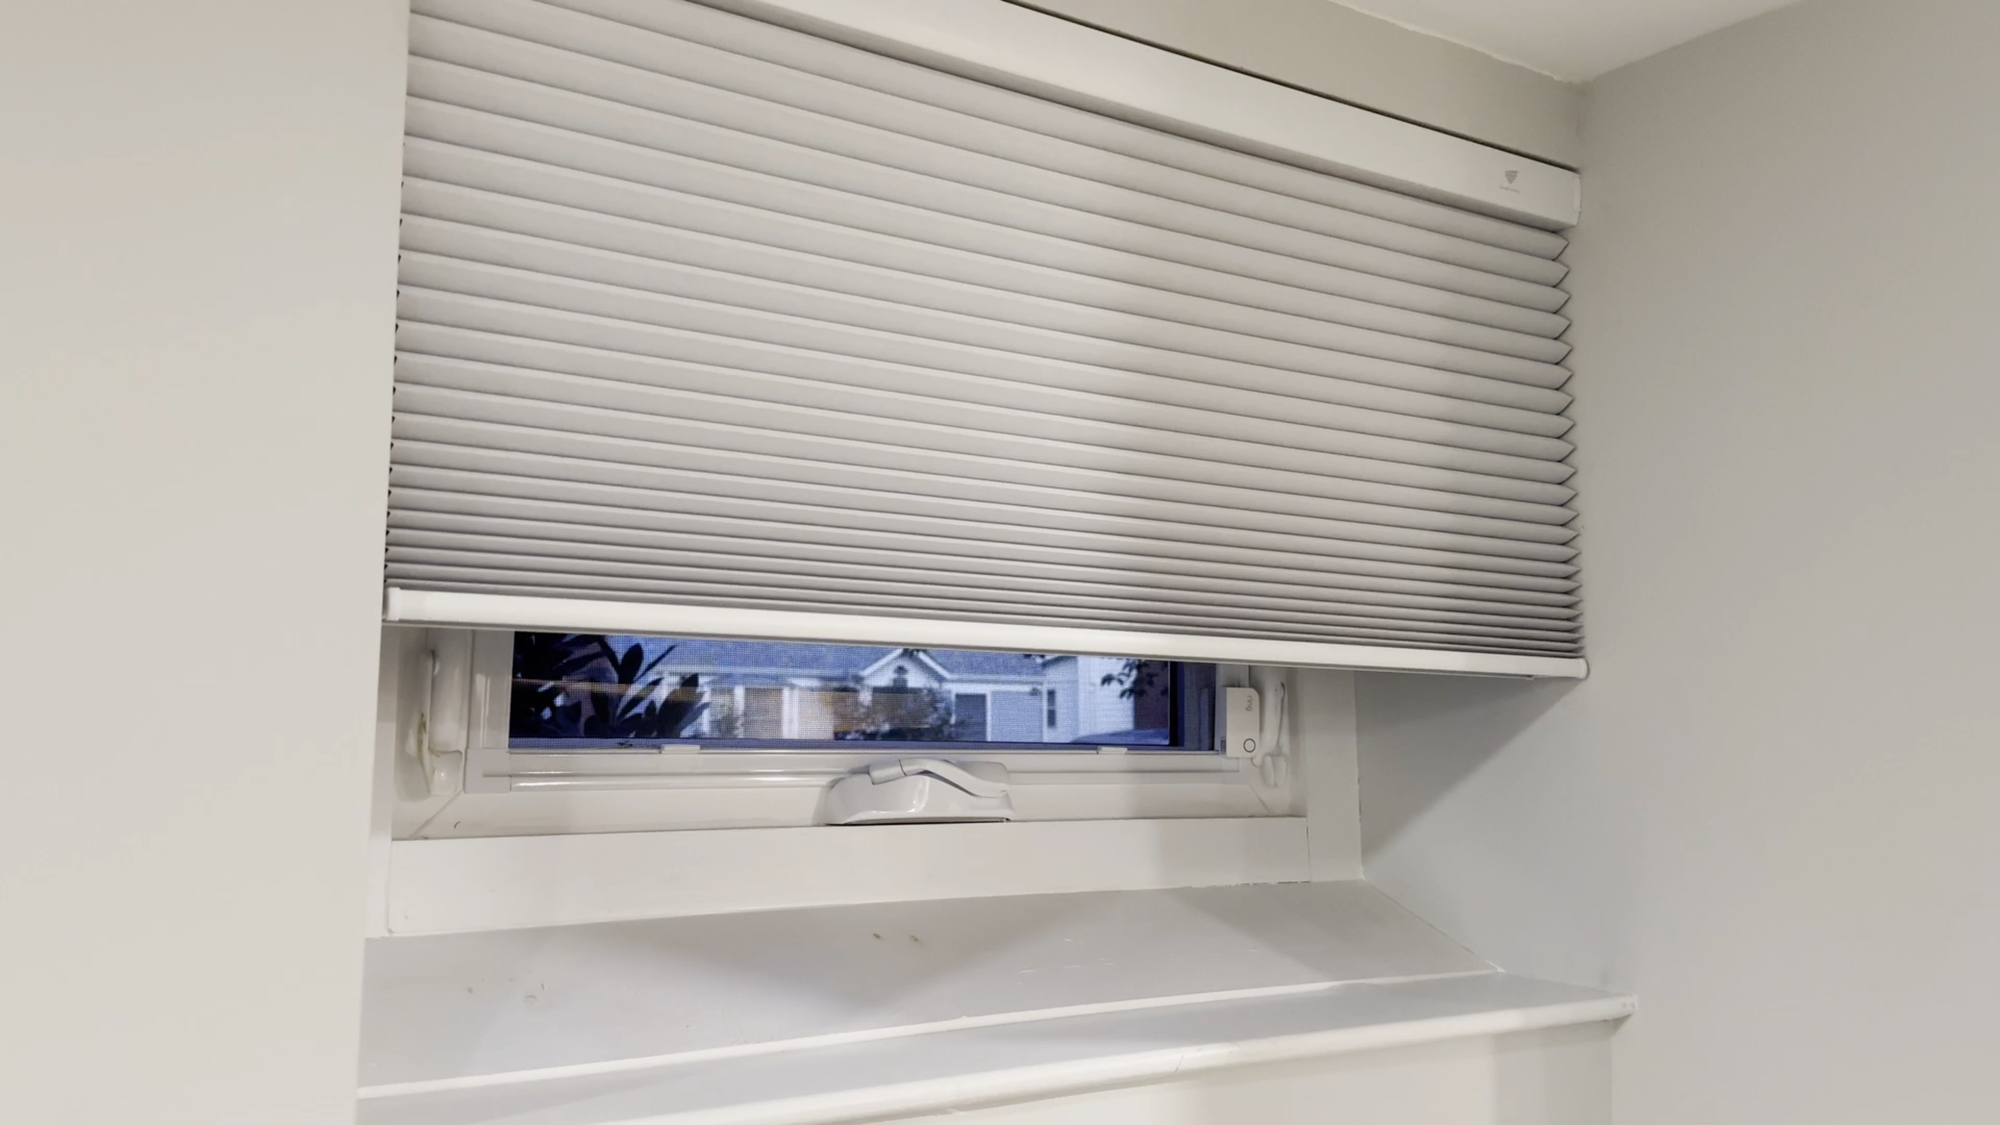
I’m taking a look at the SmartWings Motorized Blackout Cellular Shades. I’ll cover the installation, smart home setup, buying options, and potential drawbacks consider.
Main Points
Installation
Let’s start off with installation, because it might be easier than you think. When it comes to certain house projects, you might consider not only the cost of the purchase, but also the cost of labor if you need to hire someone to install it. But these motorized shades are absolutely something you can install yourself. All you need is a tape measurer, pencil, and a drill.
The shades arrive with two mounting brackets. The top of the shade hardware indicates where to position each bracket, which is super helpful. Hold the shade up, mark the area with a pencil where you’ll need to screw in each bracket. Each bracket comes with two screws and two drywall anchors. I was going into a stud, so I didn’t need the anchors. Use a drill to secure both brackets, and then pop the shade into place. That’s really it.
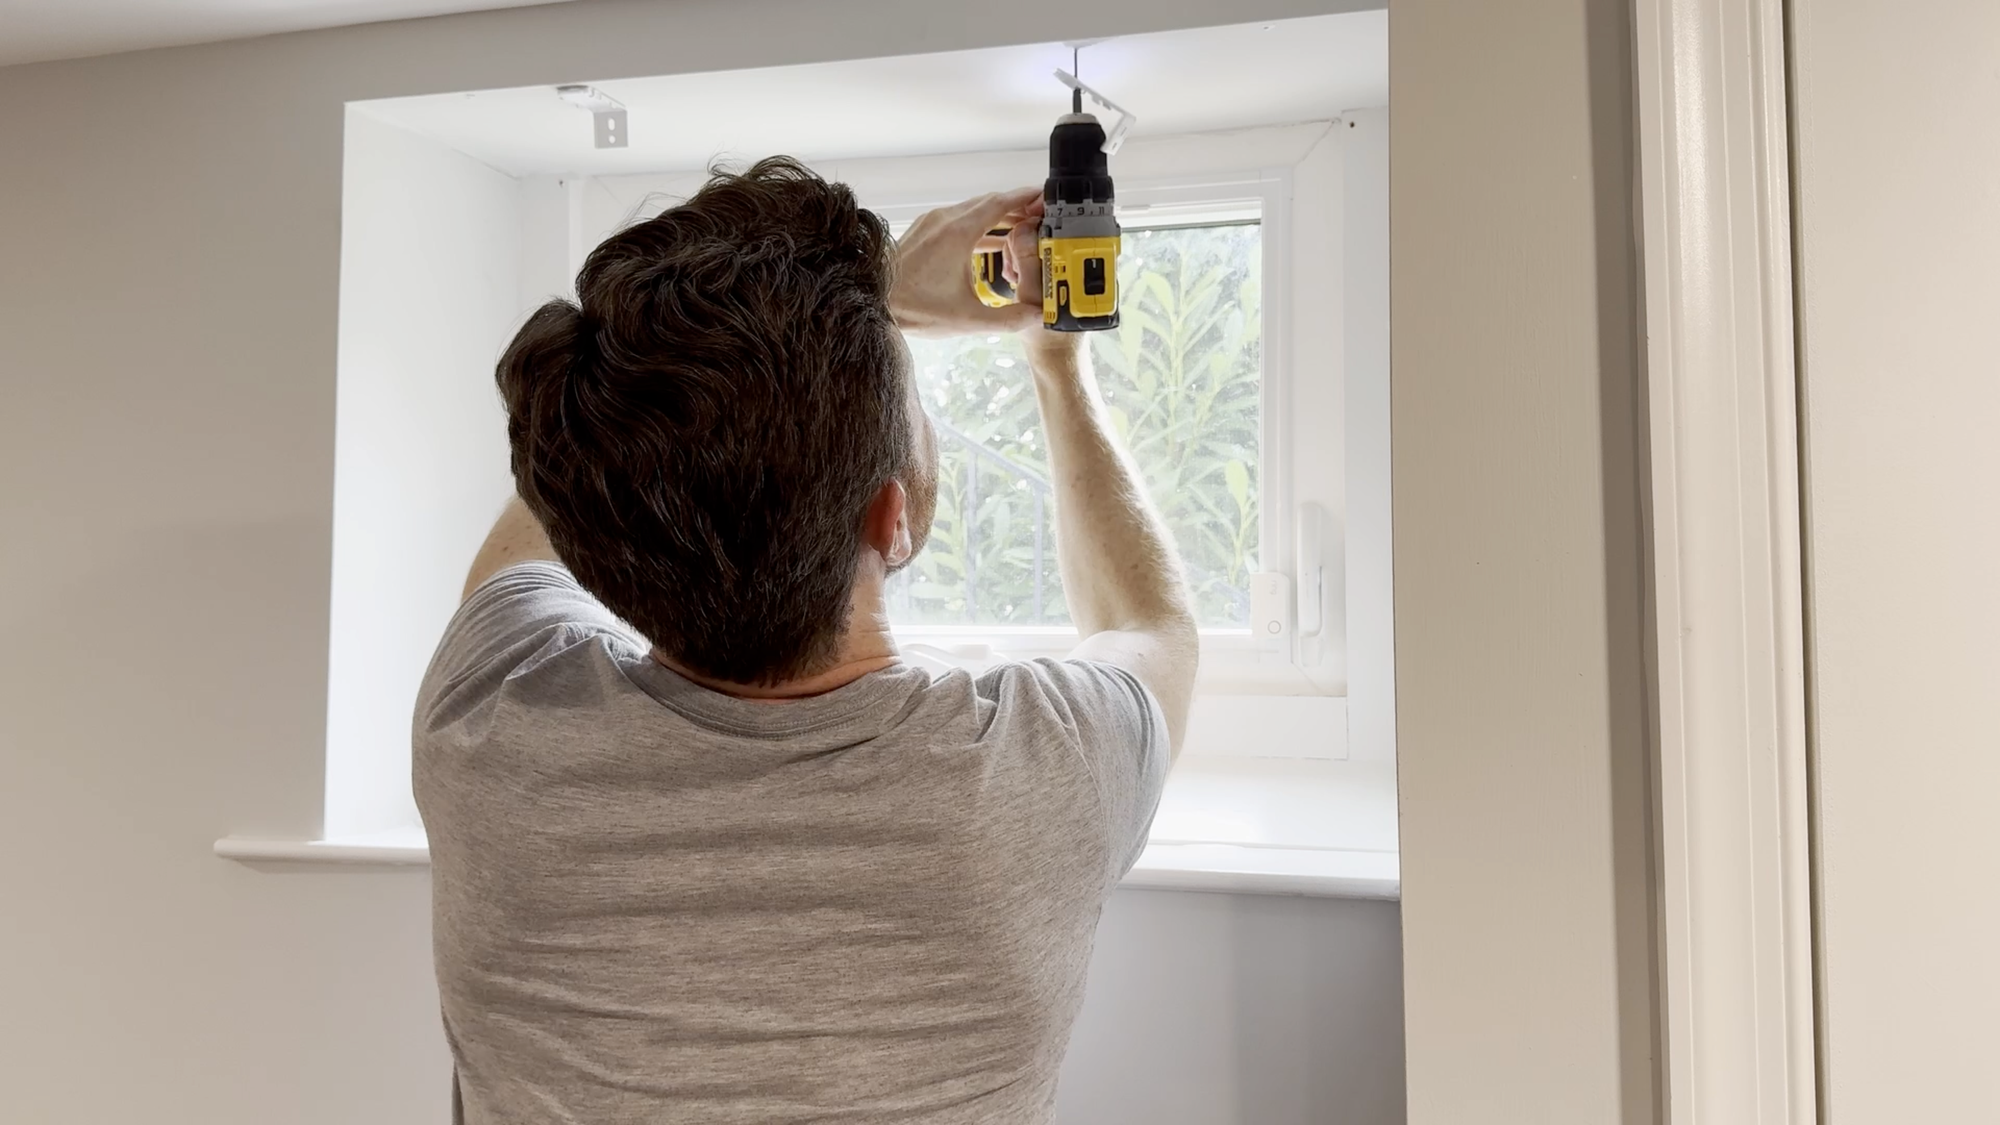
If you get the solar panel like I did, it connects to the top of the shade hardware, so plug that in before you pop the shade into place.
You’ll want to charge the shade motor after your first install it. Even if you got the solar panel, I suggest charging for the first time using the included USB-C cable. Keep in mind that a full charge may take 5-6 hours. But once charged, SmartWings says it should last you six months before needing to charge again, depending on your usage. The solar panel should reduce the need to charge over USB-C. Just attach the solar panel to your window using the included 3M adhesive.
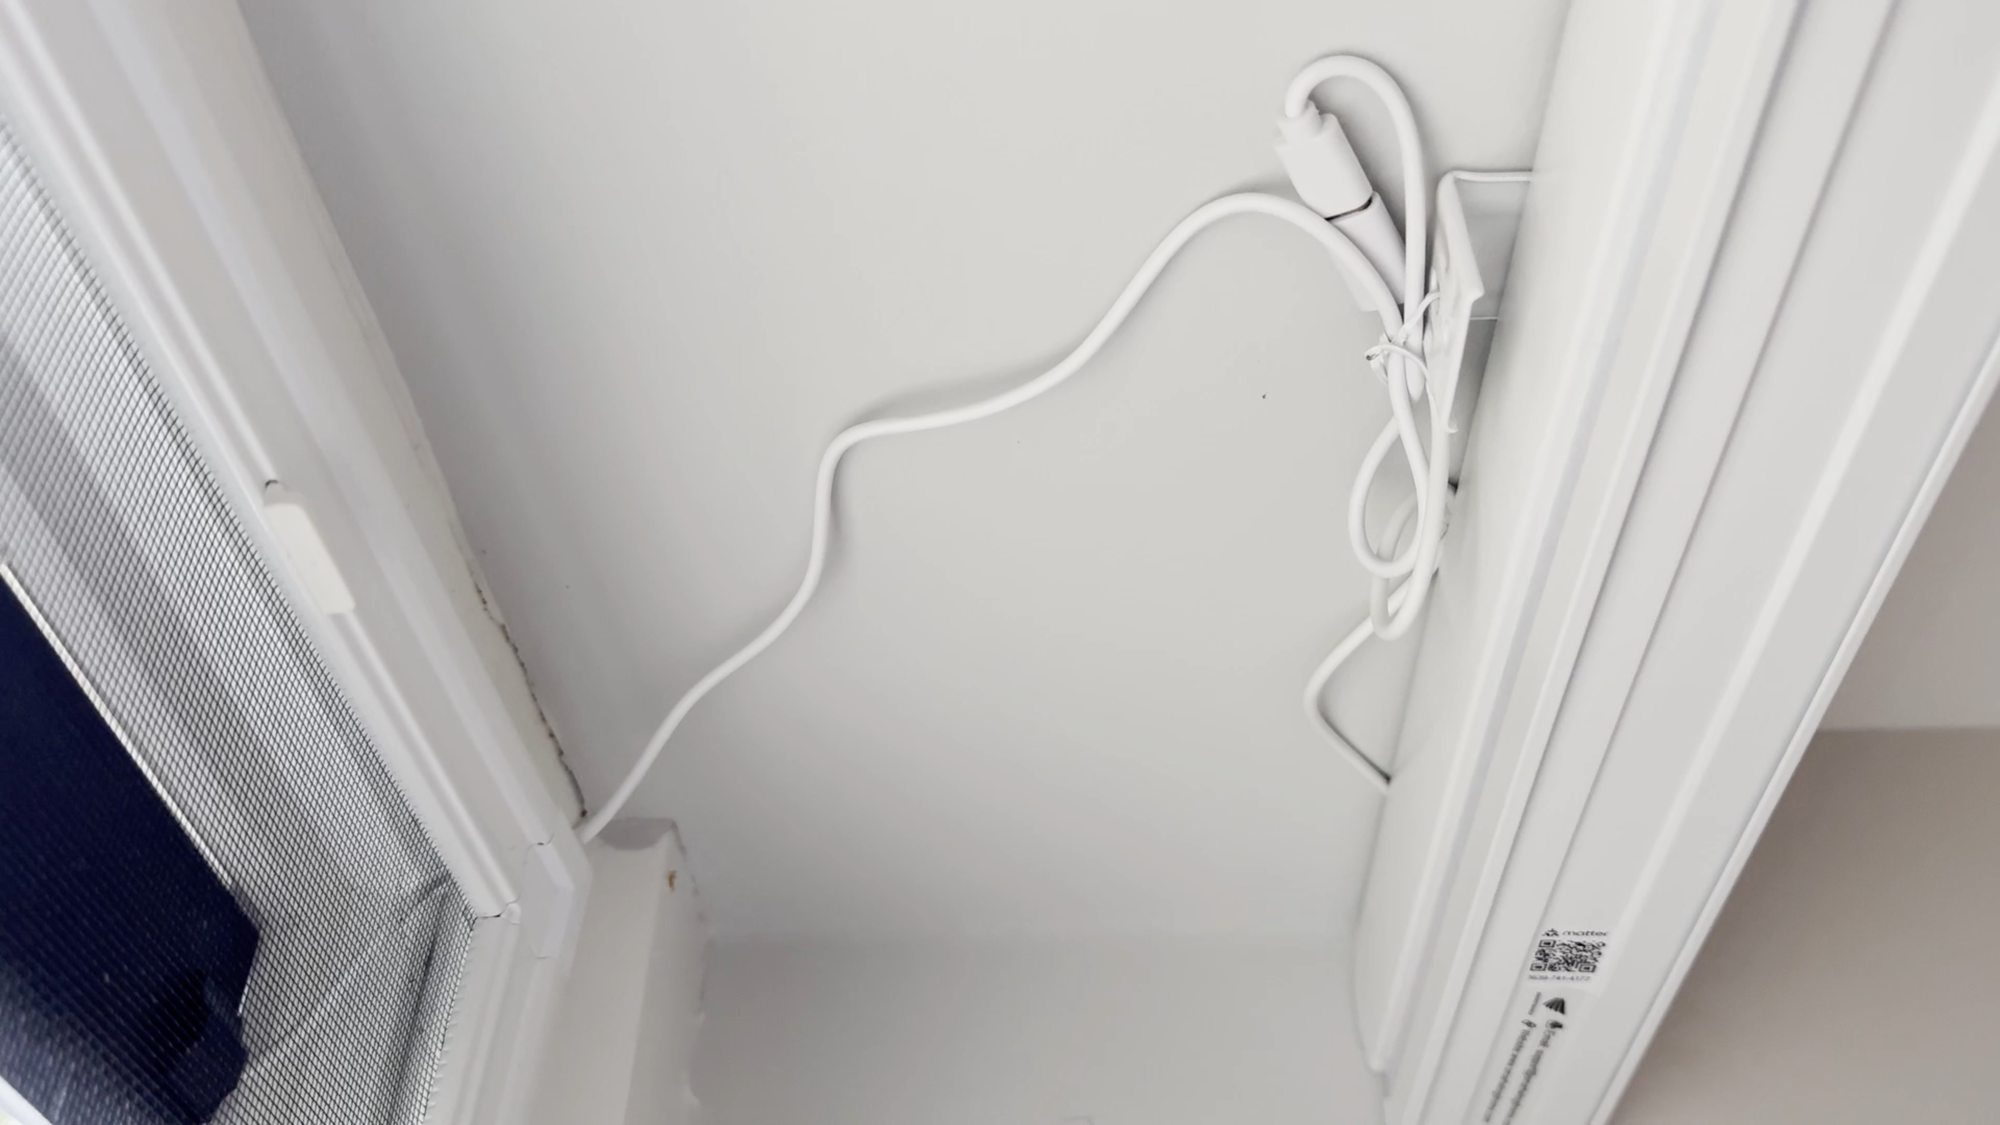
You can charge SmartWings Motorized Blackout Shades using a solar charger or USB-C
Remote and Physical Control
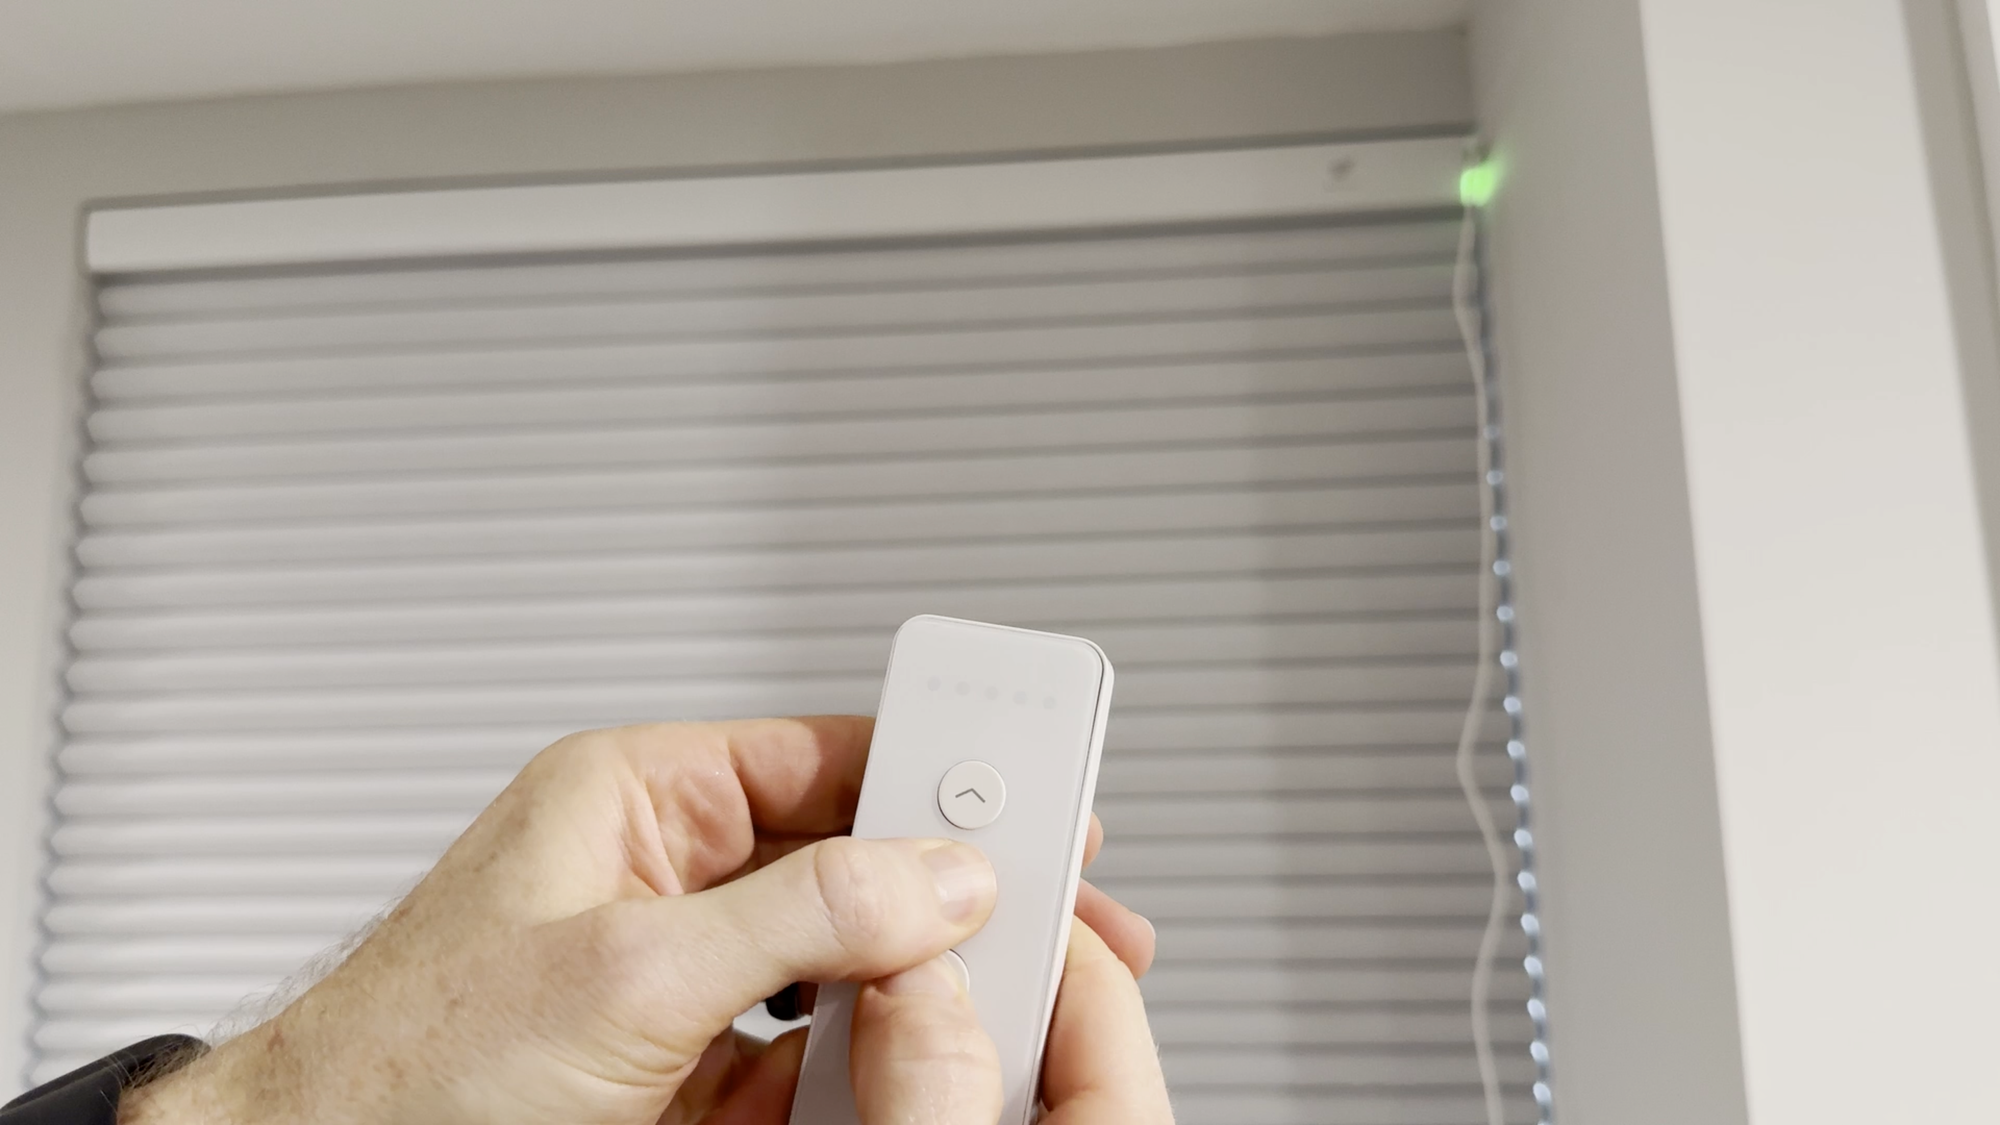
To control the shade, you first need to take it out of sleep mode, which is done by pressing a button on the shade. Then, you can start to use the included remote control, which arrived already paired with my shade.
On the remote control, you press the down button once and the shade goes all the way down. Or, press the up button once and it goes all the way up. You can press the stop button to pause the shade’s movement at any point.
If you find that your shade is a bit long for your window, you can customize the bottom position to get the perfect fit. You can also set a favorite position, such as 20% of the way down, which I did to avoid seeing the solar panel on the window.
But you don’t have to use the remote control. You can also press a physical button on the shade to open and close it. Thankfully, it’s reasonably quiet when opening or closing the shade, maxing out around 55 decibels. Let’s hear what it sounds like.
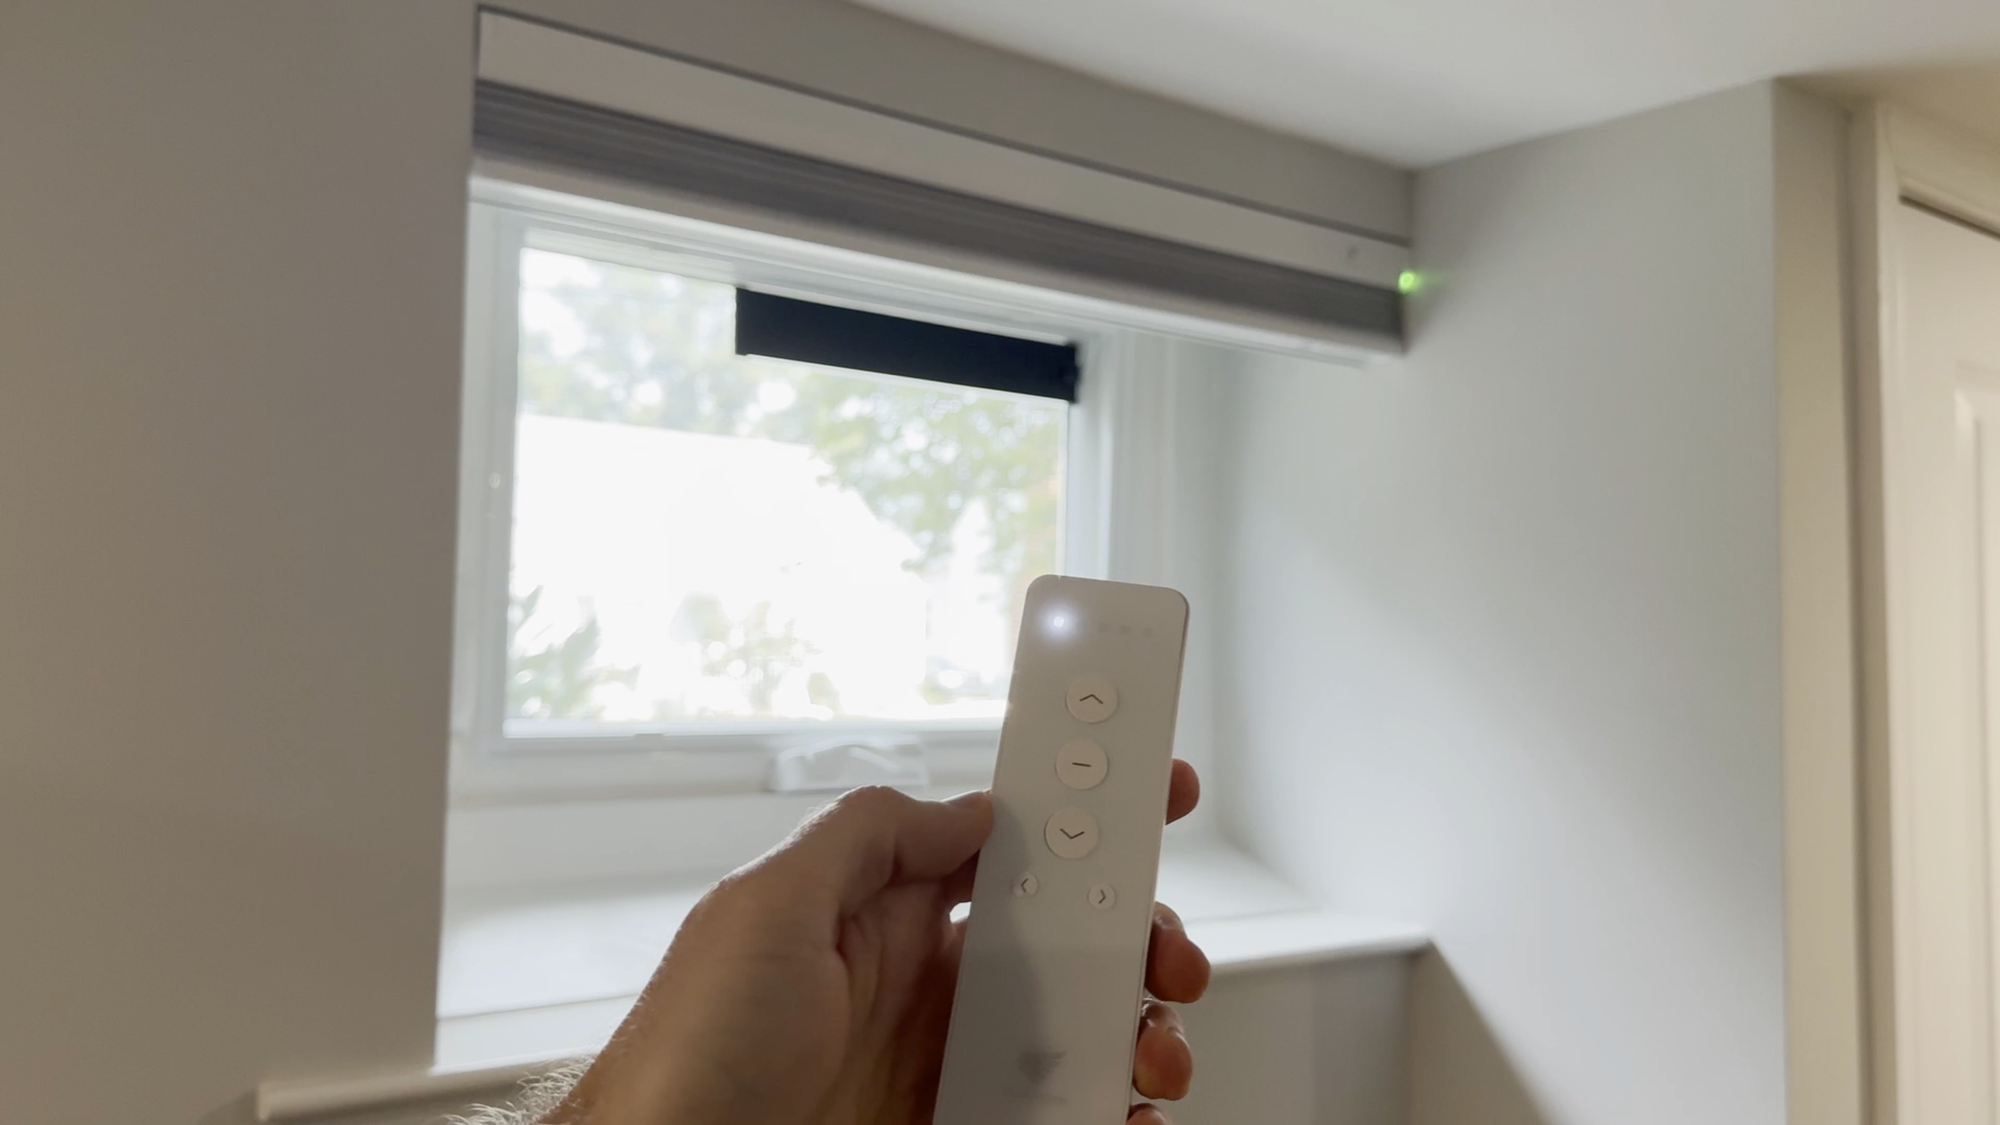
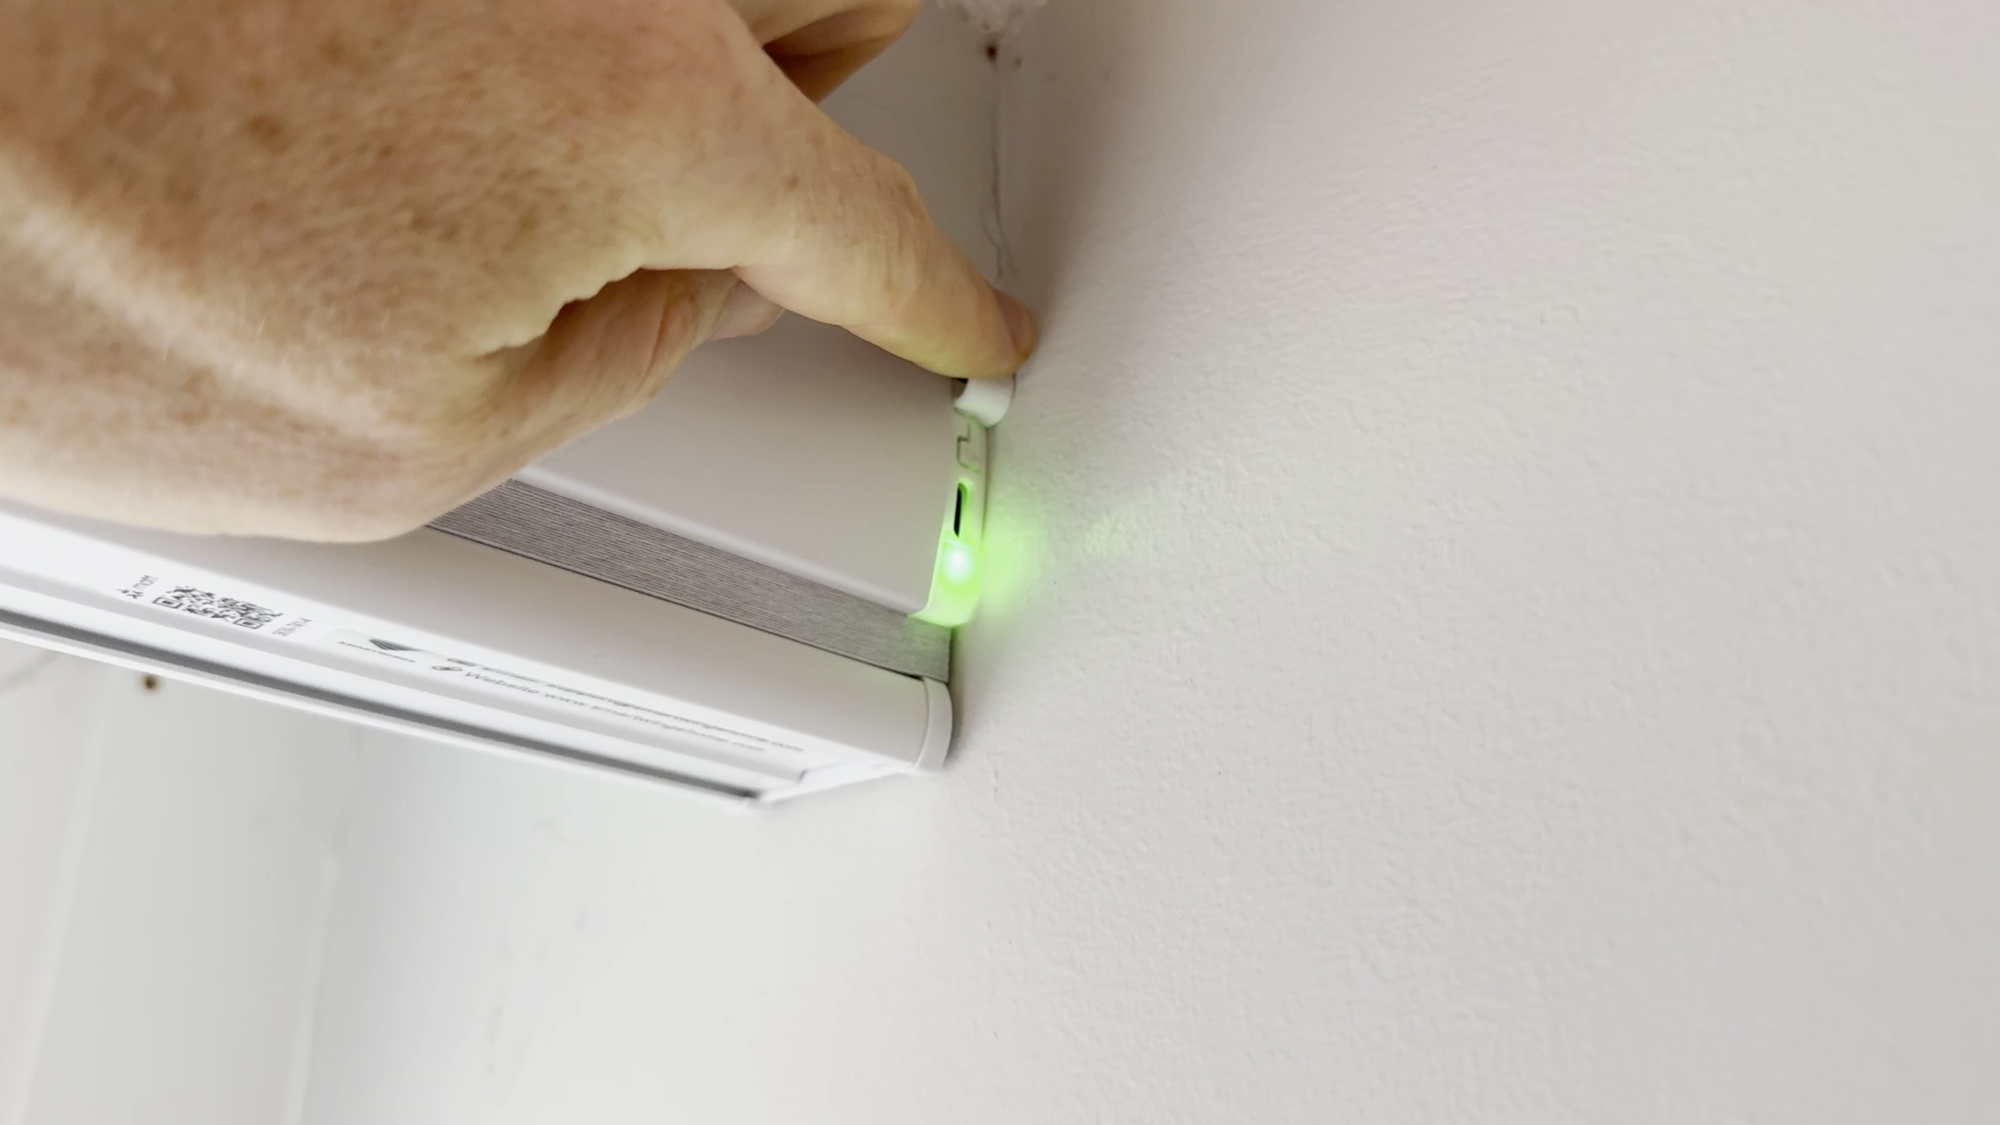
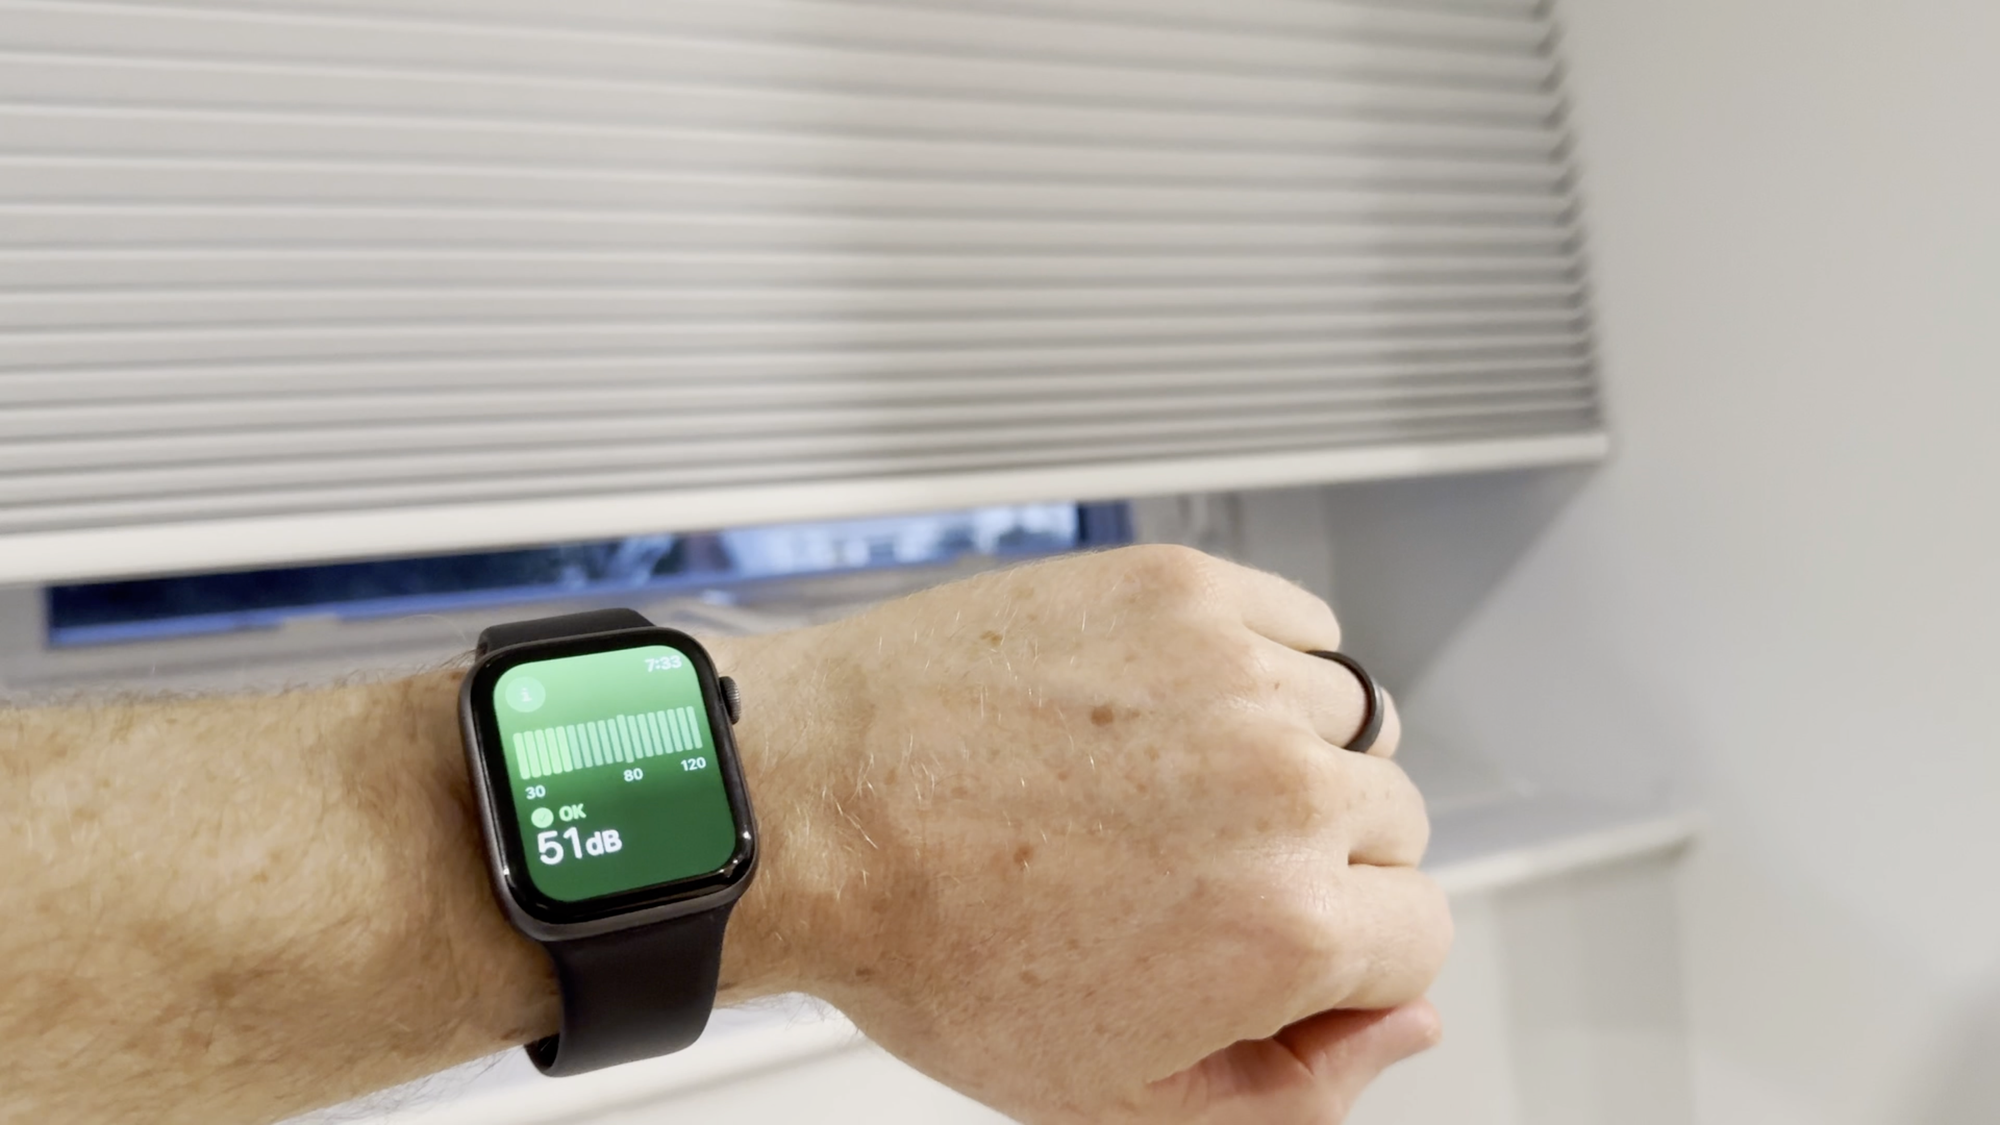
You can control SmartWings Motorized Blackout Shades with a remote control or a physical button
Smart Home Setup
If you’re buying a motorized shade, chances are you are interested in connecting it to your smart home. Since I got the Matter-over-Thread motor, it works with all smart home systems, including Amazon, Apple, Google, Home Assistant, and SmartThings. I’m going to focus smart home setup on Apple HomeKit and Home Assistant. Thankfully, it’s super easy, and no third-party app is required.
Apple HomeKit
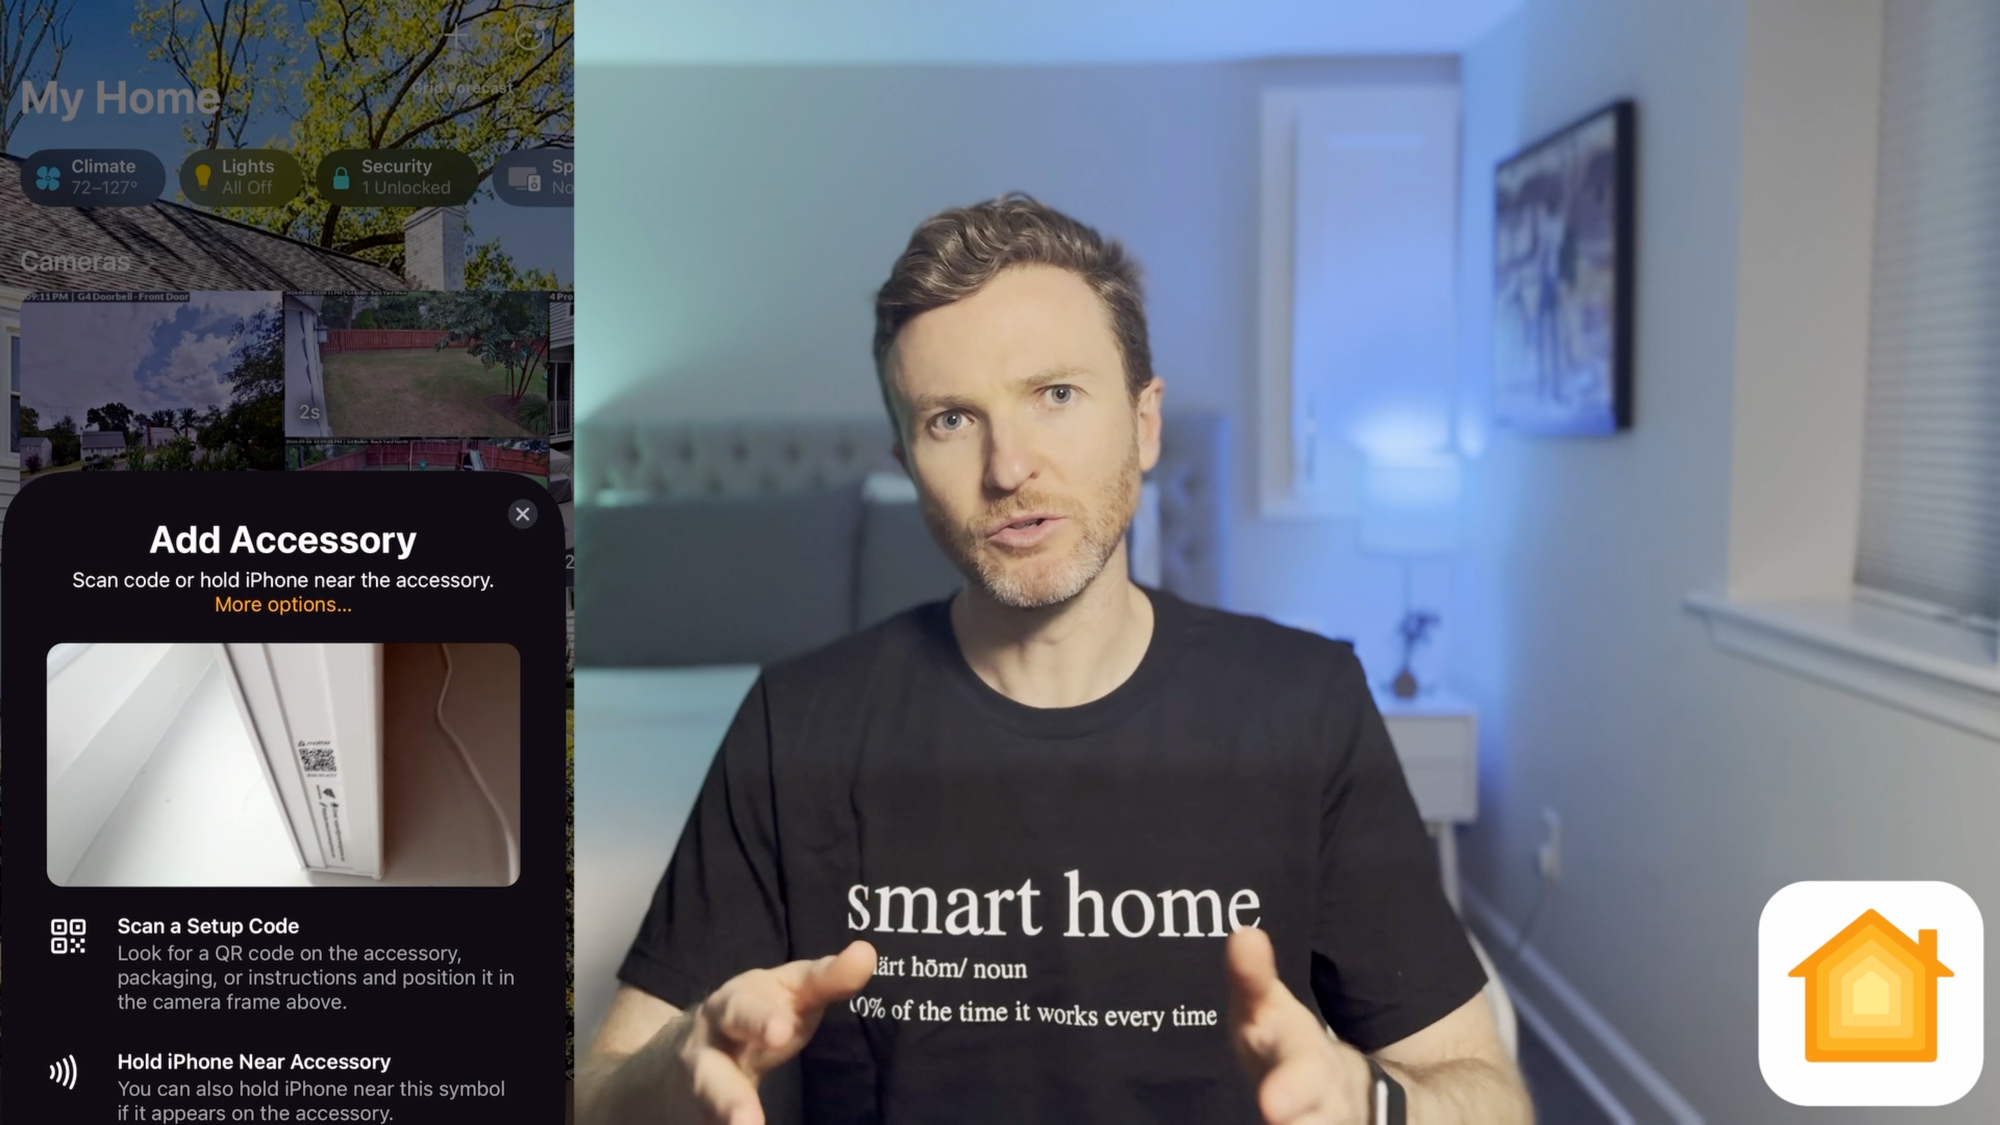
I first added the shade to Apple HomeKit. To do this, just open the Apple Home app, choose Add Accessory, scan the setup code printed on the shade, and it’s ready to use in Apple Home.
Home Assistant
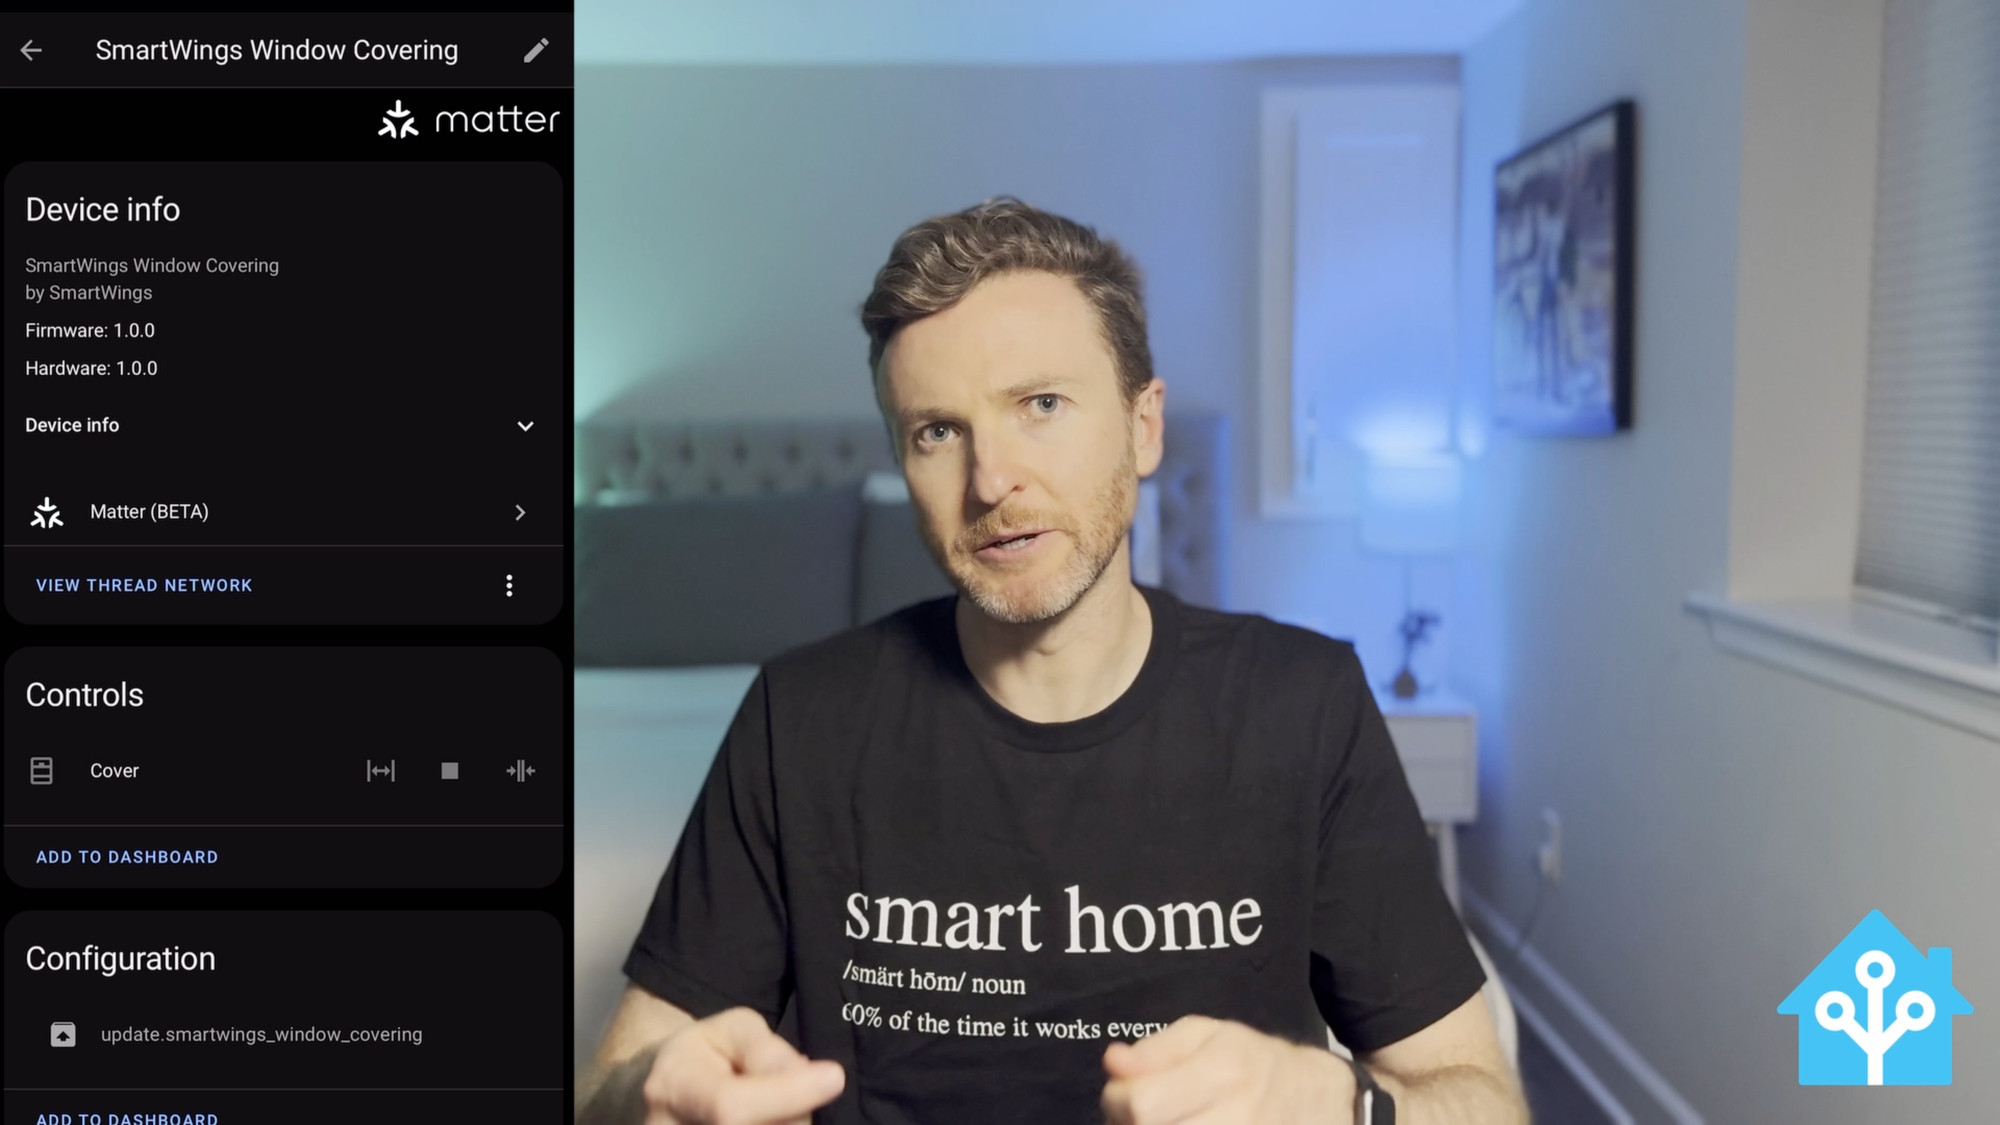
Then, I added it to Home Assistant. To do this, go to Settings > Devices & services > open the Matter integration > click Devices > then Add Device. Since I already added the shade to Apple Home, I selected “Yes. It’s already in use.” Then, I clicked Apple Home. From there, I found the shade in the Apple Home app, clicked the settings icon, and then chose Turn on Pairing Mode. Copy and paste that code into Home Assistant, and click Add Device.
App and Voice Control
Now, I can control my shade using either the Apple Home or Home Assistant app, or with voice using Siri. From either app, just tap once to open or close the shade. Or, you can partially open or close it, choosing any desired position. You can also see the battery percentage of the shade’s motor from either app, which is really helpful.
But I can also use my voice. Since I named mine “Basement Shades,” I can tell my voice assistant, “Open (or close) the basement shades.” Whether using app or voice, the delay is minimal between giving the command and seeing the command executed.
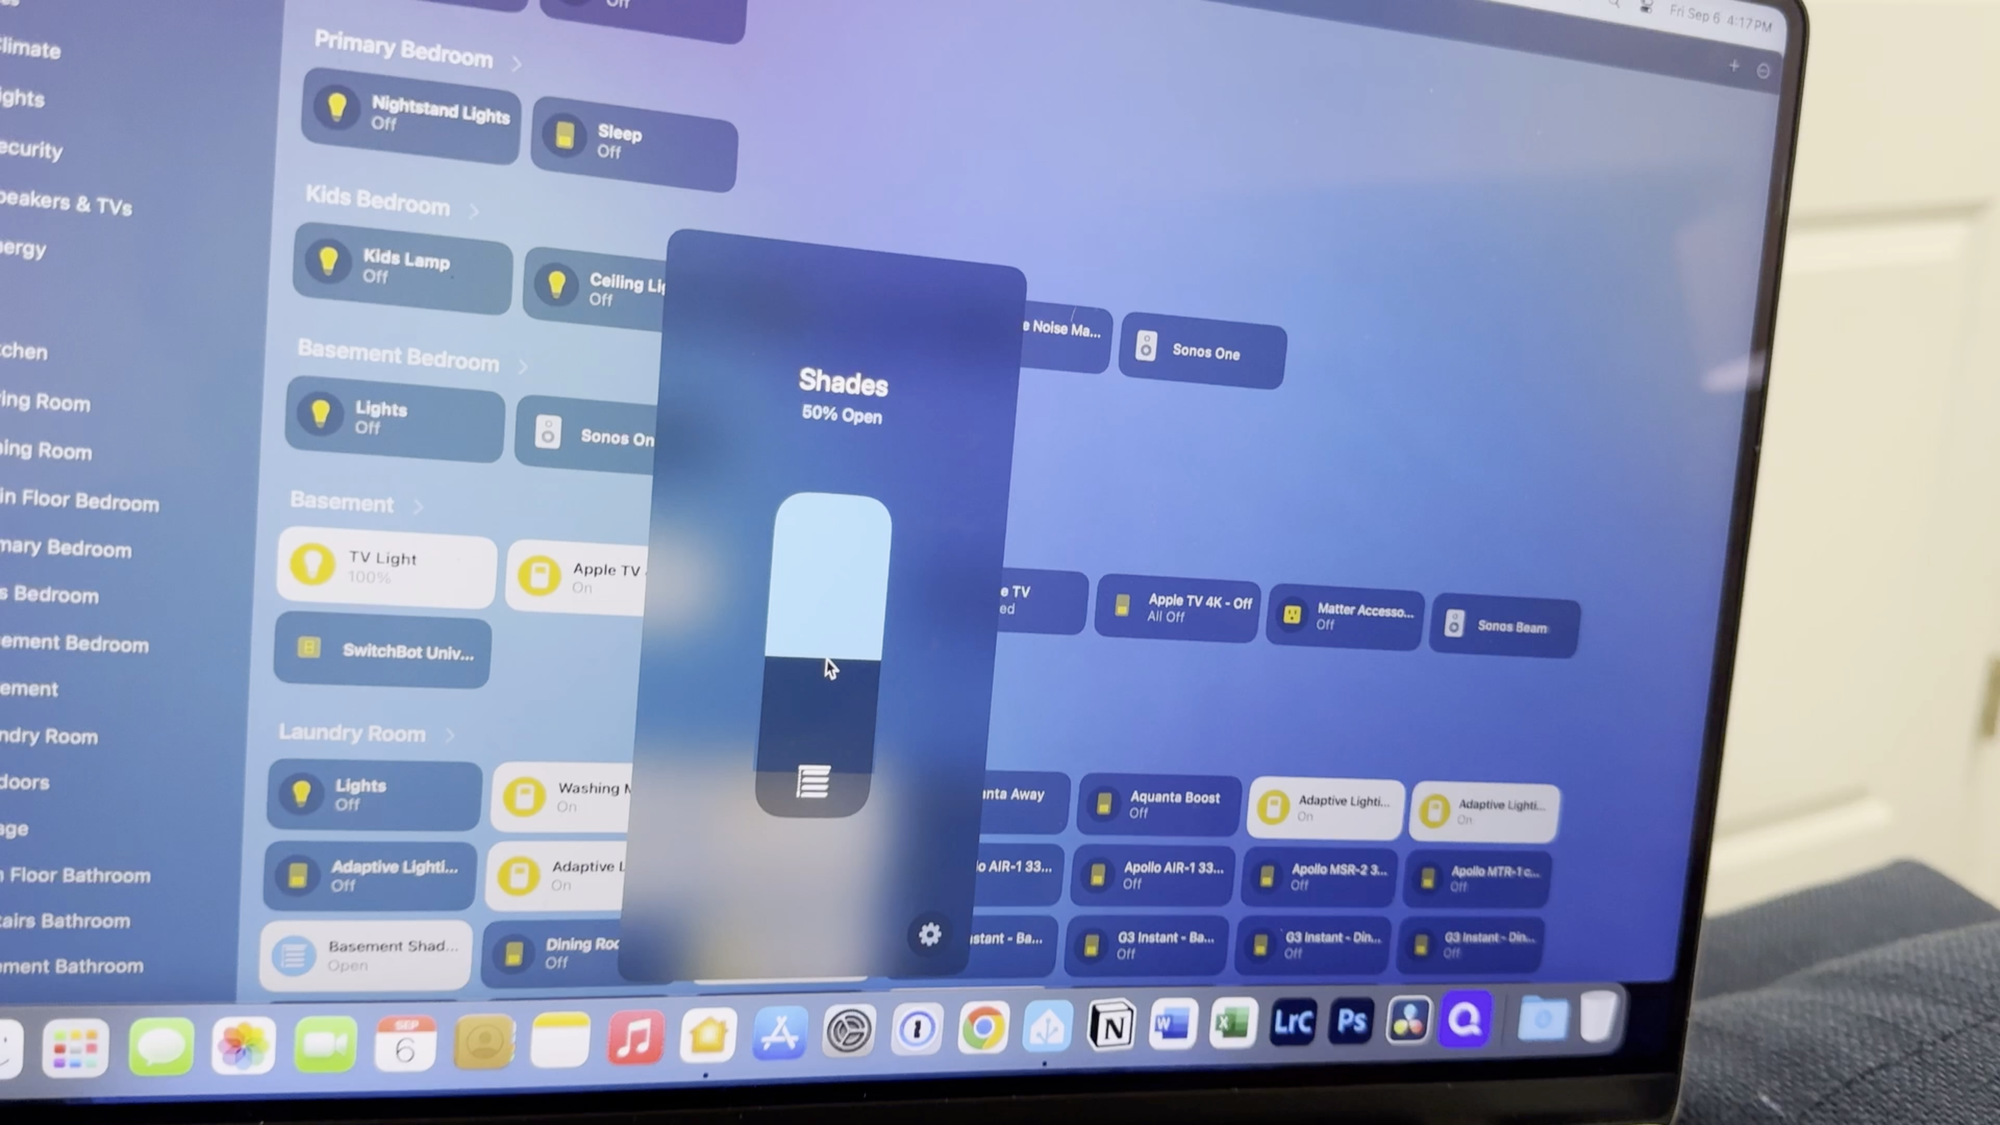
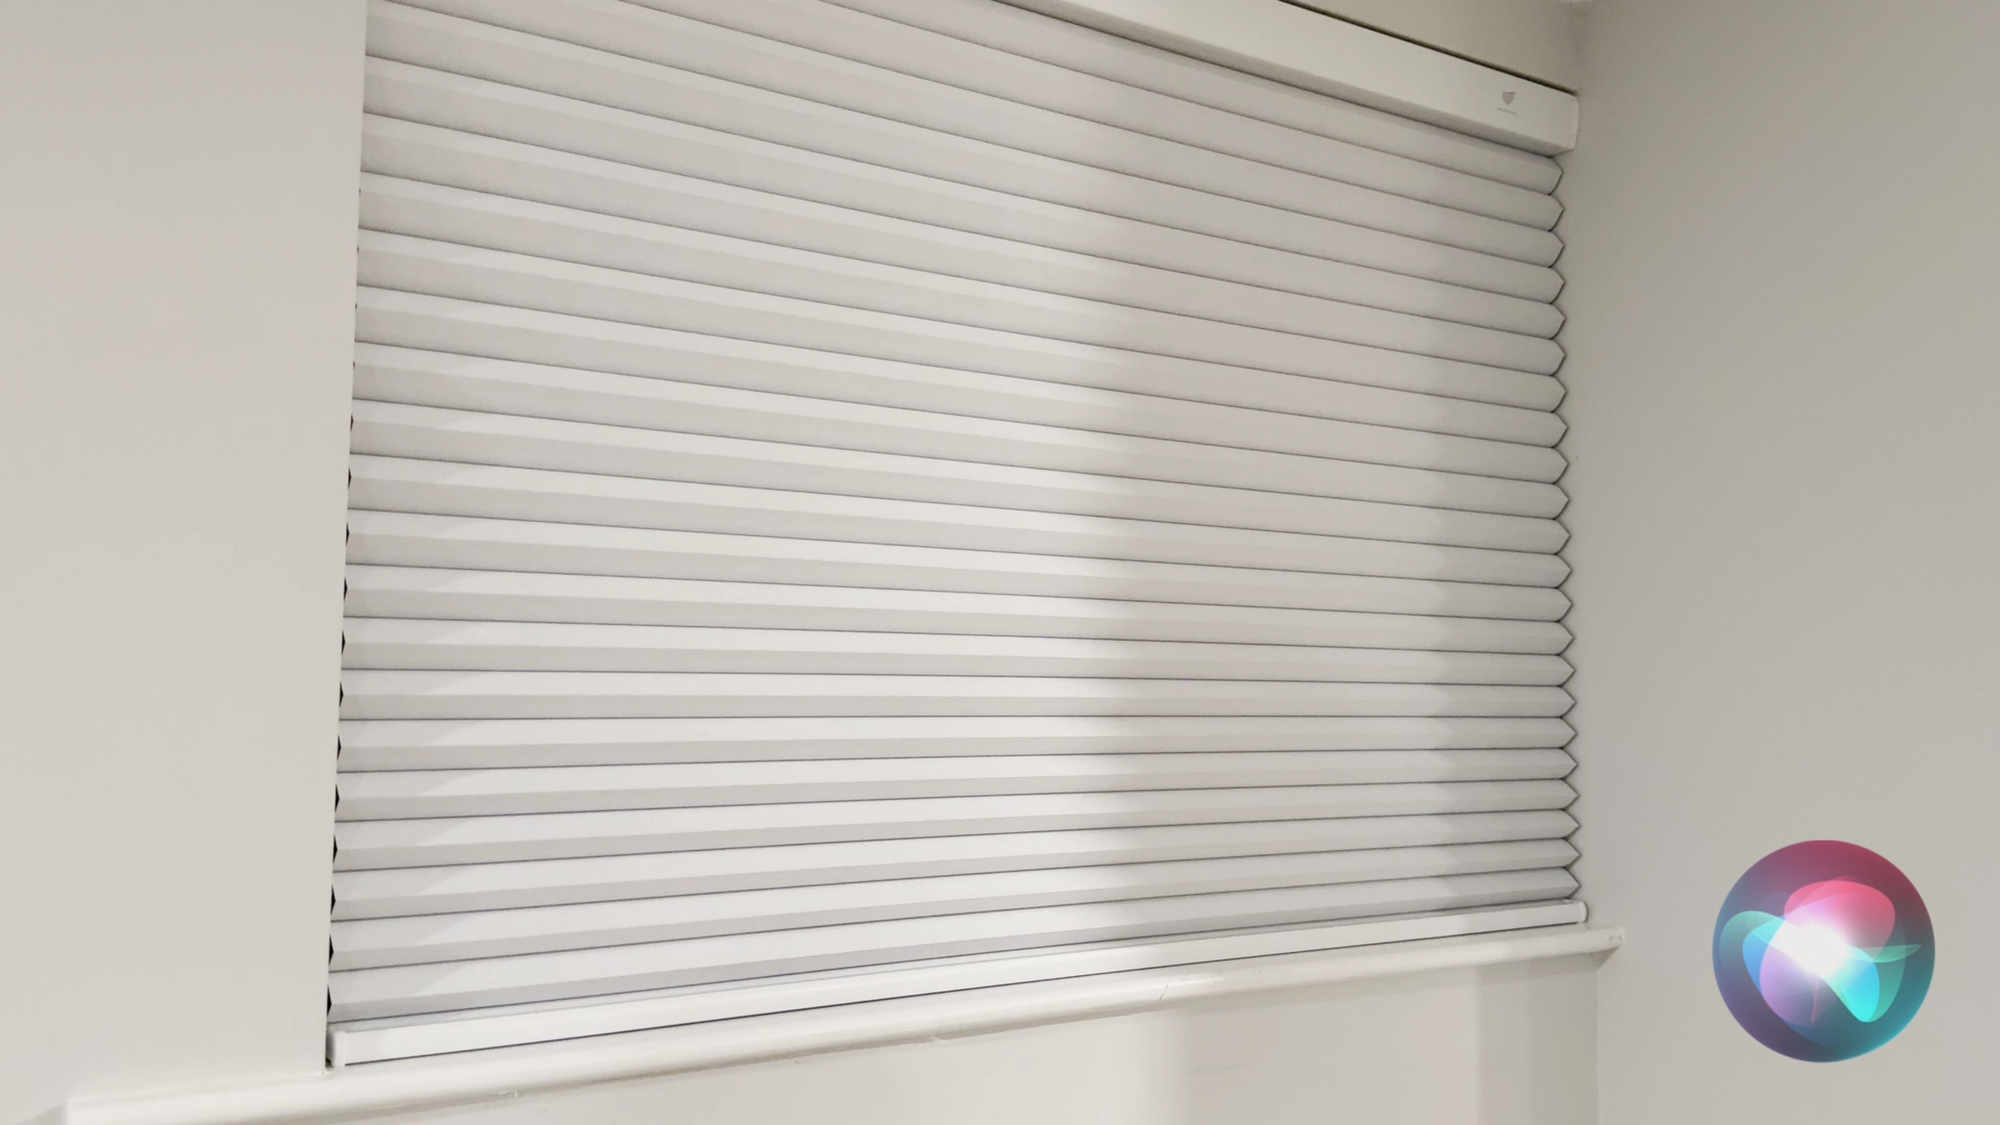
You can control SmartWings Motorized Blackout Shades with a smart home app or with your voice
Home Automations
I created an automation in Home Assistant for opening and closing this shade. When we are home, the shade will open at sunrise, and close at sunset. If we’re watching TV in the evening, the basement light turns off and the shade closes to create a simple theater mode. This is especially helpful on summer nights when the sun sets much later in the evening.
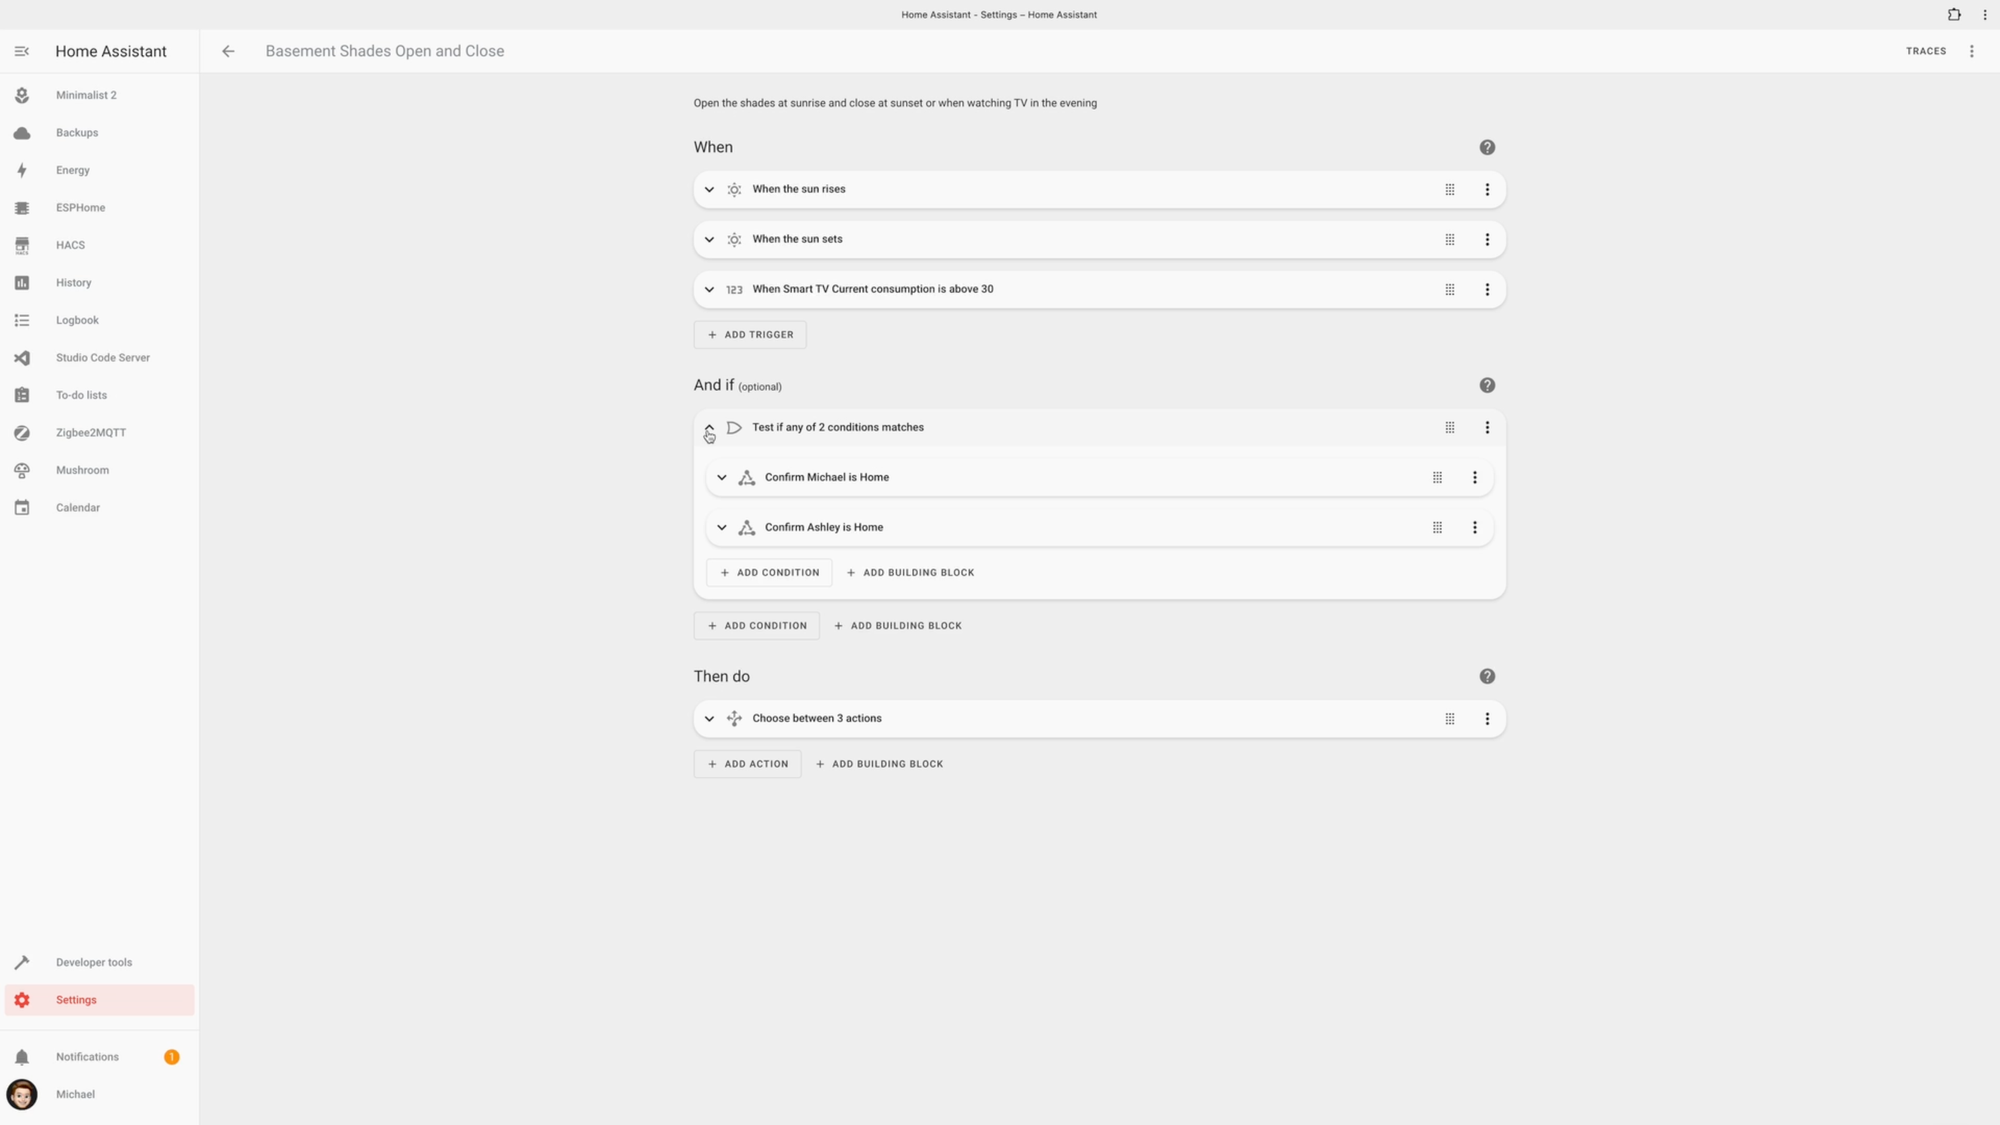
But there are lots of other home automation ideas. You can have the shades open or close when motion is detected in a room or when no presence has been detected for a certain time. Or, you could have the shades close when the outdoor temperature gets especially high to keep the room cooler and cut down on energy usage.
Buying Guide
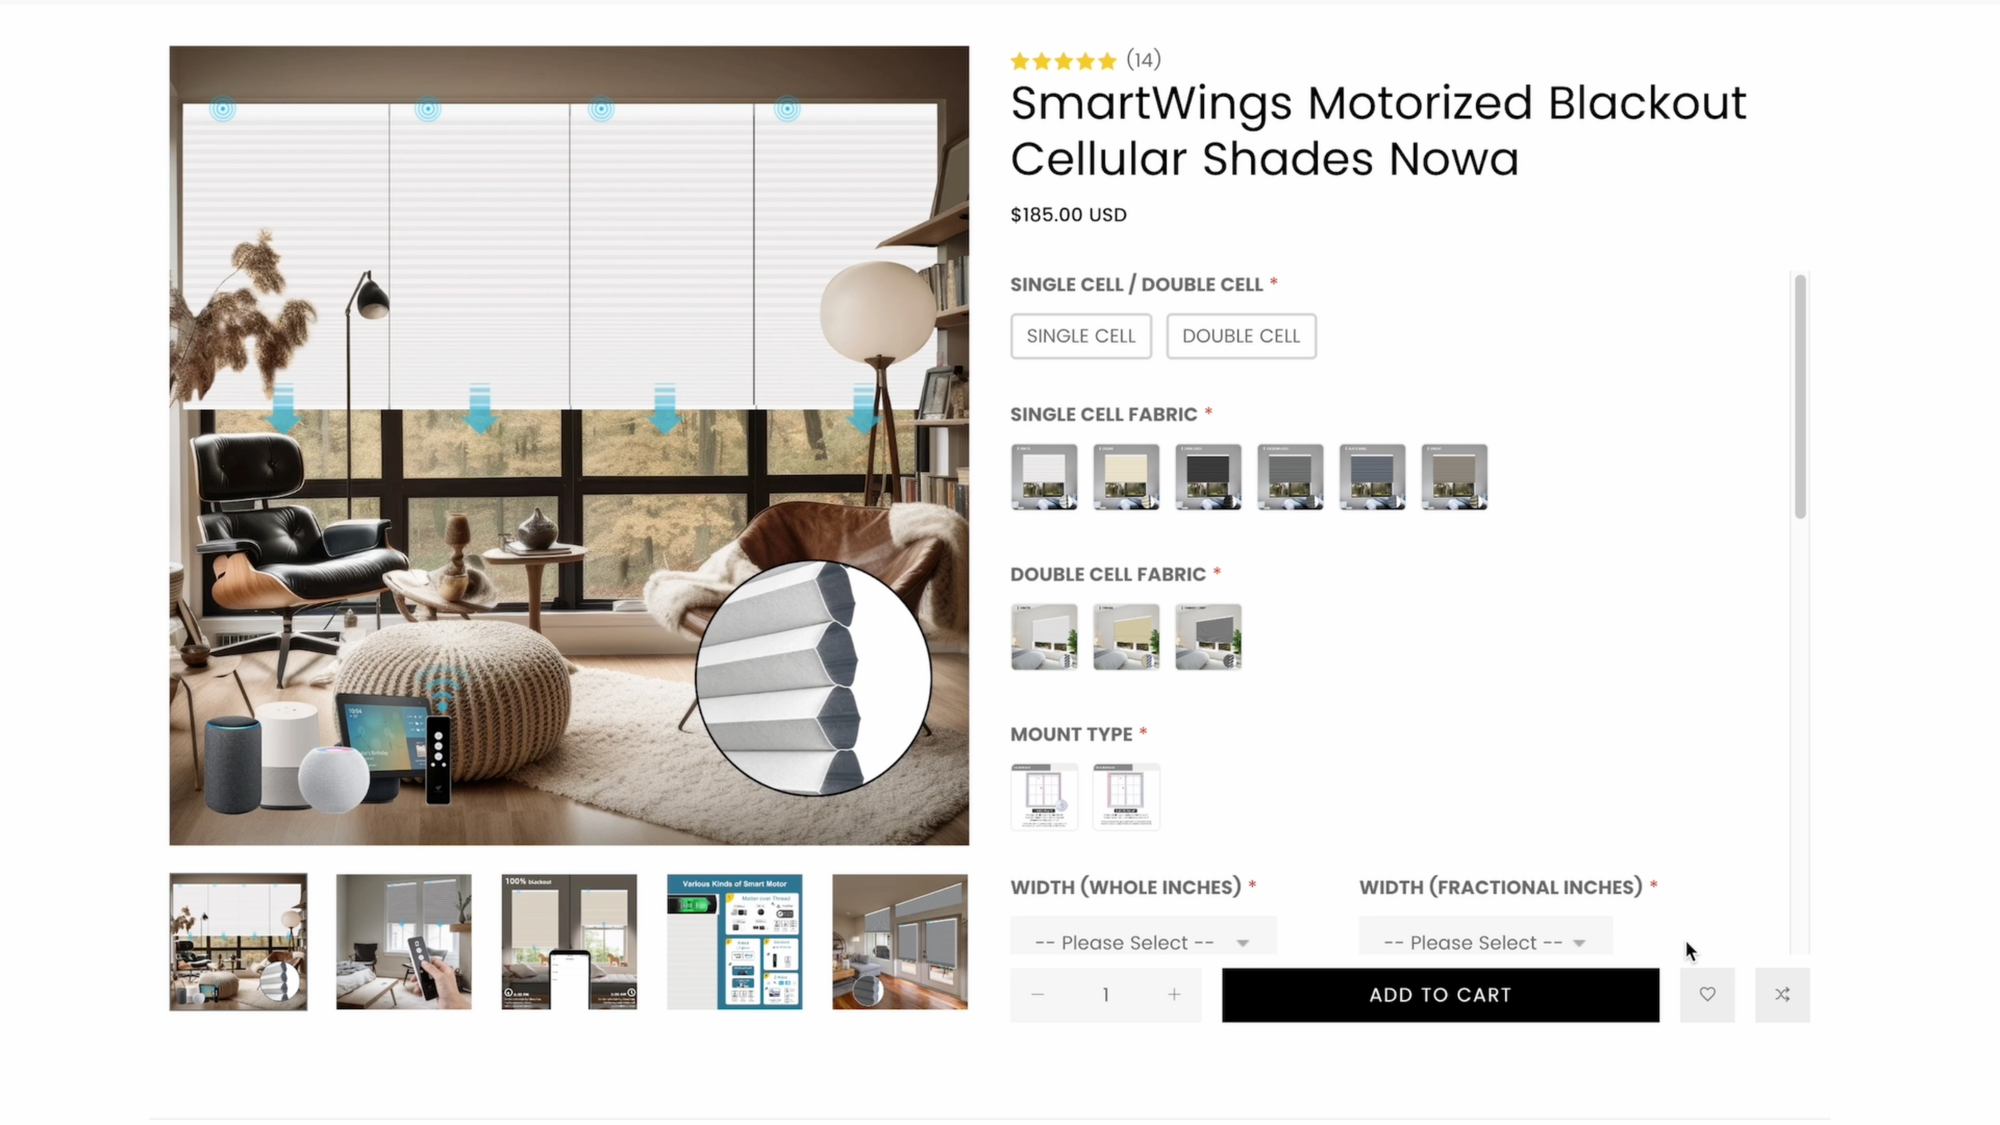
If you’re interested in smart, motorized shades, SmartWings has tons of styles and options to choose from. You can choose among roller, cellular, and several other styles. I went with cellular shades, since that’s the style of all the other shades in our home.
Within cellular, you can choose light filtering to allow some light to pass through, or 100% blackout as I did. Blackout is great for bedrooms or home theaters. In addition, you can choose between a bottom down, or top down bottom up shade, and also between single and double cell. The fabric comes in several colors to match your home decor. You’ll also need to choose if you want it to be an inside or outside mount. This will likely be determined by the window frame in your home, and how much space you have to work with. My setup on this window is an outside mount, and SmartWings provides guidance for this on their website. Probably the most important part of the entire process is just measuring your window. I recommend measuring at least three times to ensure you have the right dimensions.
With that out of the way, you can select your motor type. Options may include Zigbee, Z-Wave, and Matter-over-Thread. Any of those would be a solid option for local control, but I went with Matter-over-Thread. You can also choose the color of the top hardware, decide if you’d like to add a solar charger, and what type of physical remote you’d like. I just have the basic 5-channel remote since I primarily control the shade through home automations.
What to Improve
There are a few things that I think could be improved:
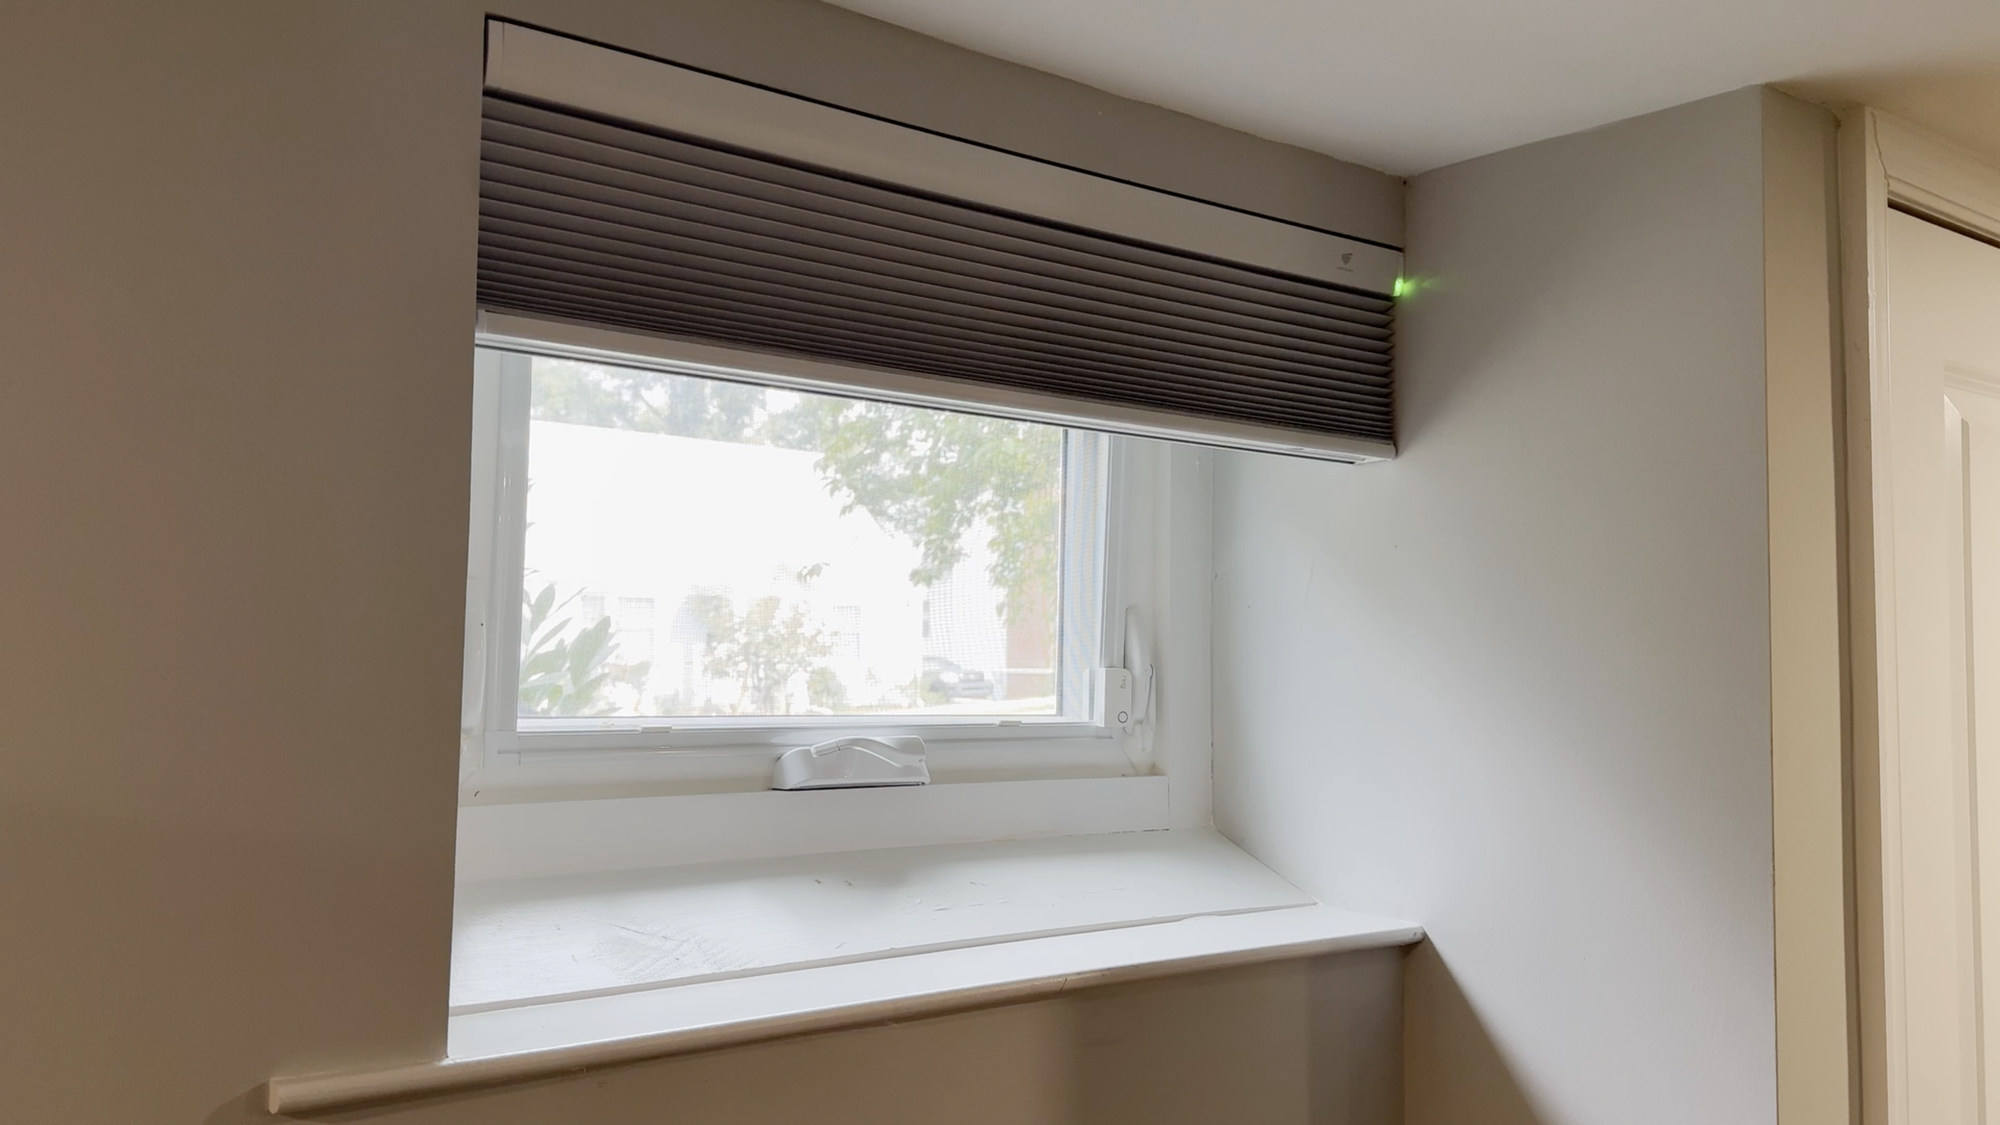
- Branding: The hardware on top of the shade has a SmartWings logo. I don’t want to see a brand logo on my shades. Fortunately, it’s subtle, but I wish SmartWings would remove this. Motorized shades themselves may be a conversation piece if you have guests over; you don’t need a logo on there.
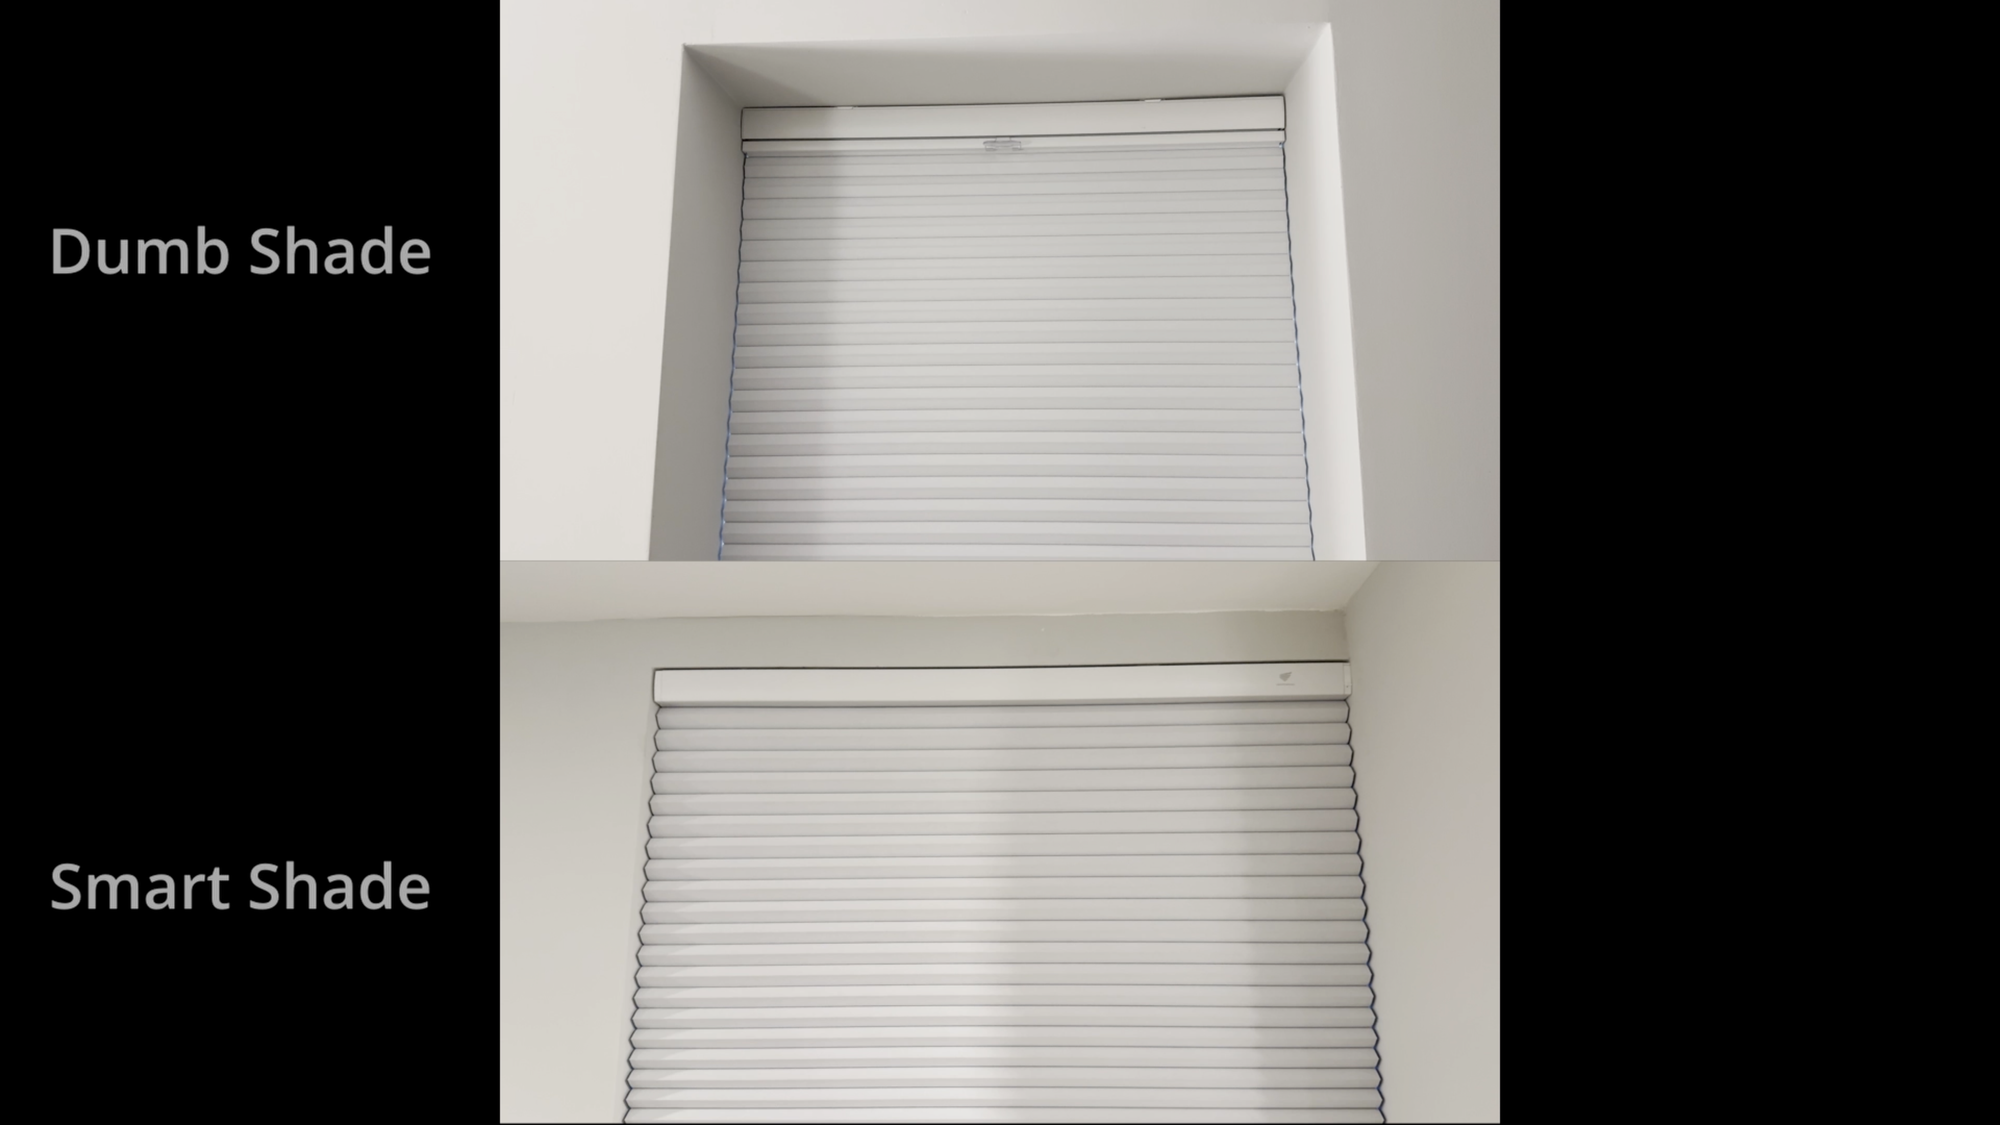
- LED: I wish there was an option to disable the charging light. There is an LED in the top hardware that flashes green when charging, either on USB-C or solar. I want my shades to disappear into the background, and a blinking light is not subtle. I also think a blinking light would be annoying in a bedroom. If there is someway to disable this that I have not figured out, please let me know in the comments. Without the SmartWings logo and charging light, you wouldn’t even know this is a smart shade. It looks like any other white cellular blackout shade in our house, and that’s a good thing.
- Button: The last thing I wish was different is the physical button. As mentioned, you can open and close the shade by pressing a small button on the top hardware. In theory, this is great so you don’t have to rely on locating the remote control, or fiddling with an app or voice command. But, the tiny, physical button may be difficult to reach for anyone who is shorter. I wish the shade had a transparent grab handle at the bottom like our other cellular shades, such that giving it a slight tug up or down would initiate the motor.
Final Thoughts
The shade configuration that I chose was $374. The cost is influenced by several factors, including the window size, shade style and materials, and motor and remote control type, so your selection might cost less, or more.
Lutron Serena is probably the gold standard for top-of-line motorized shades. But they are expensive. For context, the equivalent shade from Lutron Serena cost $497, or $123 more than SmartWings. If you’re covering 10 or 20 windows, you could save thousands by going with SmartWings.
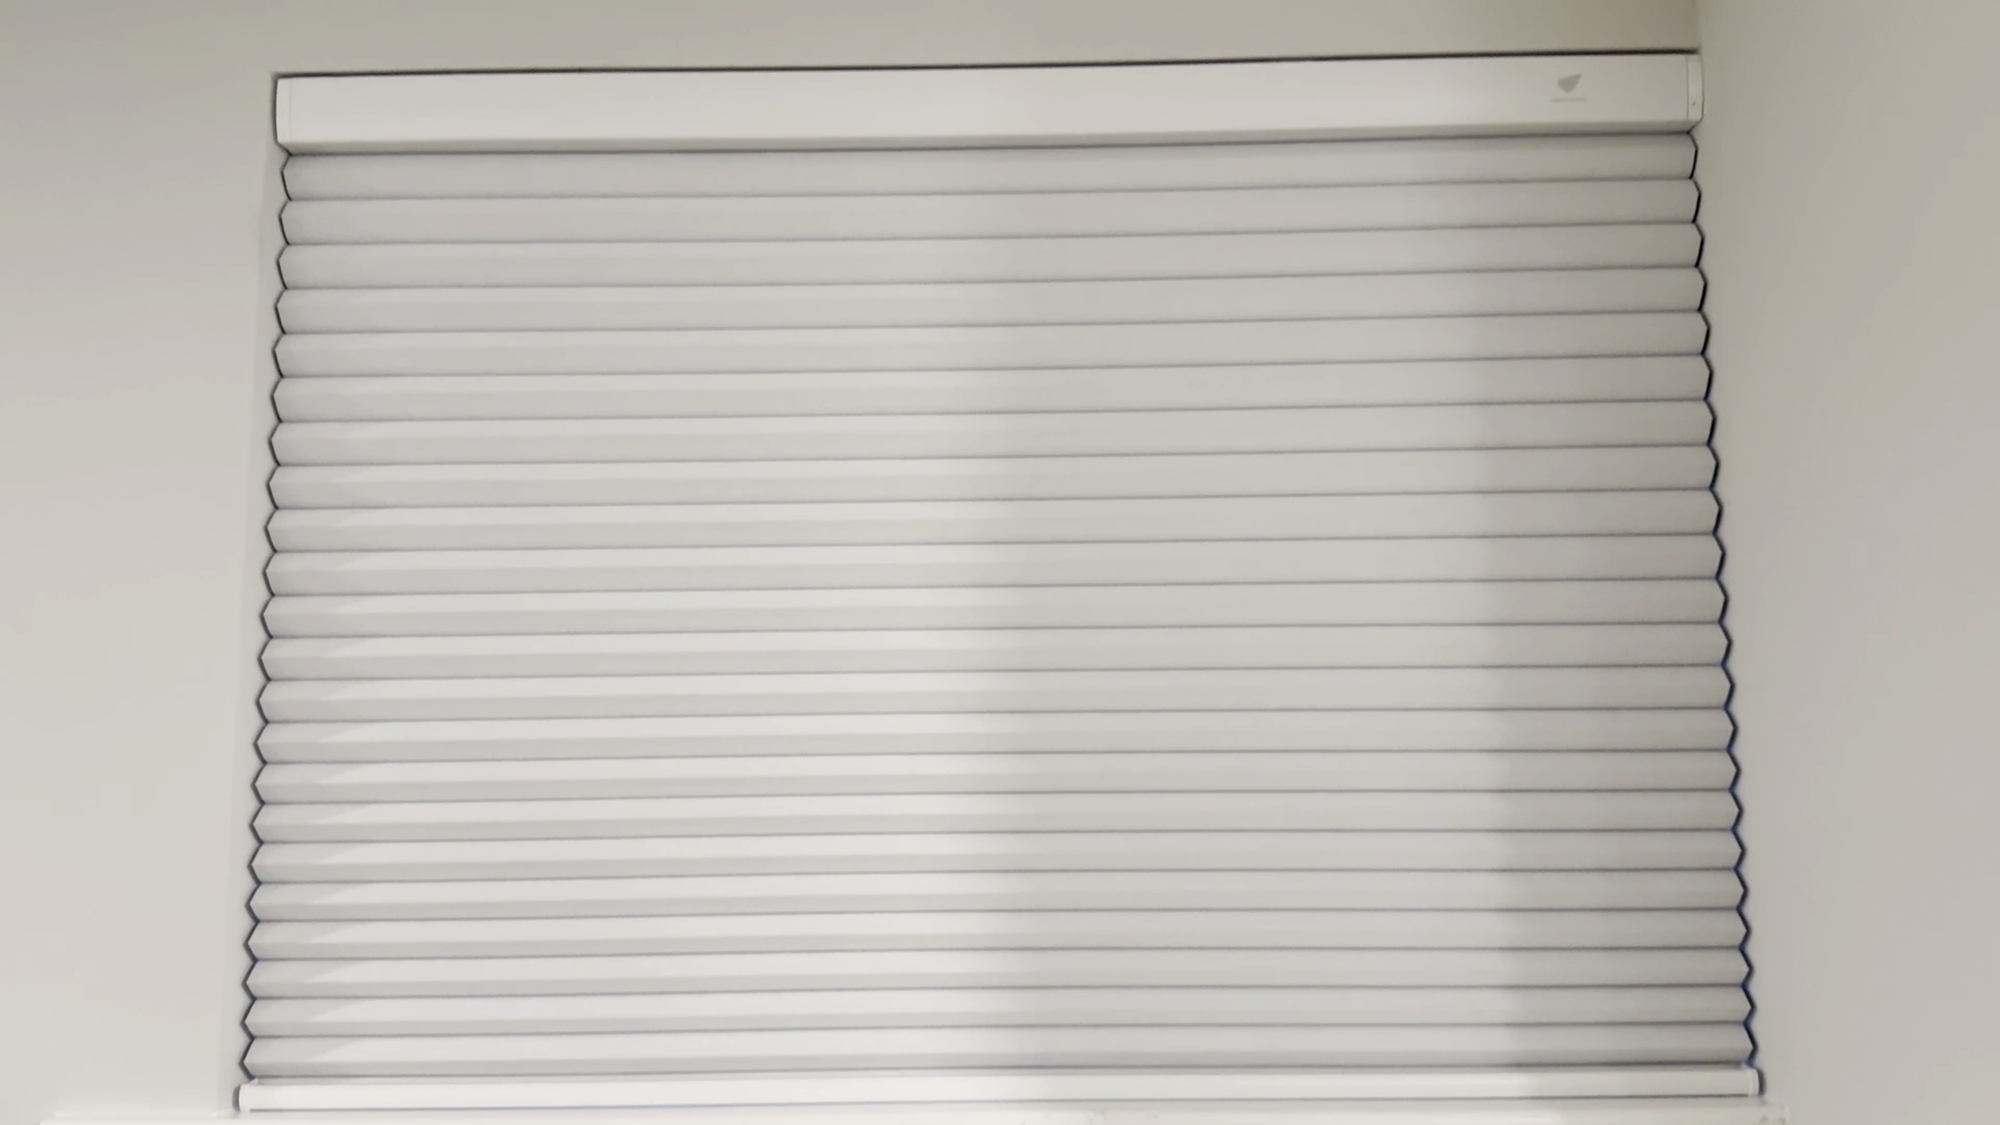
My wife and I both agree that the shade looks great, and is practically identical to the custom shades we have everywhere else in the home. I love how the Matter-over-Thread motor keeps my data local, and integrates quickly with any smart home platform for app and voice control, and for creating home automations. Motorized shades take an everyday, manual task that I do each morning and evening, and automates so it’s one less thing that I have to worry about it. Plus, there’s just something cool about seeing shades open and close automatically.
Watch on YouTube
Featured Tech
SmartWings Motorized Blackout Cellular Shades Nowa with Matter-over-Thread
https://go.michaelsleen.com/smartwings-motorized-shades