How to Install Home Assistant on a Raspberry Pi (2025 Guide)
Step-by-step guide for installing the Home Assistant Operating System on a Raspberry Pi.

Introduction
Home Assistant is a powerful, open source, home automation platform. If you’re looking to try out Home Assistant, one of the first things you’ll need to do is install it. I’m going to show you step-by-step how to install the Home Assistant Operating System on a Raspberry Pi. If you rather install it on something more powerful, you can see my step-by-step guide here for installing Home Assistant on a mini PC.
Home Assistant has been powering my smart home for a long time. I’ve got hundreds of devices, and I’ve been through the installation process more than once. If you’re new to Home Assistant, my hope is that I can make it seem less daunting for you.
Main Points
Process Overview
There are 3 main steps to installing Home Assistant OS on a Raspberry Pi, and I’ll walk you through each of them.
- Write the image to an SD card.
- Connect and start up the Raspberry Pi.
- Access Home Assistant and complete the onboarding process.
If you run into issues at any point, make sure you see my troubleshooting tips toward the end of the video.
What You Need
To install Home Assistant on a Raspberry Pi, you’ll need four things:
- Raspberry Pi 4 or 5 with its power supply
- Micro SD card with at least 32 GB
- SD card reader if you don’t already have one in your computer
- Ethernet cable
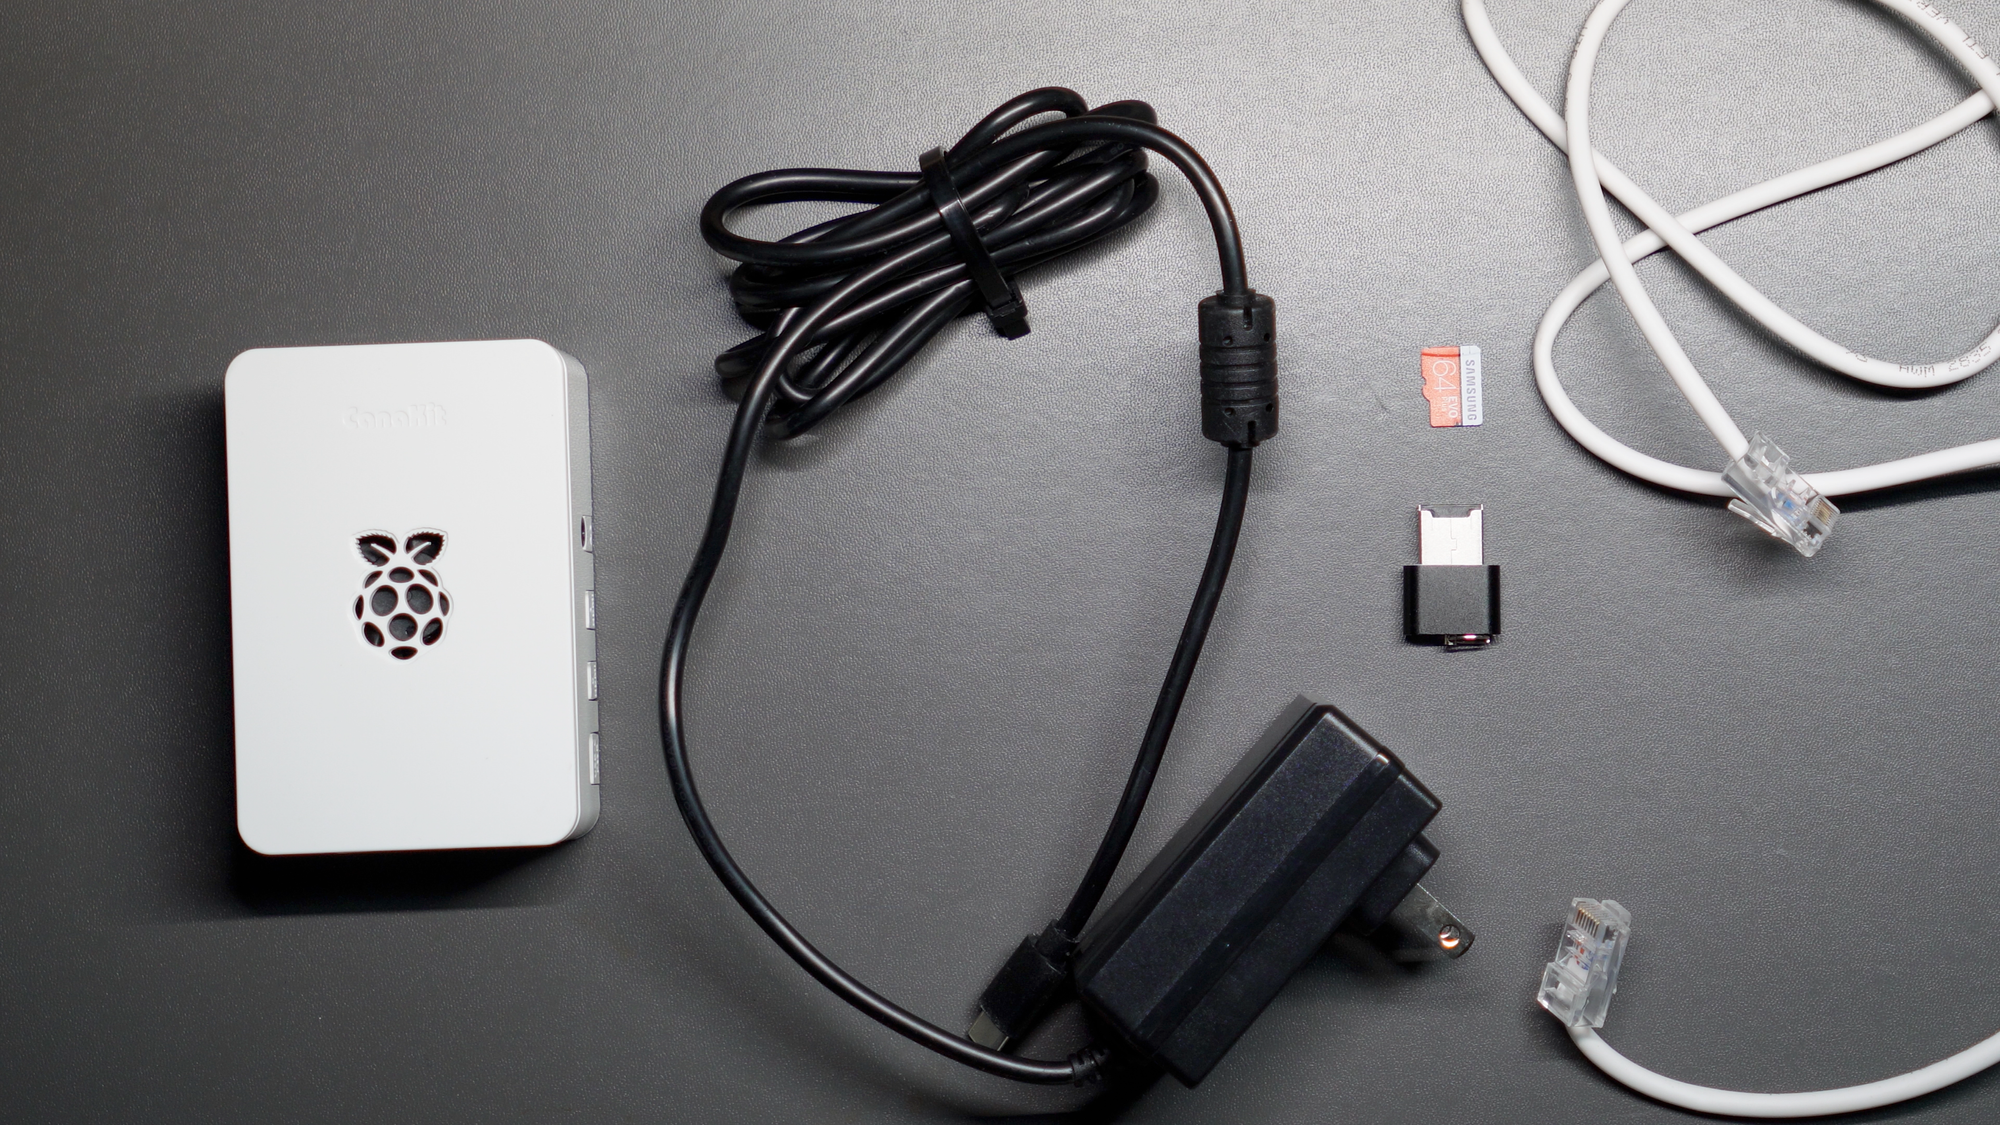
What you'll need to install Home Assistant on a Raspberry Pi
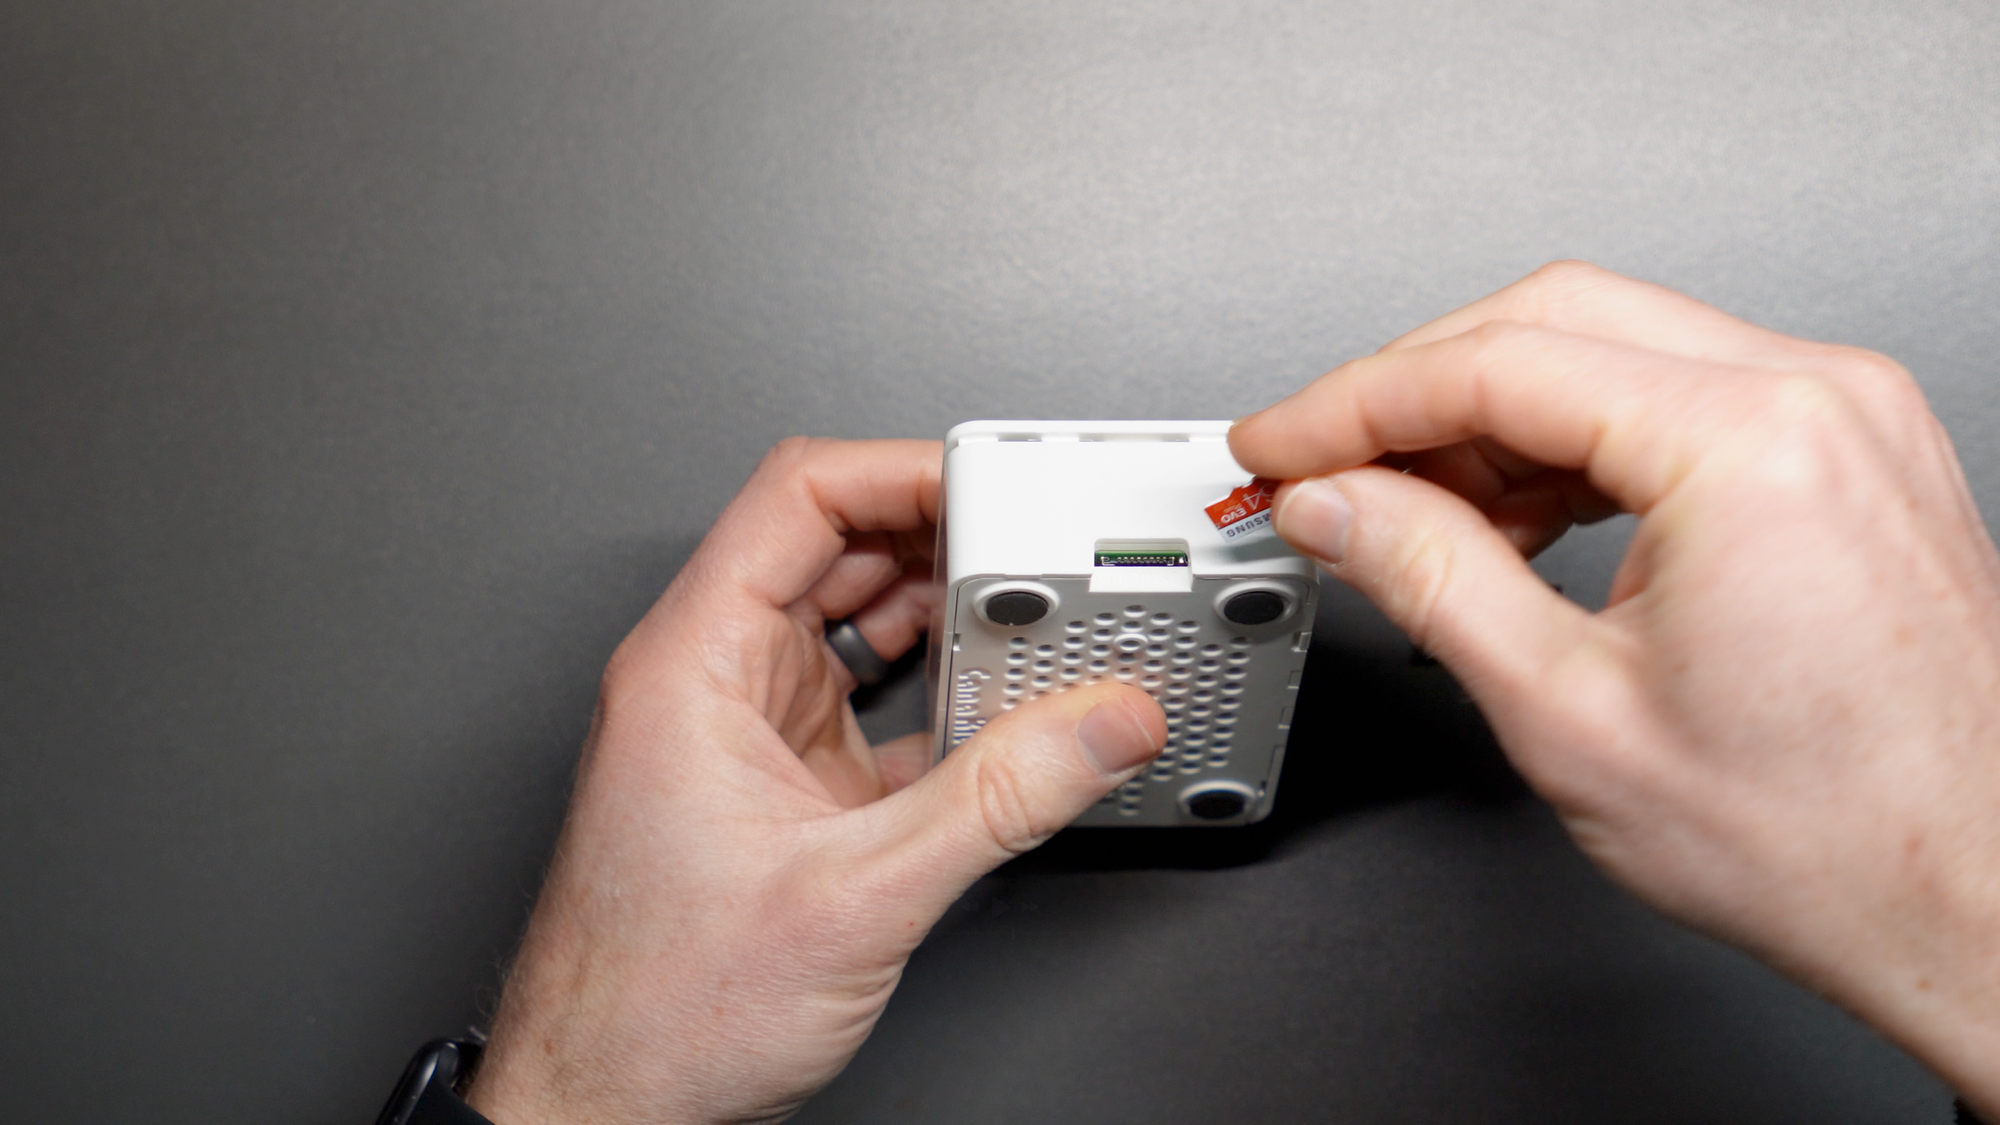
Writing the Image to the SD Card
To begin, download and install the Raspberry Pi Imager on your computer. Once downloaded, open it and select your Raspberry Pi device, such as a Pi 4 or 5. Then, you’ll need to choose the Home Assistant OS, which will be written to your SD card. Select Choose OS > Other specific purpose OS > Home assistants and home automation > Home Assistant. Choose the Home Assistant OS for your hardware. Now, sure the SD card is connected to your computer, and select it under Choose Storage. Keep in mind that all contents of the SD card will be erased during this process. Click Next, and wait for the Home Assistant OS to be written onto the SD card. Once complete, eject the SD card.
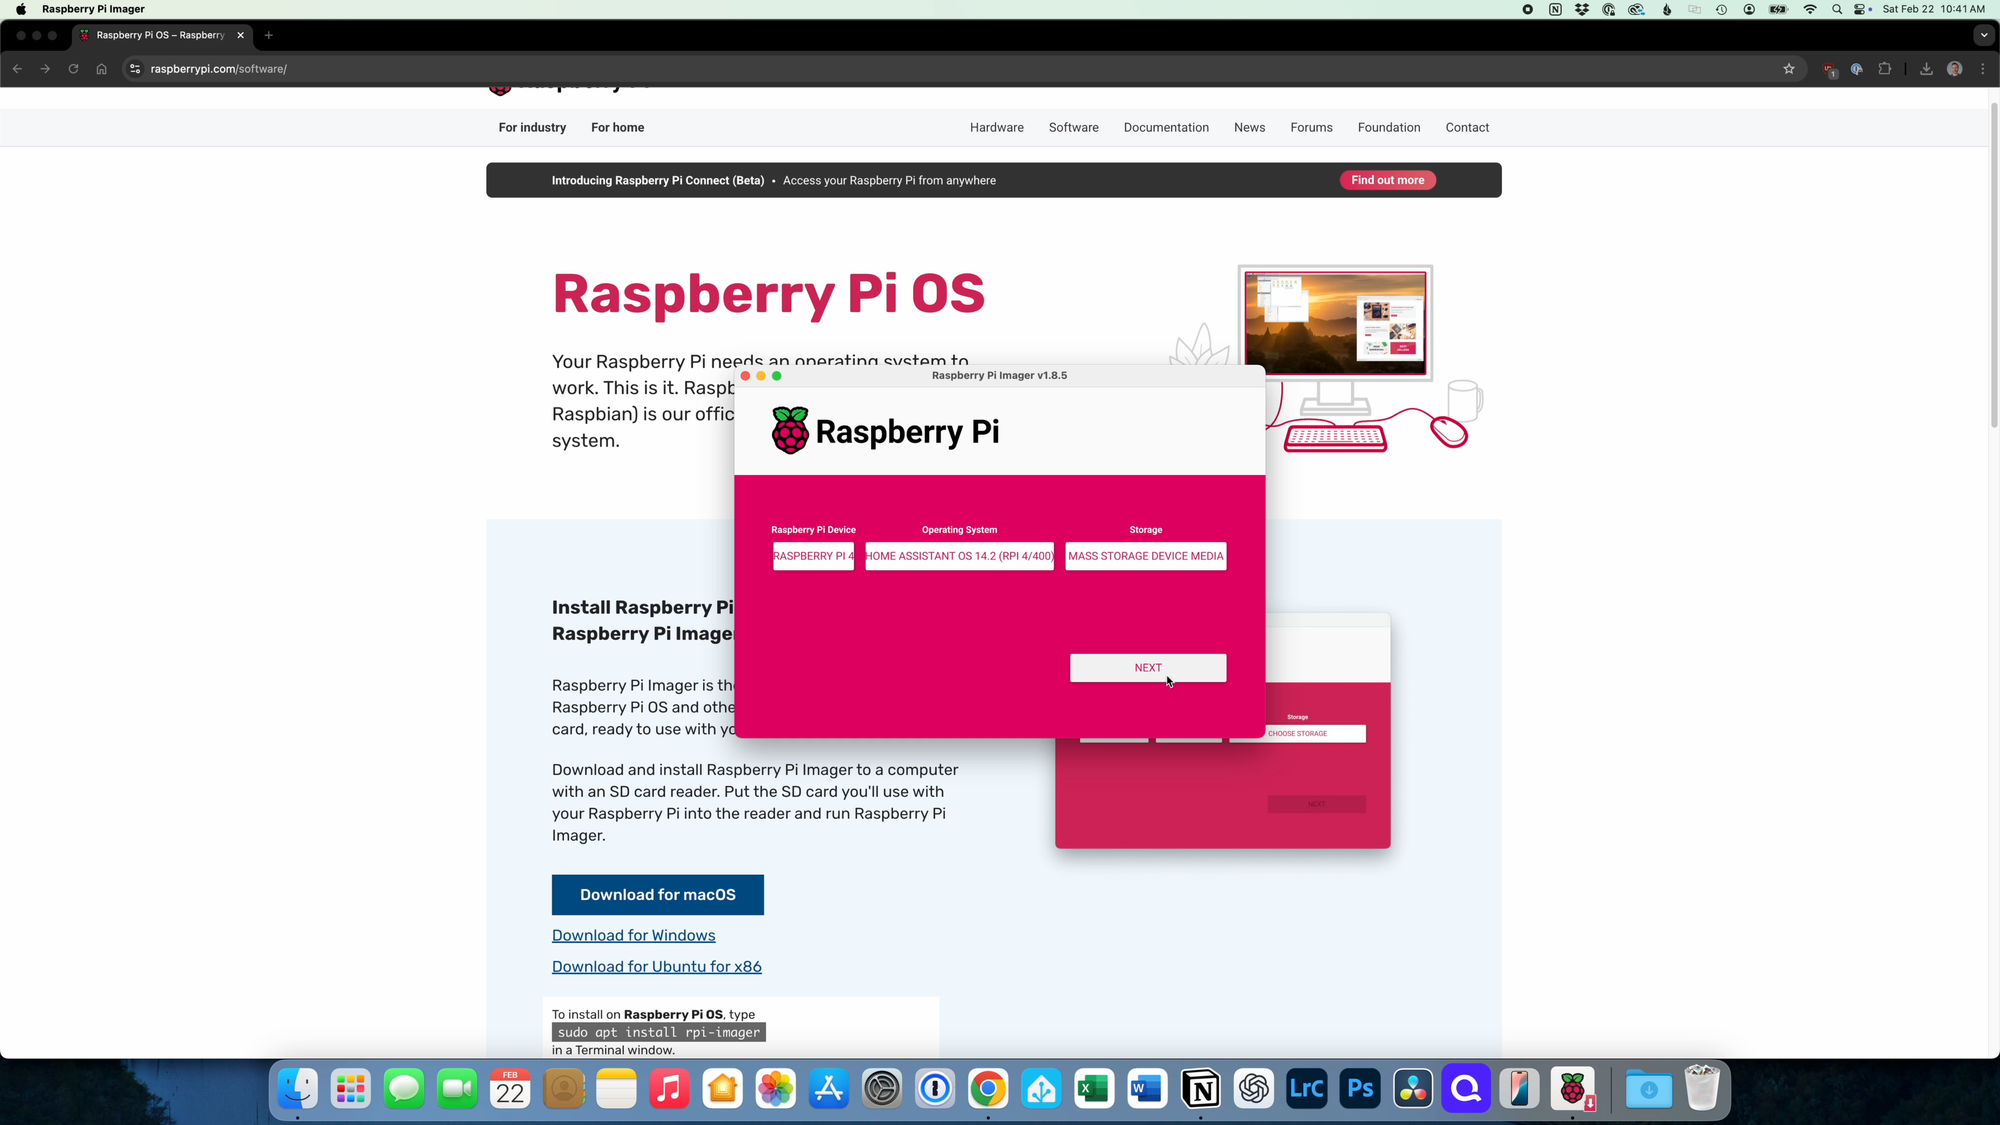
Using the Raspberry Pi Imager to write Home Assistant OS to an SD card
Starting Up the Raspberry Pi
Insert the SD card into your Raspberry Pi. Connect an Ethernet cable from your Raspberry Pi to your router or switch. This should be the same network as your computer. Then, plug in the power supply to power on the device.
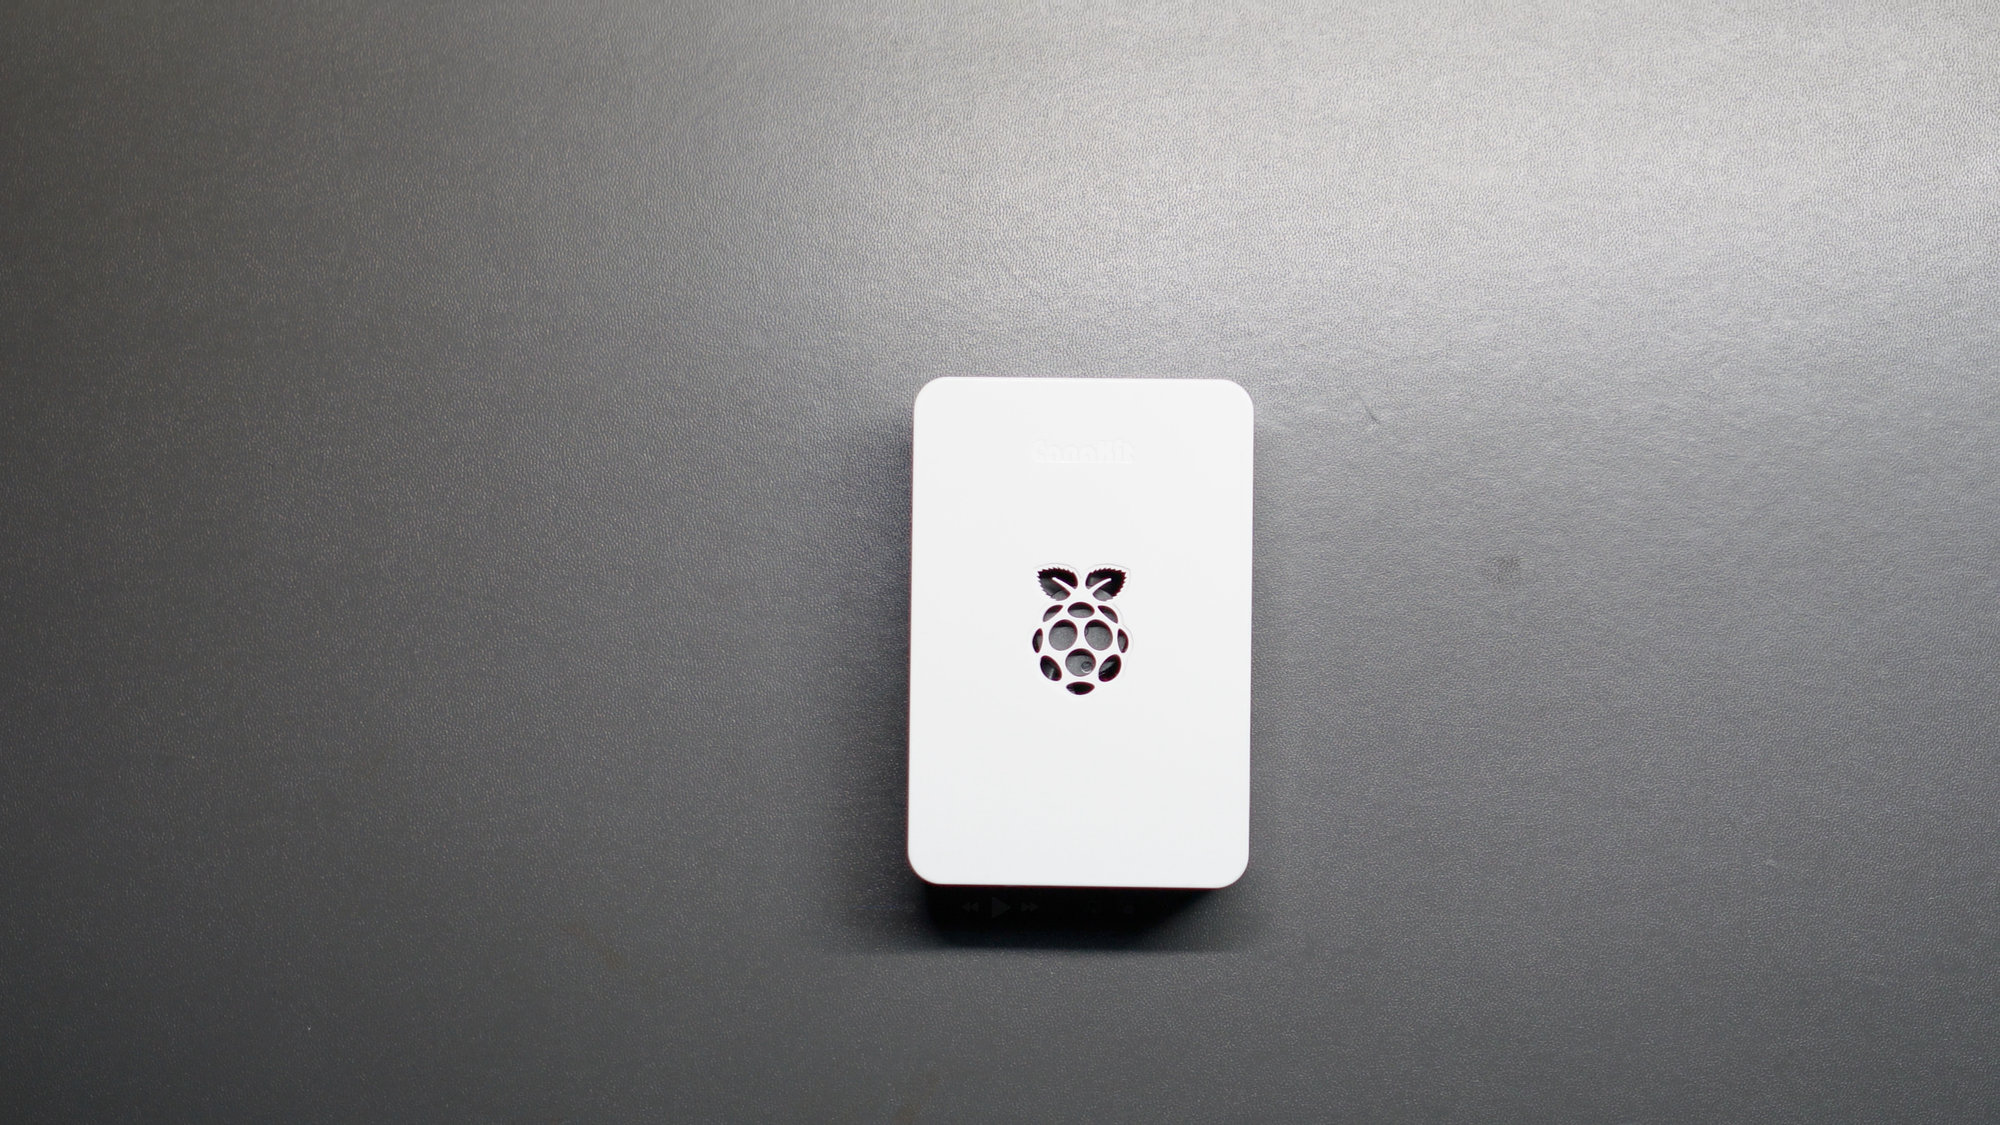
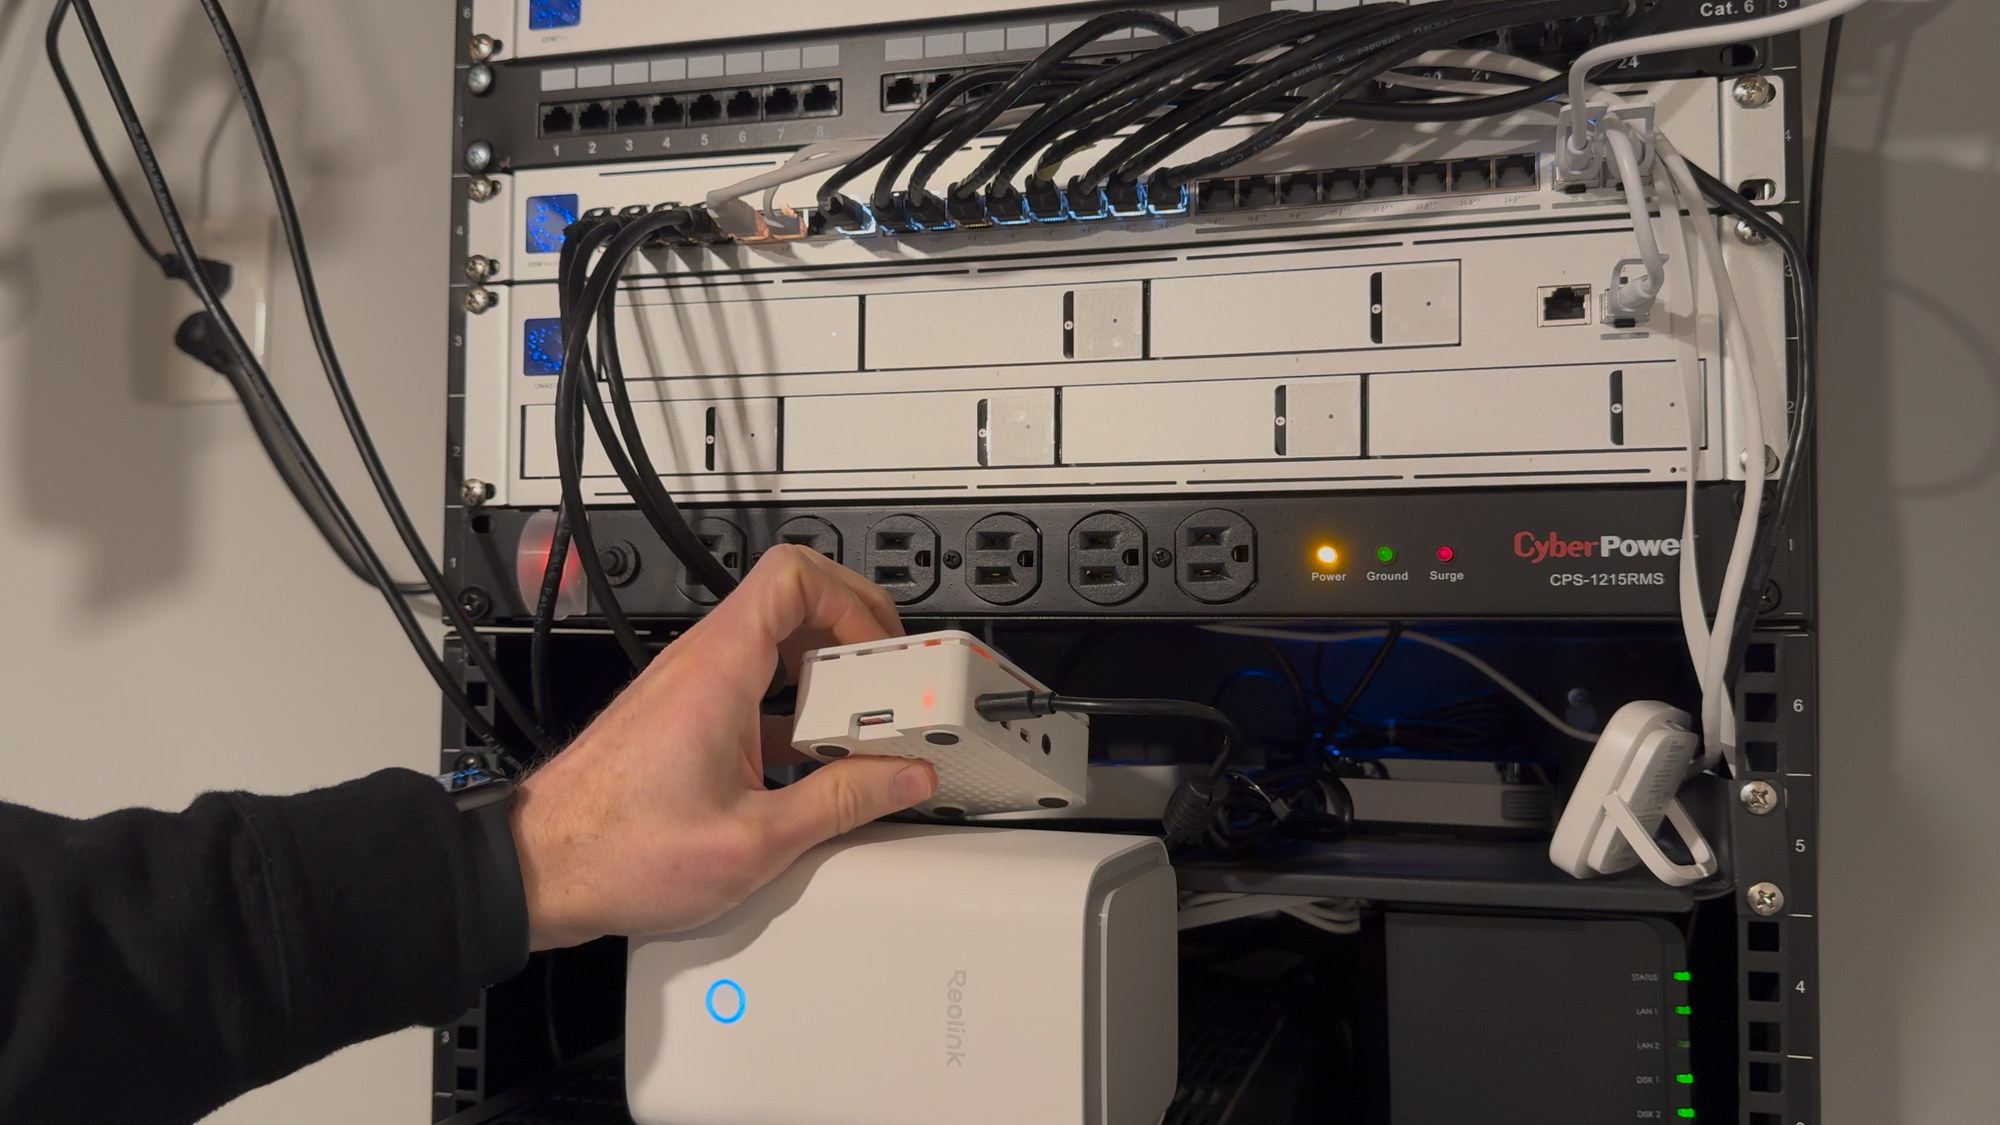
Starting up a Raspberry Pi with Home Assistant OS
Accessing and Onboarding Home Assistant
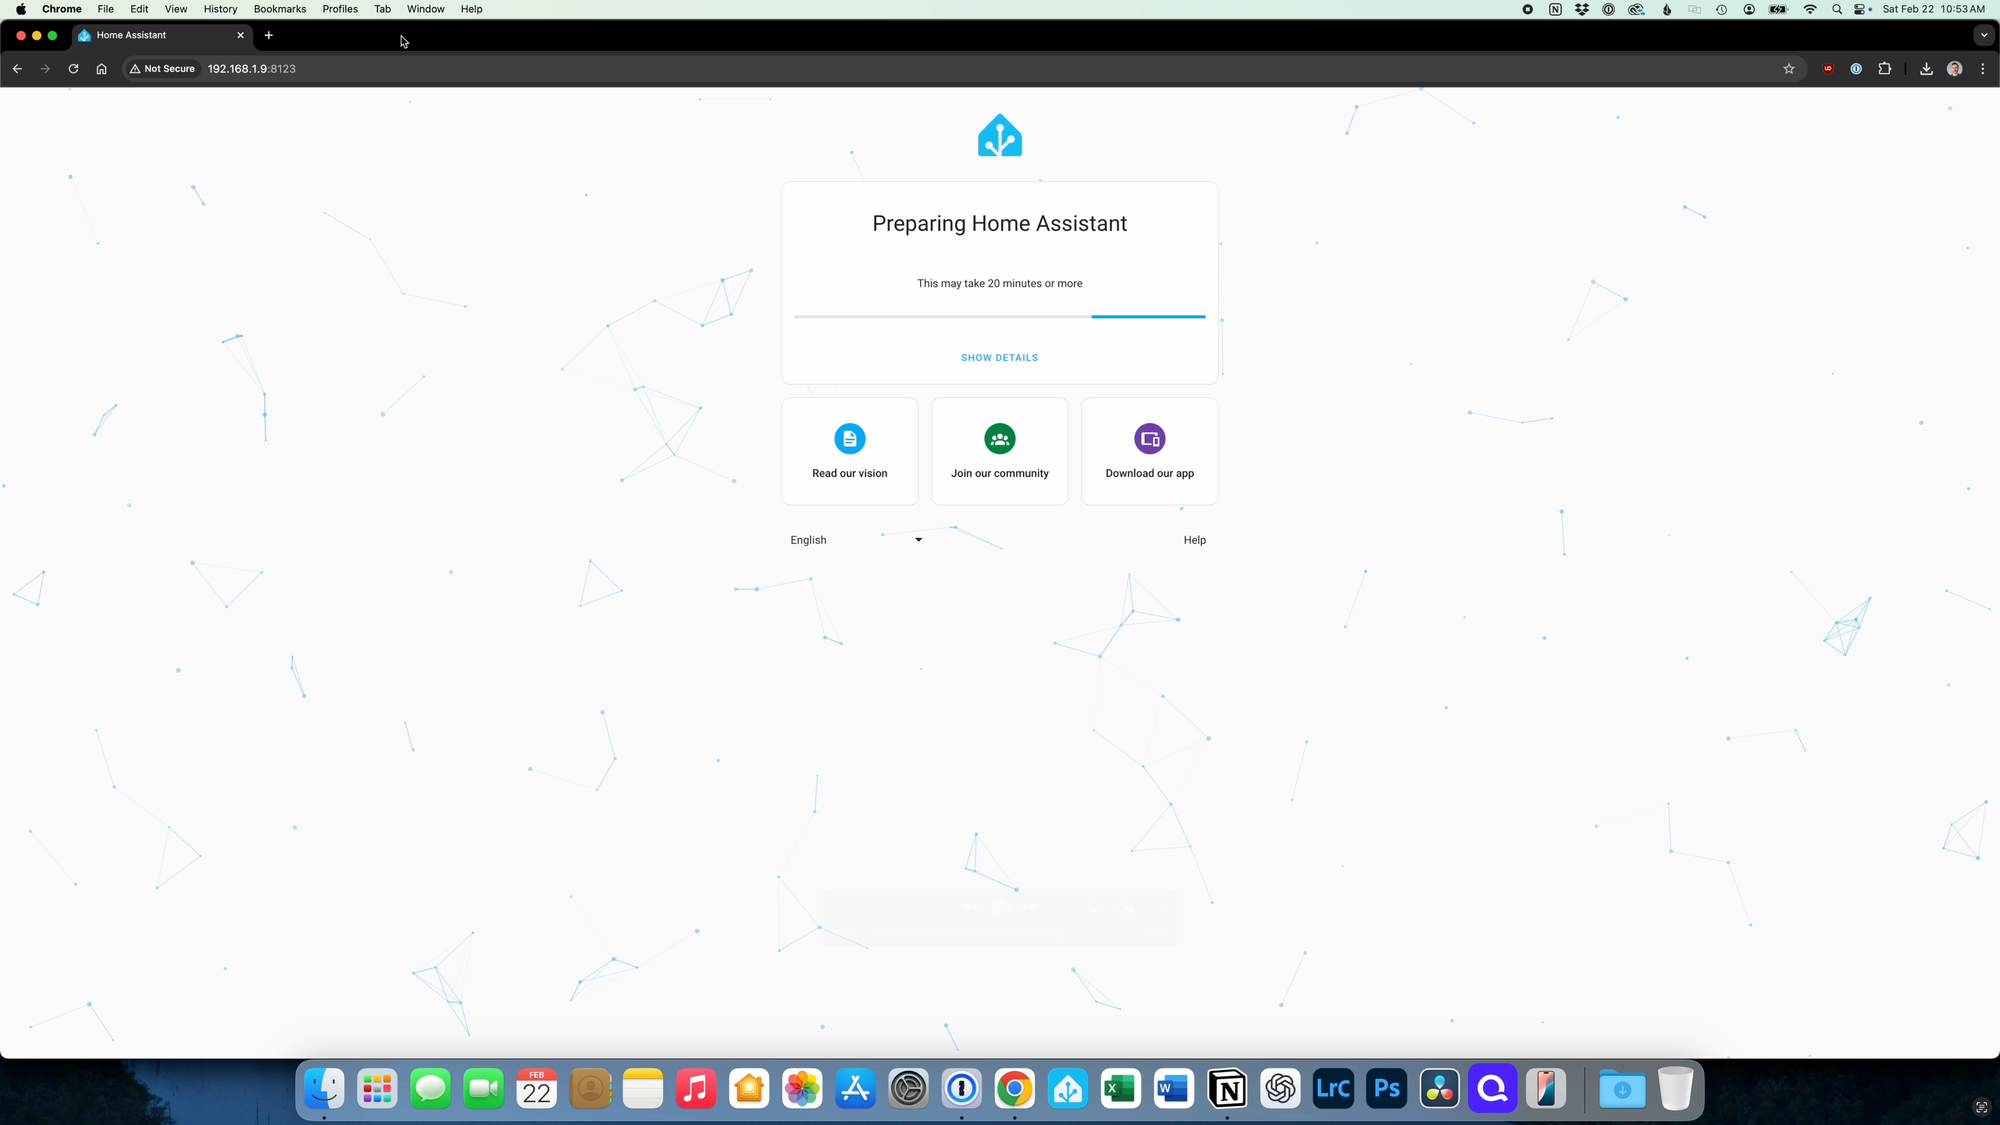
Give the Pi up to five minutes to ensure it’s fully booted up. Then, you’ll want to visit this URL (http://homeassistant.local:8123/) from a browser on your computer. If for some reason this page does not load, you can instead enter the IP address of your Raspberry Pi in your browser. You can get the IP address by visiting your router’s web interface. The IP address will look like this (http://X.X.X.X:8123), and you’ll just replace the X.X.X.X with the numbers from your Pi’s IP address. At this point, you should be able to access Home Assistant from your computer browser, which means you can continue with onboarding.
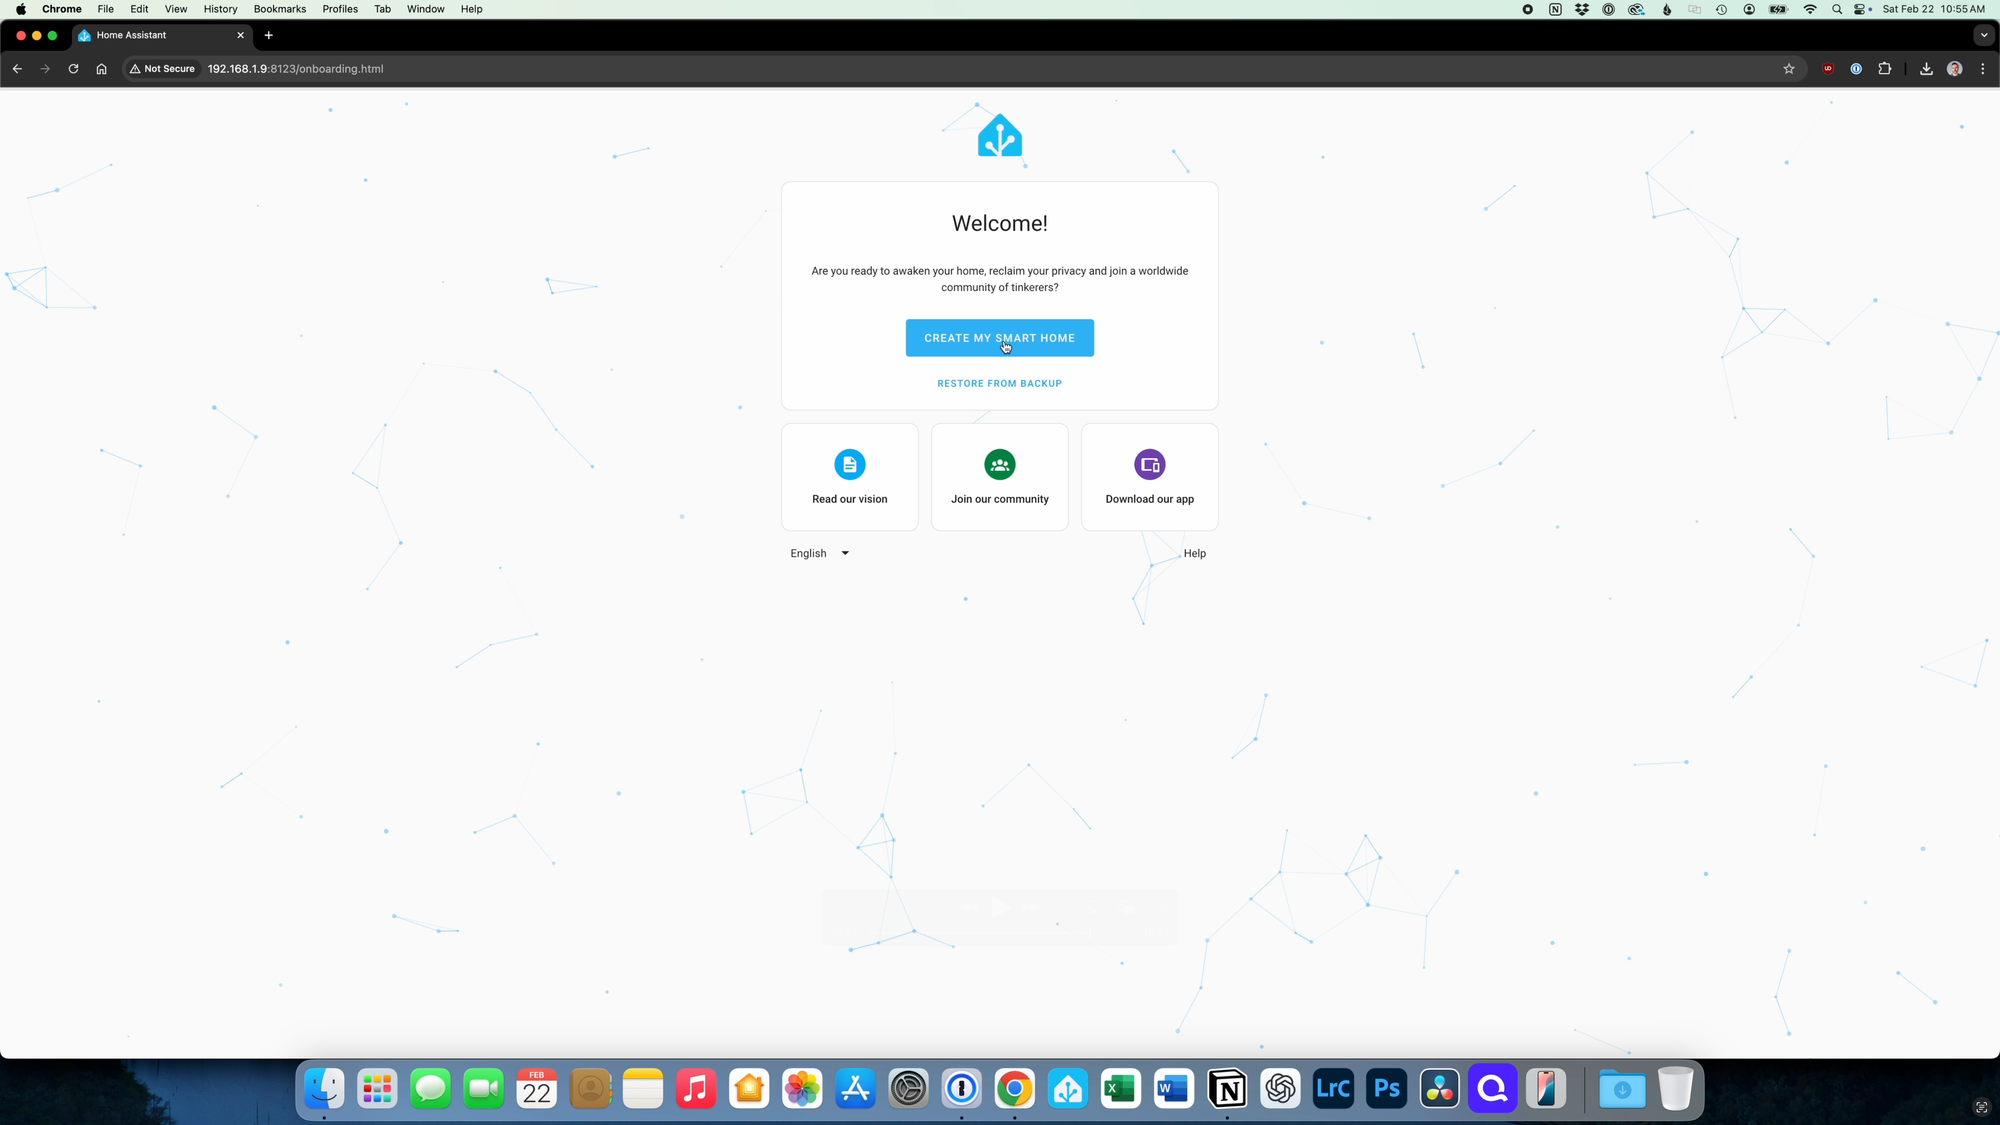
When you visit that page in your browser, you should see a note that says Preparing Home Assistant. Preparation may take a little while. Once preparation is finished, you should see a welcome screen. It may be necessary to refresh the page to see this. From the welcome screen, you can set this up as a new install installation, or you can restore from a backup. For the tutorial, I will focus on a new installation of Home Assistant.
To do this, click Create My Smart Home, and then enter your name, a username, and a password. Keep in mind that the name will be shown as the name of the person in the UI, whereas the username is just for login purposes. Make sure to save your login credentials someplace safe as you will not be able to recover the owner credentials if they are lost. Once done, click create account.
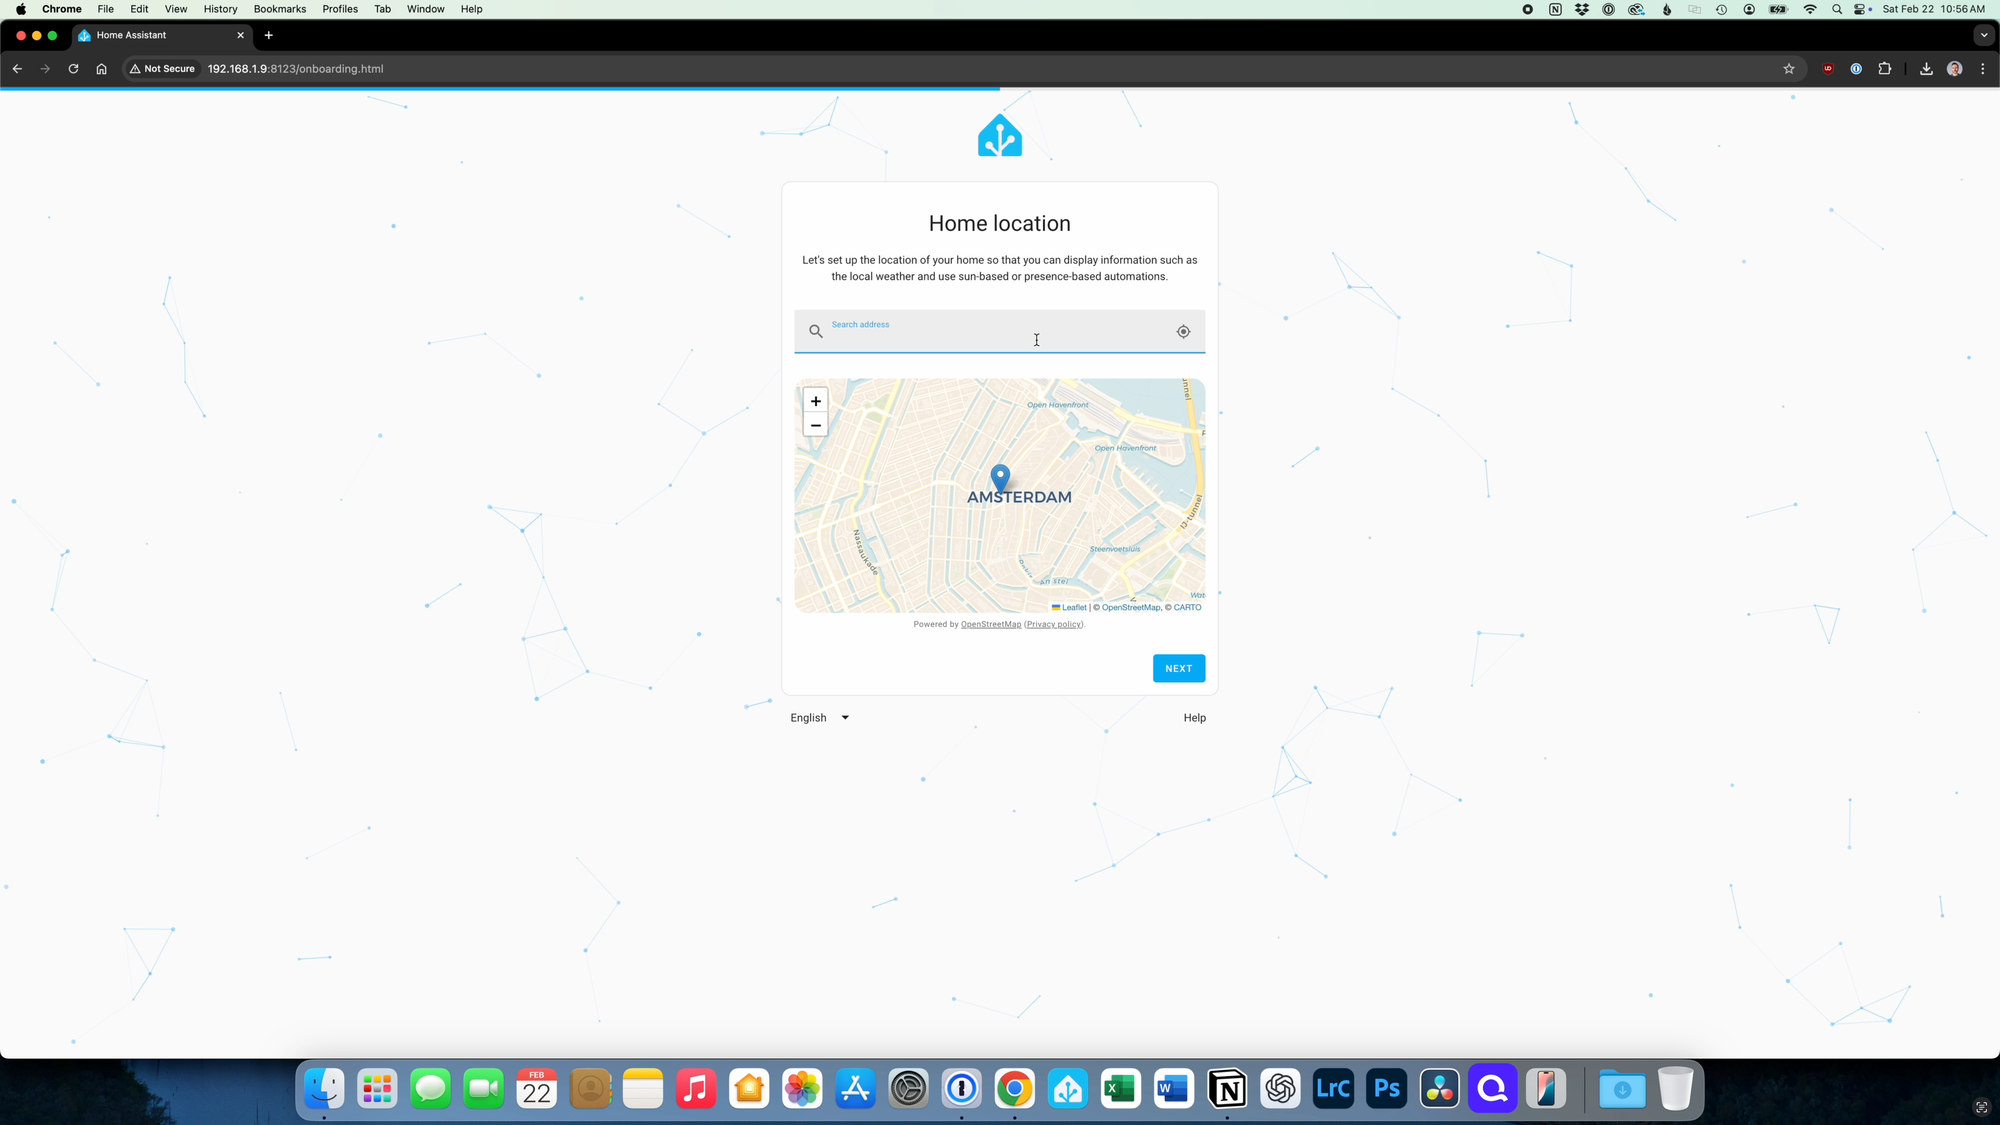
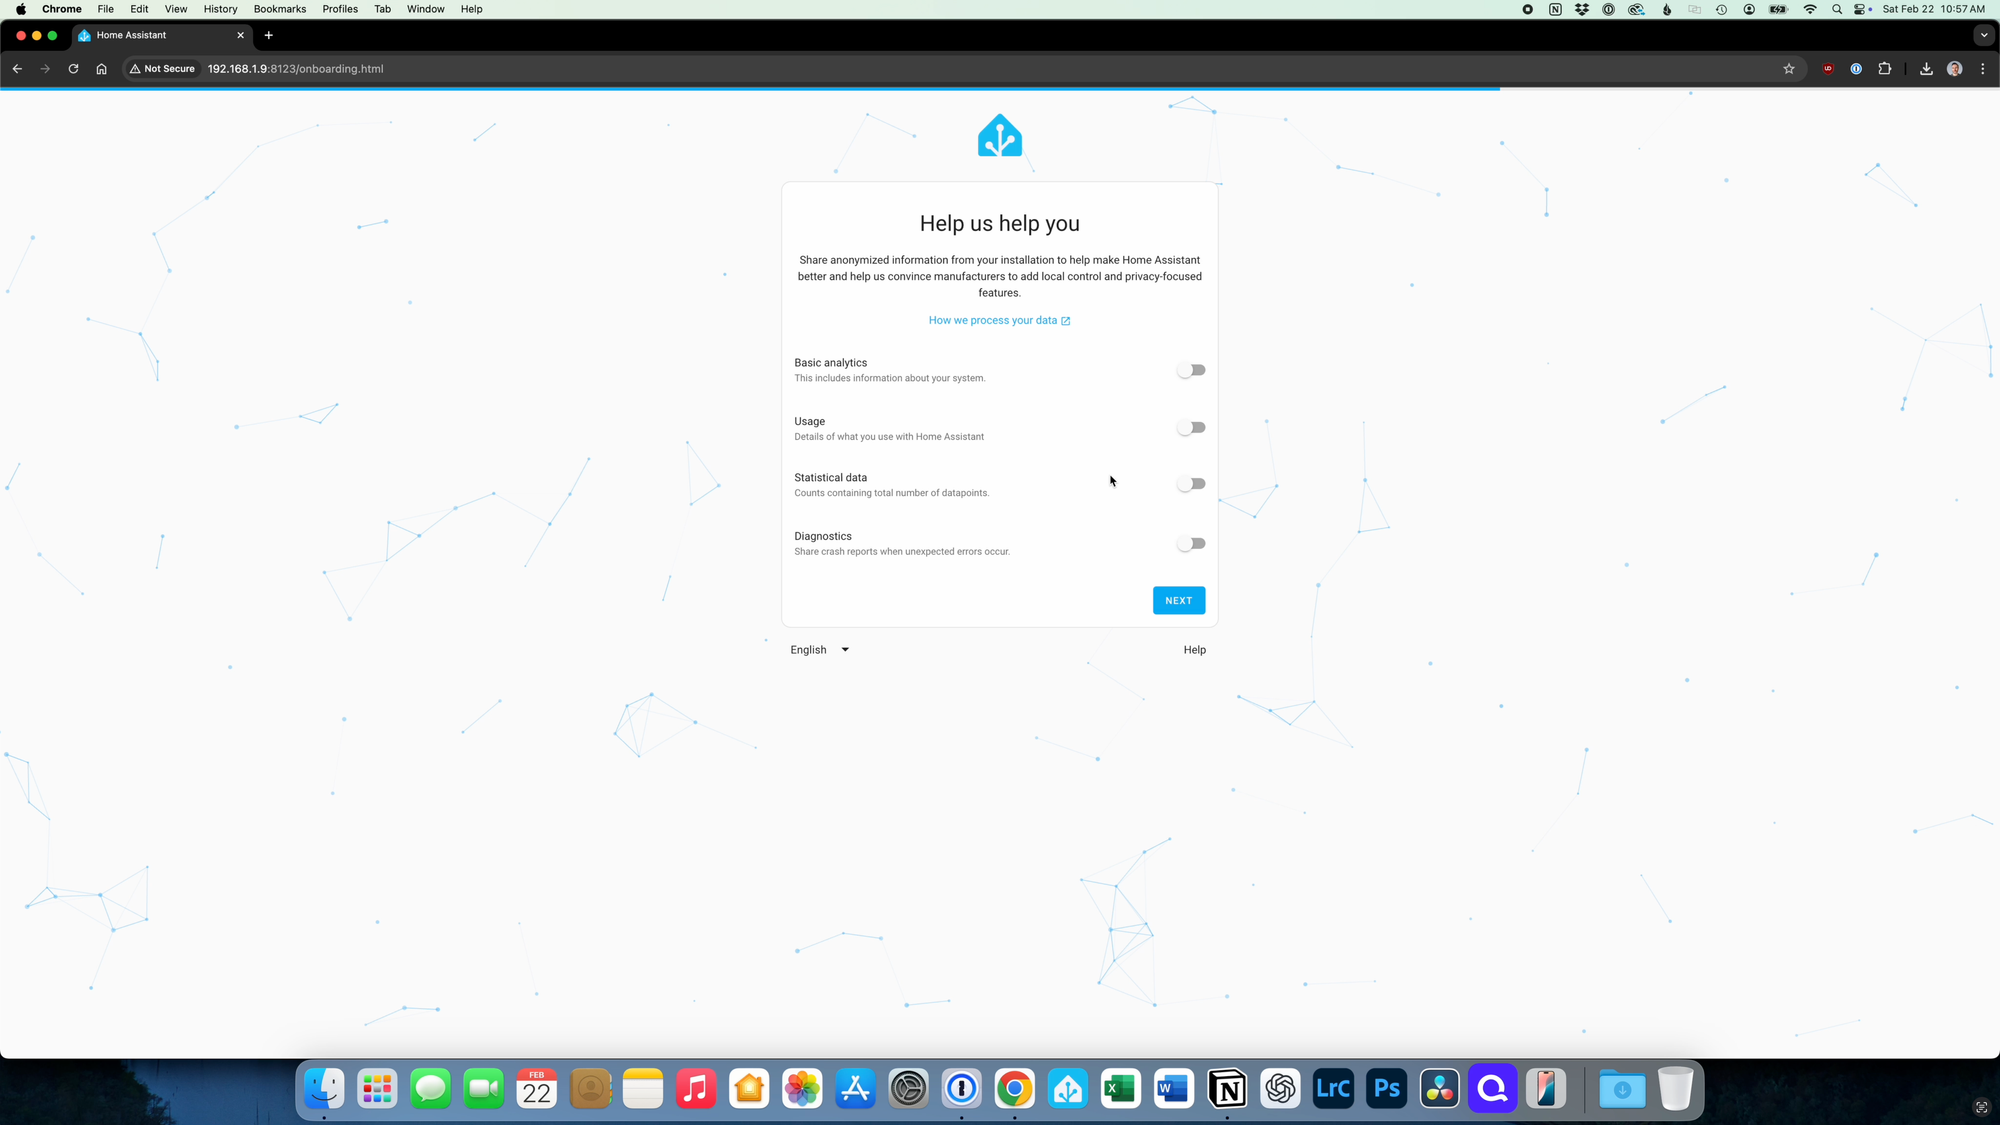
Next, you will see an option to enter the location of your home, which is used to configure things like time zones, metric or imperial system for units, currency, and to establish a geofence around your home zone. This will be really useful for your home automations. Once your location is found, click Next. Then, you can choose which information you are willing to share and click Next.
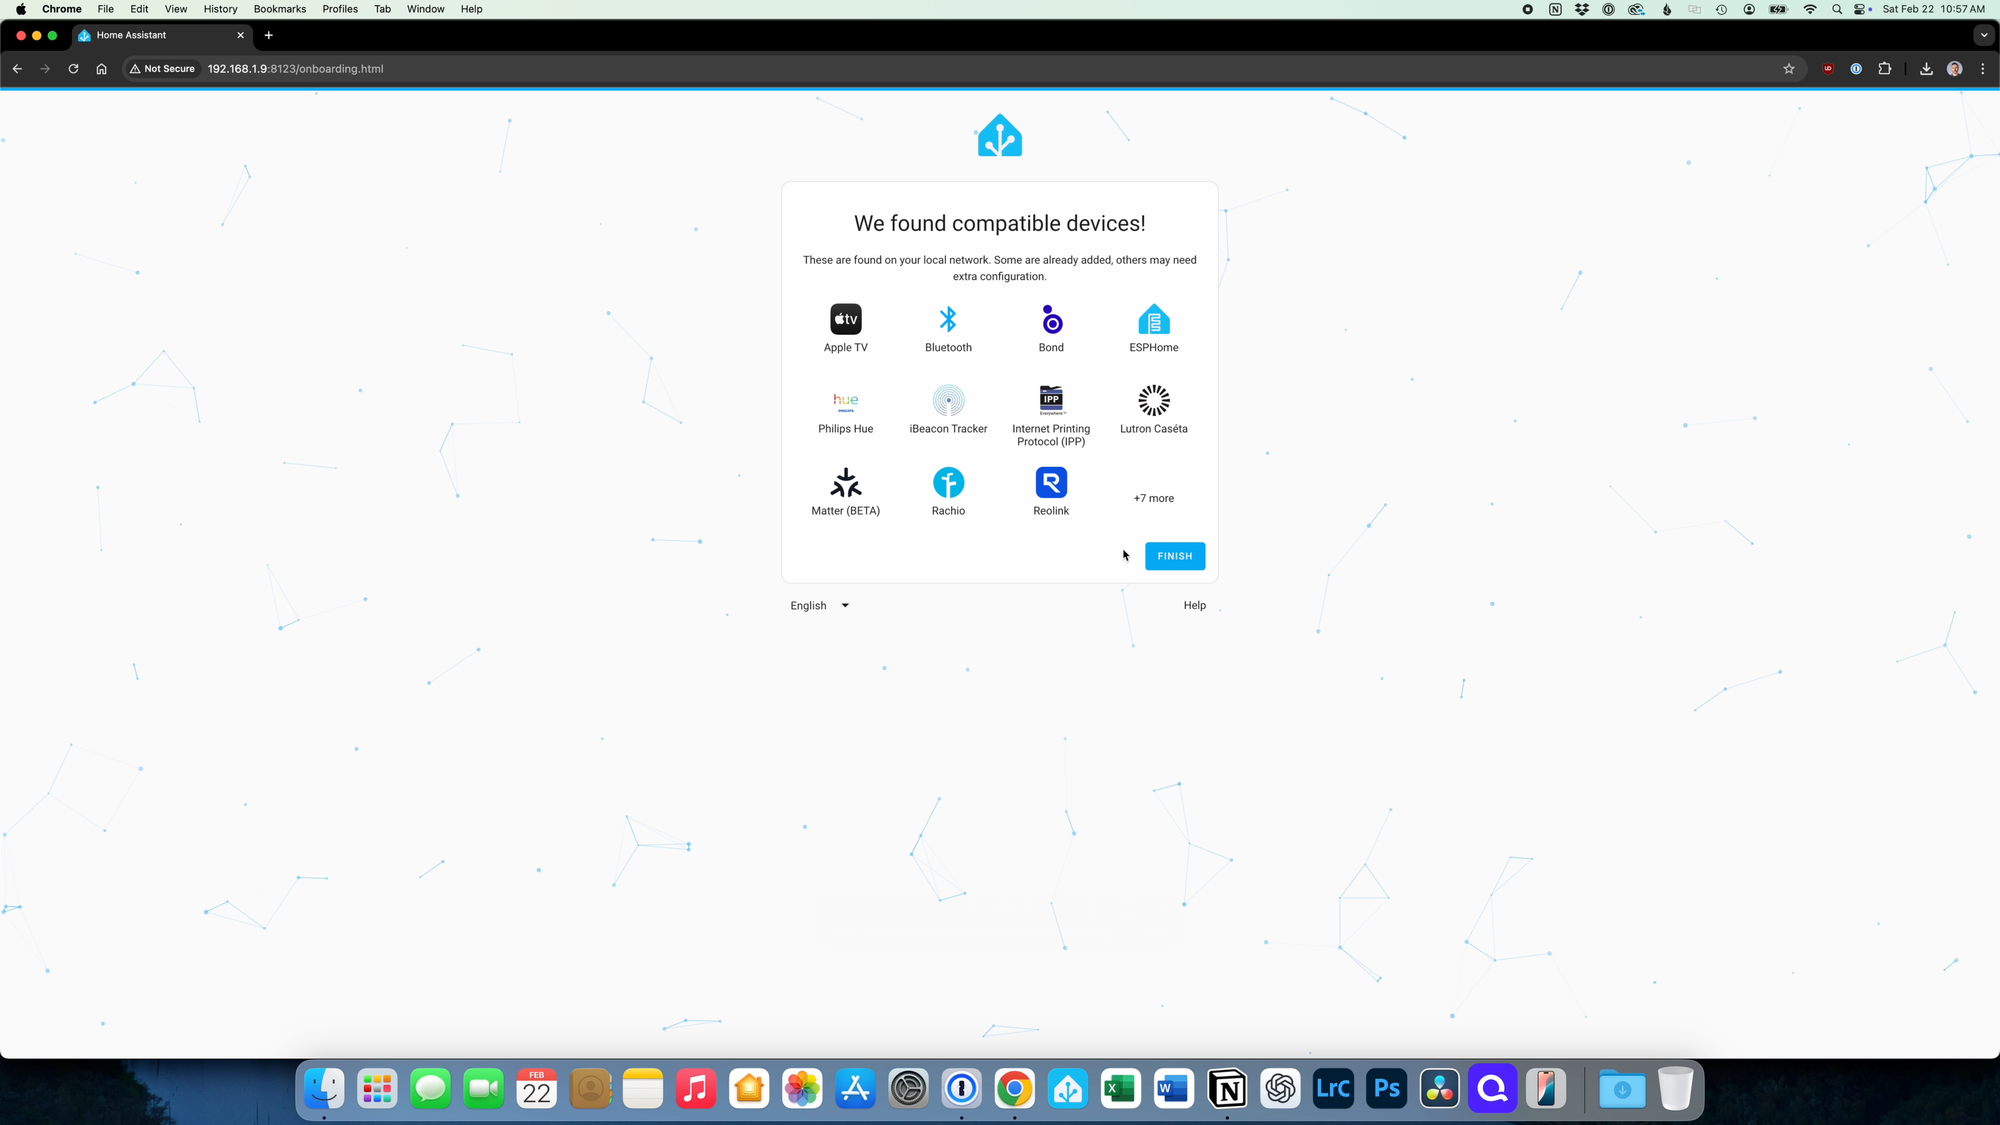
If Home Assistant discovers compatible devices on your network, it will present them to you on the next screen. Even if you don't see devices listed here that you are using in your smart home, you can always add them later.
If you made it this far, congrats! You've completed the Home Assistant OS installation on a Raspberry Pi, as well as the Home Assistant onboarding process.

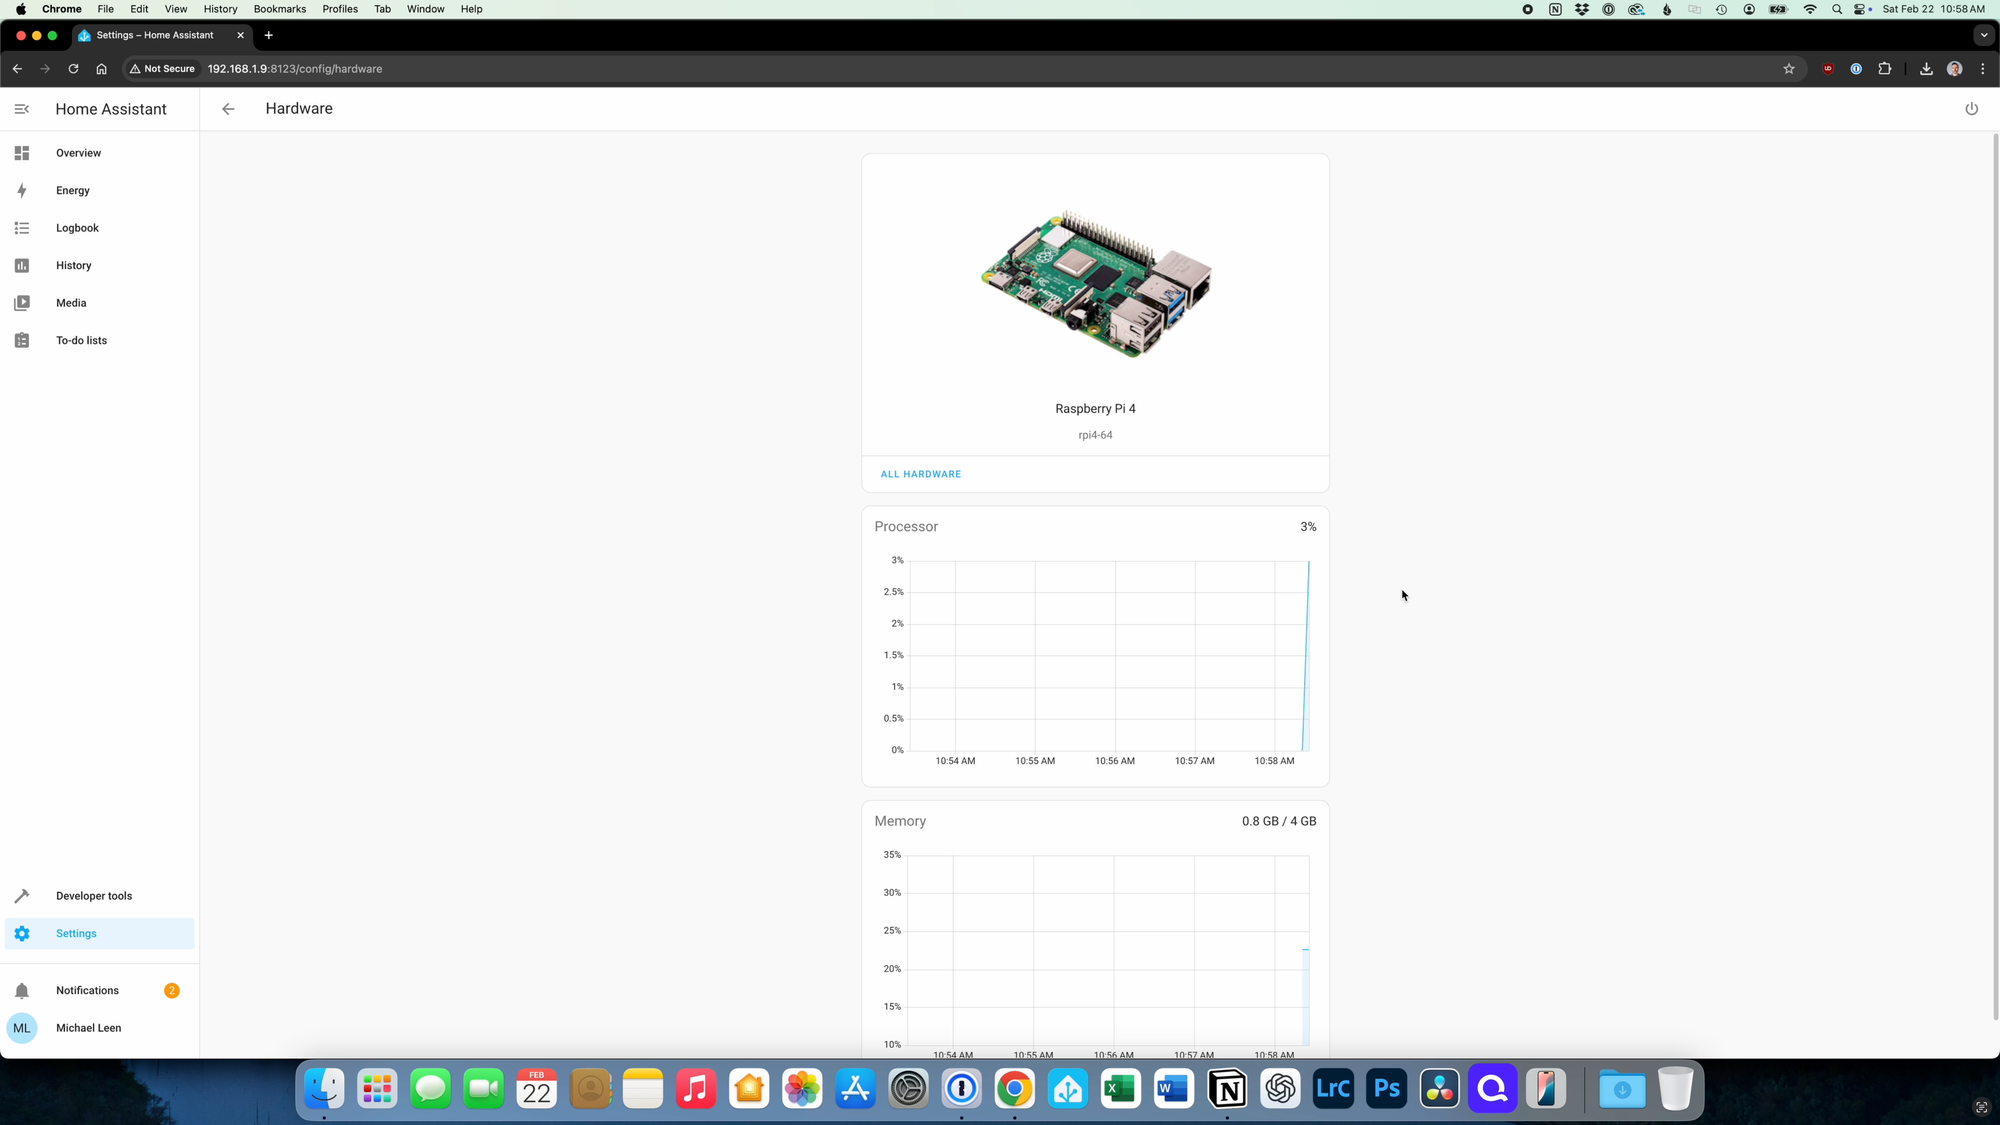
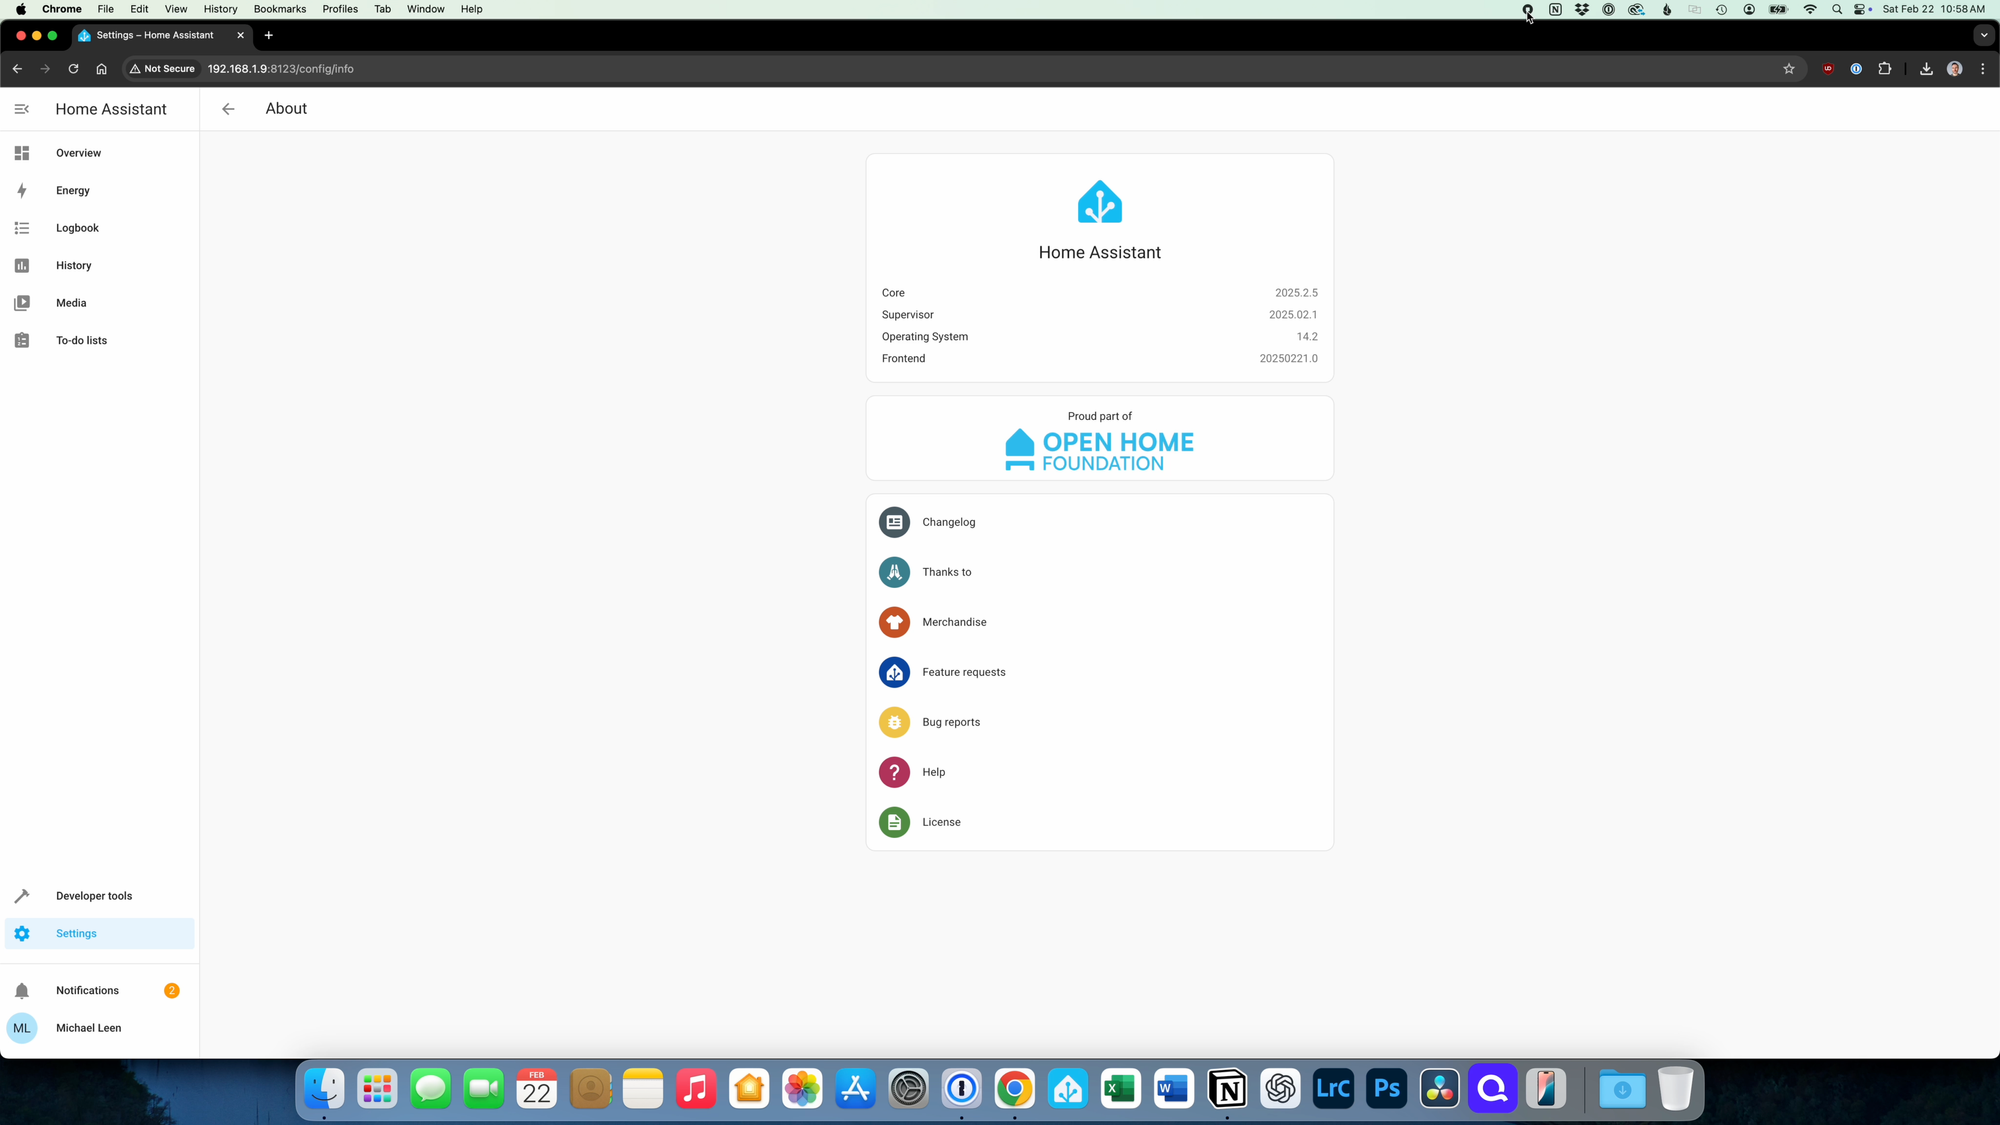
Onboarding Home Assistant from a Raspberry Pi
Troubleshooting Tips
If you ran into any issues with your installation, here are a couple of tips:
- If the Raspberry Pi Imager was not supported on your computer or you ran into issues, an alternative is to download the Home Assistant image for the type of Pi you are using, and then use another imaging tool, like Balena Etcher, to write the image to the SD card.
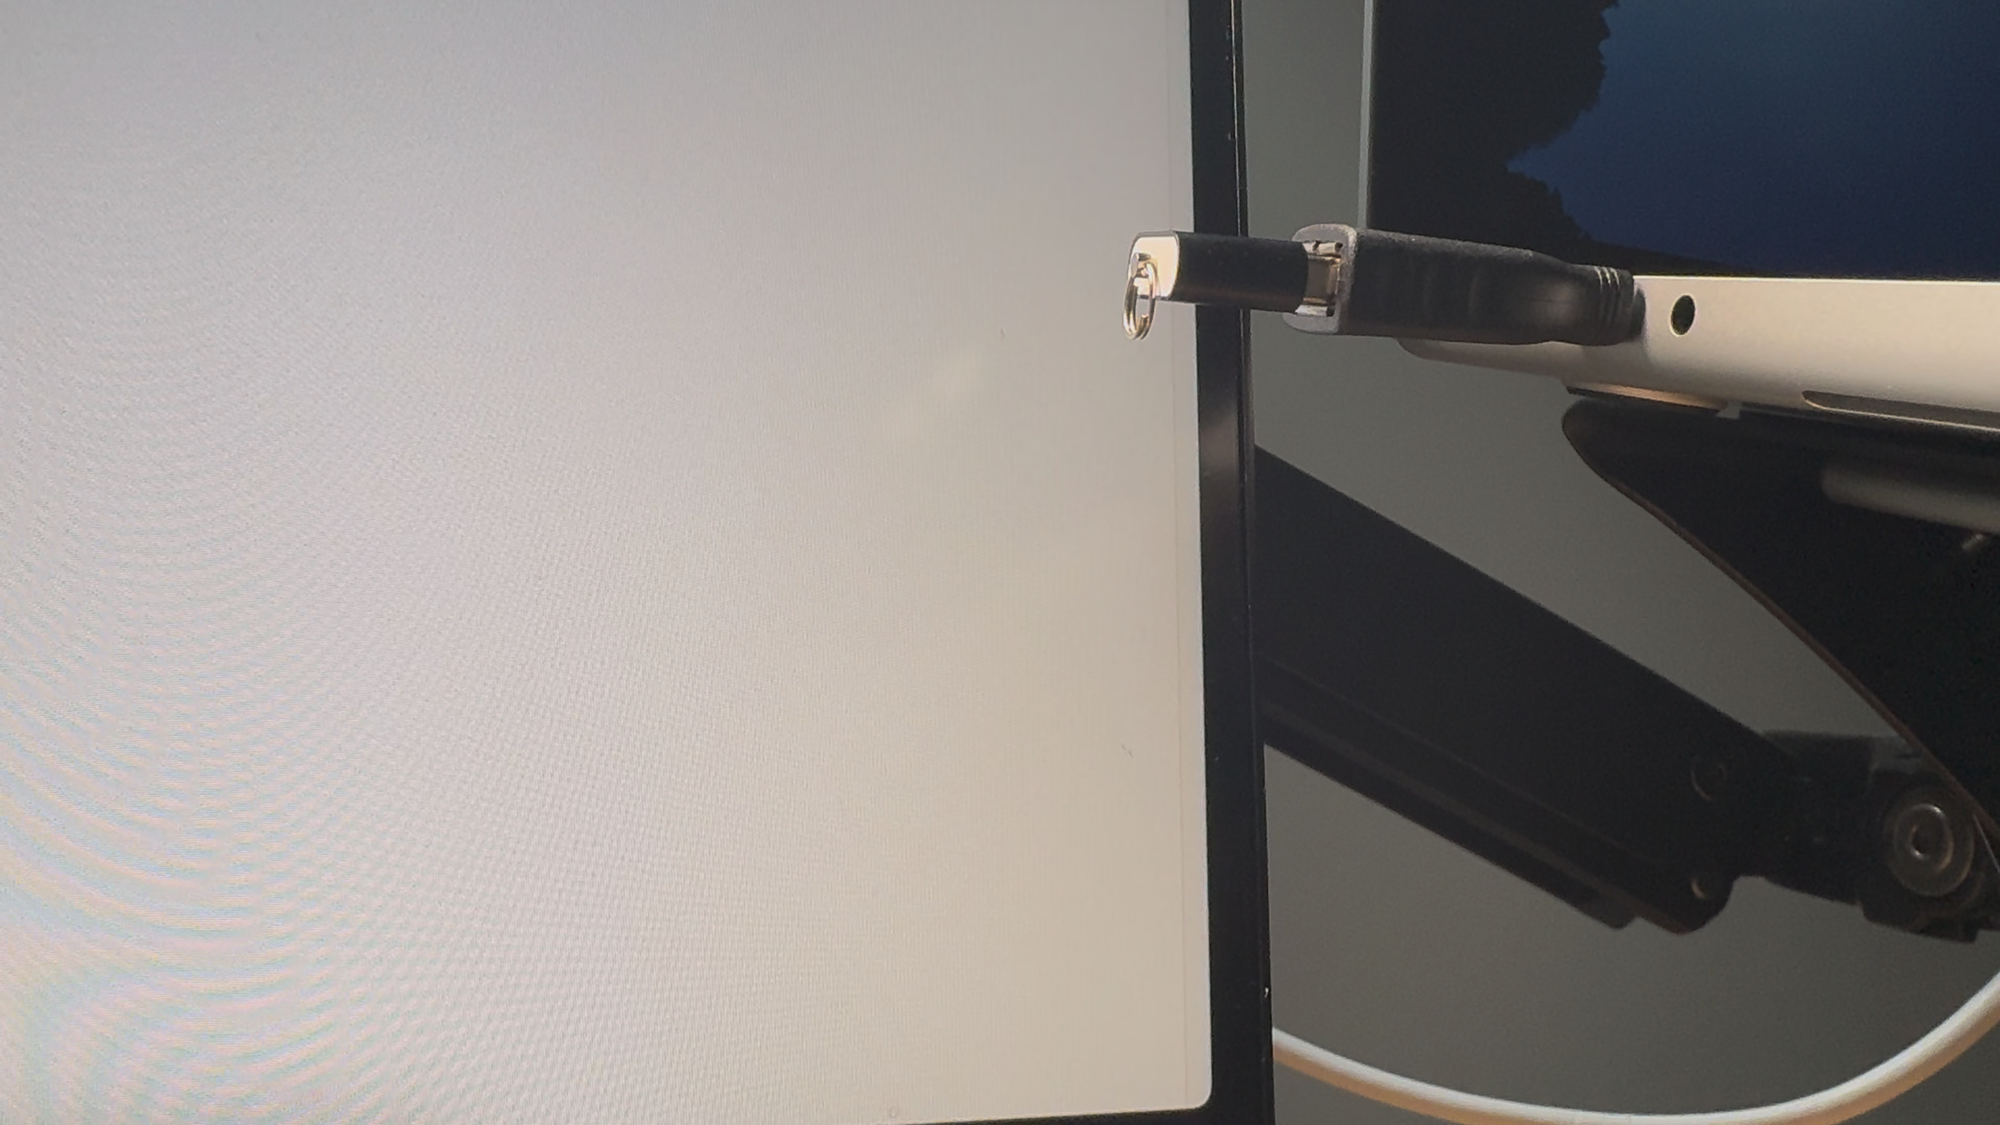
- If you were unable to access Home Assistant using either the .local address or the Pi’s IP address, it is possible that the Home Assistant OS image was not written properly to the SD card. You can try repeating the steps of writing the image to the SD card, or even try a different SD card. If this still does not work, you’ll want to view the console output on the Raspberry Pi, and to this, you’ll need to connect it to a monitor using an HDMI cable.
Final Thoughts
Home Assistant runs really well a Raspberry Pi and is perfectly suitable for anyone getting started. If you’re interested in running Home Assistant on something more powerful, you can watch my step-by-step guide to installing Home Assistant on a mini PC.
Watch on YouTube
Featured Tech
Raspberry Pi 4 Starter MAX Kit: https://amzn.to/4cE0qFw
Beelink S12 Pro Mini PC: https://amzn.to/49WrA9U
ThirdReality Smart Watering Kit
Amazon: https://amzn.to/427tGl4
ThirdReality: https://go.michaelsleen.com/3reality-watering-kit
ThirdReality Smart Soil Moisture Sensor
Amazon: https://amzn.to/3FvWhHT
ThirdReality: https://go.michaelsleen.com/3reality-moisture-sensor