How to Expand a Synology NAS Storage Pool or Volume (Beginner's Guide)
How to expand the volume and storage pool in a Synology NAS.
Introduction
Is your Synology NAS running low on storage space, or do you want to increase the size of your available storage by replacing the drives?
Synology has a lot of help articles related to the topic of replacing drives and expanding storage capacity. But it can get really overwhelming and confusing. So, I’ll take you step-by-step through this process.
Main Points
Before we dive in, a few things to note:
- I recommend checking the help articles to ensure your model works with these steps.
- Remember to back up your data before doing anything, just in the event you encounter an issue in the process. I cannot guarantee the protection of your data.
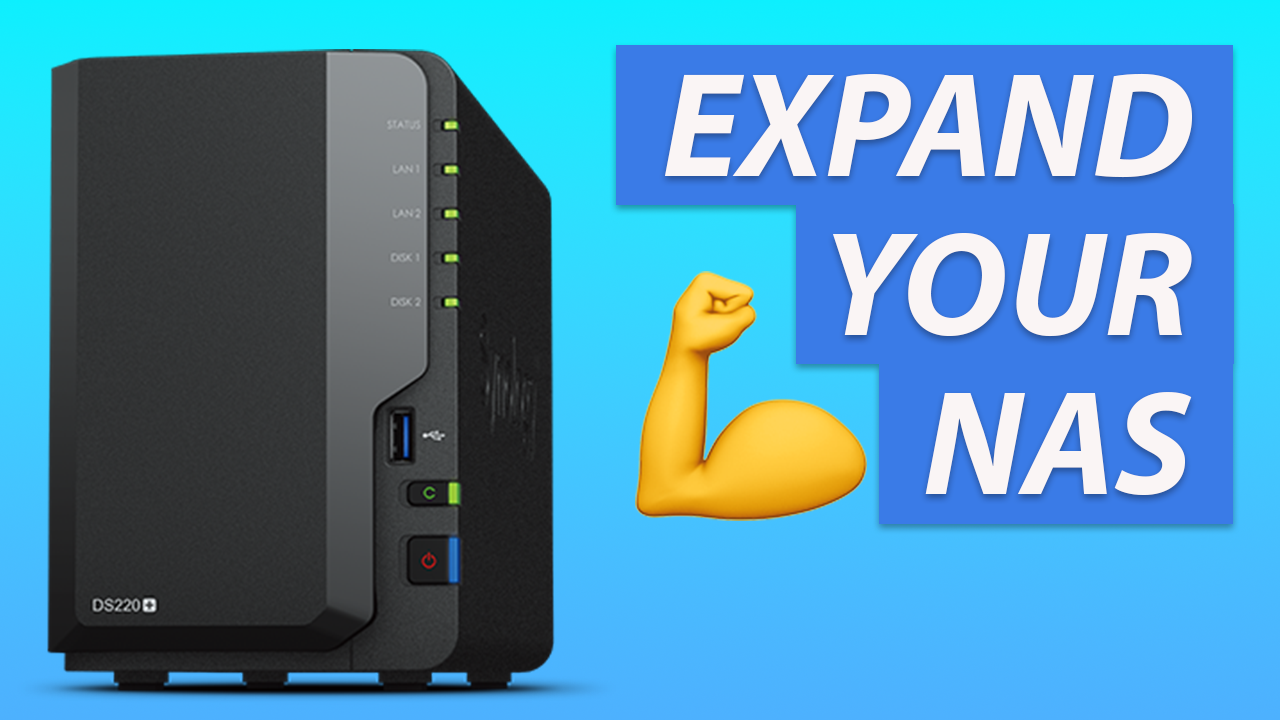
- I’m doing this on a Synology DS220+, which is a 2-bay system, running DSM 7.0.
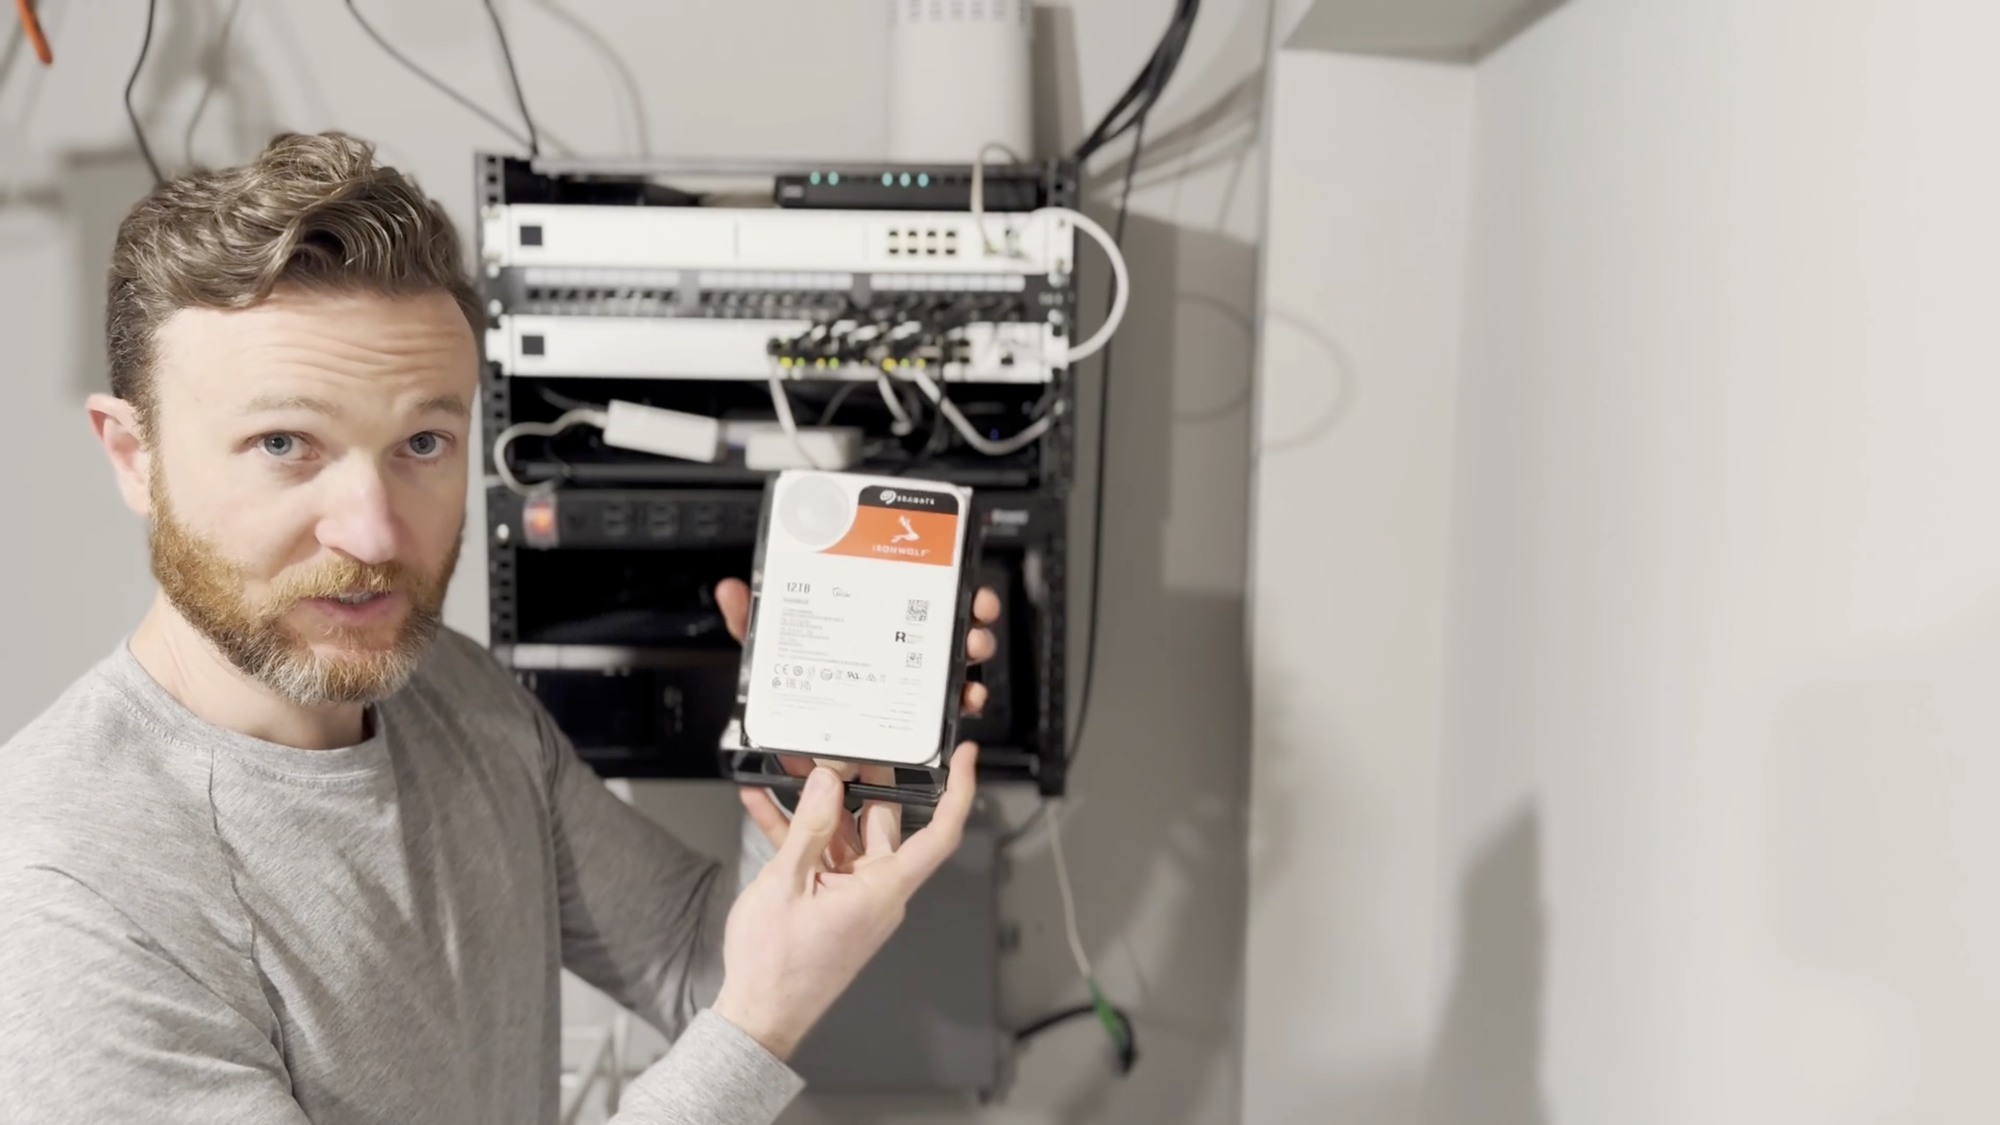
- I’m replacing both of my existing 4 TB drives with 12 TB ones.
- Both the old and the new drives are Seagate IronWolf NAS internal hard disk drives.
- My NAS is using the Synology Hybrid RAID, or SHR, with data protection for 1-drive fault tolerance
- Your steps and needs may vary if you have a different hardware, software, or RAID type
Here is the 10-step process that I’m going to follow:
- Backup your data
- Power off the NAS
- Replace Drive 1 (with a larger drive)
- Power on the NAS
- Repair the drive
- Power off the NAS
- Replace Drive 2 (with a larger drive)
- Power on the NAS
- Repair the drive
- Re-allocate space
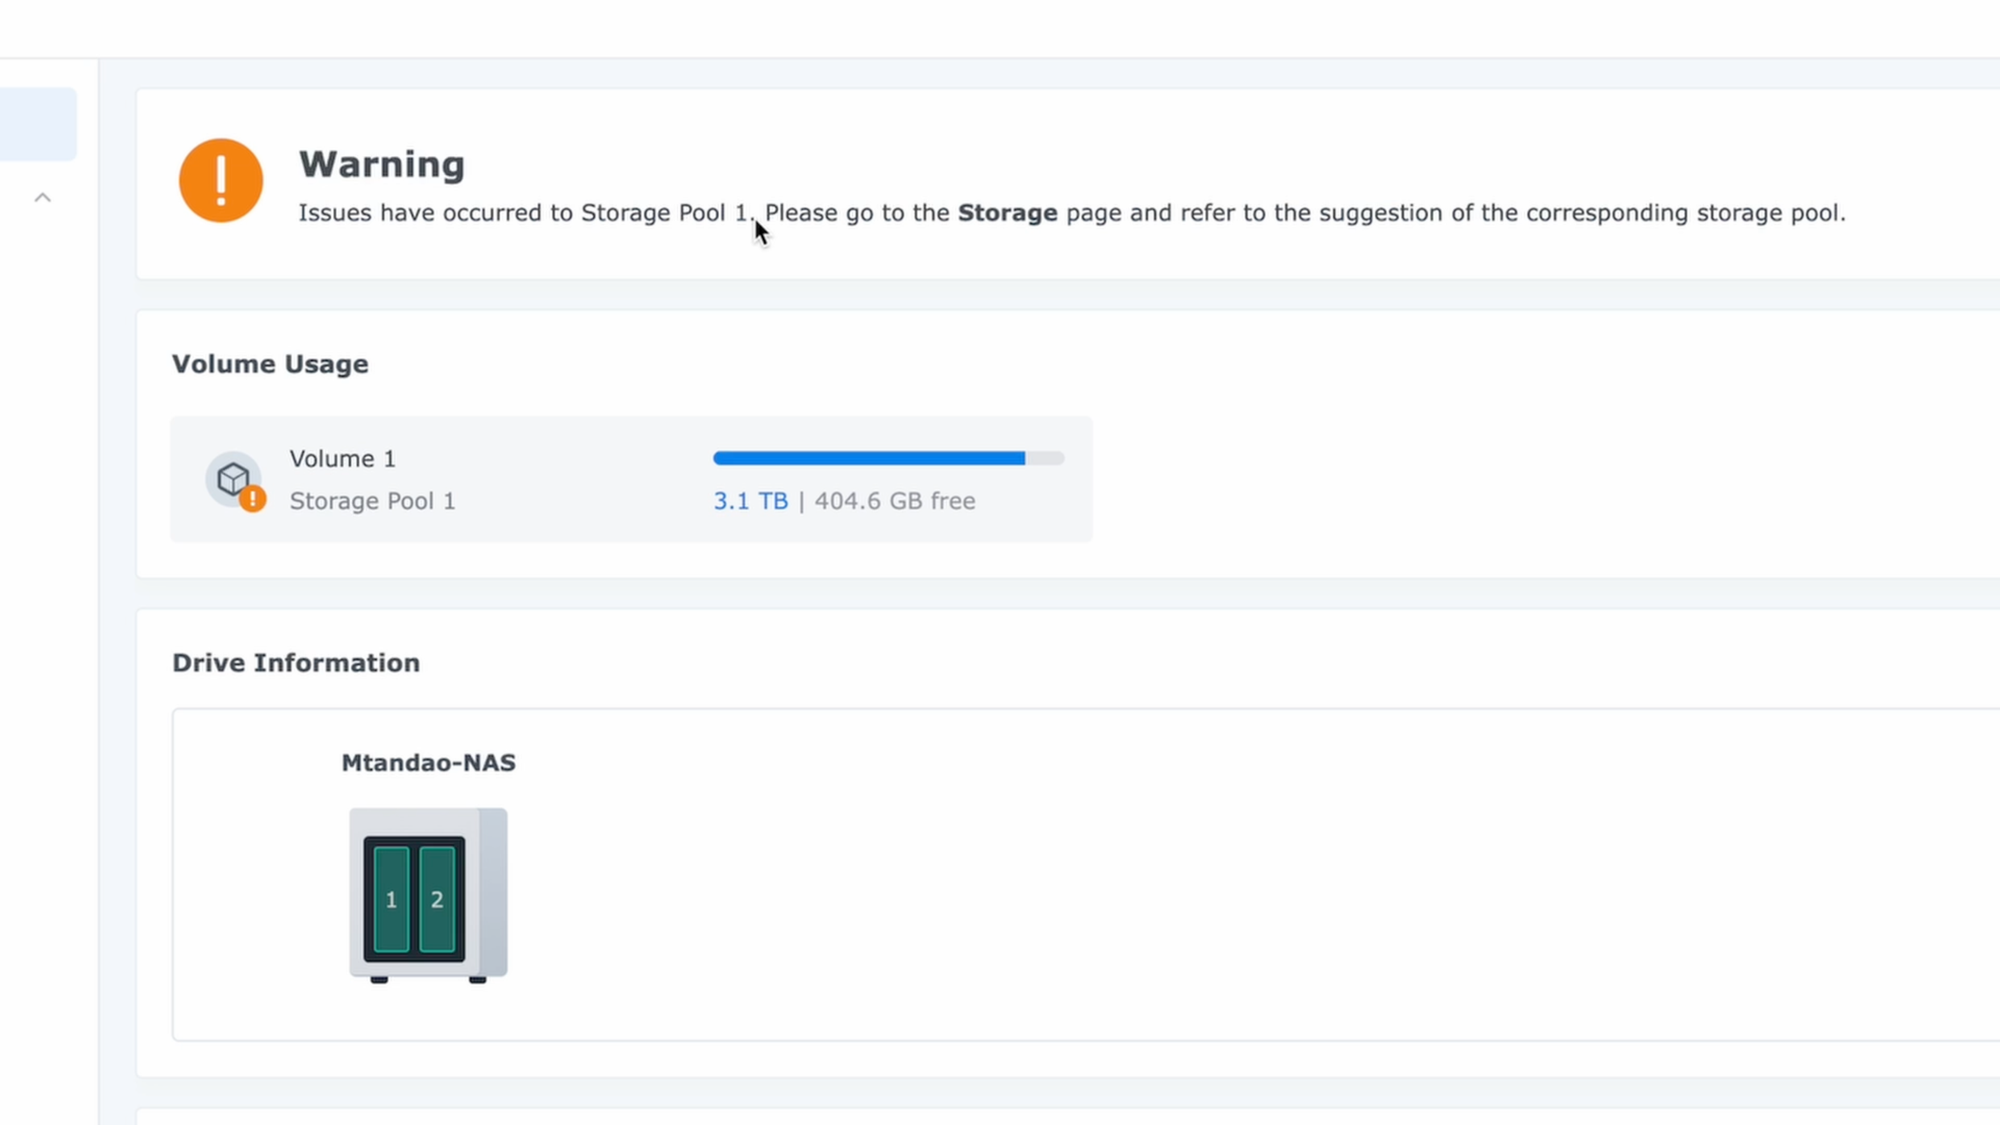
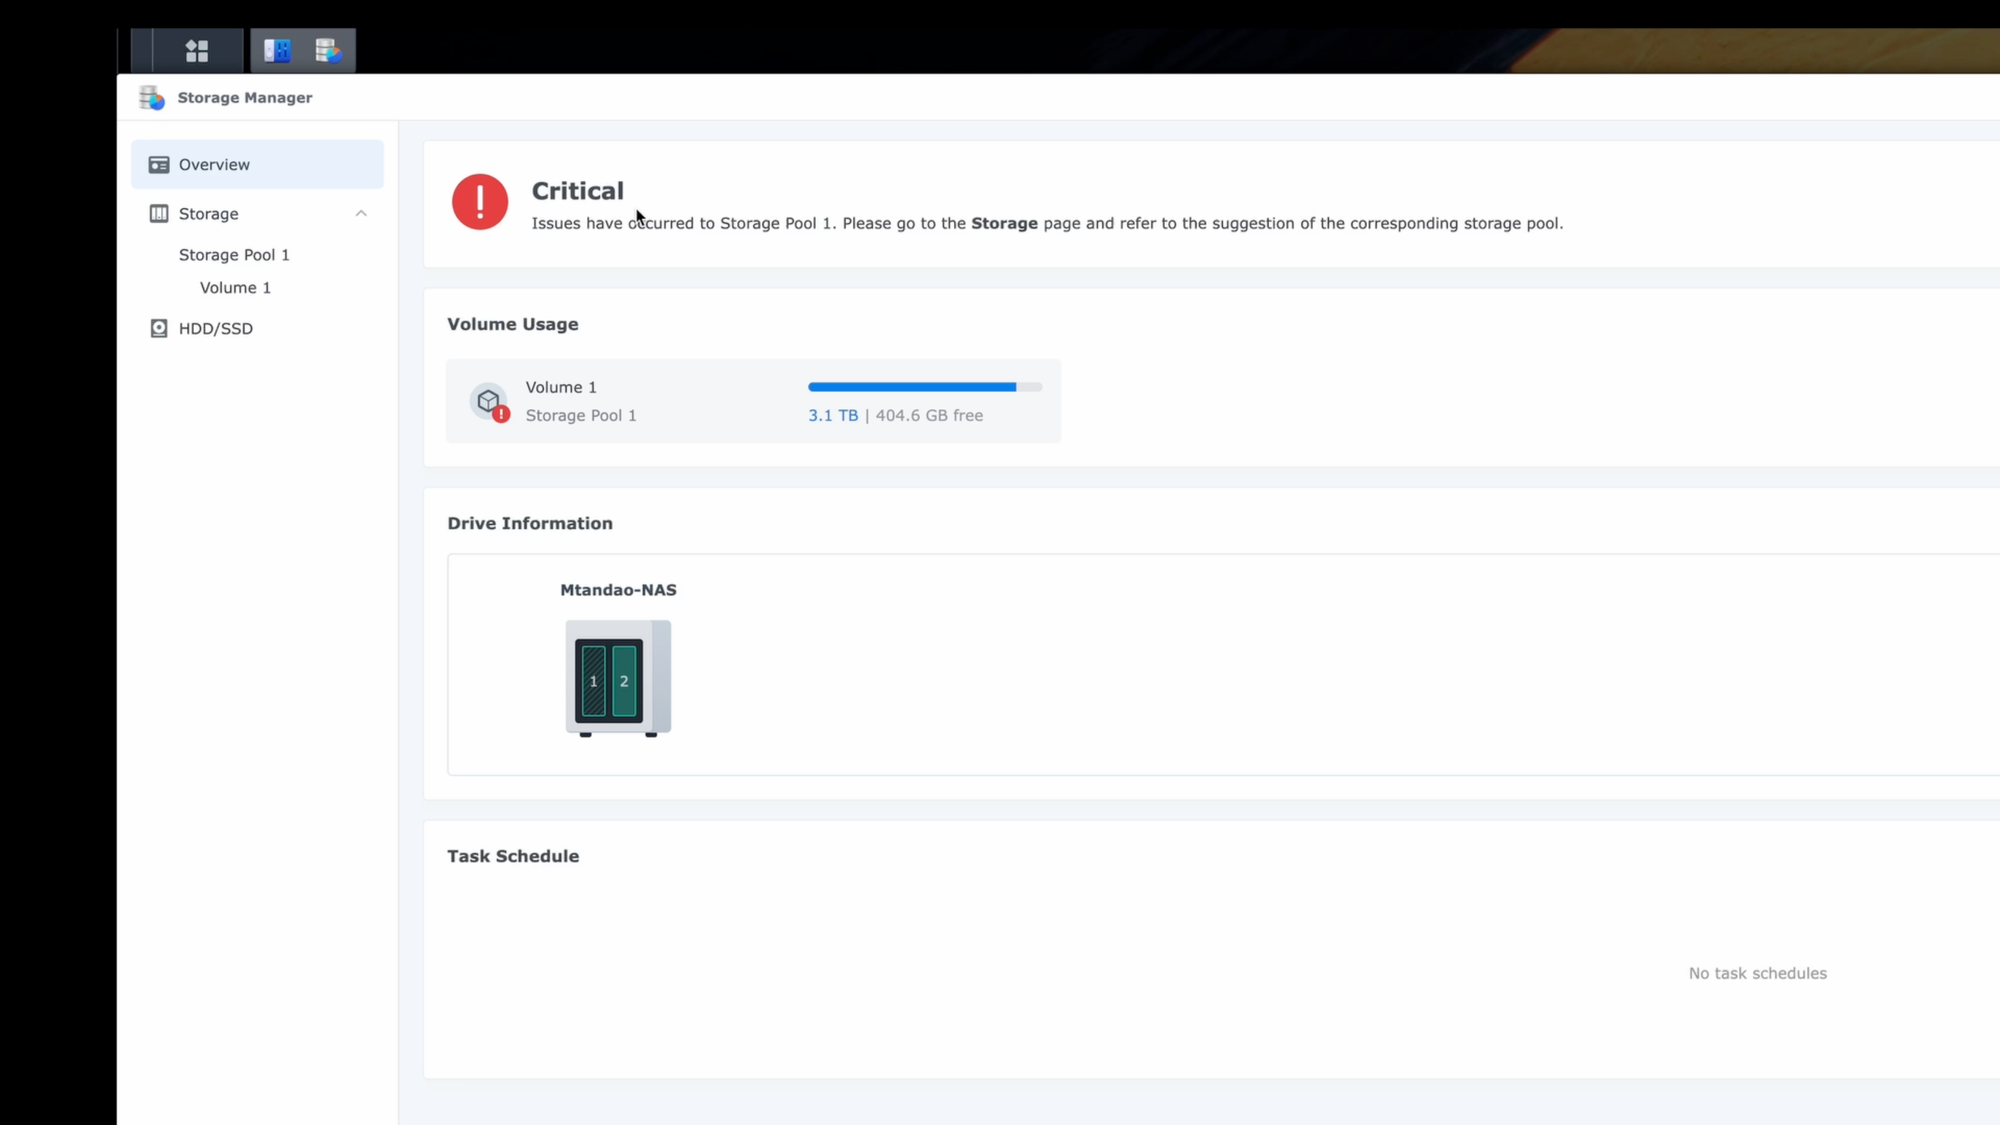
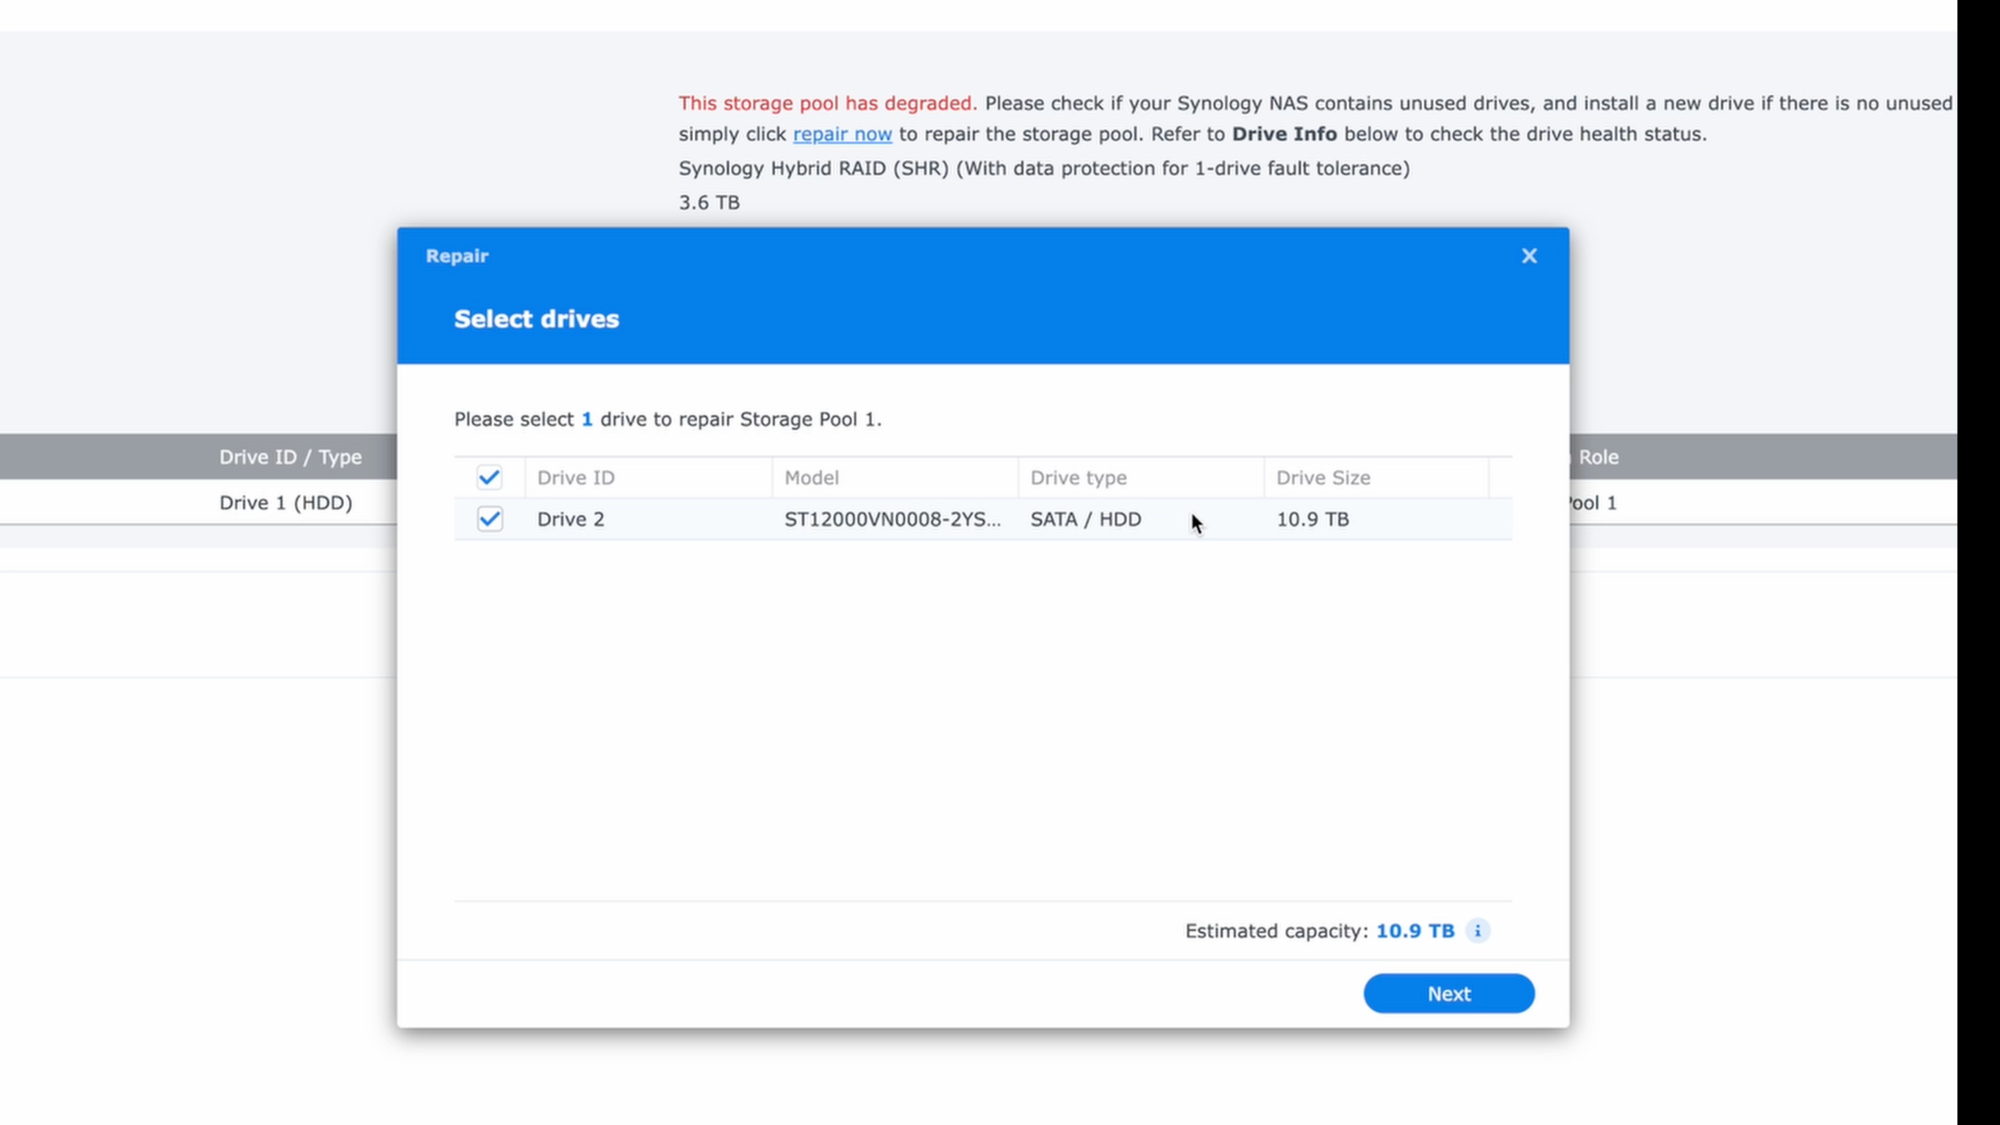
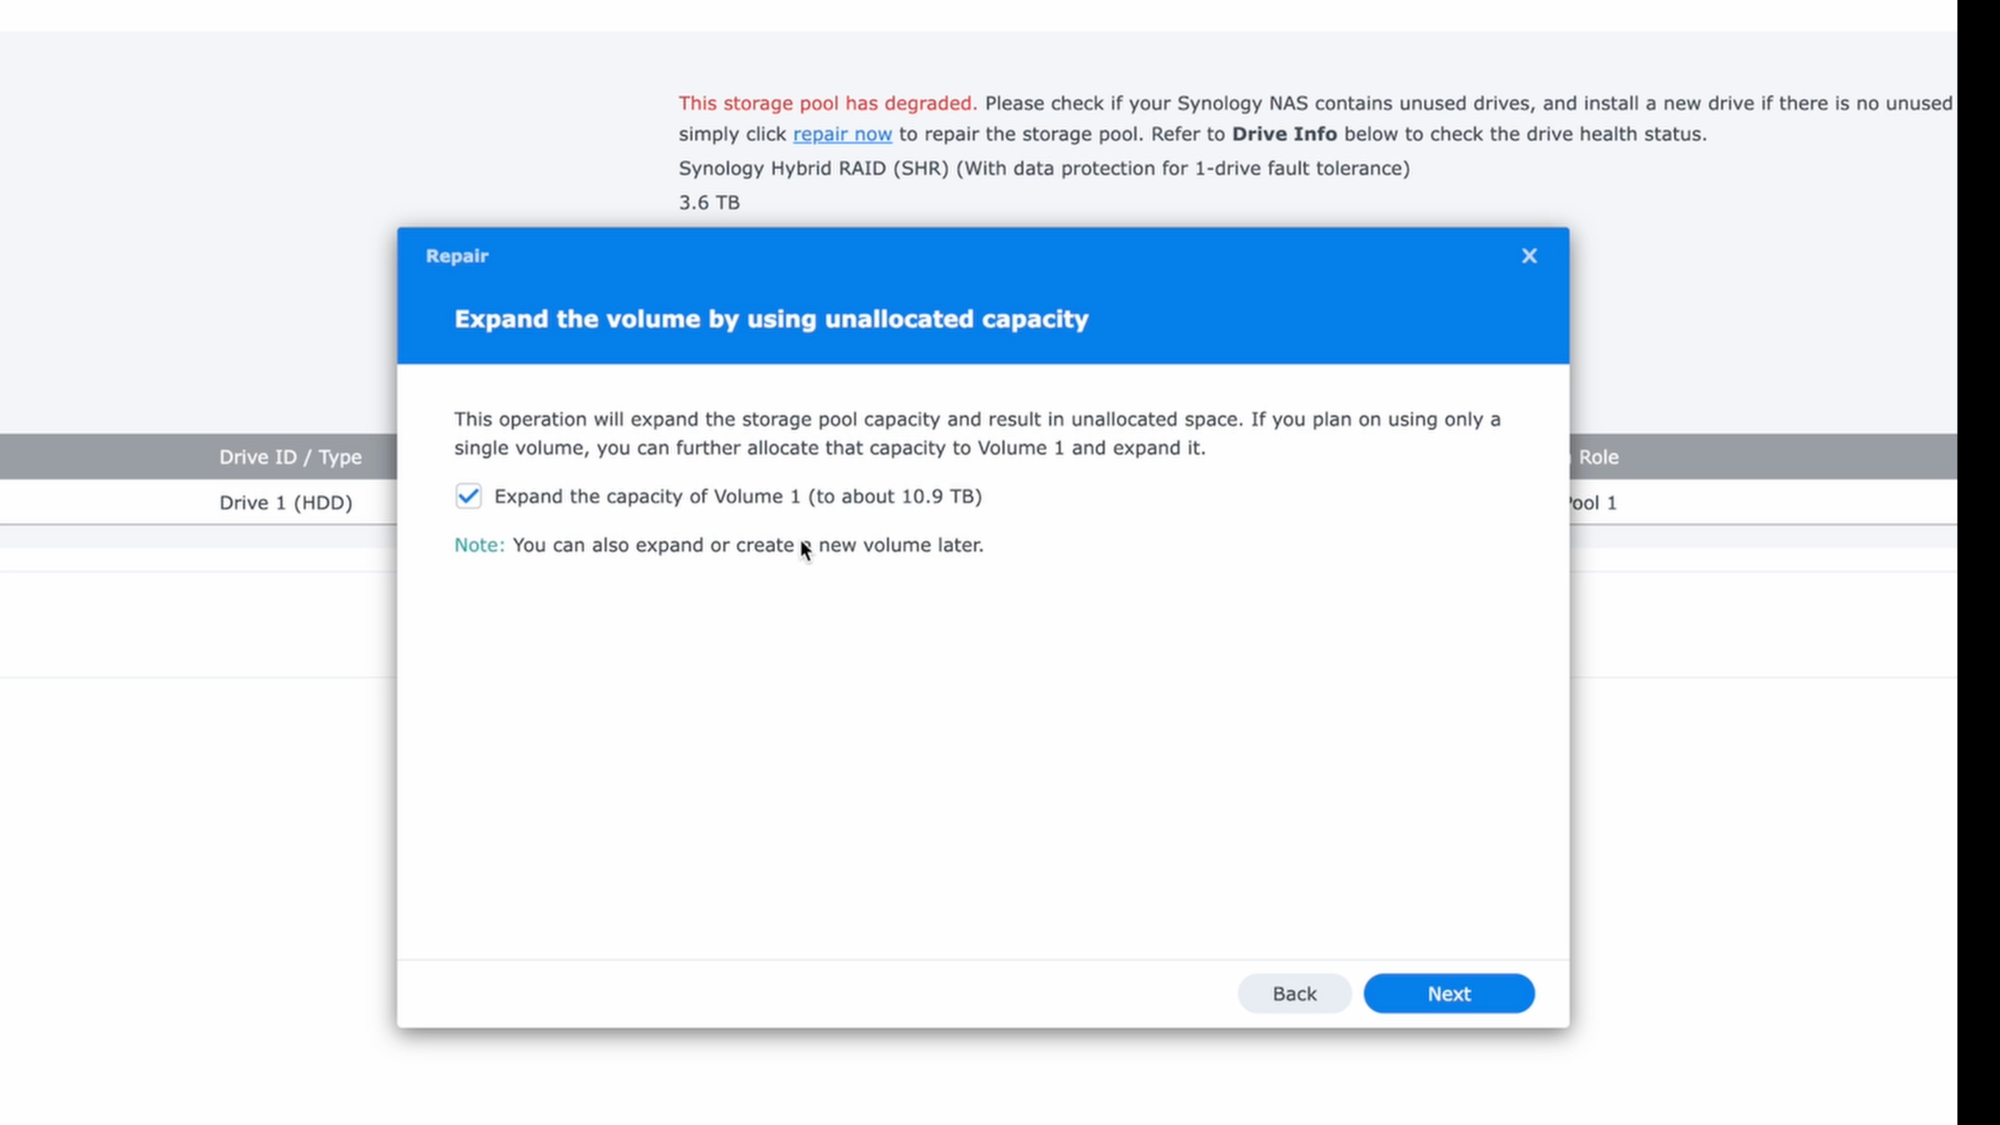
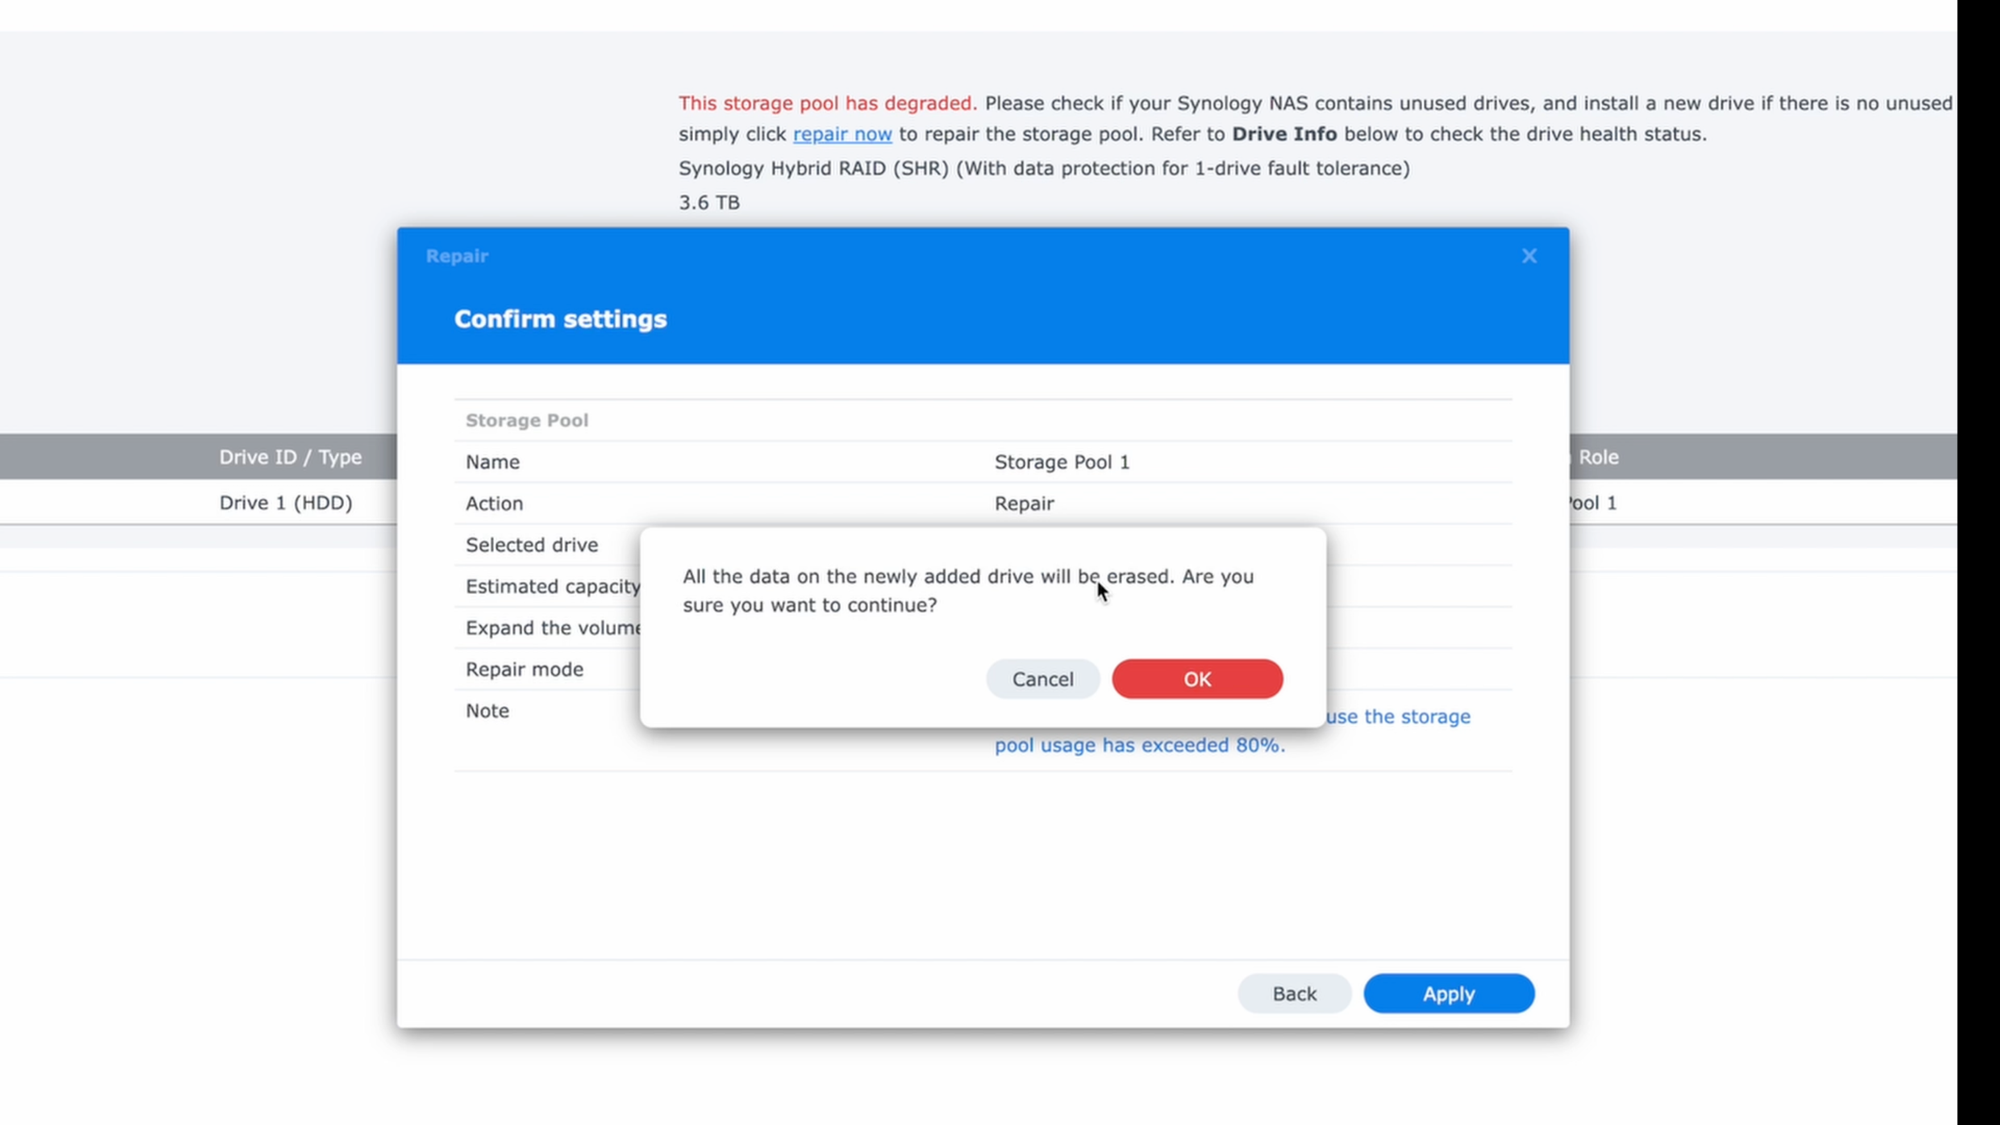
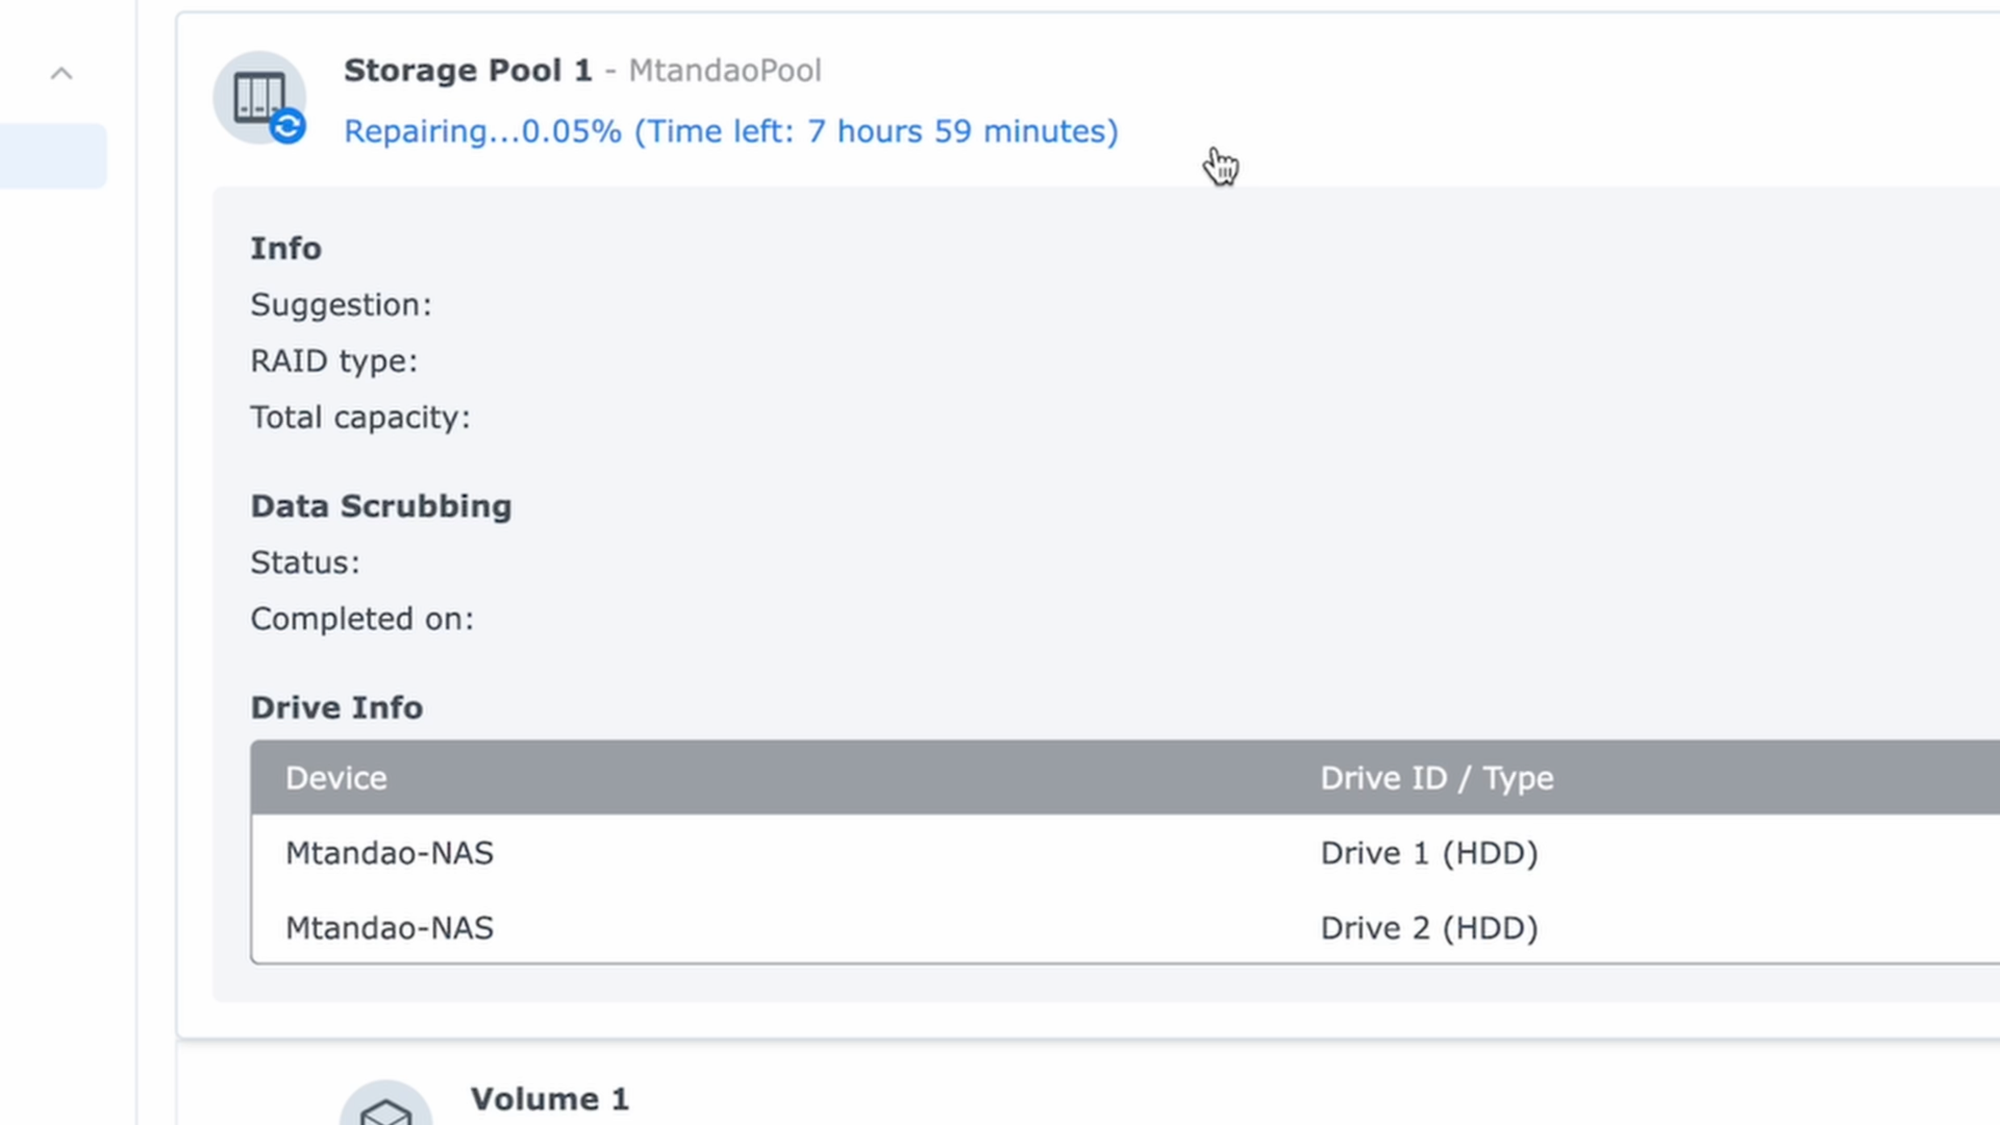
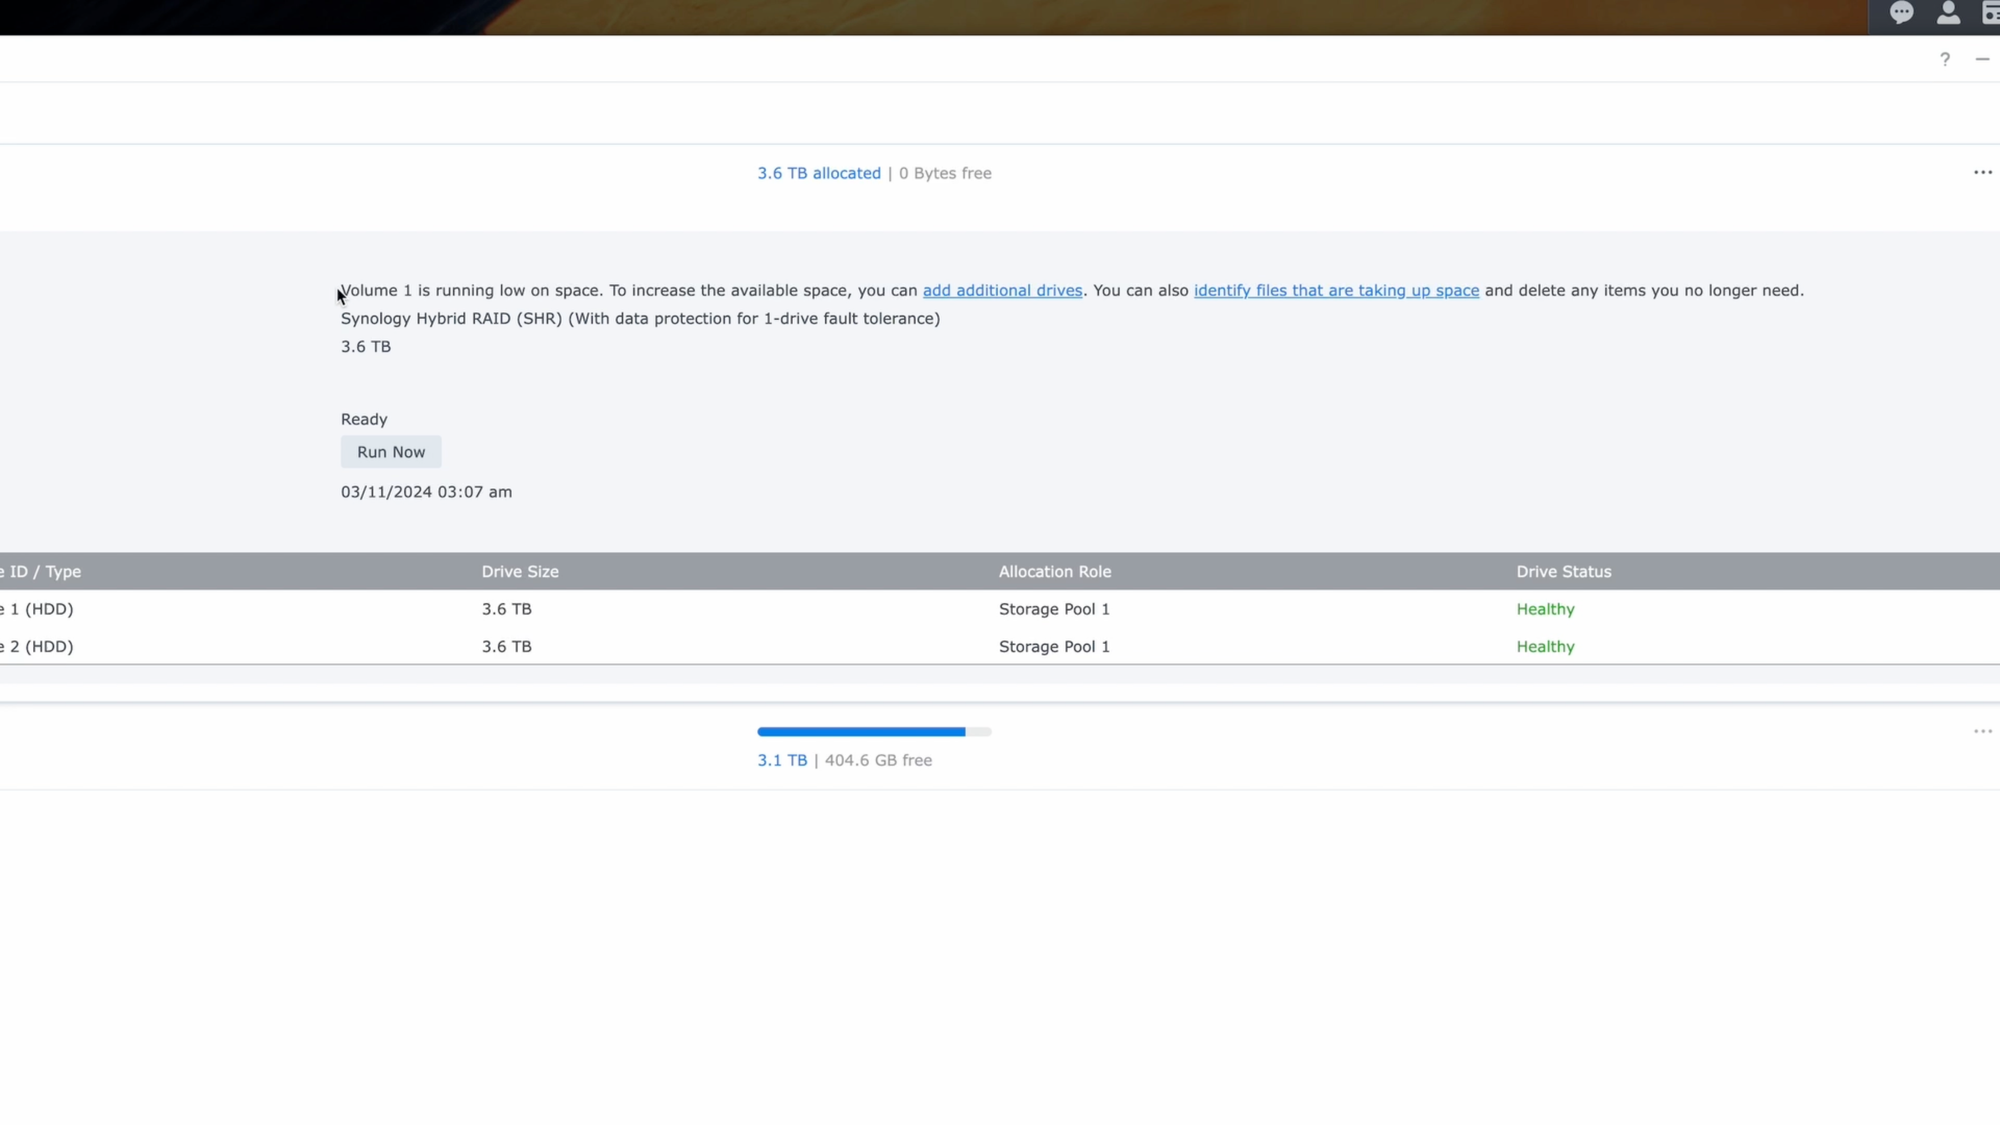
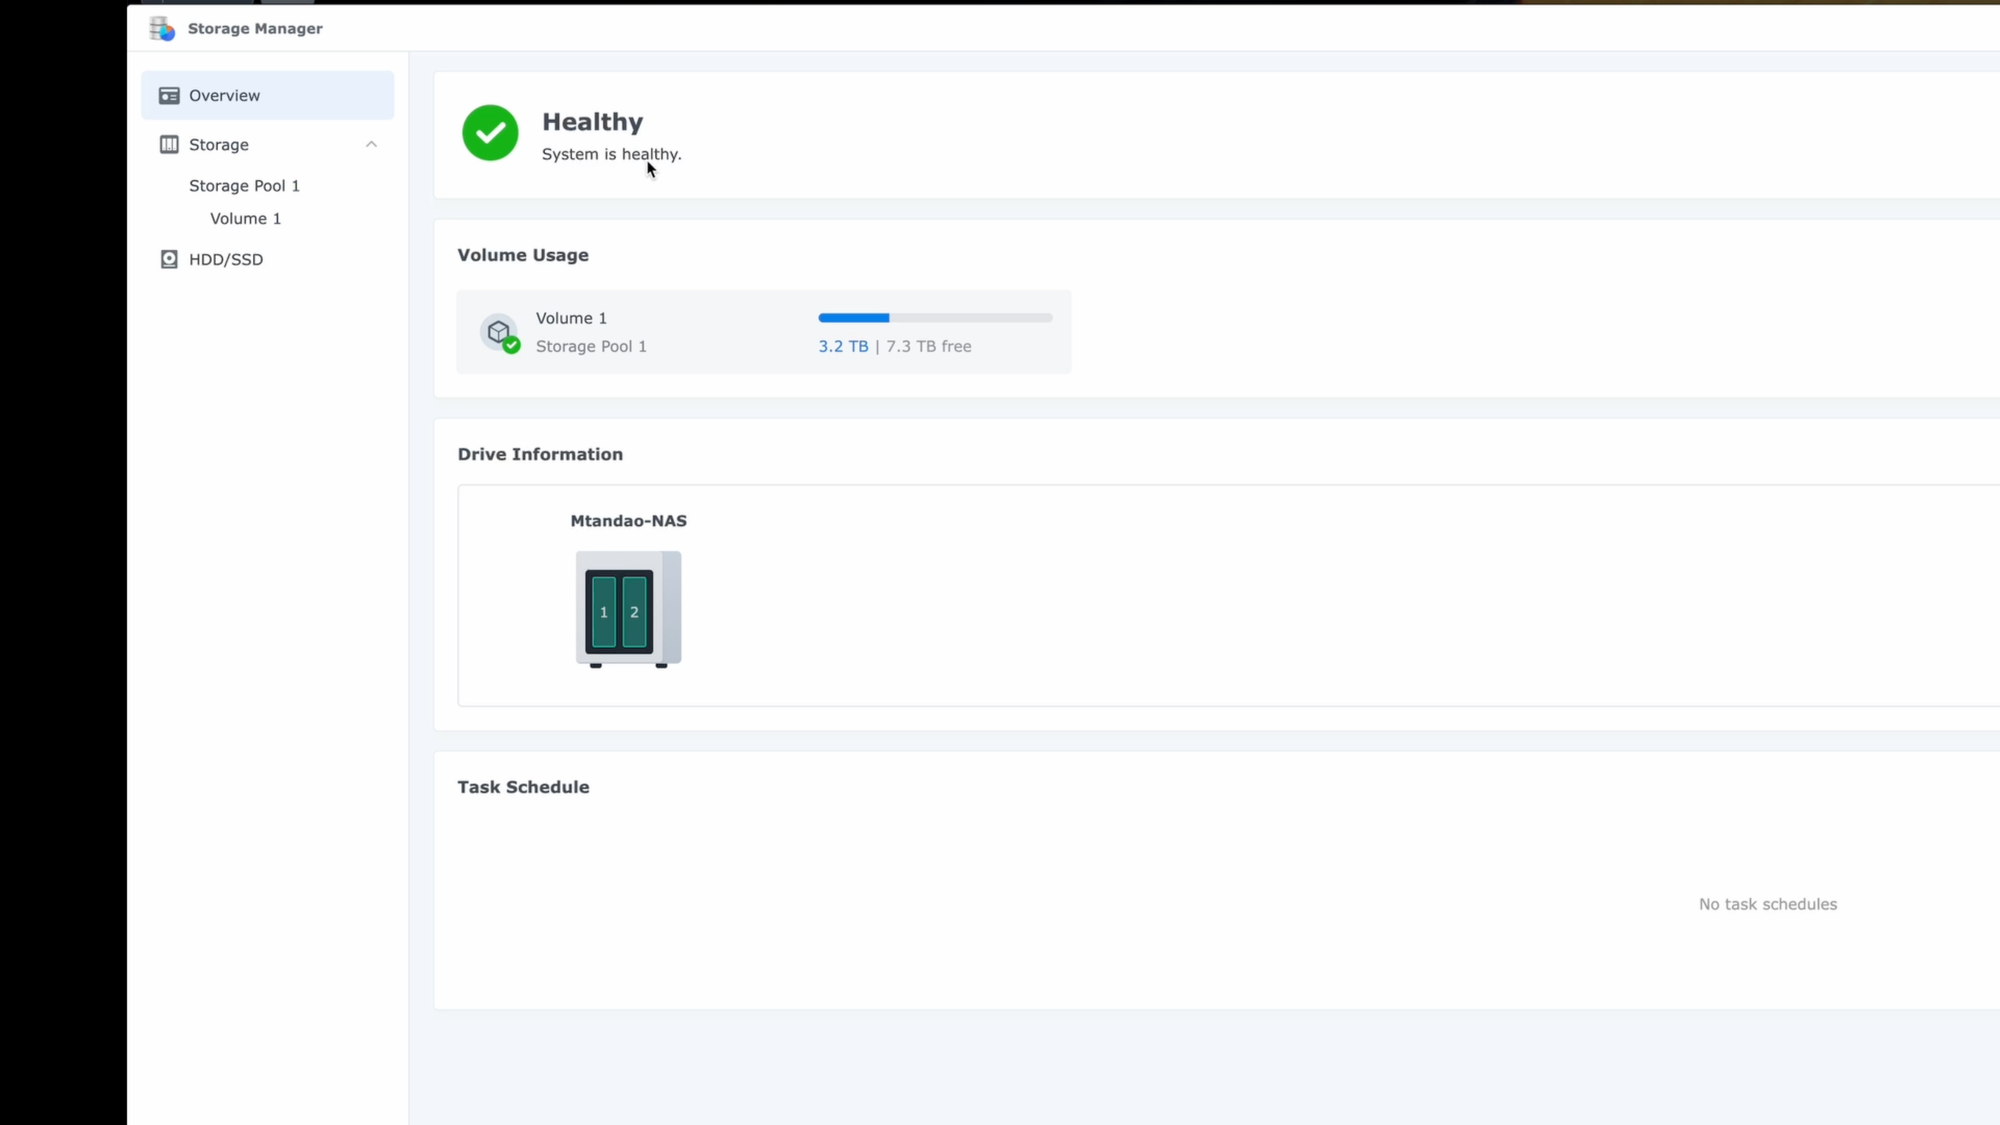
The best way to follow along is to watch the video below.
Watch on YouTube
Featured Tech
Synology 2-bay NAS DS220+: https://amzn.to/3VnWmmS
Seagate IronWolf 4TB NAS Internal HDD: https://amzn.to/4aeuTsa
Seagate IronWolf 8TB NAS Internal HDD: https://amzn.to/3TBetoa
Seagate IronWolf 12TB NAS Internal HDD: https://amzn.to/3W22zUl