How to Install Home Assistant on a Mini PC
Why I migrated my Home Assistant from a Raspberry Pi 4 to a mini PC, and step-by-step how to do it. I'll recommend mini PCs to use, and show you the troubleshooting tips not covered in official documentation.
Introduction
It’s been about three years since I started managing my entire smart home using Home Assistant. If you don’t know what it is, Home Assistant is an open source home automation platform.
One of the first decisions that I had to make was how to install Home Assistant on some device. At the time, all the options…sounded a little complicated. And now, well, there are even more options to choose from.
I’m going to tell you why I first setup Home Assistant on a Raspberry Pi, and why I then migrated to a mini PC. I’ll also show you exactly how to do it, including all the stuff not covered in the official documentation. And at the end, I’ll go over some troubleshooting tips in case you get stuck.
Main Points
Why I first chose a Raspberry Pi
Today, the most plug-and-play way to get started would be to get Home Assistant Green. But, this didn’t exist when I moved over to Home Assistant.
At the time, the easiest installation method was doing a DIY approach using a Raspberry Pi. Raspberry Pi is a tiny, low-cost computer, and one of the most popular ways to run Home Assistant.
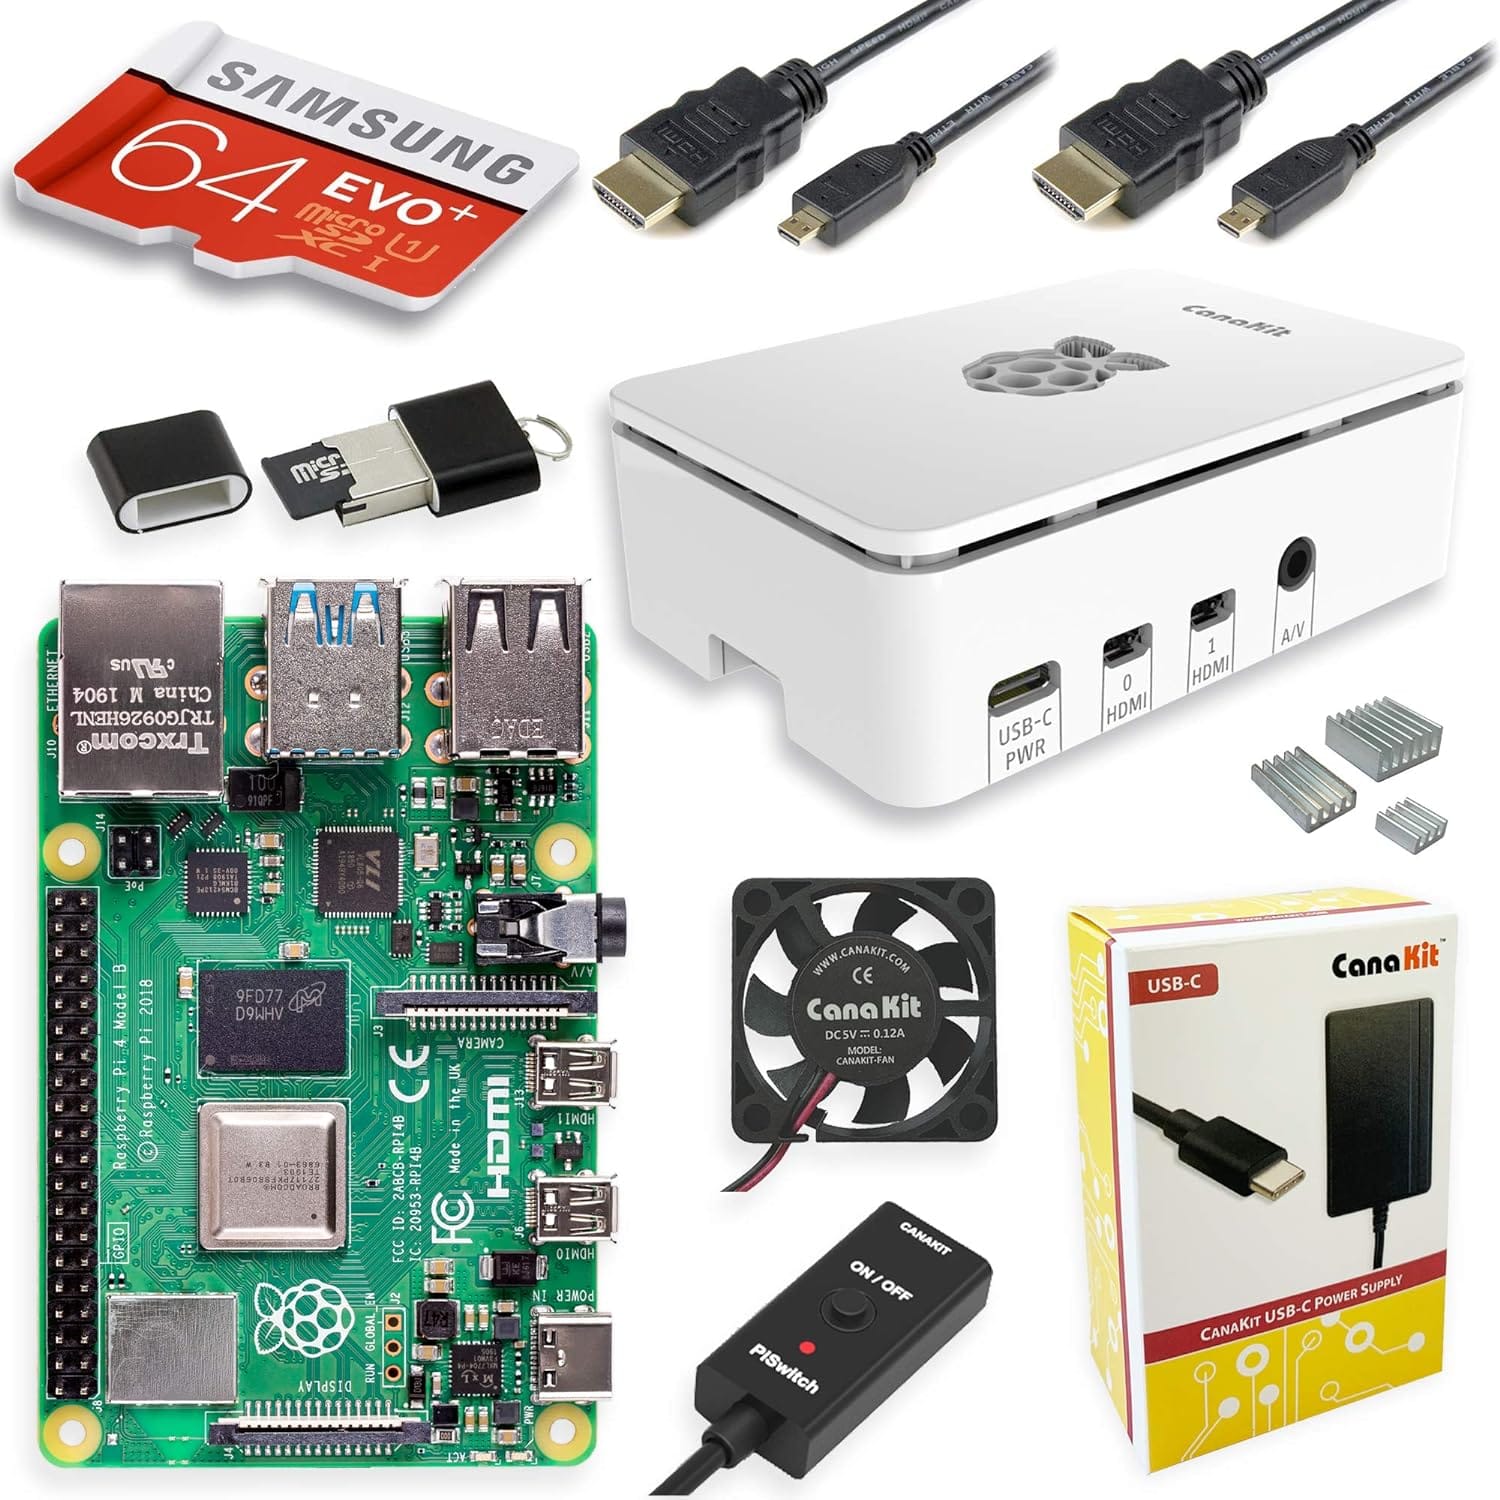
I did some research, and purchased a CanaKit Raspberry Pi 4 Starter MAX Kit for $125. This price has gone up around $20 since I purchased. It had 4GB of RAM and a 64GB SD card for storage, and it’s a great little device that is more than capable of running Home Assistant.
Why I switched to a mini PC
But the deeper I got sucked into the Home Assistant vortex, the more I found yourself opting for more complex, DIY approaches. For me, it’s about the fun of learning a new skill, and the utility of opening up new possibilities that I could not do otherwise.
The Raspberry Pi 4 is perfectly suited to run Home Assistant. But if you want to explore the world of self-hosting with a hypervisor like Proxmox, or open source NVRs for smart home cameras such as Frigate or Scrypted, or media software like Plex or Jellyfin, you’ll want some more capable hardware.
You can also install Home Assistant bare metal on an Intel NUC or mini PC — also referred to as x86-64 machines — without the need for setting up and managing virtual environments. That’s what I’ve done for now, and I will show you exactly how to do it.
Installing Home Assistant alone on an x86 machine may be considered overkill, but it does result in some nice speed improvements over a Raspberry Pi. But…how much faster?
Which mini PC should you use
Well, that depends on your exact hardware, which brings me to which mini PC to get, and the machine that I decided to go with.
The Intel NUC is the classic option in the category of x86 machines, but the Intel NUC was at least a couple hundred dollars for a used one. Alternatively, I looked at a used thin client like the Dell Wyse 5070 for less than $50, but I would have had to buy and install additional memory and storage. I also seriously considered a used Dell Optiplex, which was around $150. eBay is a helpful place to search for a used mini PC, and any of these options would have been fine.
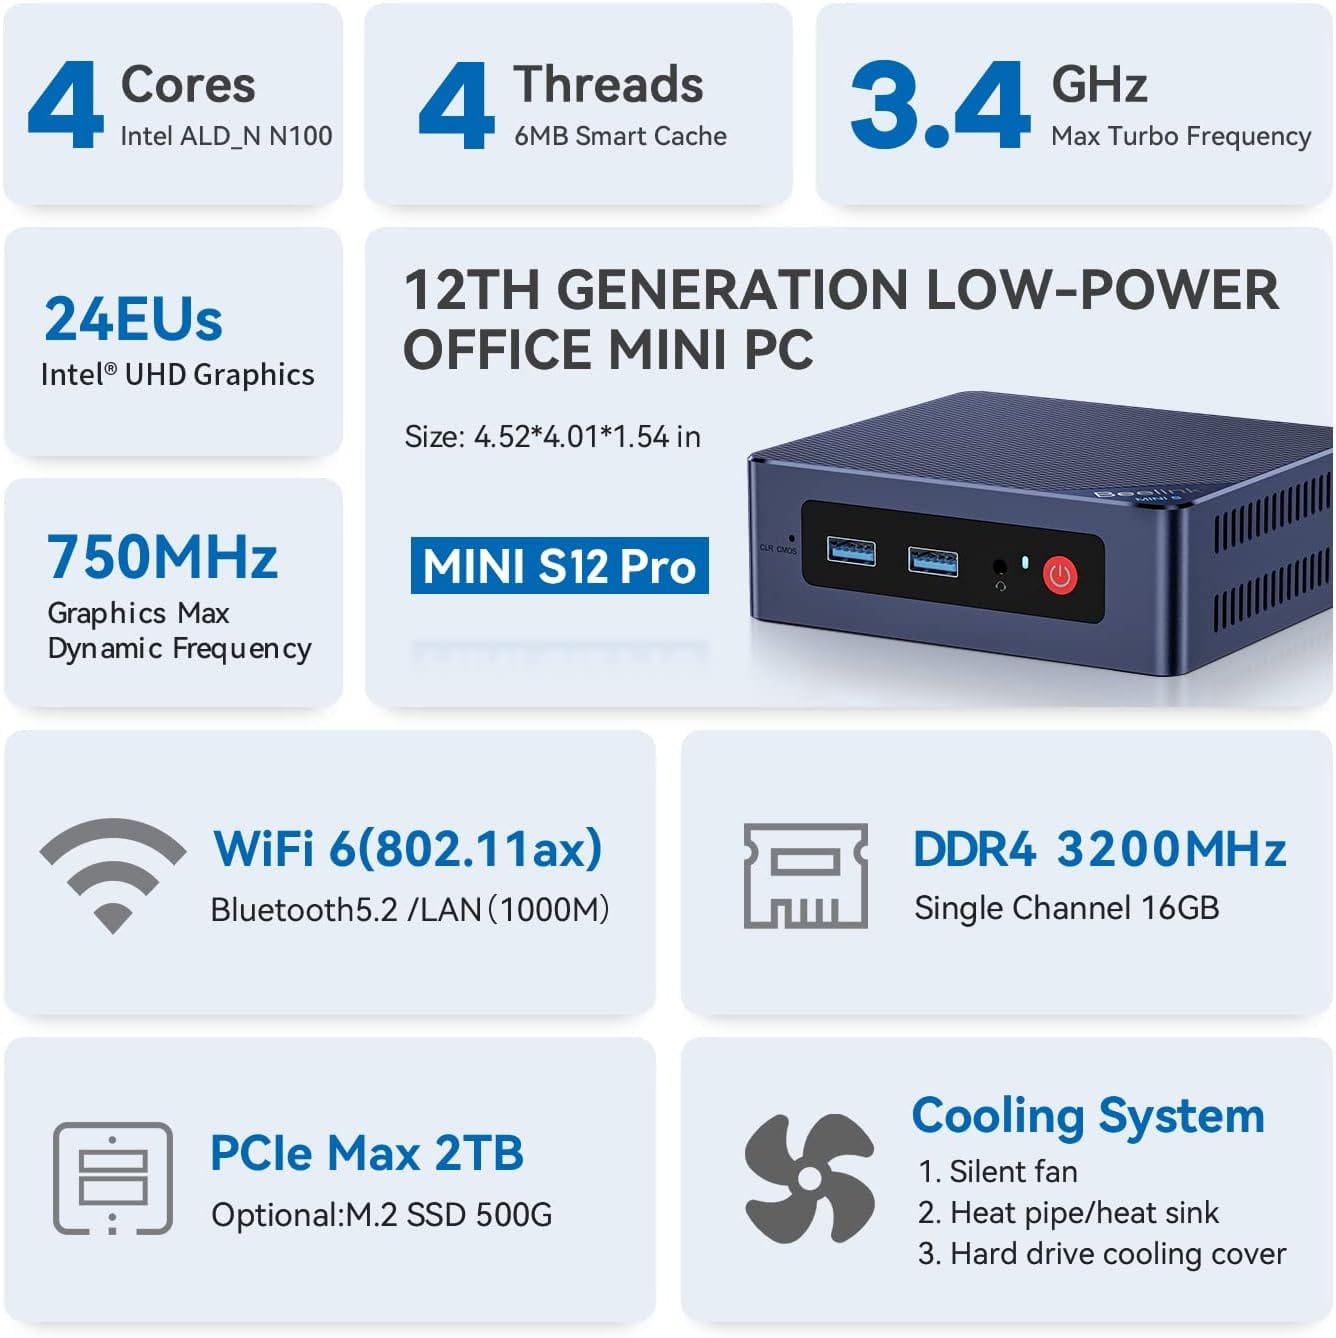
But I decided to go with a new, Beelink S12 Pro for $159 on Amazon. At essentially the same cost as a Raspberry Pi 4, I was getting a far more capable machine.
The Beelink S12 Pro has a 12th gen Intel Alder-Lake N100 processor, 16GB of DDR4 RAM and 500GB M.2 SSD both of which are upgradeable, WiFi 6, and Bluetooth 5.2.
Even though the Beelink S12 Pro has much greater performance than a Raspberry Pi 4, it is still efficient with an idle power consumption of 5-6 watts, which is not much more than a Raspberry Pi 4. If you are shopping for a mini PC, you’ll want to consider how much power it will draw if it’s going to be on 24/7.
The Beelink also has four USB 3.2 Gen 2 ports supporting 10Gbps speeds, 2 HDMI 2.0 ports with support for dual 4K displays, Gigabit Ethernet, and an audio jack. It comes with a power cable, a couple HDMI cables, and a bracket and screws for mounting on the back of a monitor.
How my mini PC performs
So, yeah, probably overkill for just running Home Assistant. But if nothing else, I’m already enjoying the speed improvements. I had heard people talk about a mini PC being “faster,” but what did this even mean?
Let’s look at few tasks that you frequently do in Home Assistant.
It took me about 10 minutes to update Home Assistant on the Raspberry Pi, but just 1 minute on the mini PC. It would take about 2 minutes to restart Home Assistant on a Raspberry Pi, but just 30 seconds on the mini PC. Additionally, opening Studio Code Server and validating devices in ESPHome are nearly instantaneous on the mini PC.
Table: Raspberry Pi 4 vs. Beelink S12 Pro Mini PC
| Raspberry Pi 4 | Mini PC | |
|---|---|---|
| Processor | 1.5GHz 64-bit quad-core ARMv8 CPU | 12th Intel Alder Lake-N100 (up to 3.4Ghz) |
| Memory | 4GB RAM | 16GB DDR4 |
| Storage | 64GB Class 10 MicroSD Card | 500GB M.2 SSD |
| Home Assistant - Updates | 10 minutes | 1 minute |
| Home Assistant - Restarts | 2 minutes | 30 seconds |
| Opening Studio Code Server | 10 seconds | 2 seconds |
| Validating in ESPHome | 7 seconds | 3 seconds |
What you’ll need to install Home Assistant on a mini PC (x86-64 machine)
I’m gonna show you how to setup Home Assistant on a mini PC, starting with what you’ll need:
- You’ll need your everyday computer. Whatever laptop or PC you typically use for work or personal computer stuff. You’ll use this to download the necessary software and applications.
- You’ll need an x86 machine. This is the device that will run the Home Assistant operating system, or OS. In my case, the Beelink S12 Pro.
- You’ll need a wired keyboard and mouse, or at least ones with a USB receiver — not Bluetooth. Home Assistant is meant to run headless, meaning it doesn’t require a keyboard, mouse, or monitor to run. However, I don’t see how you would complete installation on an x86 machine without them.
- You’ll need a computer monitor and a monitor cable. If you purchase the Beelink S12 Pro using the link in the description, it comes with an HDMI cable to connect a display. Again, this is only for the installation, and not for ongoing use of Home Assistant. For that reason, I suggest using a keyboard, mouse, and monitor that you already have at home.
- You’ll need an ethernet cable. The Beelink S12 Pro supports WiFi, but you’ll want Ethernet both for installation and ongoing use.
- You’ll need an 8GB or larger USB stick or drive.
- You’ll need a backup of your Home Assistant. However, this is only needed if you are an existing Home Assistant user who is migrating Home Assistant from one device to a mini PC.
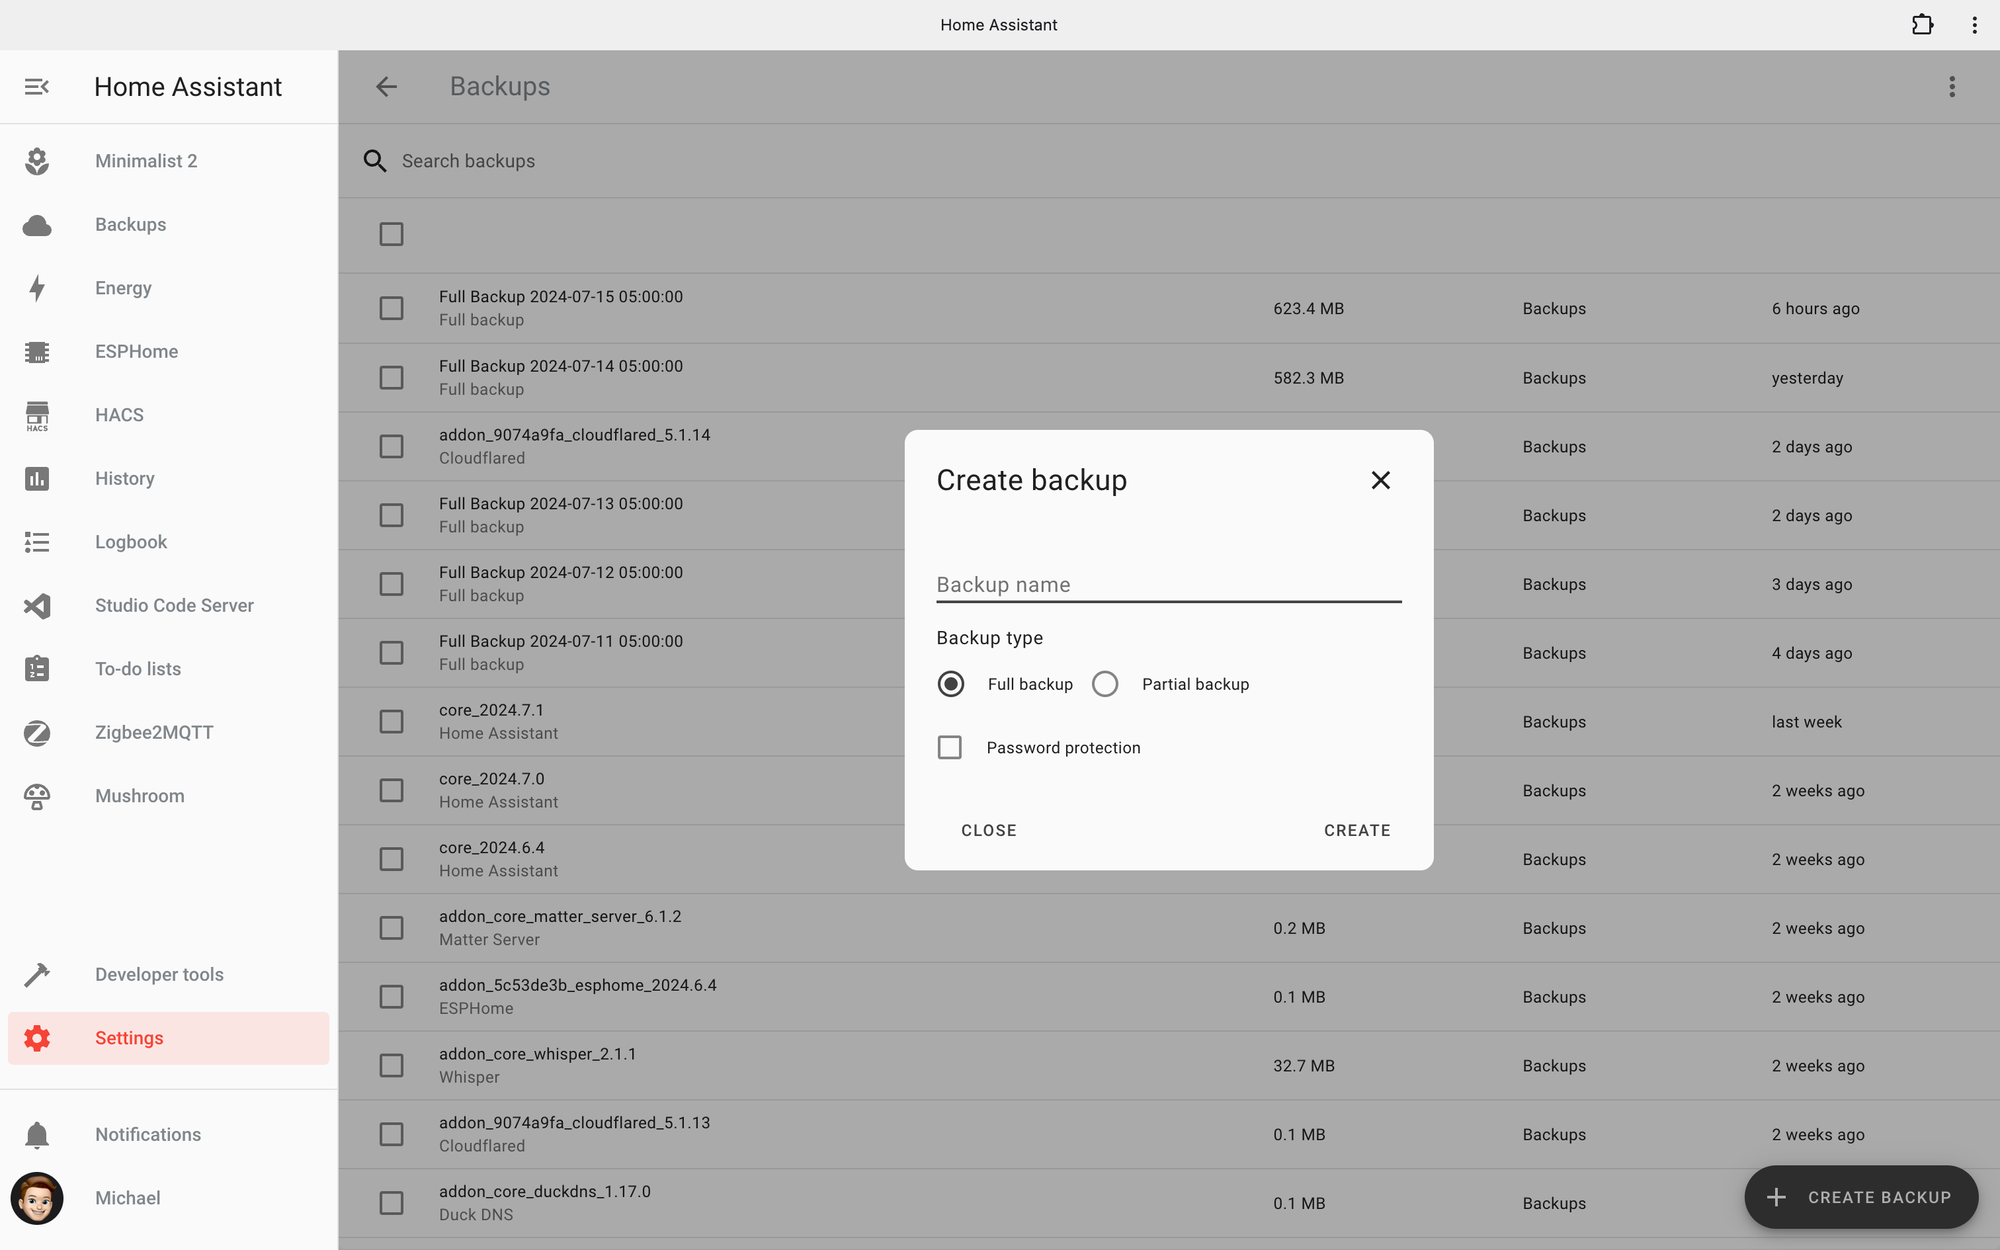
You can create a backup of an existing Home Assistant by going to Settings > System > Backups > click Create Backup > give your backup a name > choose Full Backup > click Create. This will create a backup file which I’ll show you how to use later in this video.
Preparing the mini PC for installation
Alright, time to set this thing set up. There are two high level steps to complete:
- Configuring the x86 machine to use UEFI boot mode
- writing the Home Assistant Operating System disk image to the boot medium
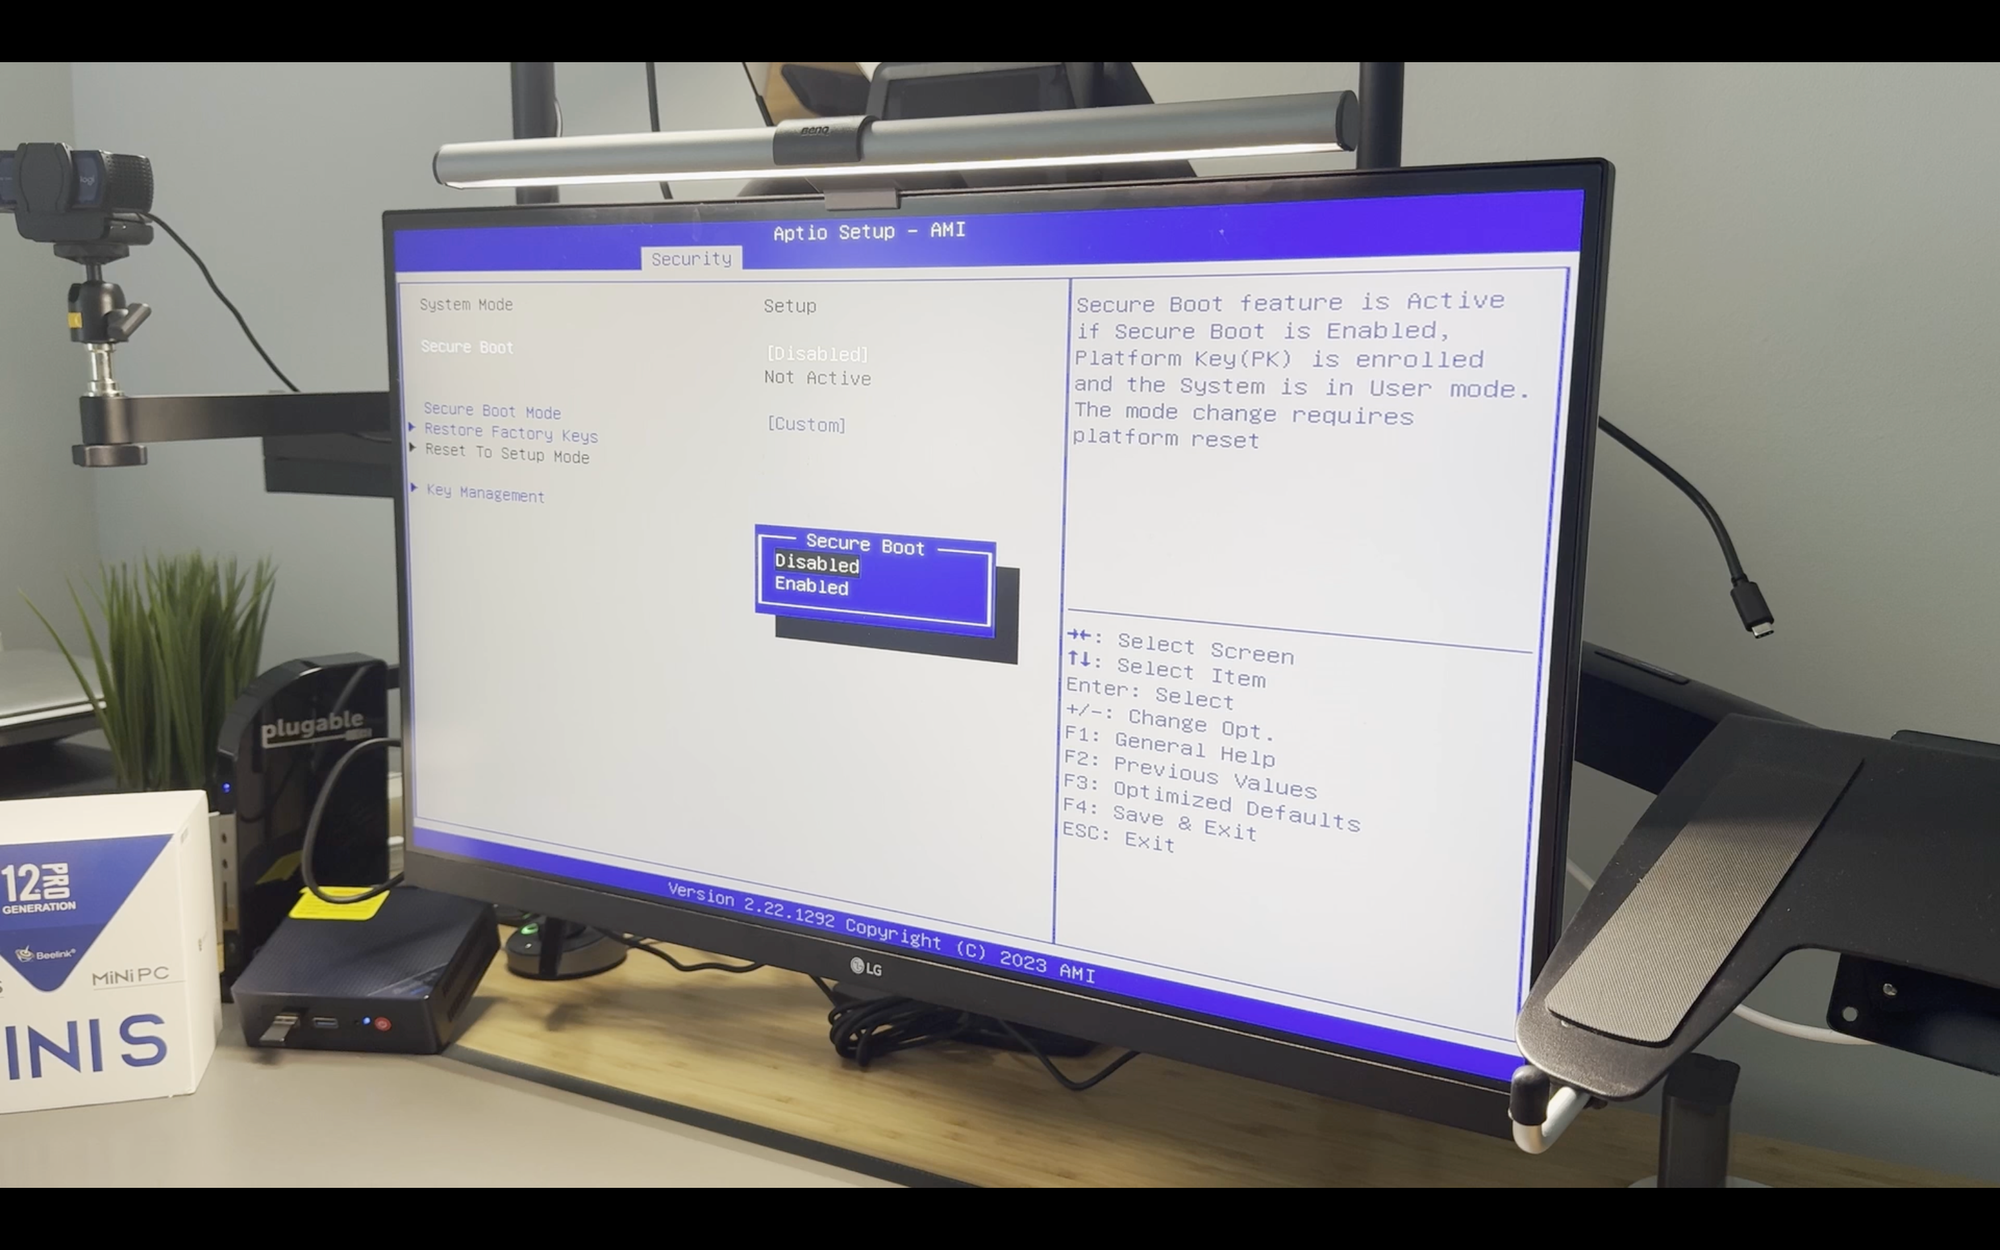
Booting Home Assistant OS requires the machine’s BIOS to have UEFI boot mode enabled, and Secure Boot disabled. My Beelink S12 Pro was configured this way from the start, but yours may not be.
To enter the BIOS, power on your x86 machine, and then press the DELETE key repeatedly. However, the DELETE key is specific to entering the BIOS on a Beelink. If you have a different machine, do a Google search for what key to press to enter the BIOS.
Once in the BIOS, use the keyboard’s arrow keys to navigate the settings and ensure UEFI Boot mode is enabled, and Secure Boot is disabled. Save any changes and exit.
Writing the Home Assistant OS image
Now, it’s time to write the Home Assistant OS image to the boot medium. This is the medium the x86 machine will boot from when running Home Assistant. The medium is typically the hard disk or SSD of the machine. In my case, it was the M.2 SSD.
There are a couple ways to write the Home Assistant OS image to the boot medium. I’m going to focus on the way I did it, which is also the recommended way. I’m going to boot Ubuntu from a USB drive, and install the Home Assistant OS from there. Ubuntu is an open source operating system on Linux.
Just know that this process will erase all data including any previously installed operating system on your x86 machine. Writing the Home Assistant OS to my Beelink S12 Pro erased the Windows 11 that came pre-installed, but that wasn’t a concern for me.
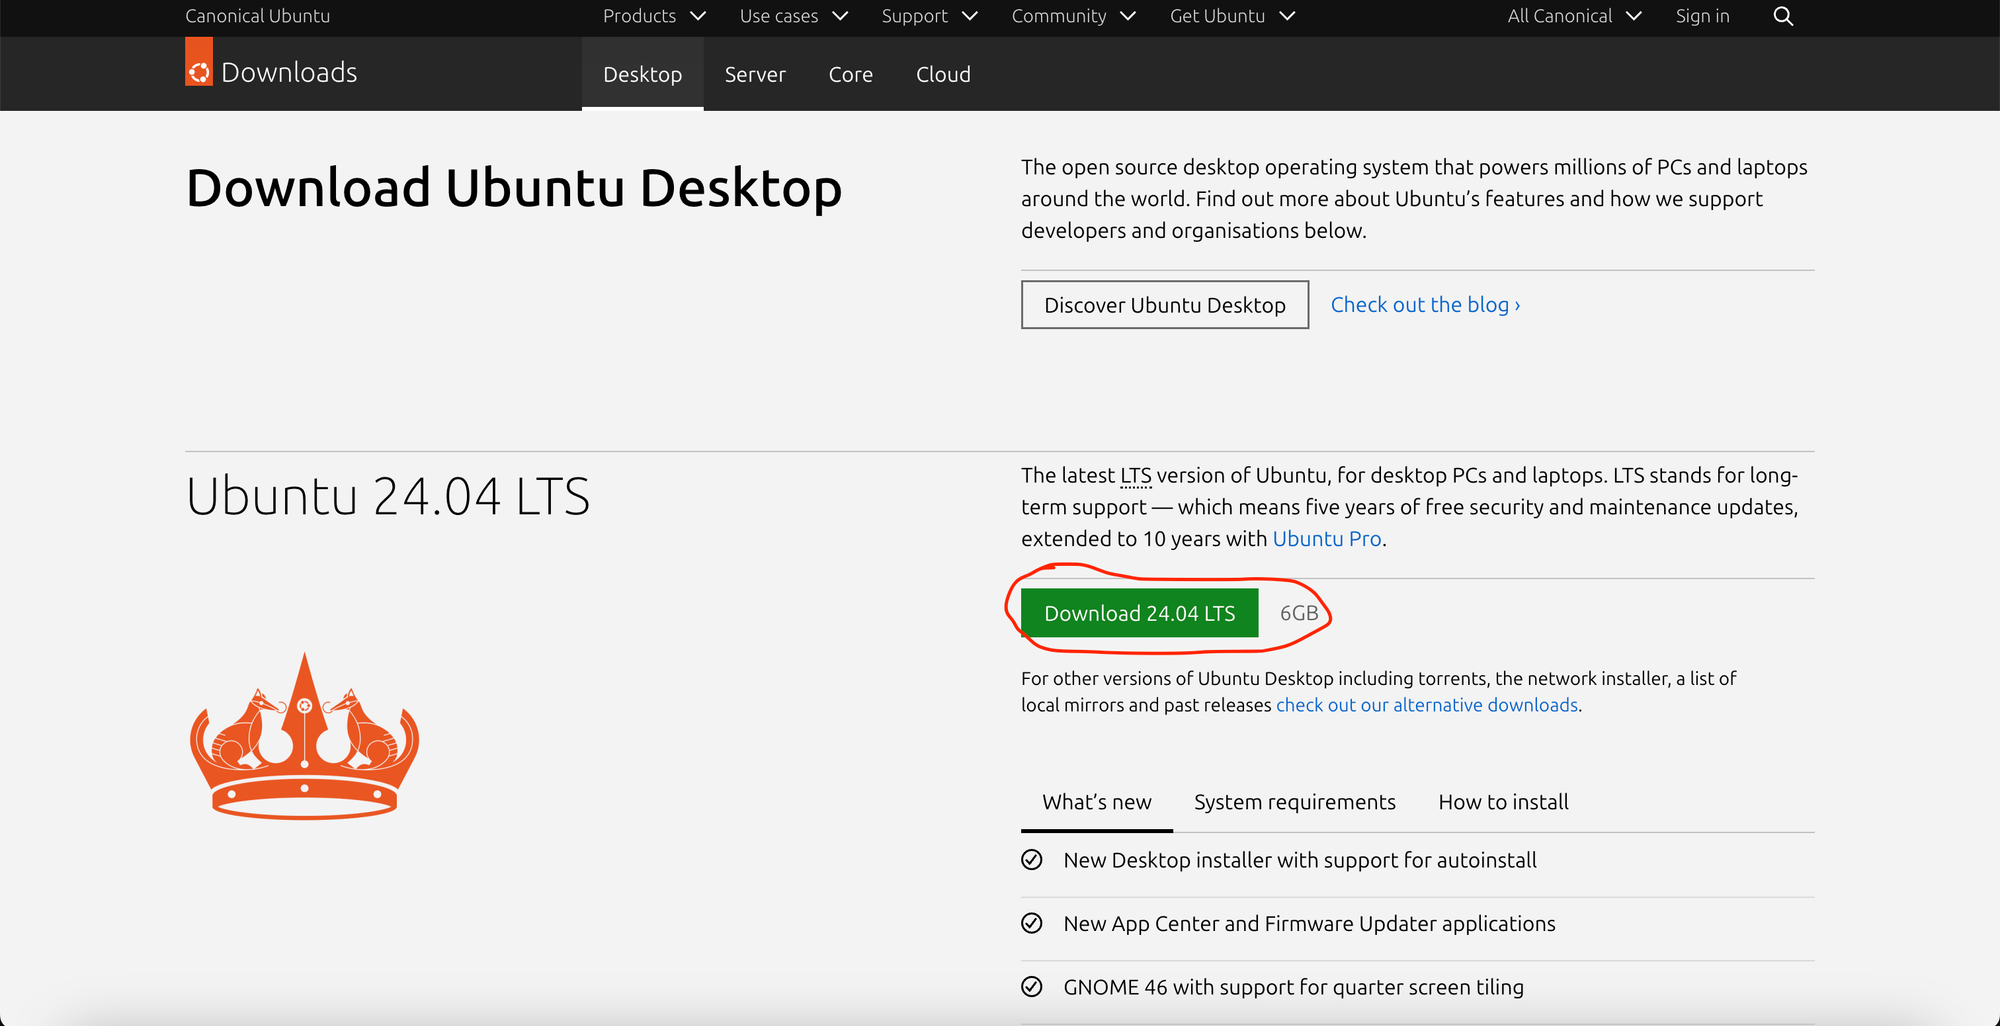
It’s now time to create a bootable USB stick using the Ubuntu operating system. Visit the Ubuntu website on your everyday computer — not your x86 machine — and download Ubuntu Desktop, which is about 6GB in size.
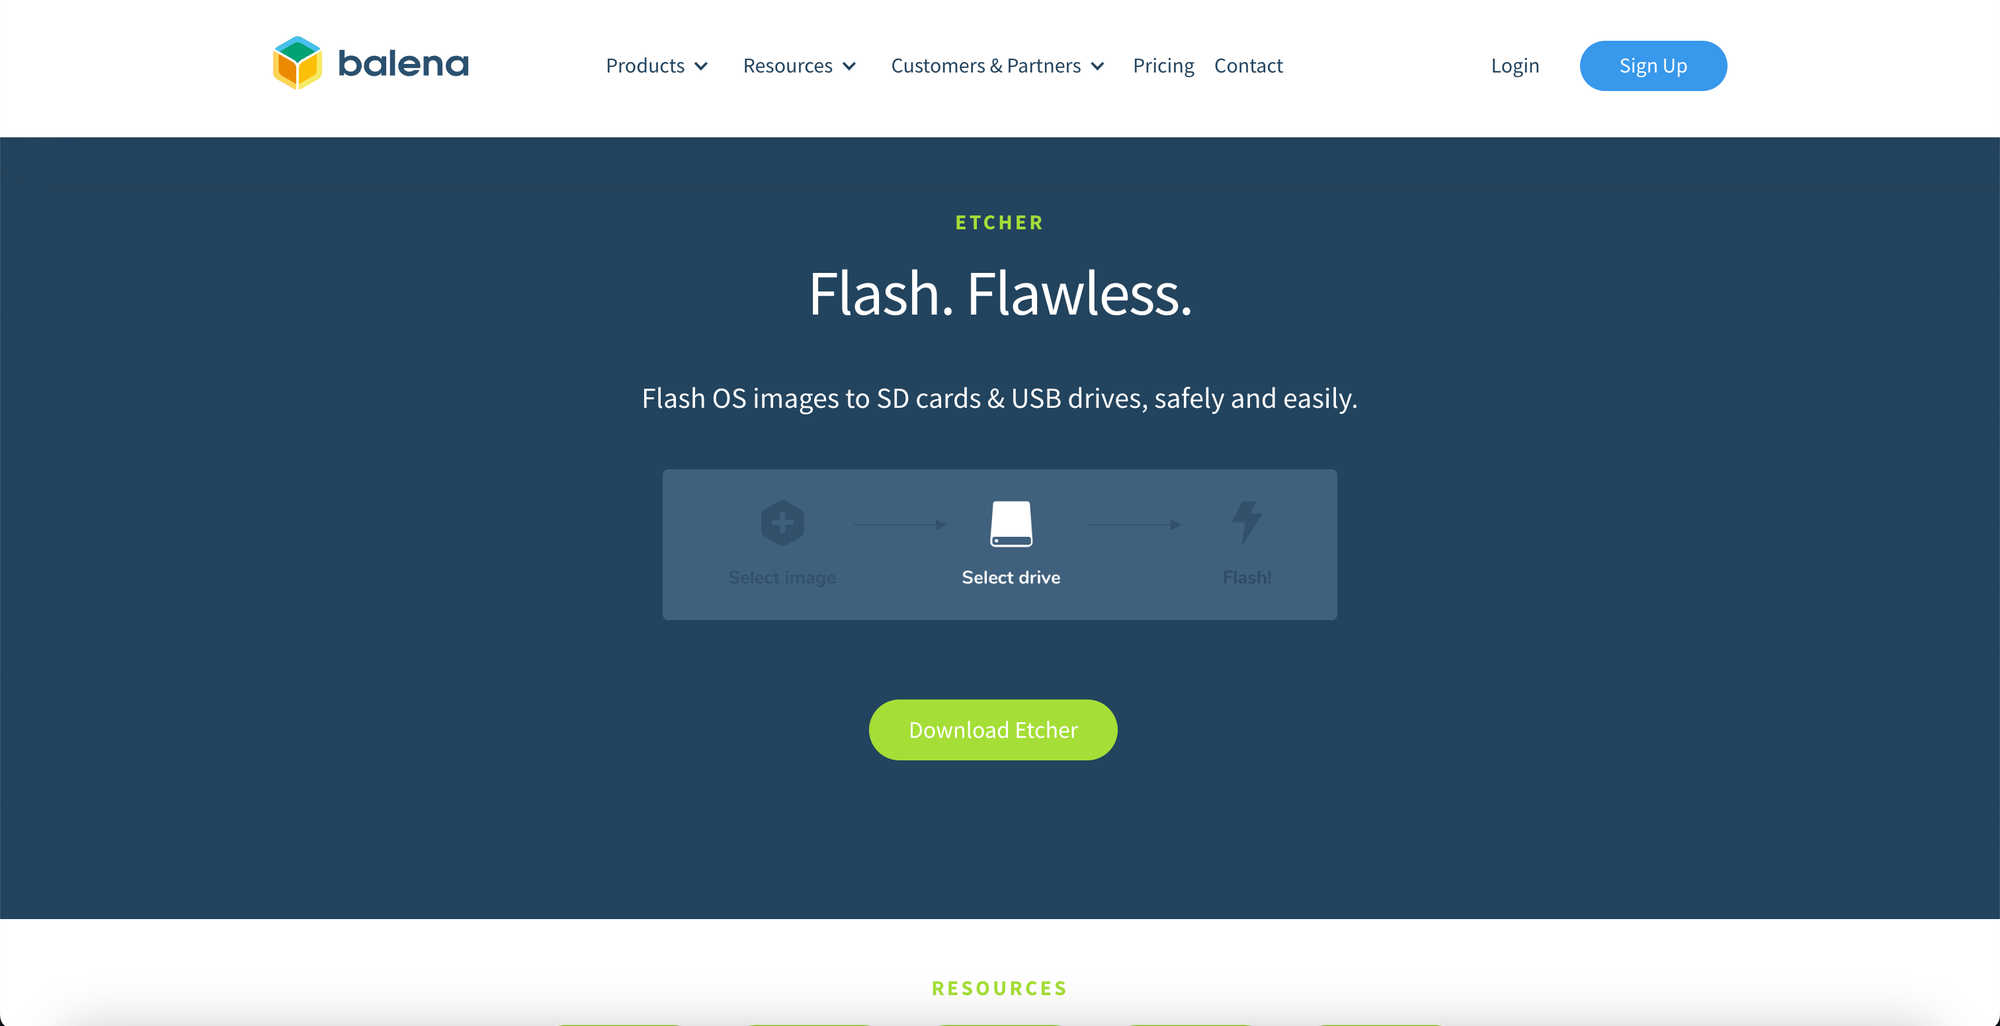
While that’s downloading, visit the Etcher website to download balenaEtcher on your everyday computer, which is a free and open source application for flashing OS images to SD cards and USB drives.
Open balenaEtcher, select the Ubuntu .iso file you downloaded, then select the USB stick where you’ll flash it, and then click Flash. This failed the first time I tried to do it, and I’ll share my troubleshooting tips later in this article.
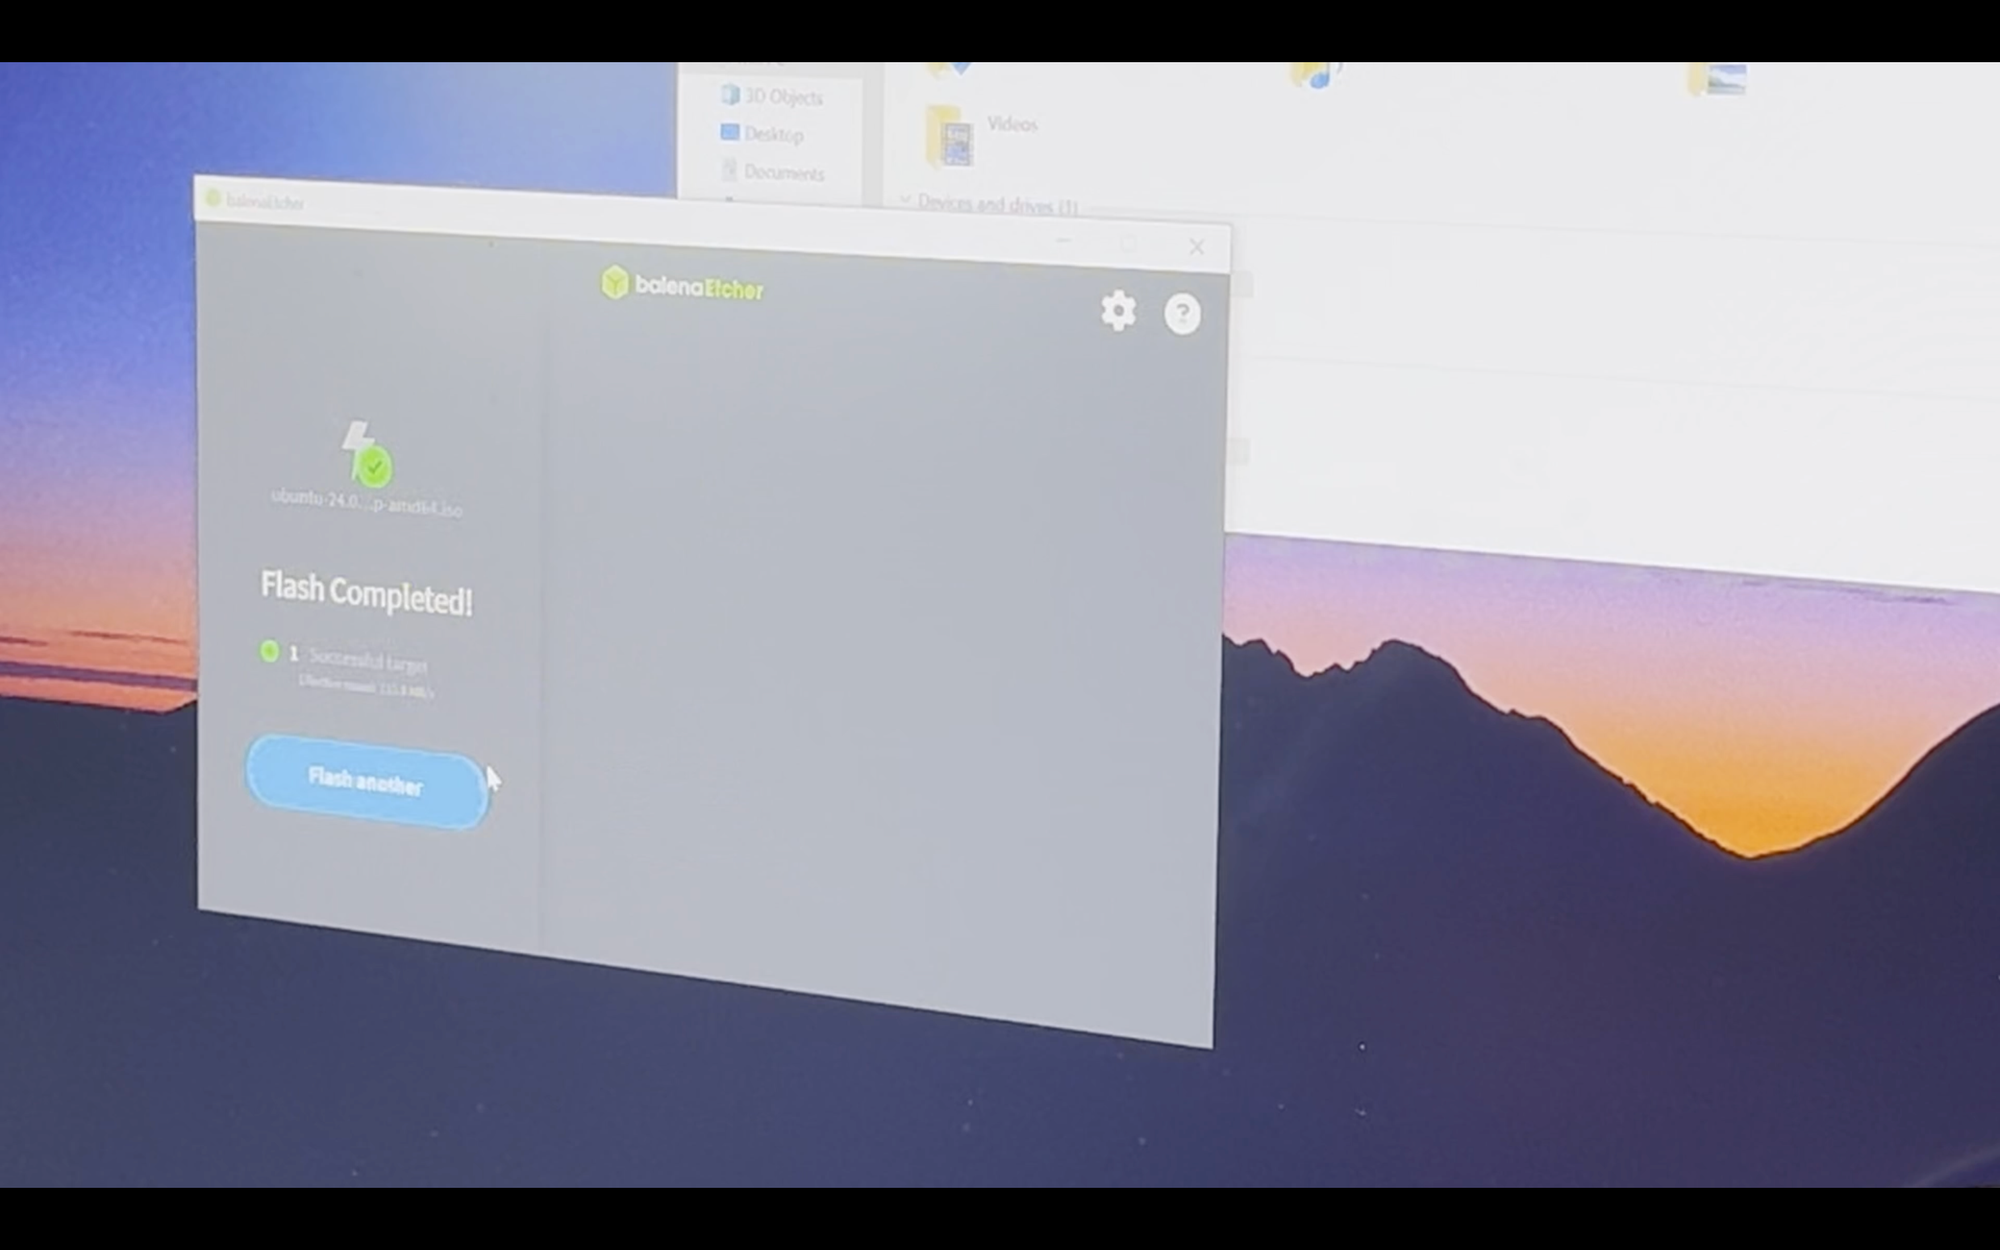
But once it flashes successfully, take that USB stick out of your everyday computer and insert it into the x86 machine where you’ll be installing Home Assistant. Power on that machine. If it does not boot into Ubuntu, you may need to adjust the boot order by pressing a certain key, such as F10, to select the USB flash drive as the boot device. None of this worked for me, which I’ll explain later in this video.
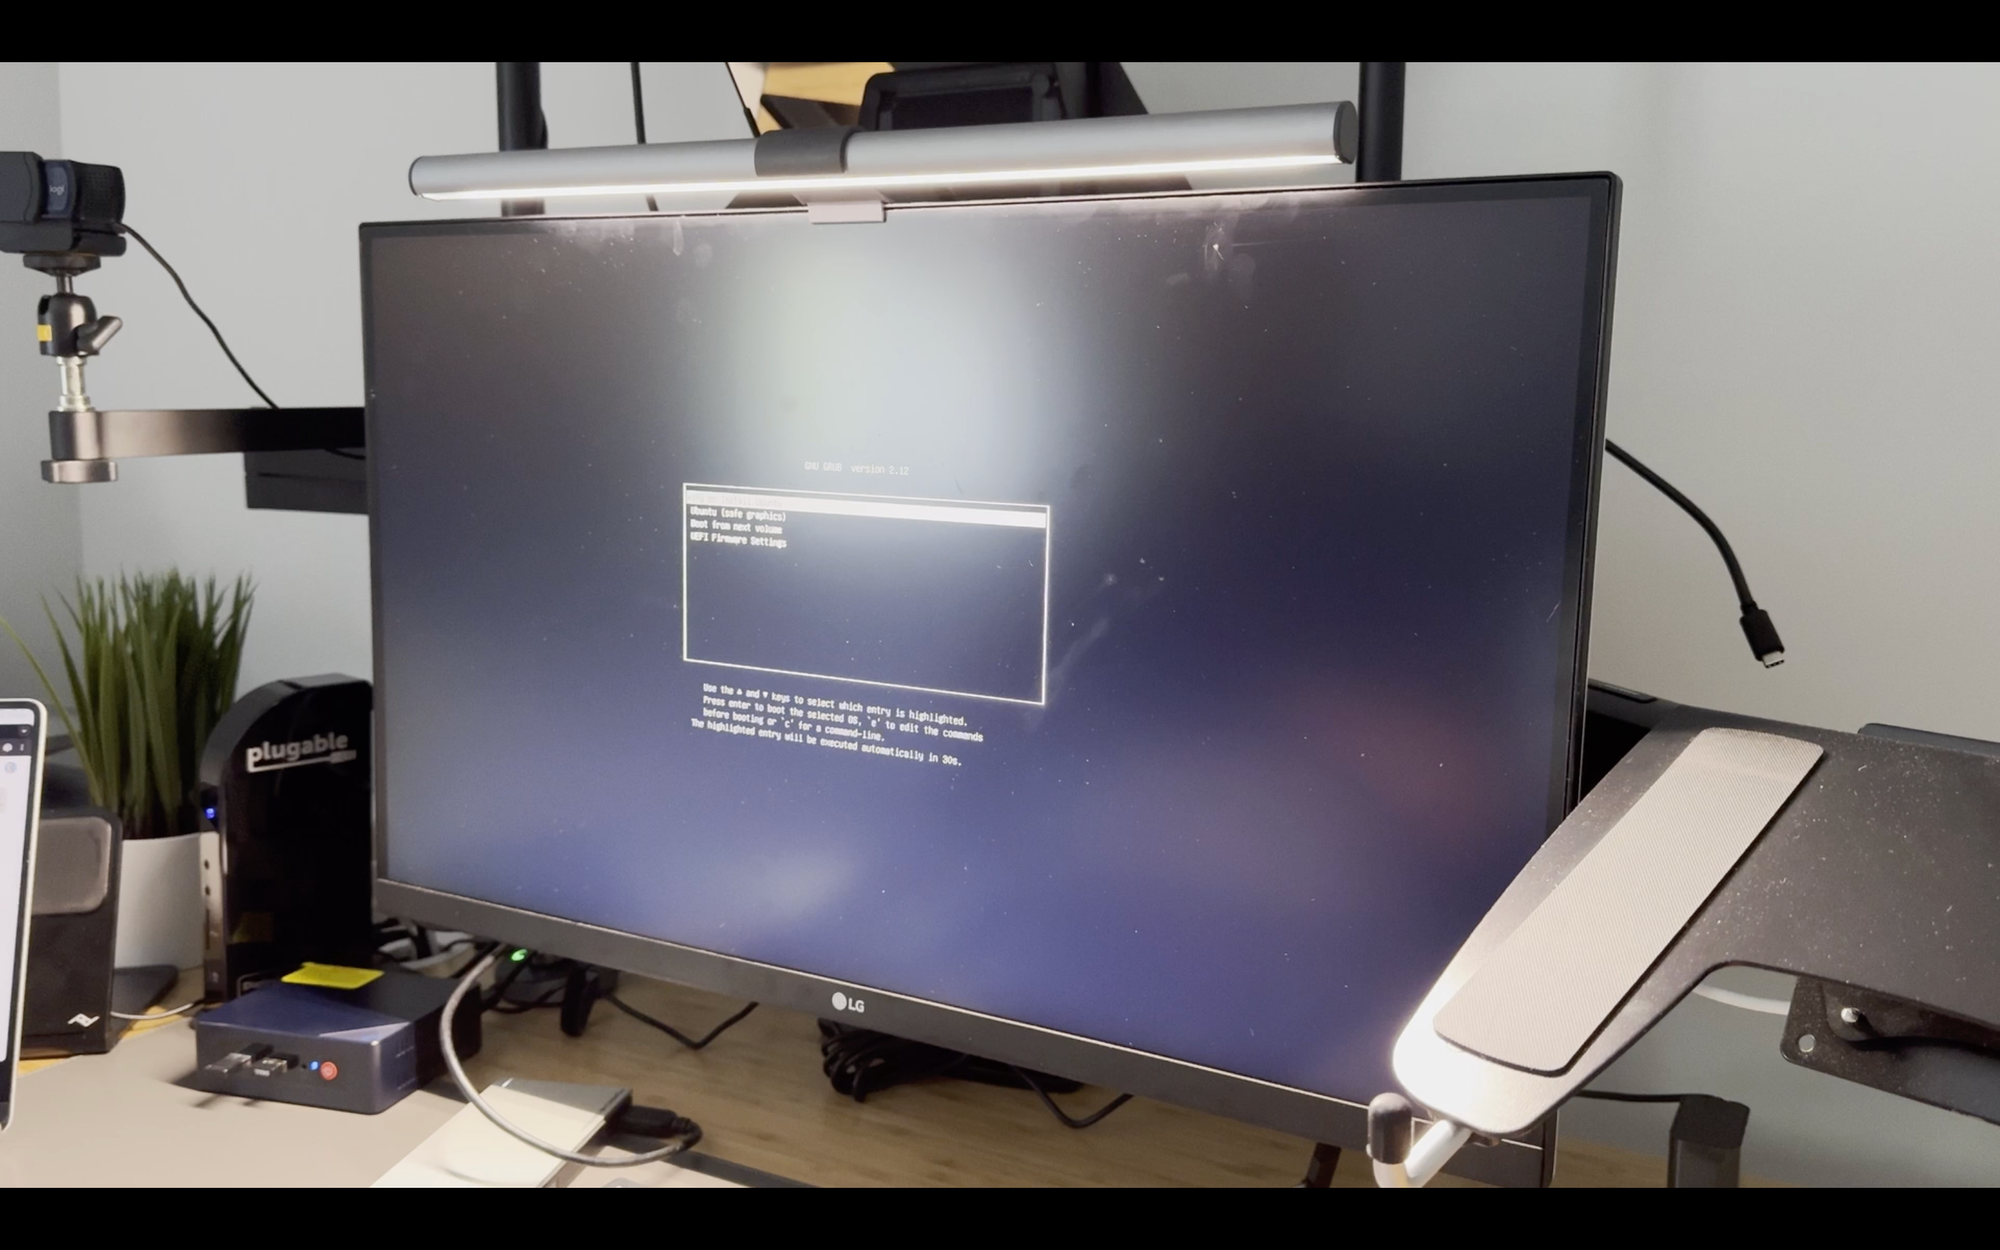
When prompted, select Try Ubuntu. This will run Ubuntu on the USB stick. Just remember to select Try Ubuntu, and not Install Ubuntu.
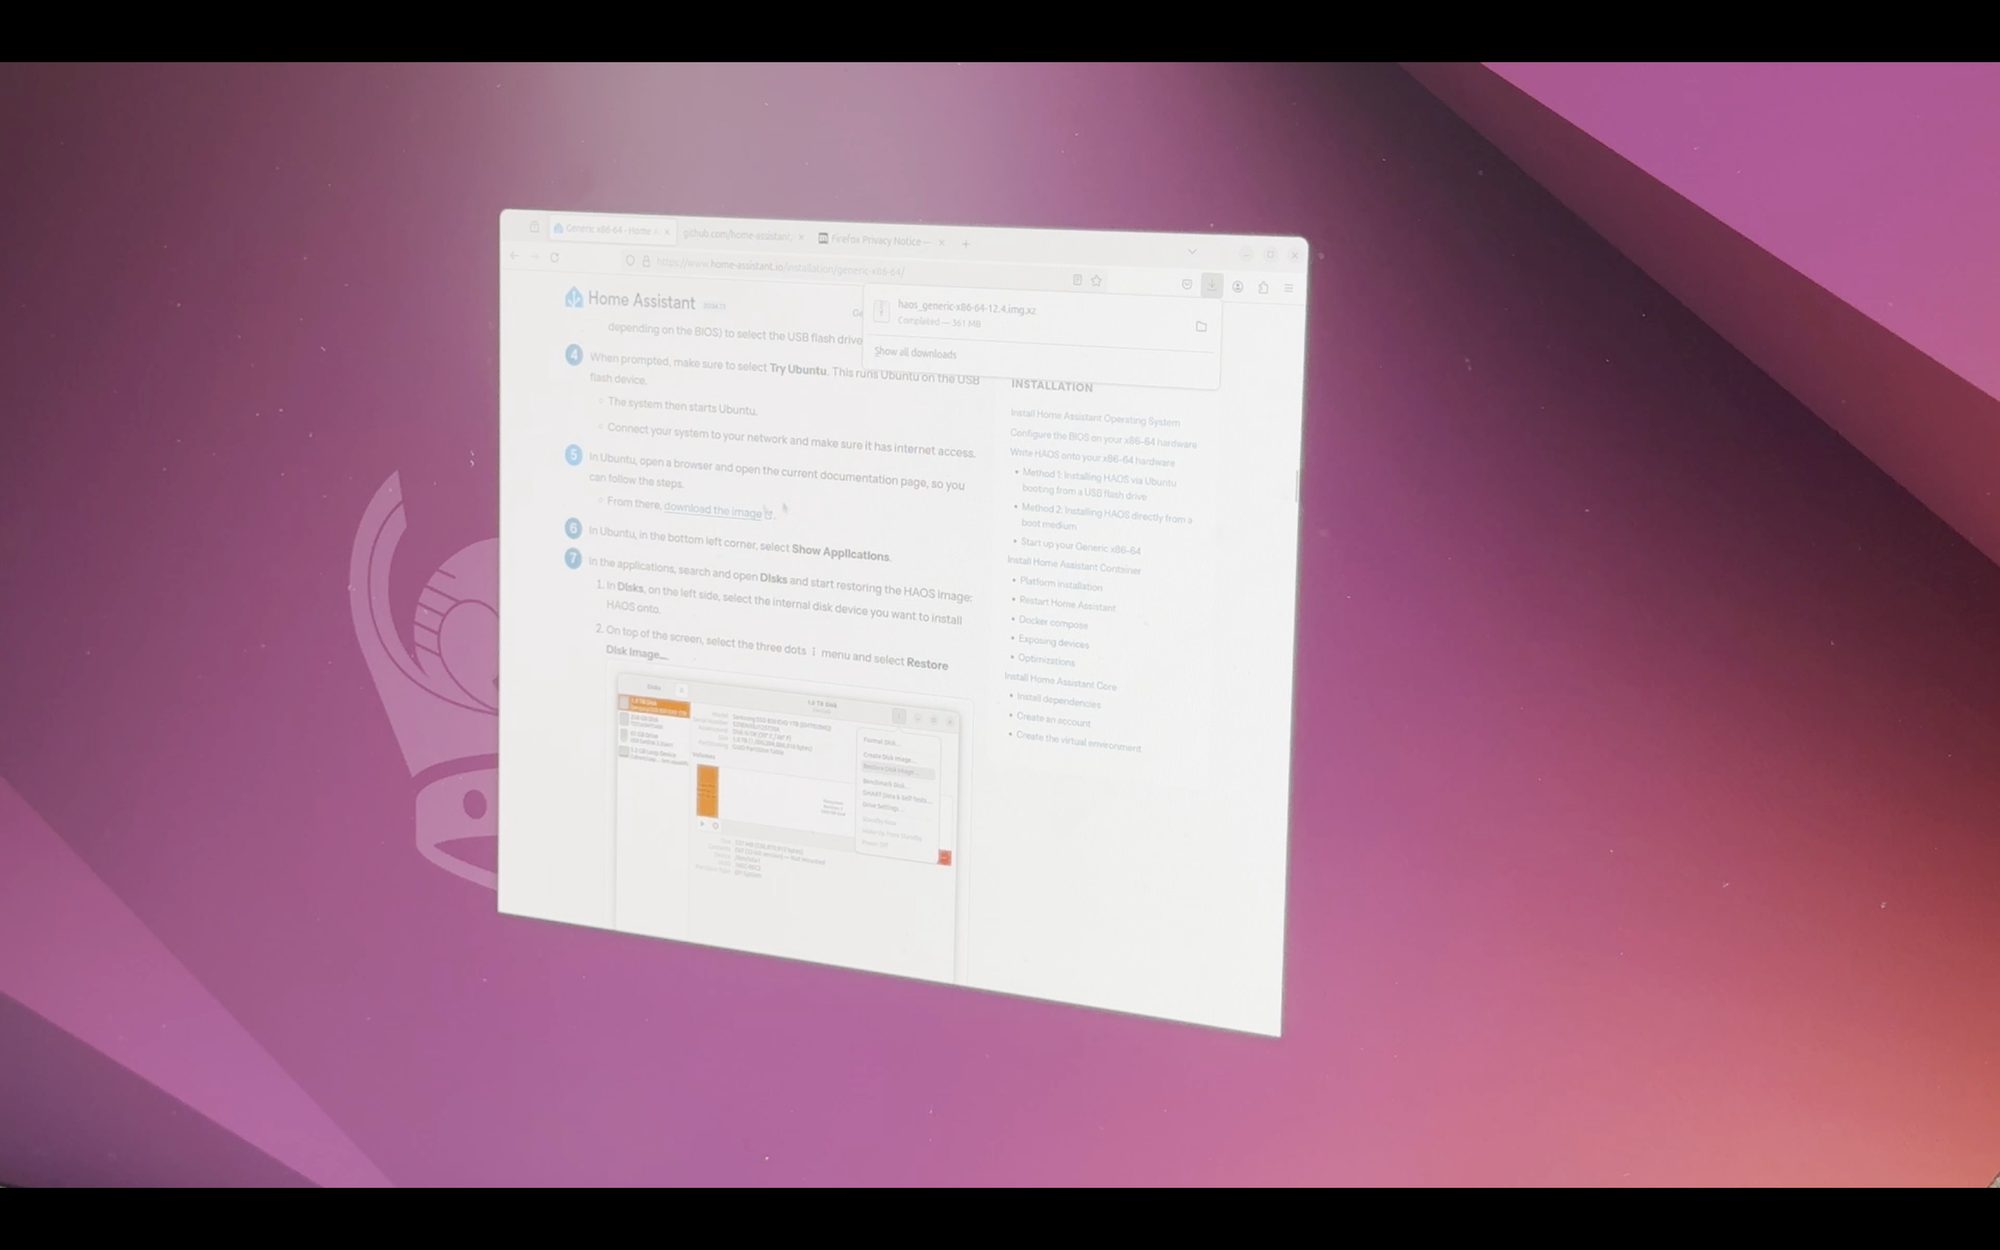
Once Ubuntu is up and running on your x86 machine, open a browser on that device. Firefox came pre-installed, so that’s what I used. From the browser, visit the link to download the Home Assistant OS image.
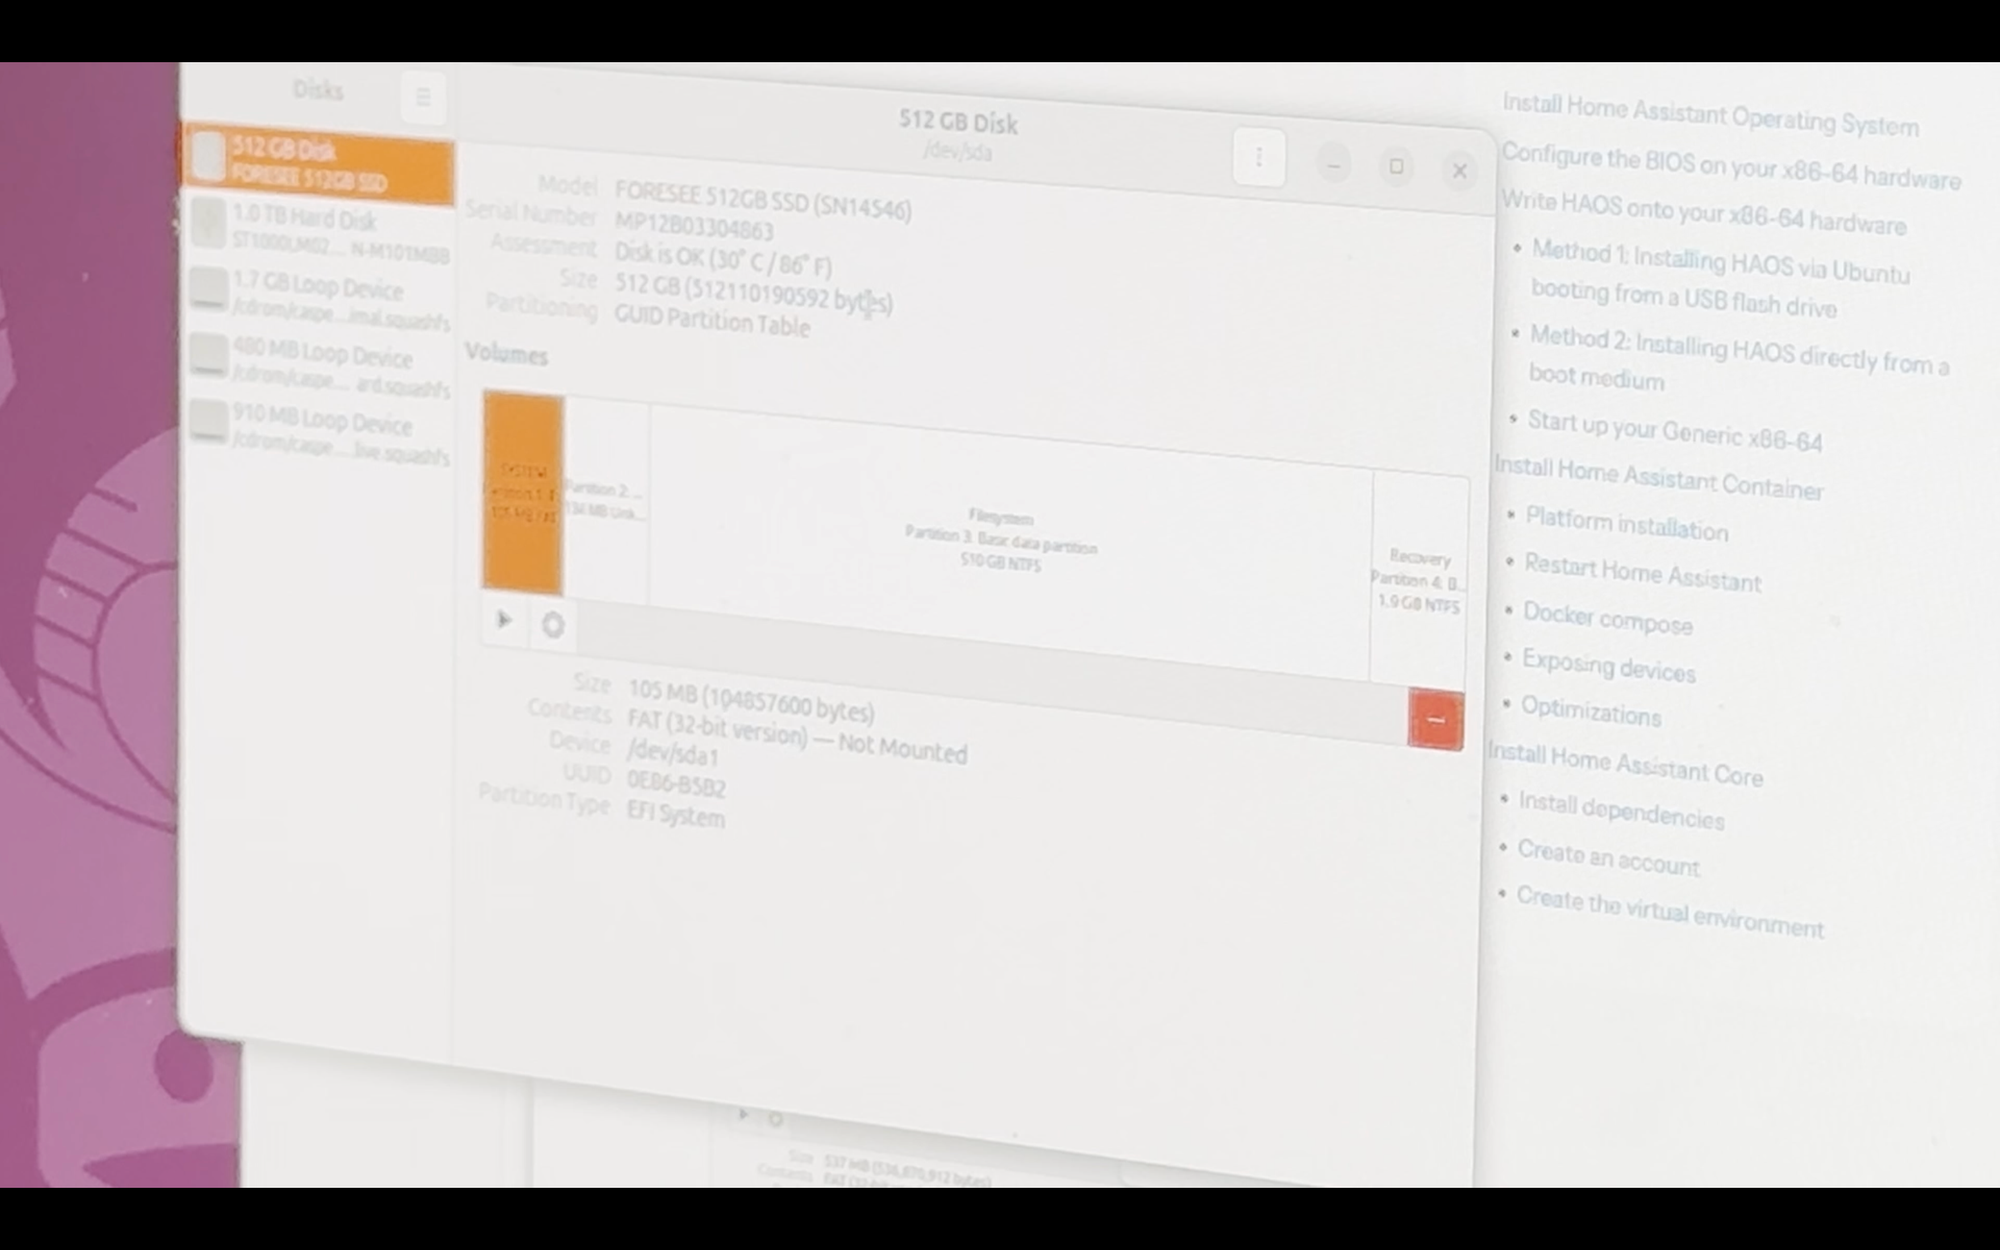
Then, select Show Applications in the bottom left hand corner of Ubuntu. In Applications, search for and open Disks. On the left side, select the internal disk where you will install Home Assistant OS. Then, select the three dots at the top, and click on Restore Disk Image.
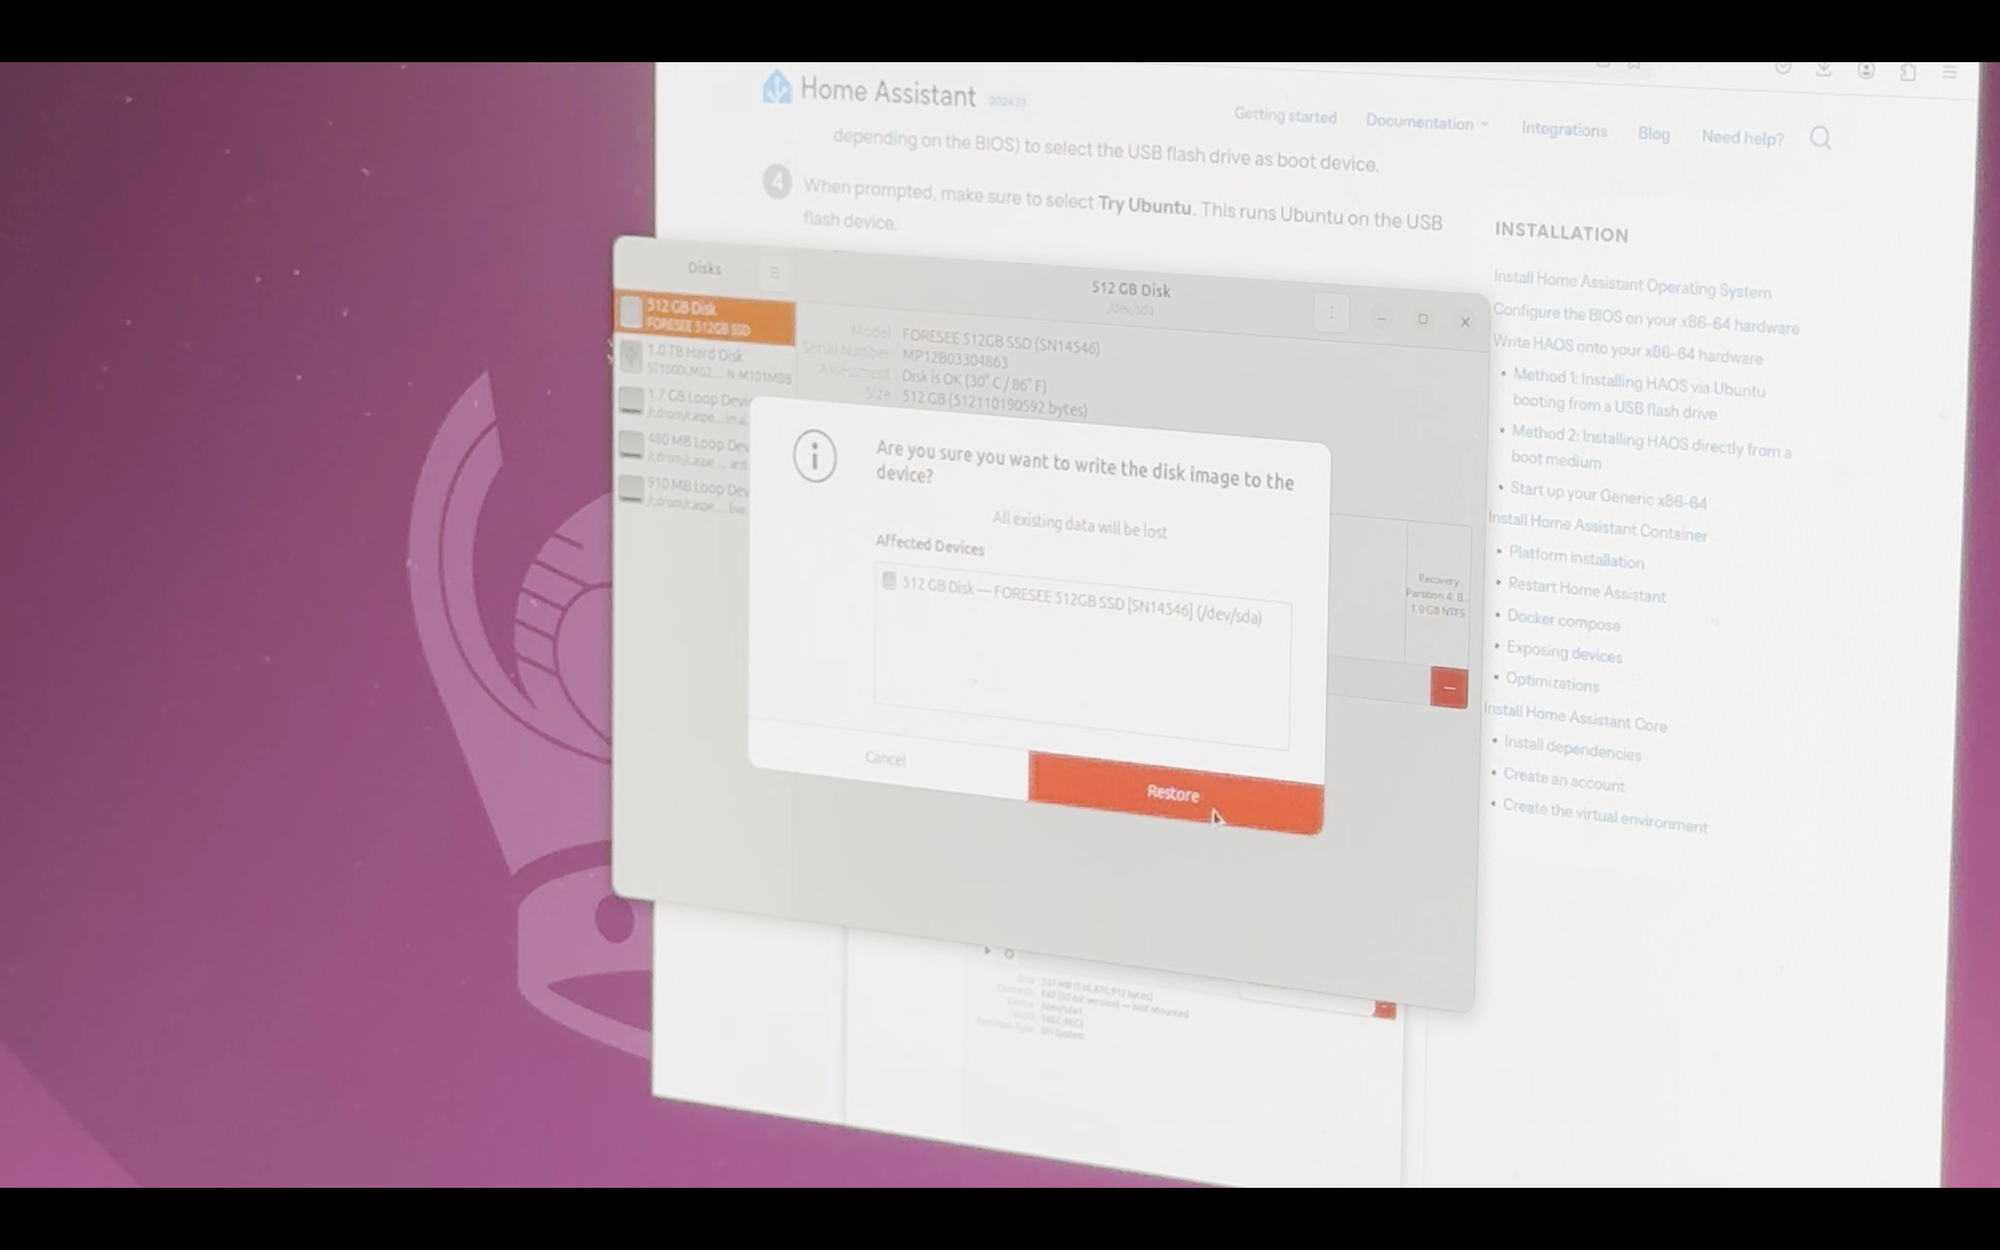
Select the Home Assistant OS image that you just downloaded, and click Start Restoring, and then Restore. You’ll see a progress bar with the restore operation in progress. Once installed, power off the x86 machine, and remove the USB stick.
Restoring Home Assistant from a Backup
To startup Home Assistant, make sure the machine is plugged into Ethernet. If you are migrating from a previous installation of Home Assistant, plug in any Z-Wave or Zigbee coordinators to the machine’s USB ports. Then, you can power on the machine.
If the x86 is still plugged in to a monitor, you should see the Home Assistant welcome banner, but a keyboard, mouse, and monitor are no longer necessary for your mini PC that is now running Home Assistant.
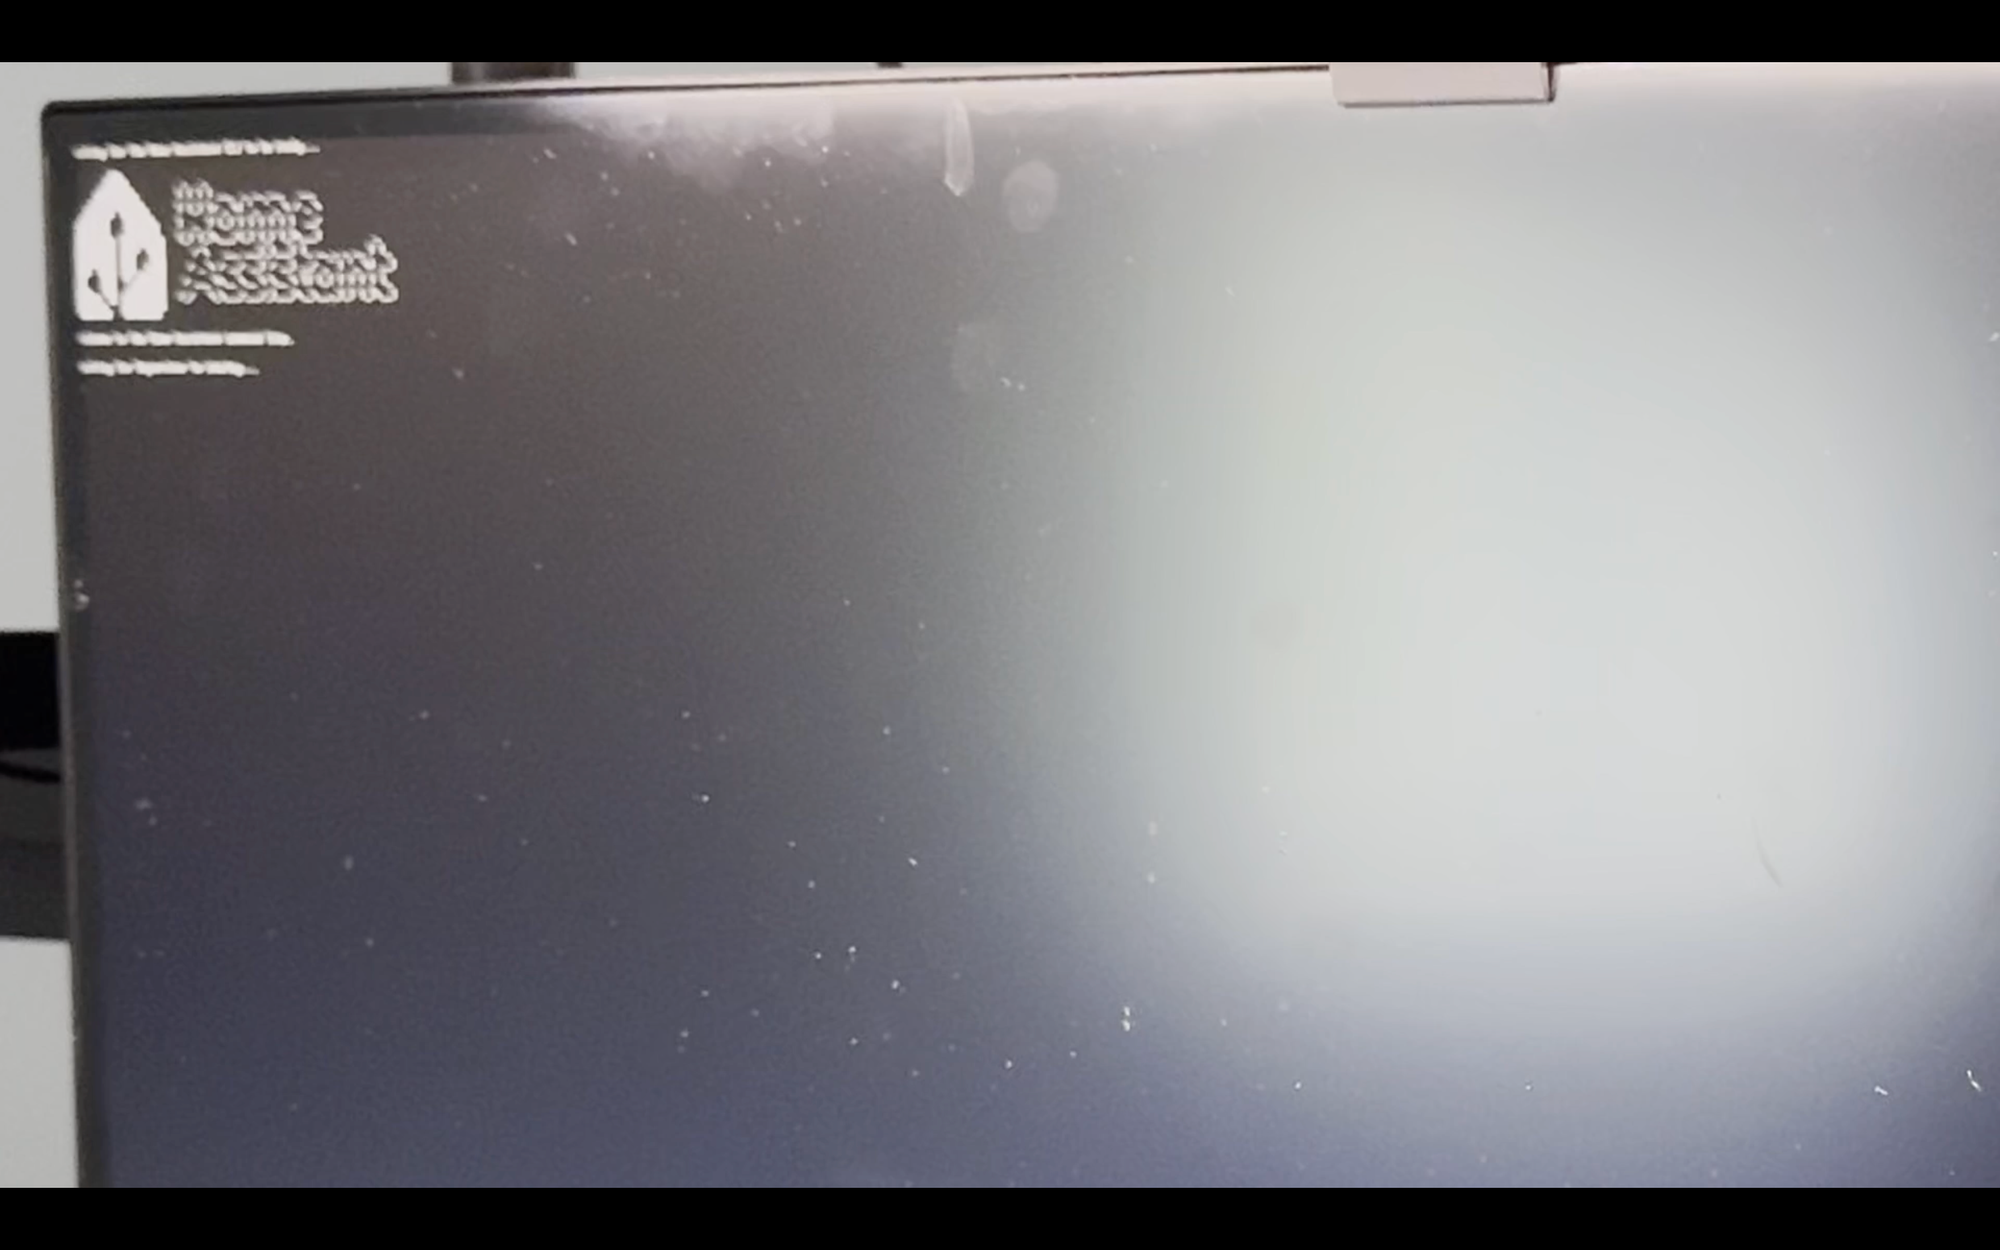
At this point, you can hop back on your everyday computer to access and configure Home Assistant. Visit http://homeassistant.local:8123/ from a browser.
Here, you have two options: setup as a brand new instance of Home Assistant, or restore from a backup if you’re like me and migrating an existing Home Assistant from one computer to another. I will focus on how to restore from backup.
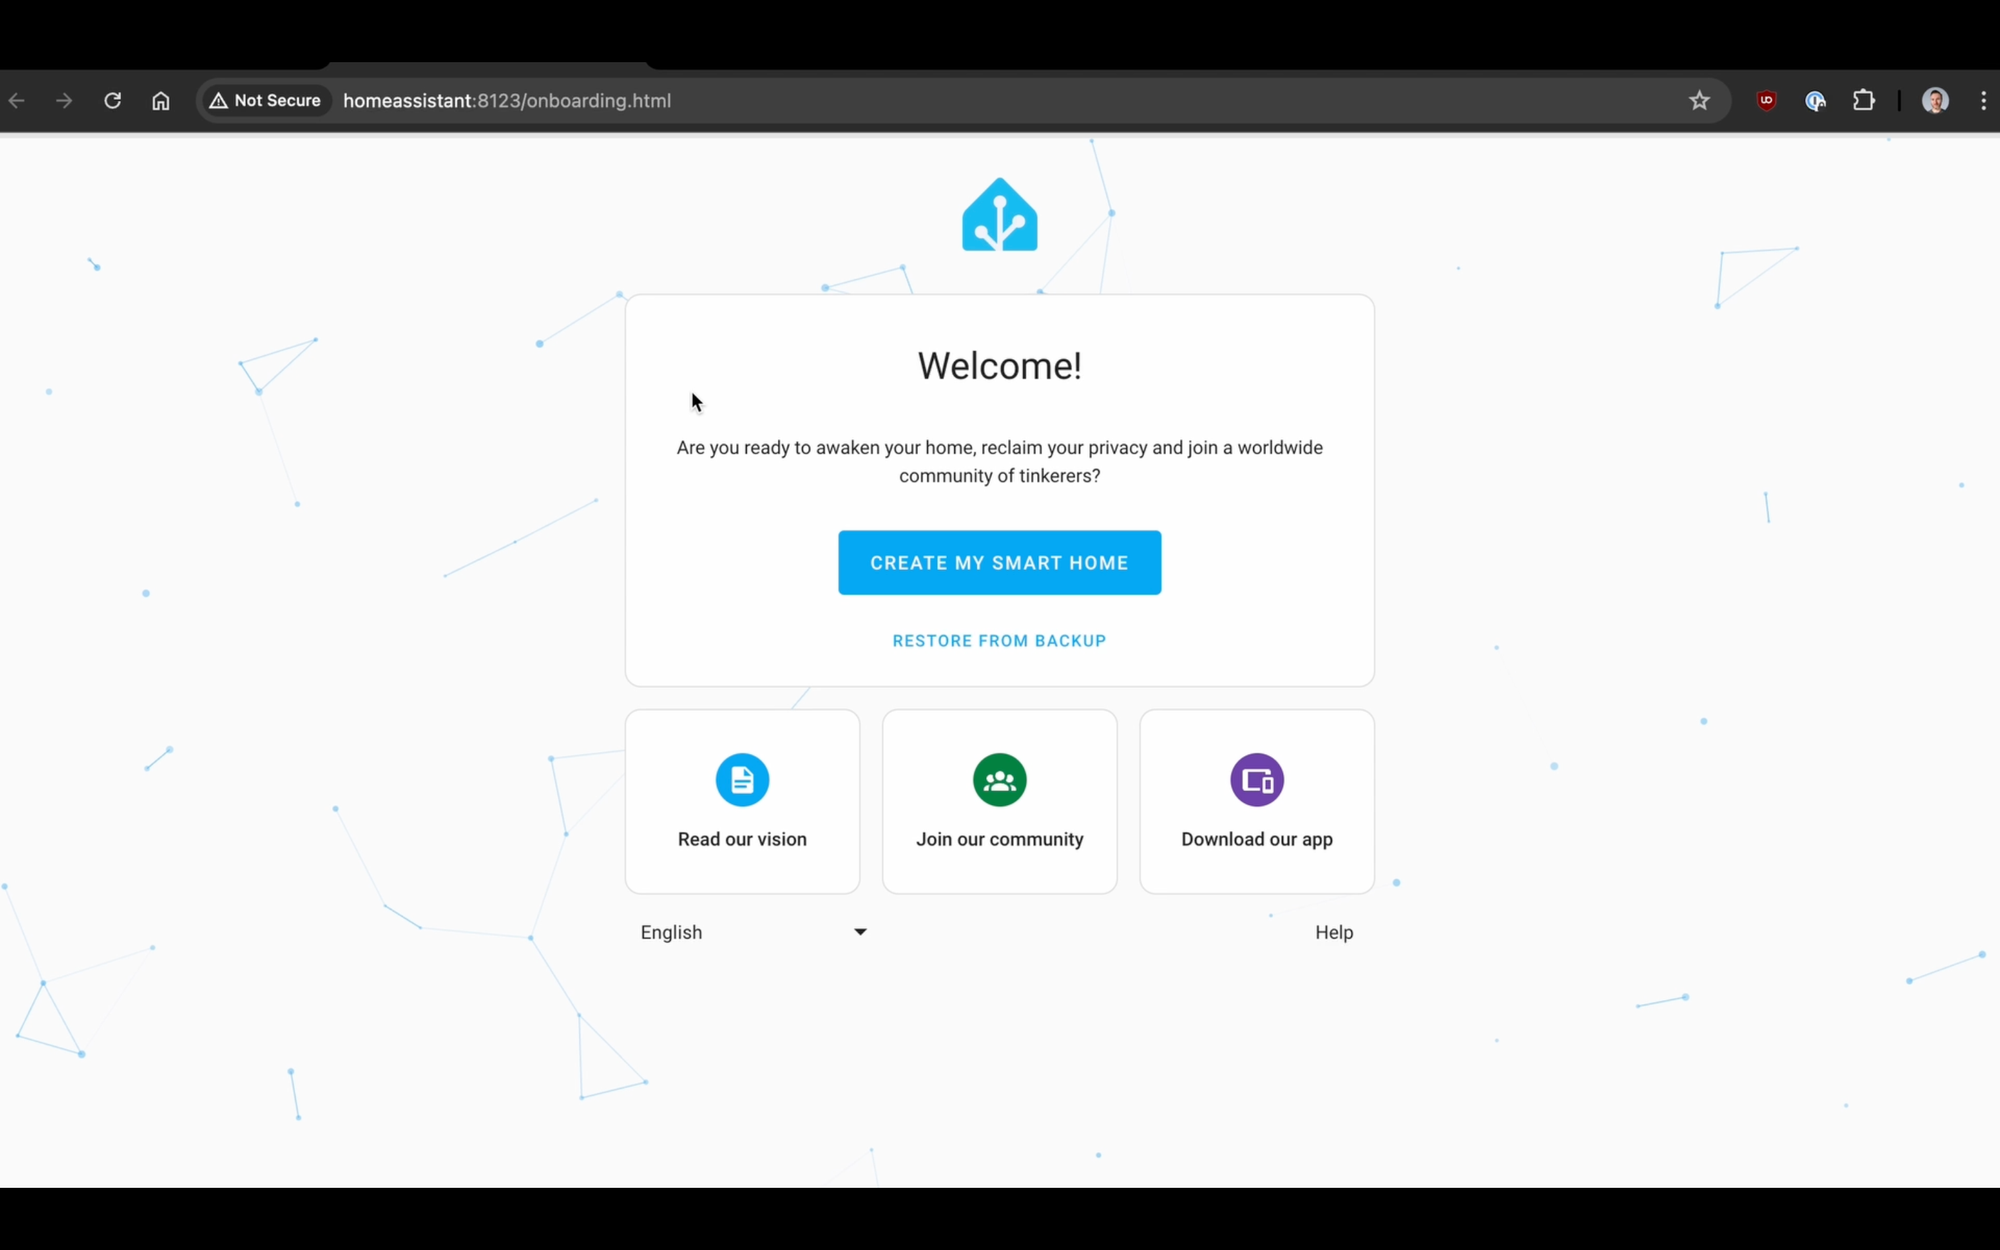
Click Restore from Backup > then Upload Backup. Select the backup file which I showed how to create earlier, then choose Full Backup and Restore. This may take up to 45 minutes to complete.
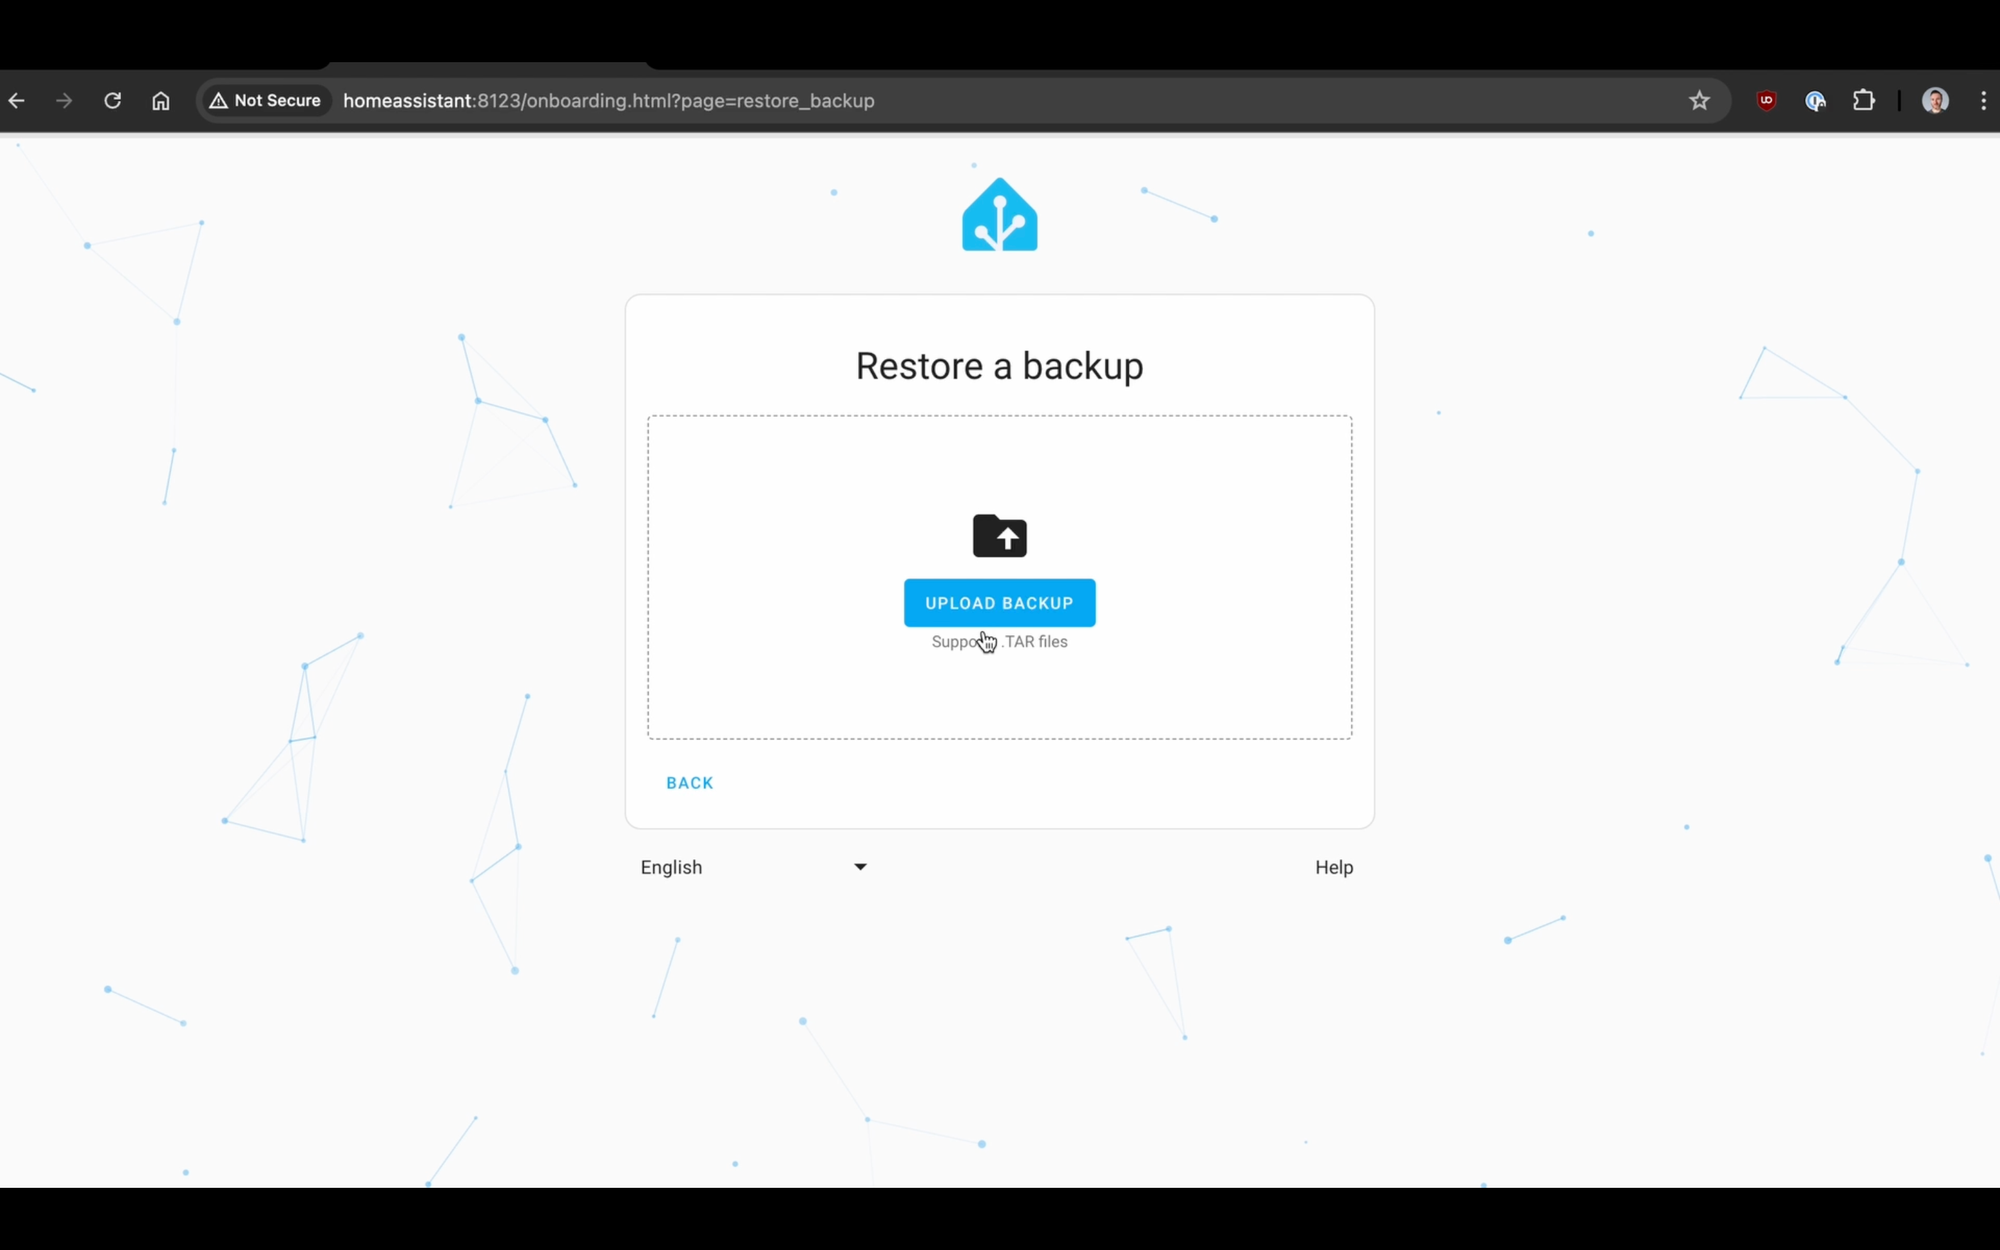
Once completed, you’ll be presented with the Home Assistant log-in page. Sign-in using the same credentials as the Home Assistant on your previous machine where you created the backup.
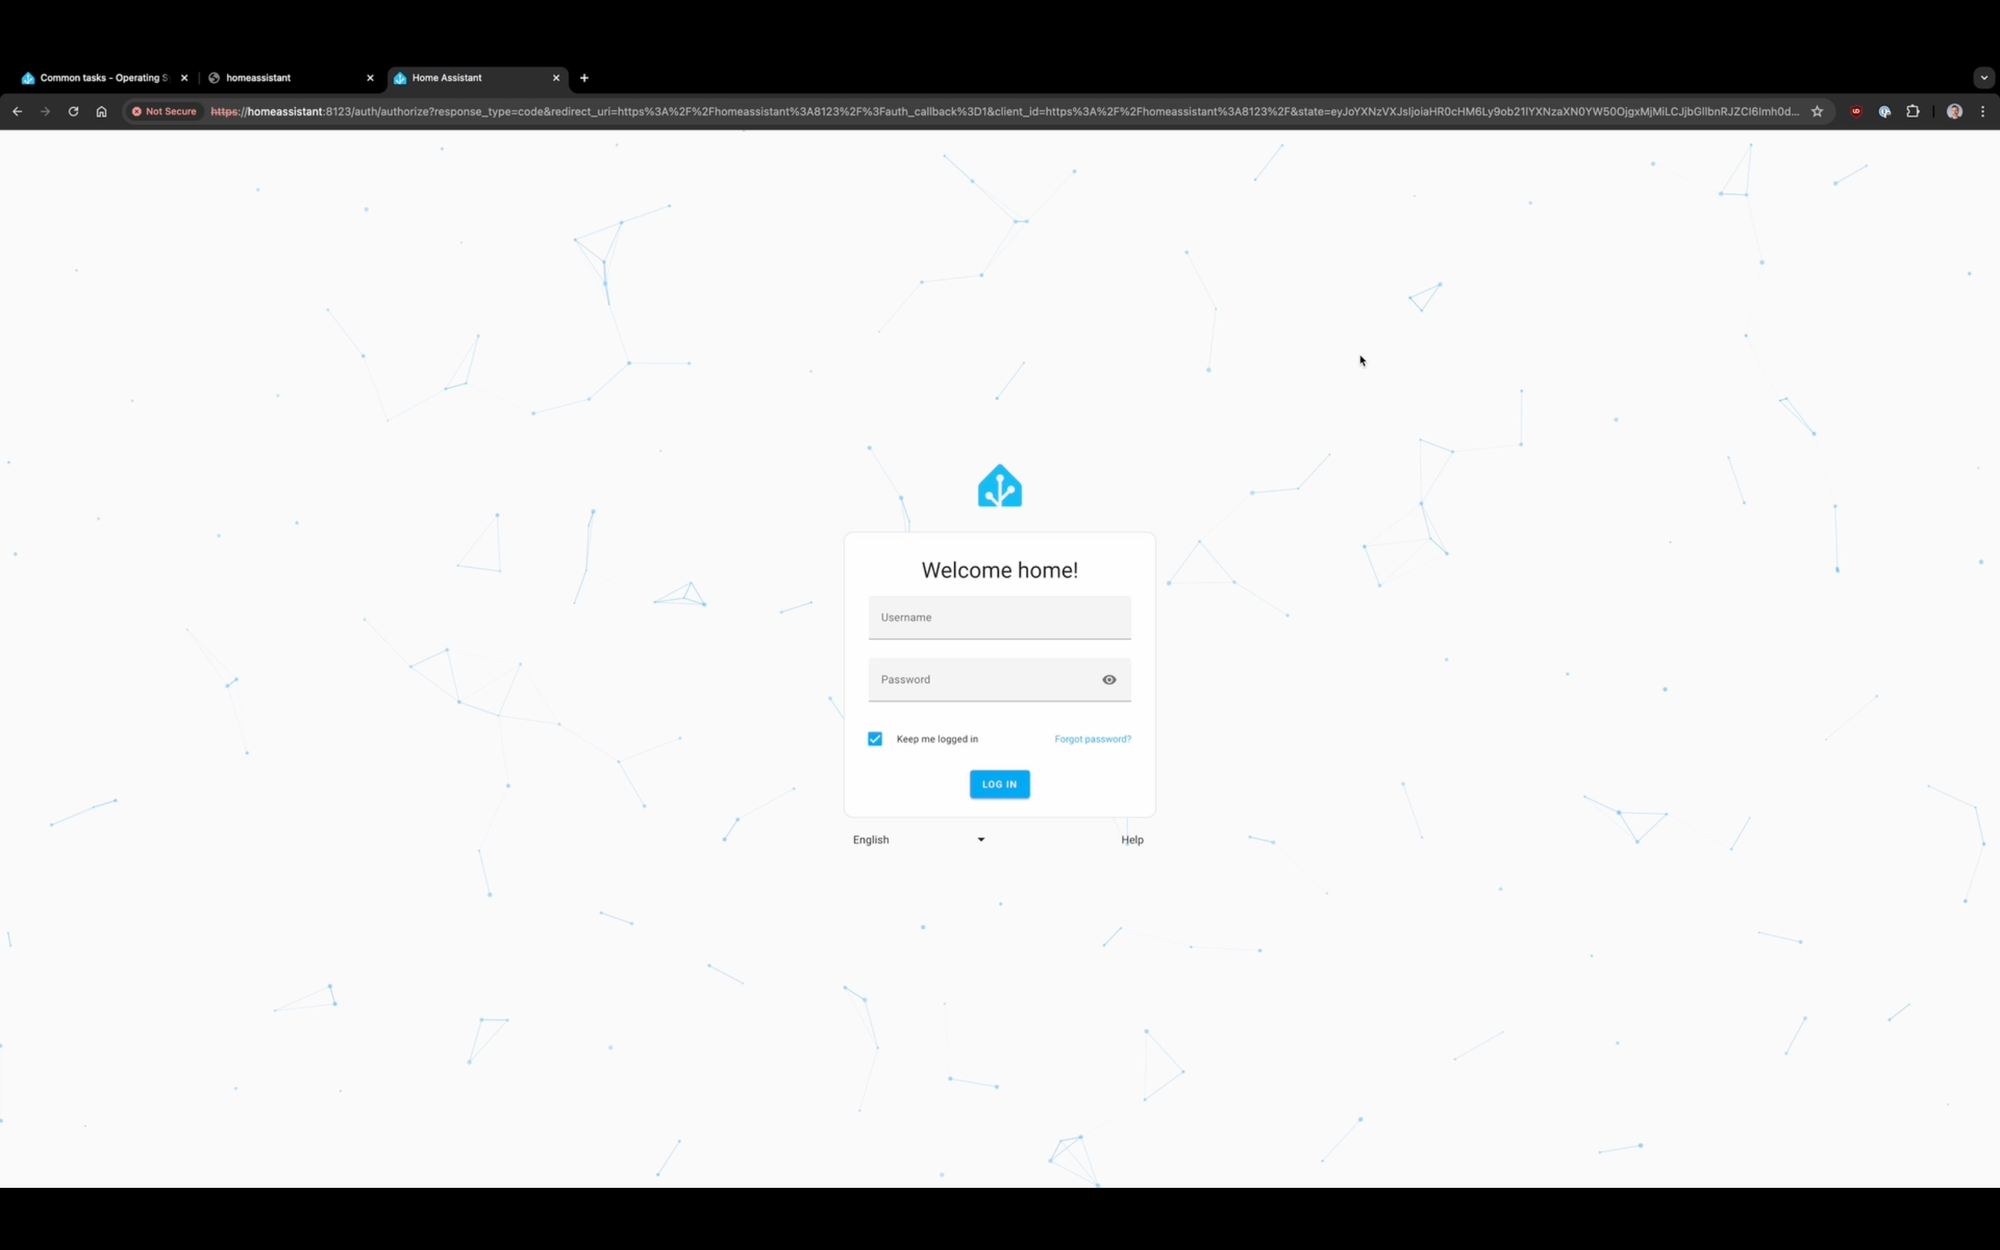
Once logged in, you should see the same Home Assistant dashboard that you were using previously, and everything should be good to go. Well, mostly.
Installation troubleshooting
Let’s talk about some of the challenges that I faced, and the troubleshooting I did to resolve every single one.
- Writing the Ubuntu .iso file to my USB stick using balenaEtcher on macOS failed about halfway through. Once it failed, the USB stick could not be seen or accessed on my Mac. I tried on Windows, but it said the USB must be formatted. But I was unable to format the USB stick because write protection was enabled, and none of the workarounds that you would typically use in this situation worked. So, I grabbed an old 1TB external drive that I had laying around, and went through the balenaEtcher steps again, and it worked. I did get a warning though asking if I really wanted to install it on such a large drive since it would erase all the content.
- My x86 machine, the Beelink S12 Pro, would not boot into boot loader. It turns out that — at least on this particular device — I had to finish installing Windows first. Once Windows was installed, I had to go to Settings > Security > and click on Advanced Restart.
- I could not finish installing Windows at first. This part confused me for a bit. I navigated through the BIOS earlier on, and the initial phases of Windows installation all by using the keyboard. But then I got to one particular screen in the Windows installation and it wouldn’t respond to anything I did on the keyboard, and powering off and on the machine didn’t help. For whatever reason, that screen could only be navigated with a mouse, but I hadn’t been using one. I plugged in a USB mouse, and was able to click and move past that screen, complete the Windows installation, and then select Advanced Restart to boot up from the USB stick.
- It’s hard to say how long it takes to restore Home Assistant from a backup. During the restore process, you just see a screen indicating that the restore is in progress. To check if the restore is complete, you need to refresh the page periodically. You’ll know it’s done when it shows you the Home Assistant log-in.
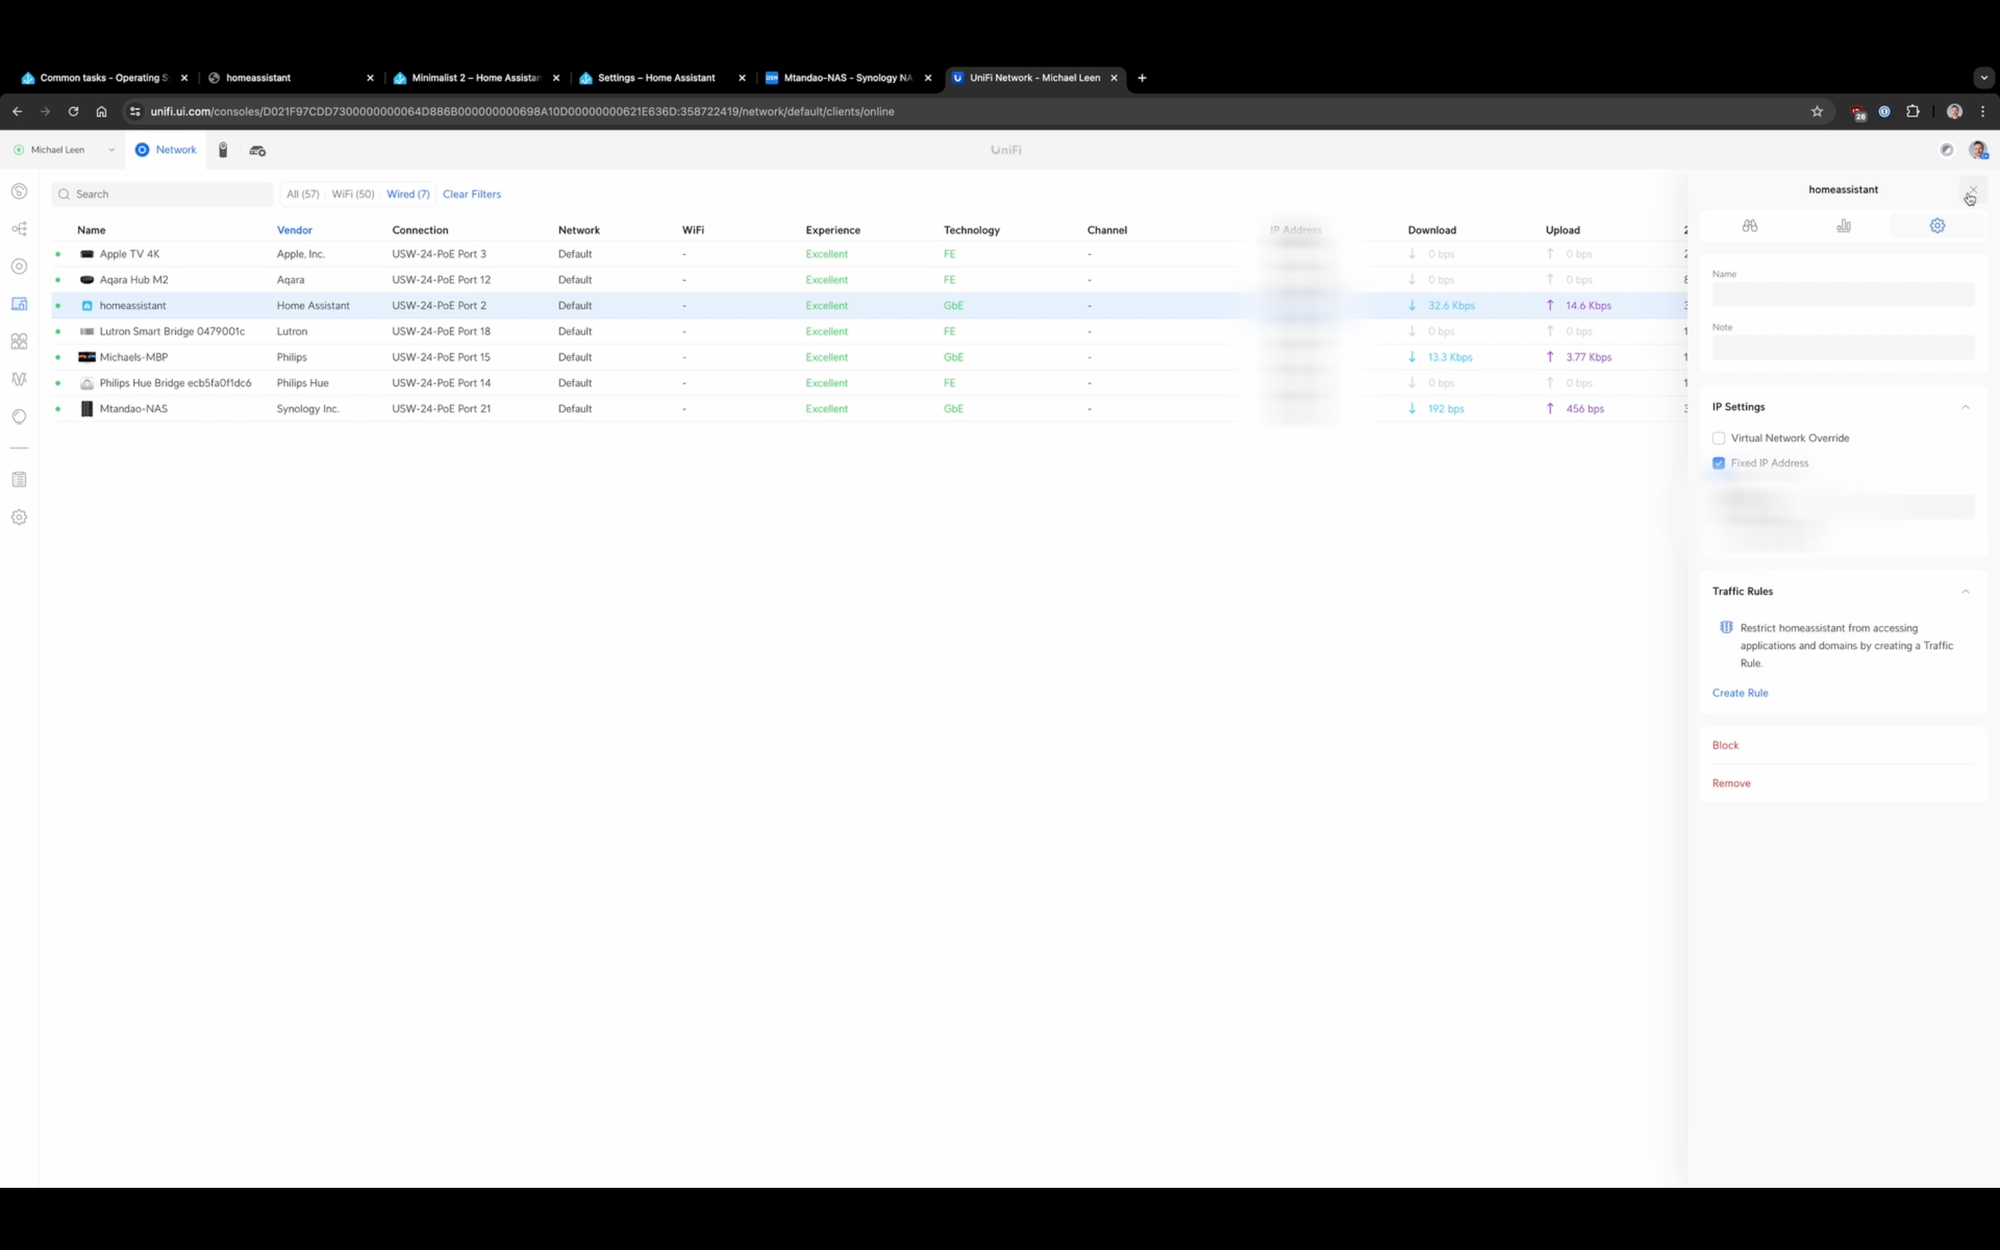
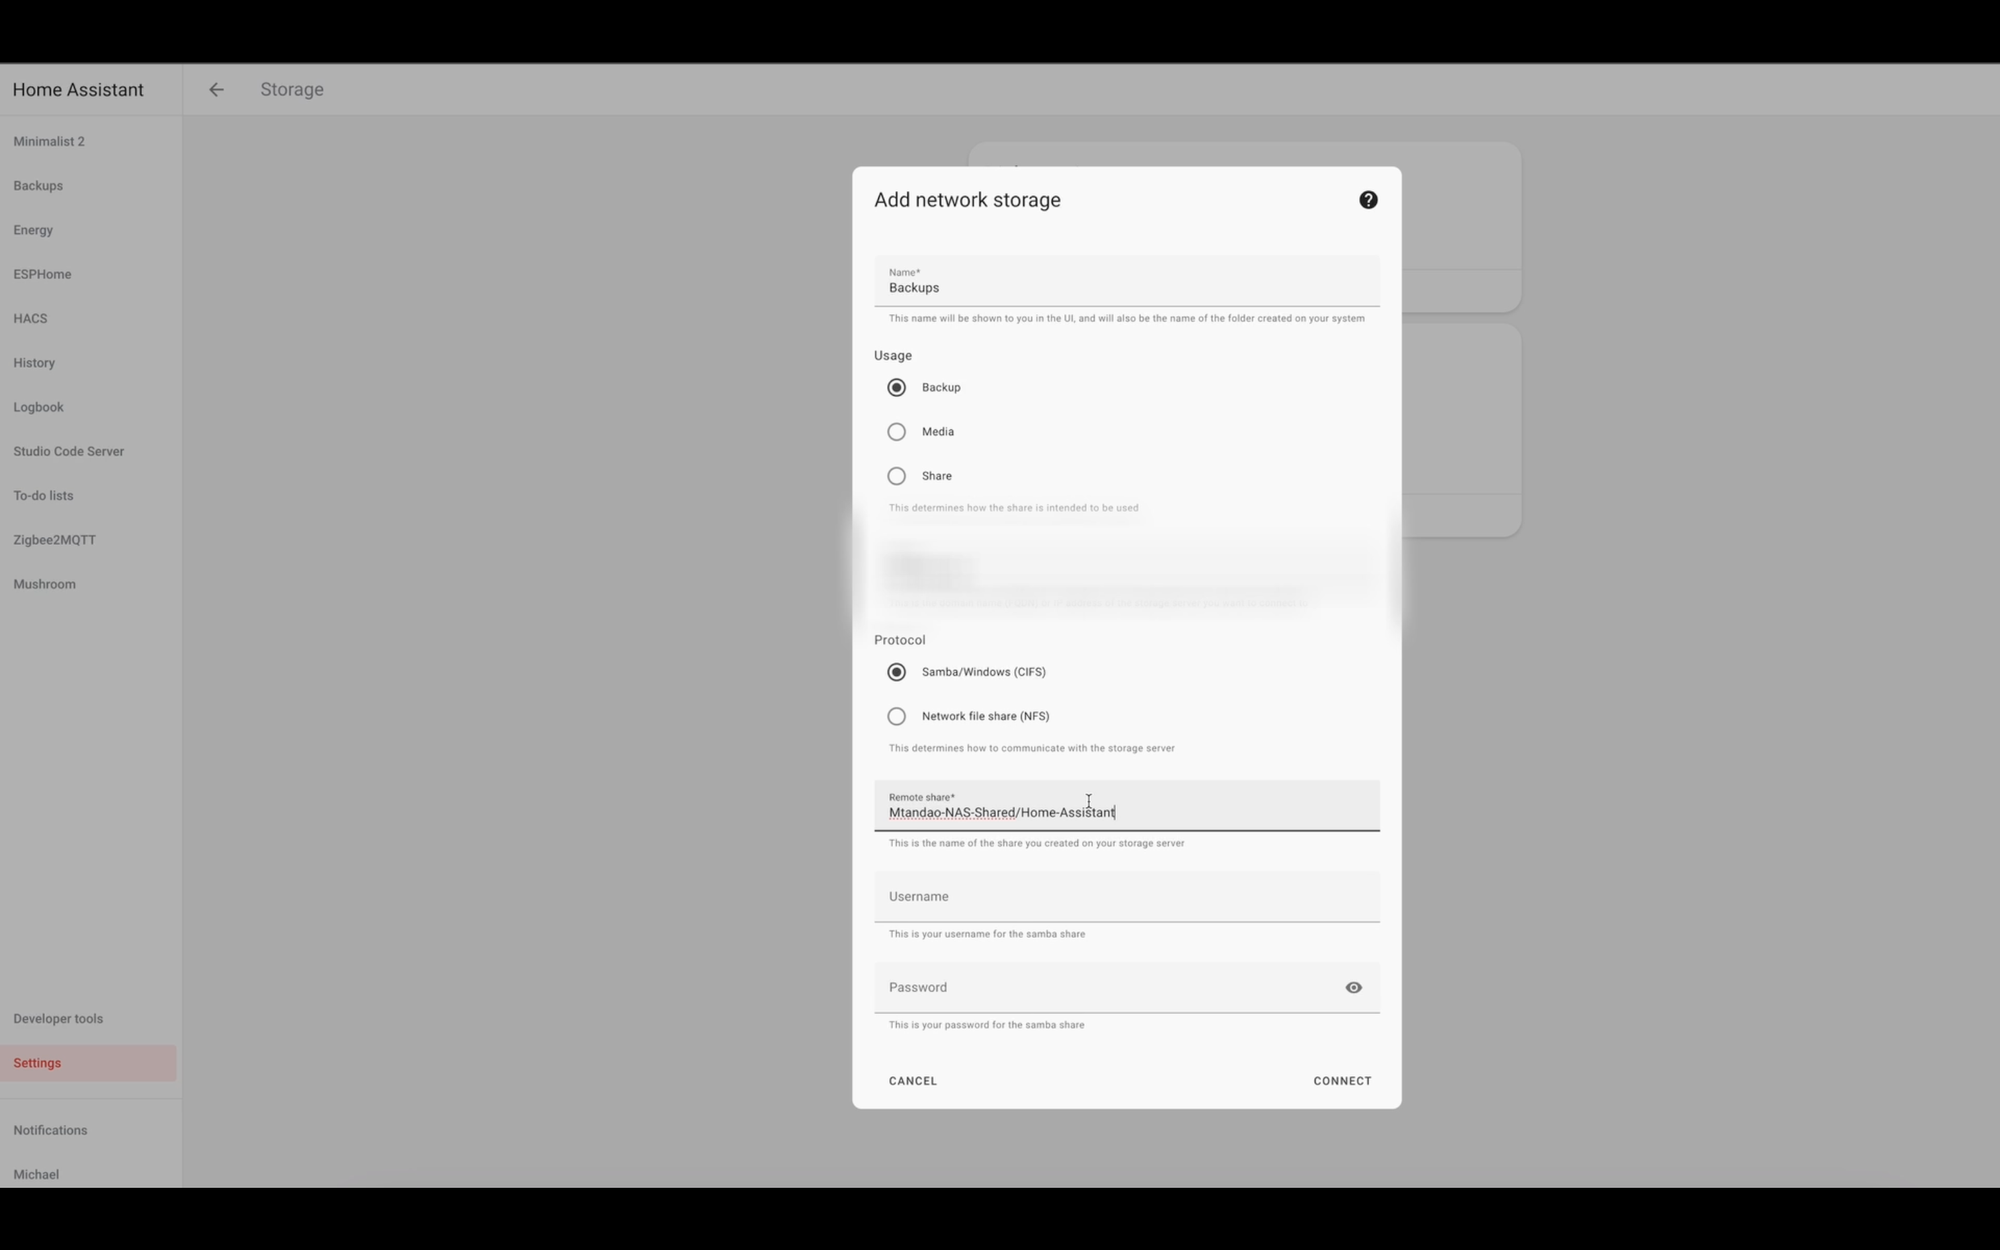
- Once I had everything installed and Home Assistant started on my new mini PC, two things did not work. First, the Sonos integration was presenting an error, and all of my Sonos speakers were unavailable. This was because the Beelink S12 Pro had a different IP address than the Raspberry Pi. I am using UniFi for my networking equipment, and was able to fix this in the UniFi controller. To do so, I had to uncheck Used Fixed IP Address on the Raspberry Pi, then copy its IP address and set it as the Fixed IP Address on the Beelink. Then, I restarted the UniFi controller and the Beelink for the Fixed IP Address to take effect. The second thing not working when I started up Home Assistant on the mini PC was backups. I had to re-add my Synology NAS by going to Settings > System > Storage > Add Network Storage. From there, I could give it a name > set it as my backup > add the IP address of my NAS > select the Samba/Windows protocol > add the path to the remote share > enter the log-in credential for my NAS > and click Connect. To confirm it was set as my default backup location, I went to Settings > System > Backups > click the three dots in the upper right > select Change Default Backup Location > and confirm my NAS was selected.
Final Thoughts
It does take a bit of work to get setup, but it’s certainly doable. I’m enjoying the performance improvements since migrating my Home Assistant from a Raspberry Pi 4 to the Beelink S12 Pro mini pC. I’m also excited about the things I might do in the future with this additional performance, such as taking advantage of virtual environments.
Watch on YouTube
Featured Tech
Beelink S12 Pro Mini PC: https://amzn.to/465DwUP
Raspberry Pi 4 Starter MAX Kit: https://amzn.to/4cE0qFw