Control your smart home with a keyboard! (ThirdReality Smart Mechanical Keyboard MK1)
Review of the ThirdReality Smart Mechanical Keyboard MK1, including what it does, and how to set it up and use it to control your smart home.
Introduction
I’m going to show you why this keyboard is unlike anything you’ve used before. It’s called the Smart Mechanical Keyboard MK1 by ThirdReality.
Sure, it does mechanical keyboard stuff — responsive keys, RGB lighting — but it has one big trick up it’s sleeve that I’ve never seen on another keyboard.
Main Points
Overview
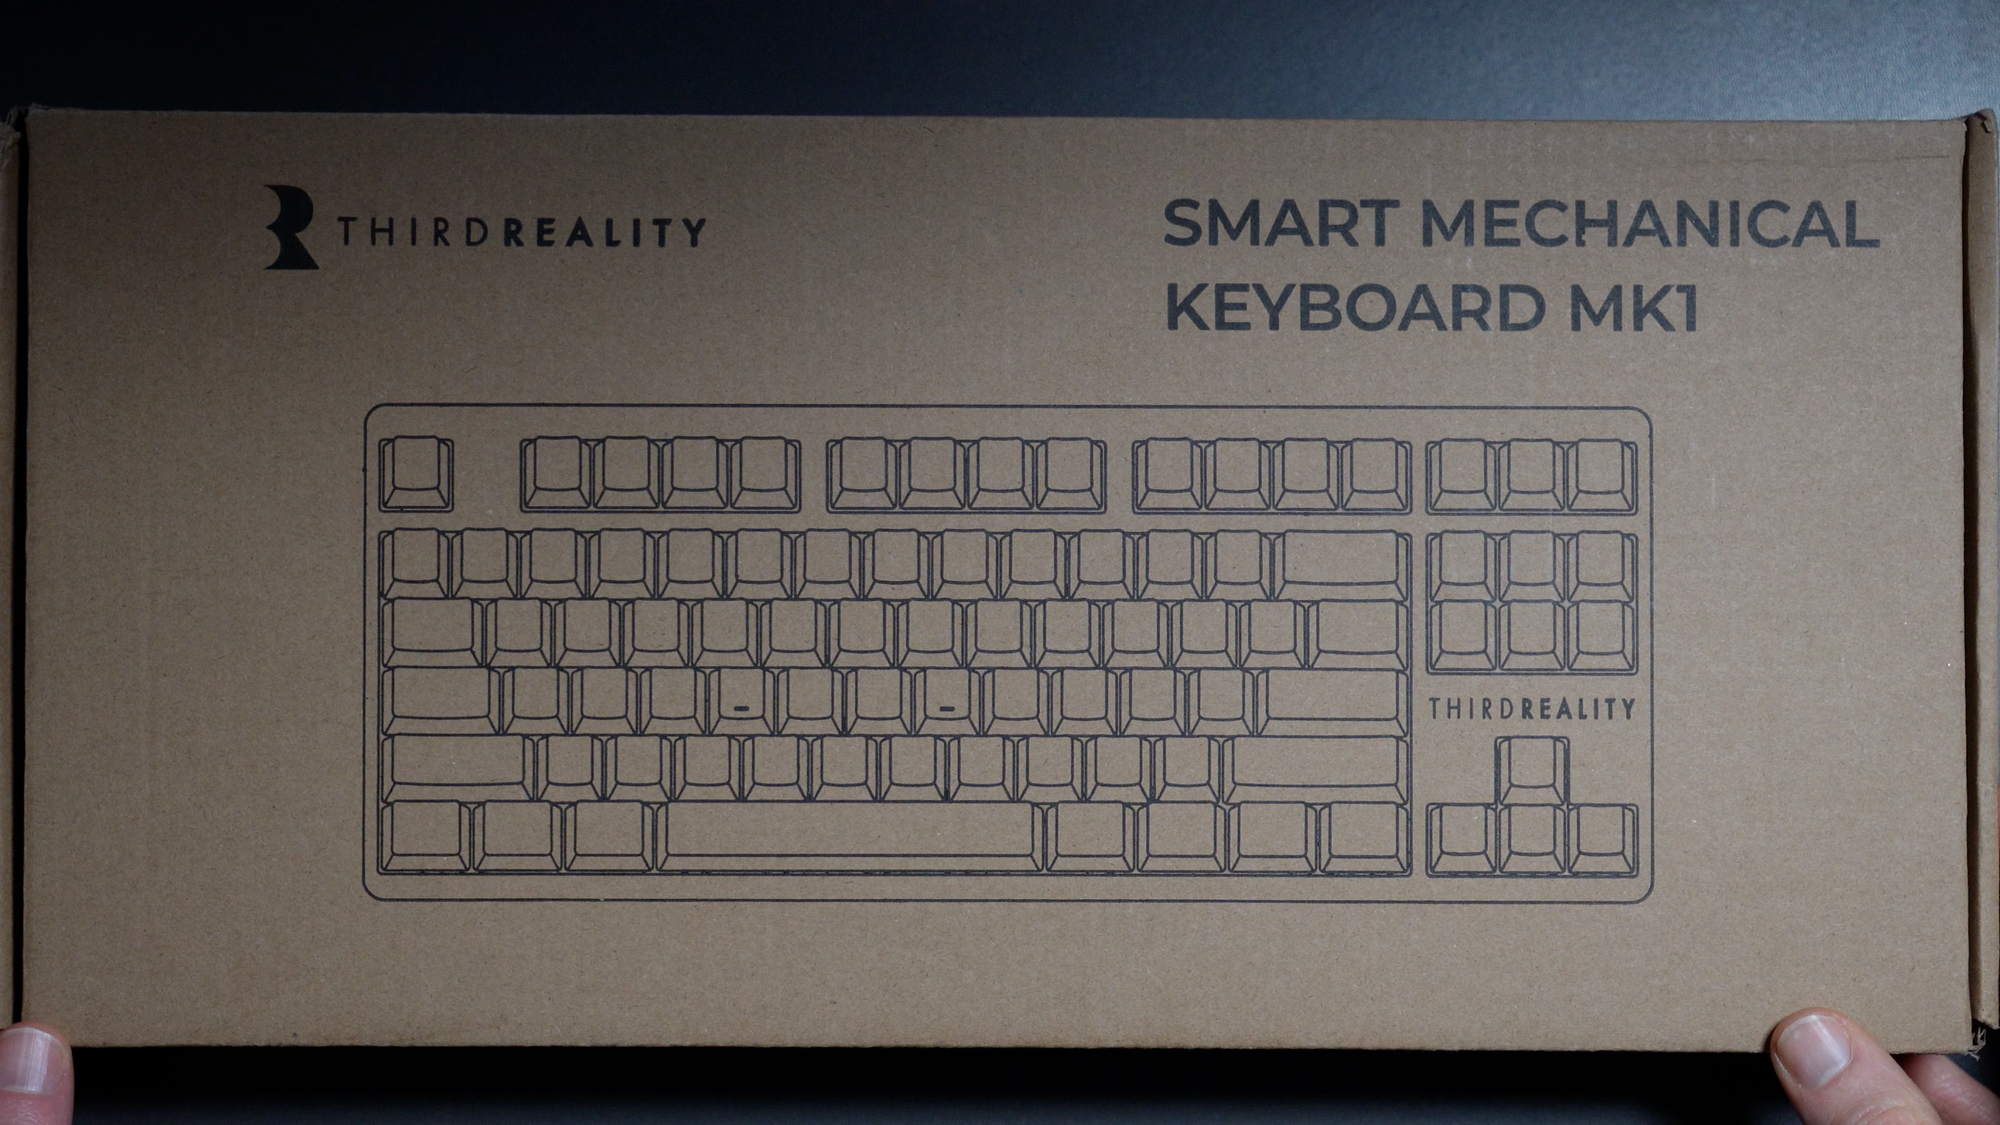
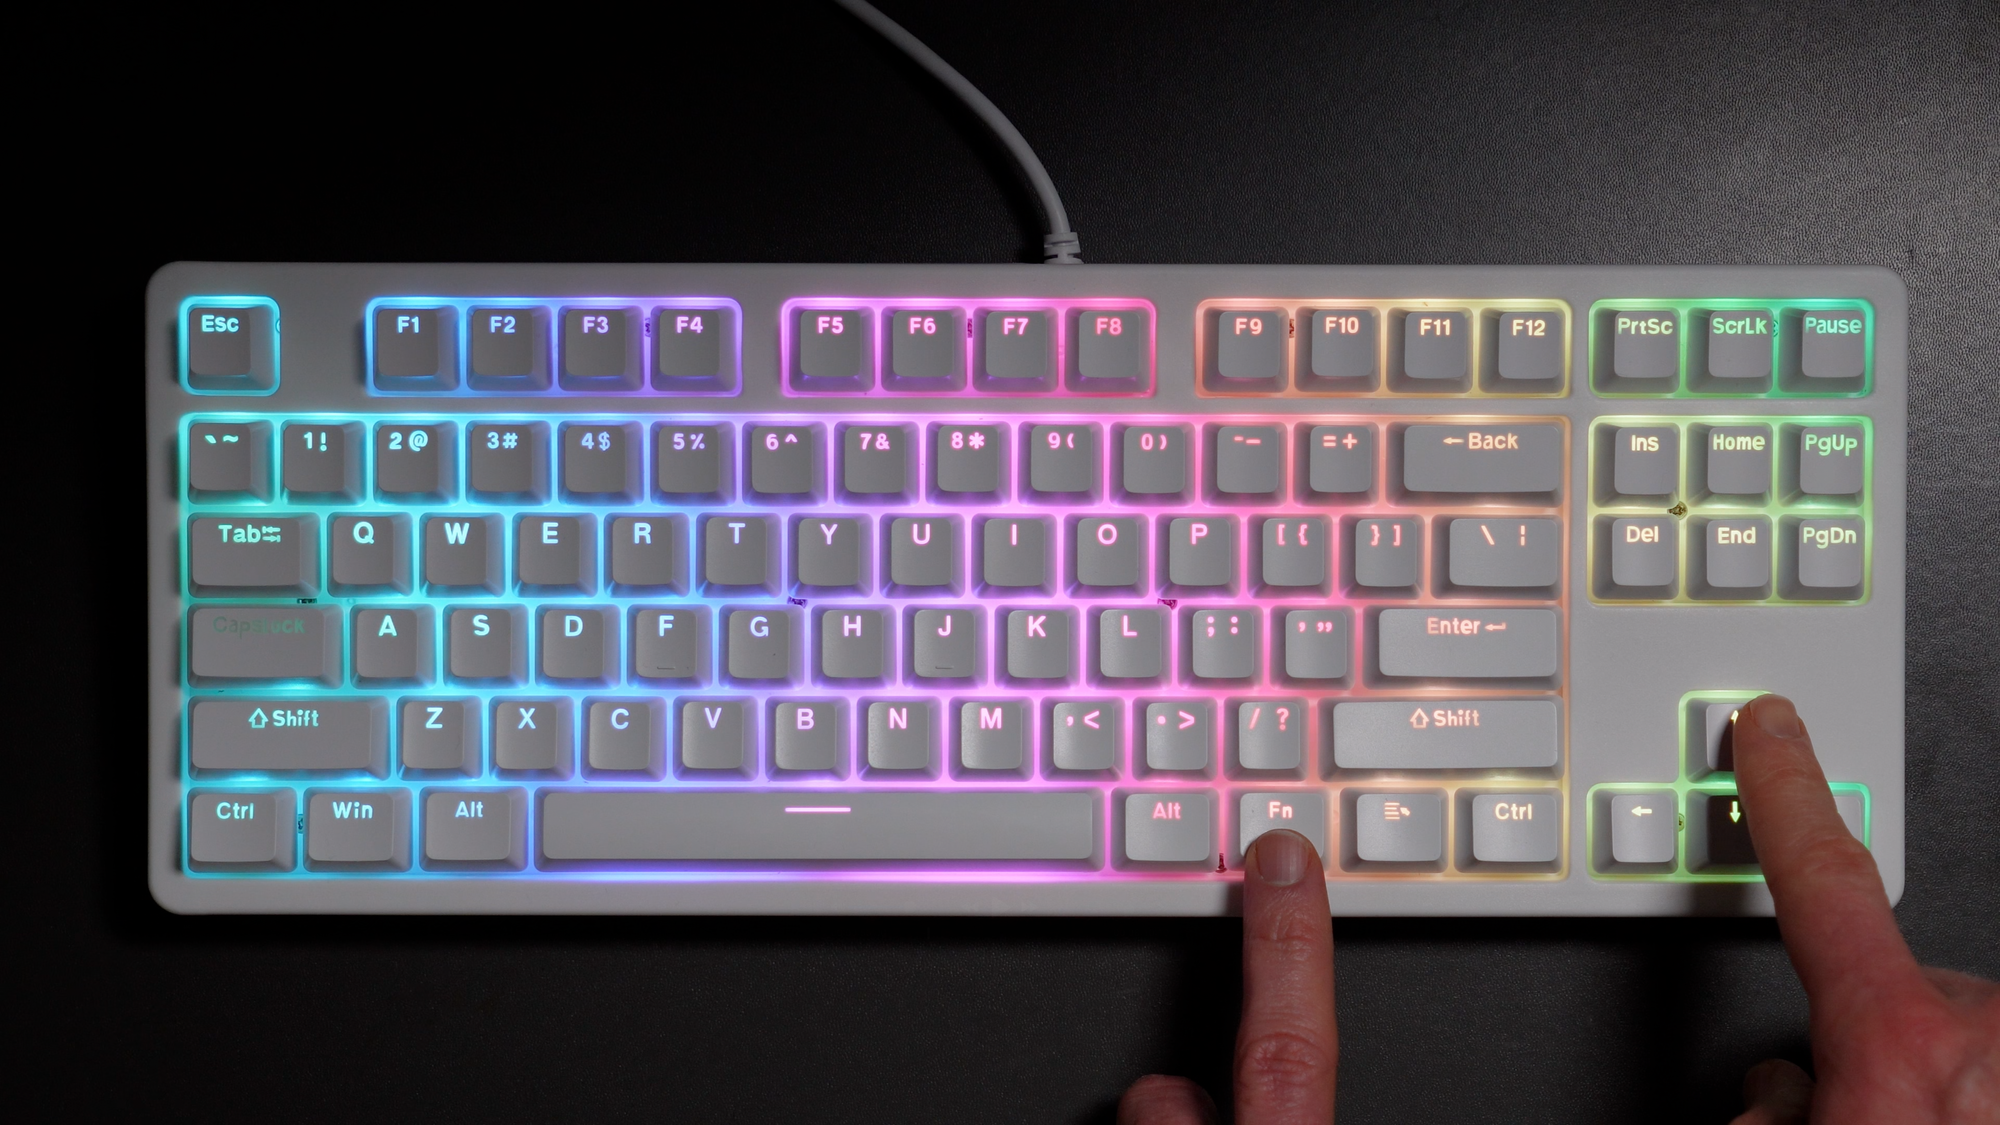
This is actually an early test unit that I got at CES 2025 in Las Vegas, but you can pre-order the production unit here. It is a white mechanical keyboard that uses Gateron Yellow switches. They are smooth yet clicky without too much noise.
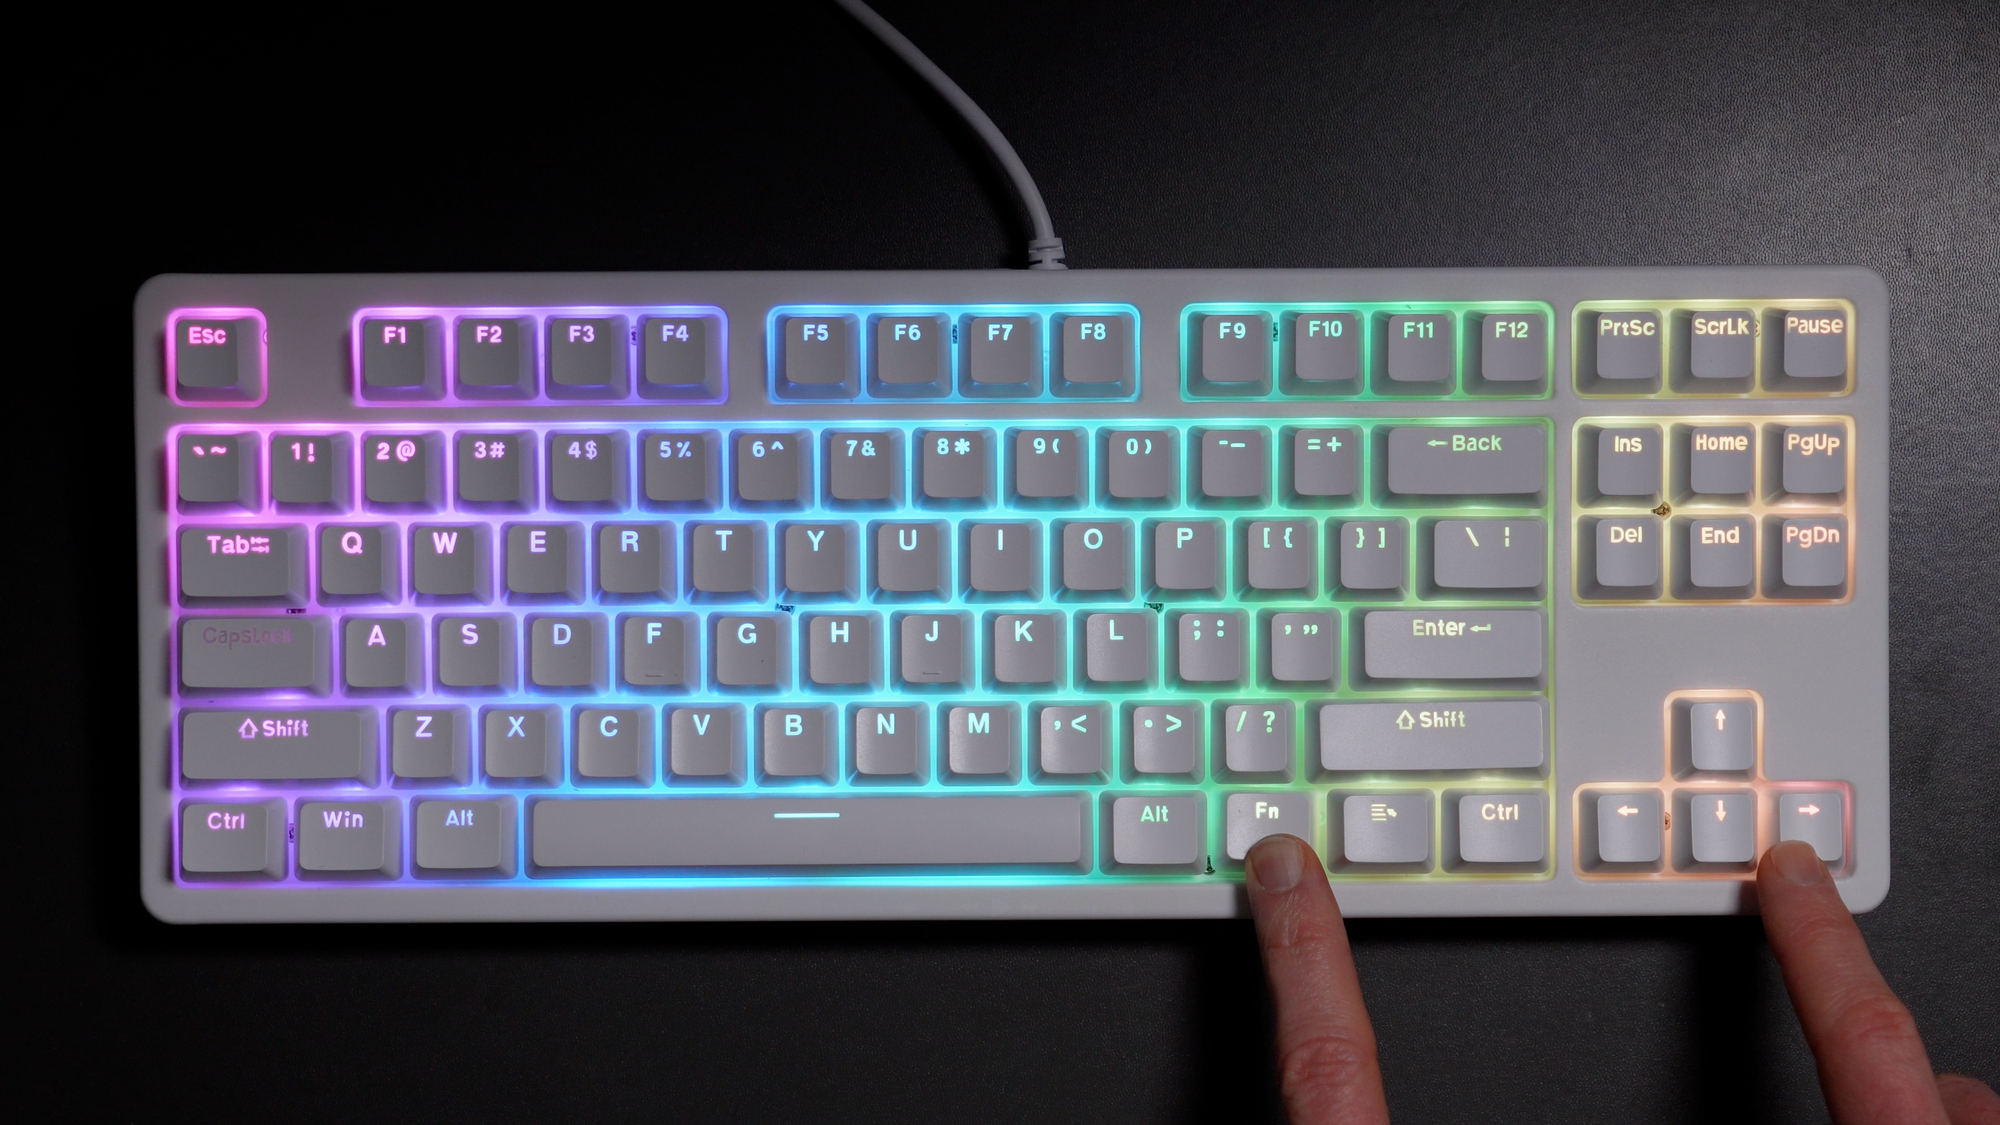
There are RGB lights with numerous LED effects that you can choose from. Press Fn + left or right arrow keys to toggle through the different modes.
You can also press Fn + up or down arrows to adjust the LED brightness, or Fn + page up or down to alter the LED effect speed.
When caps lock is on, it flashes at you so you know.
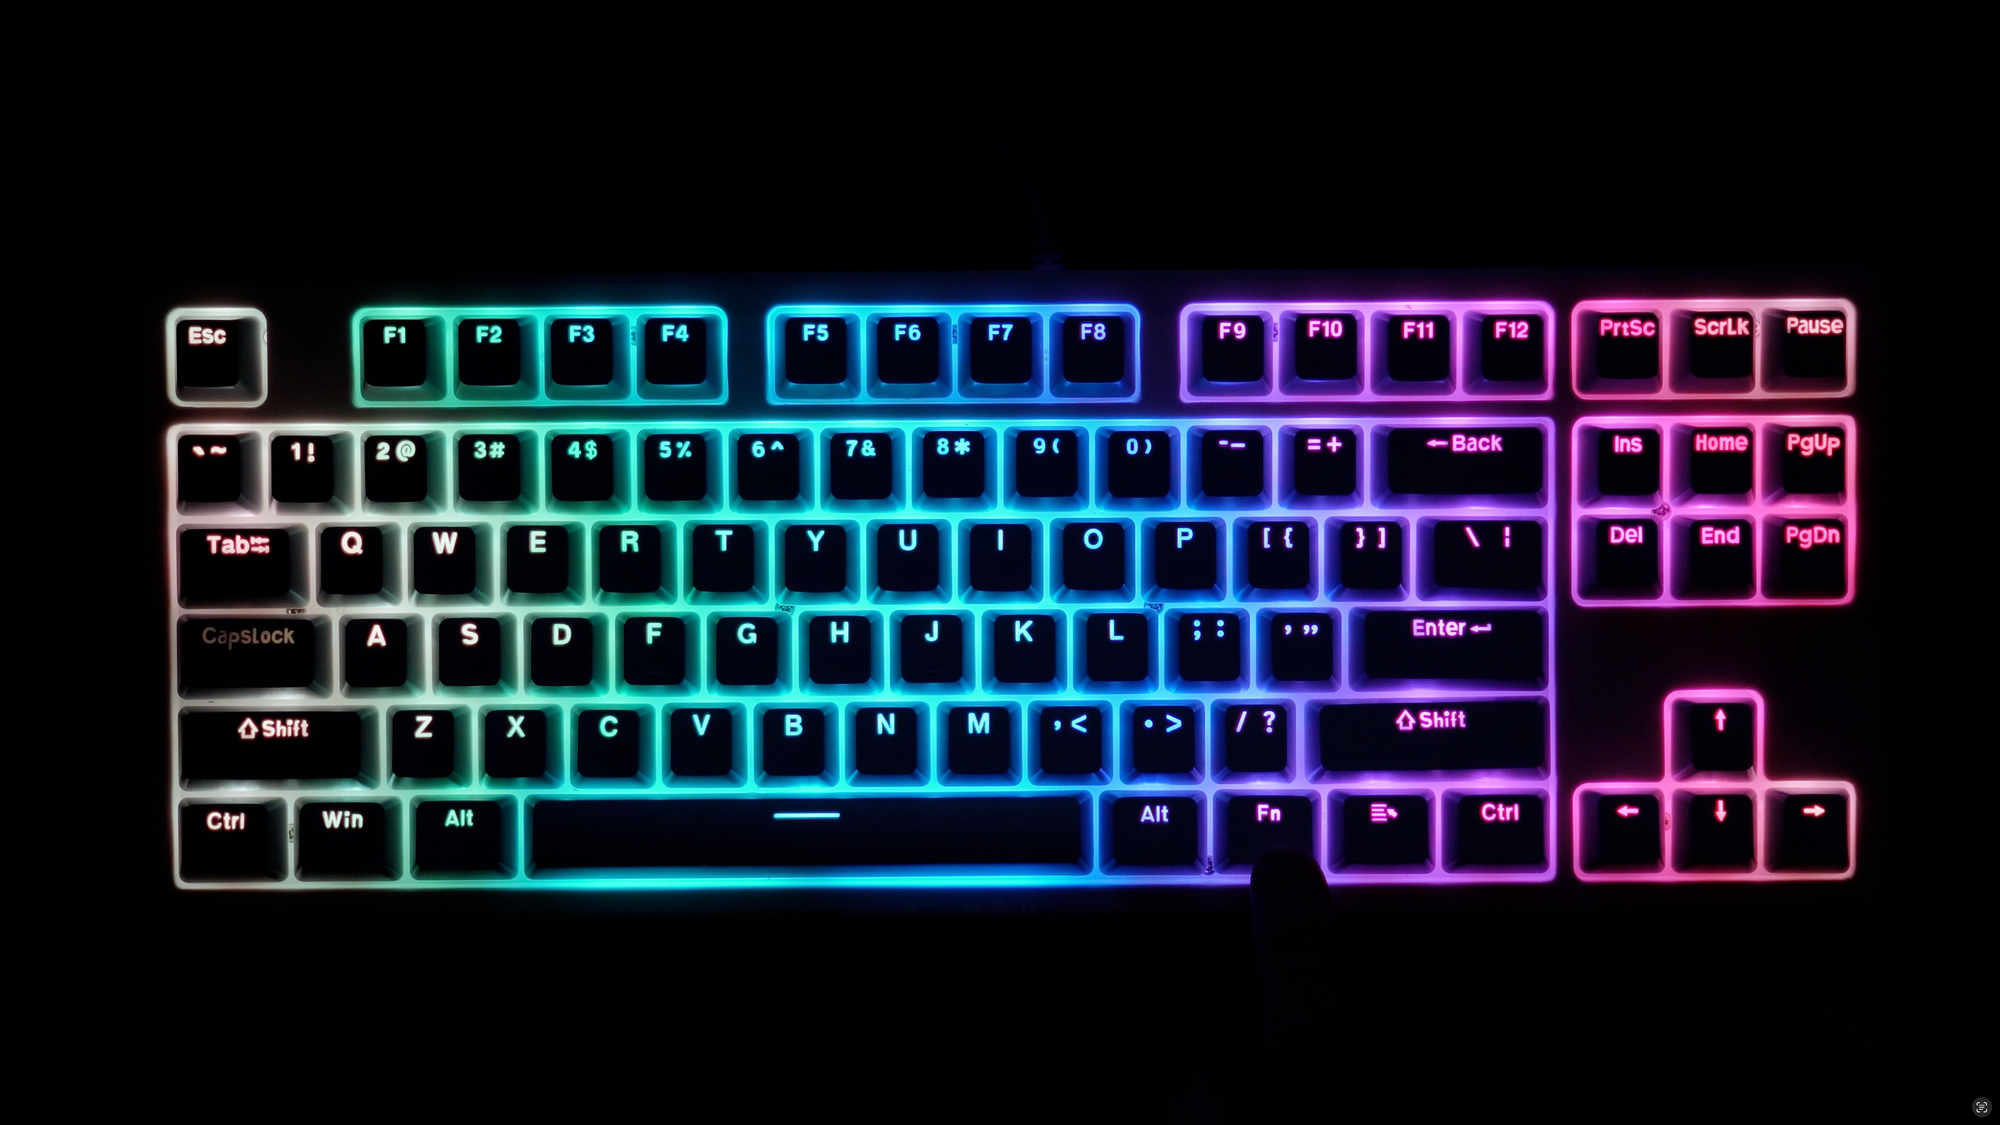
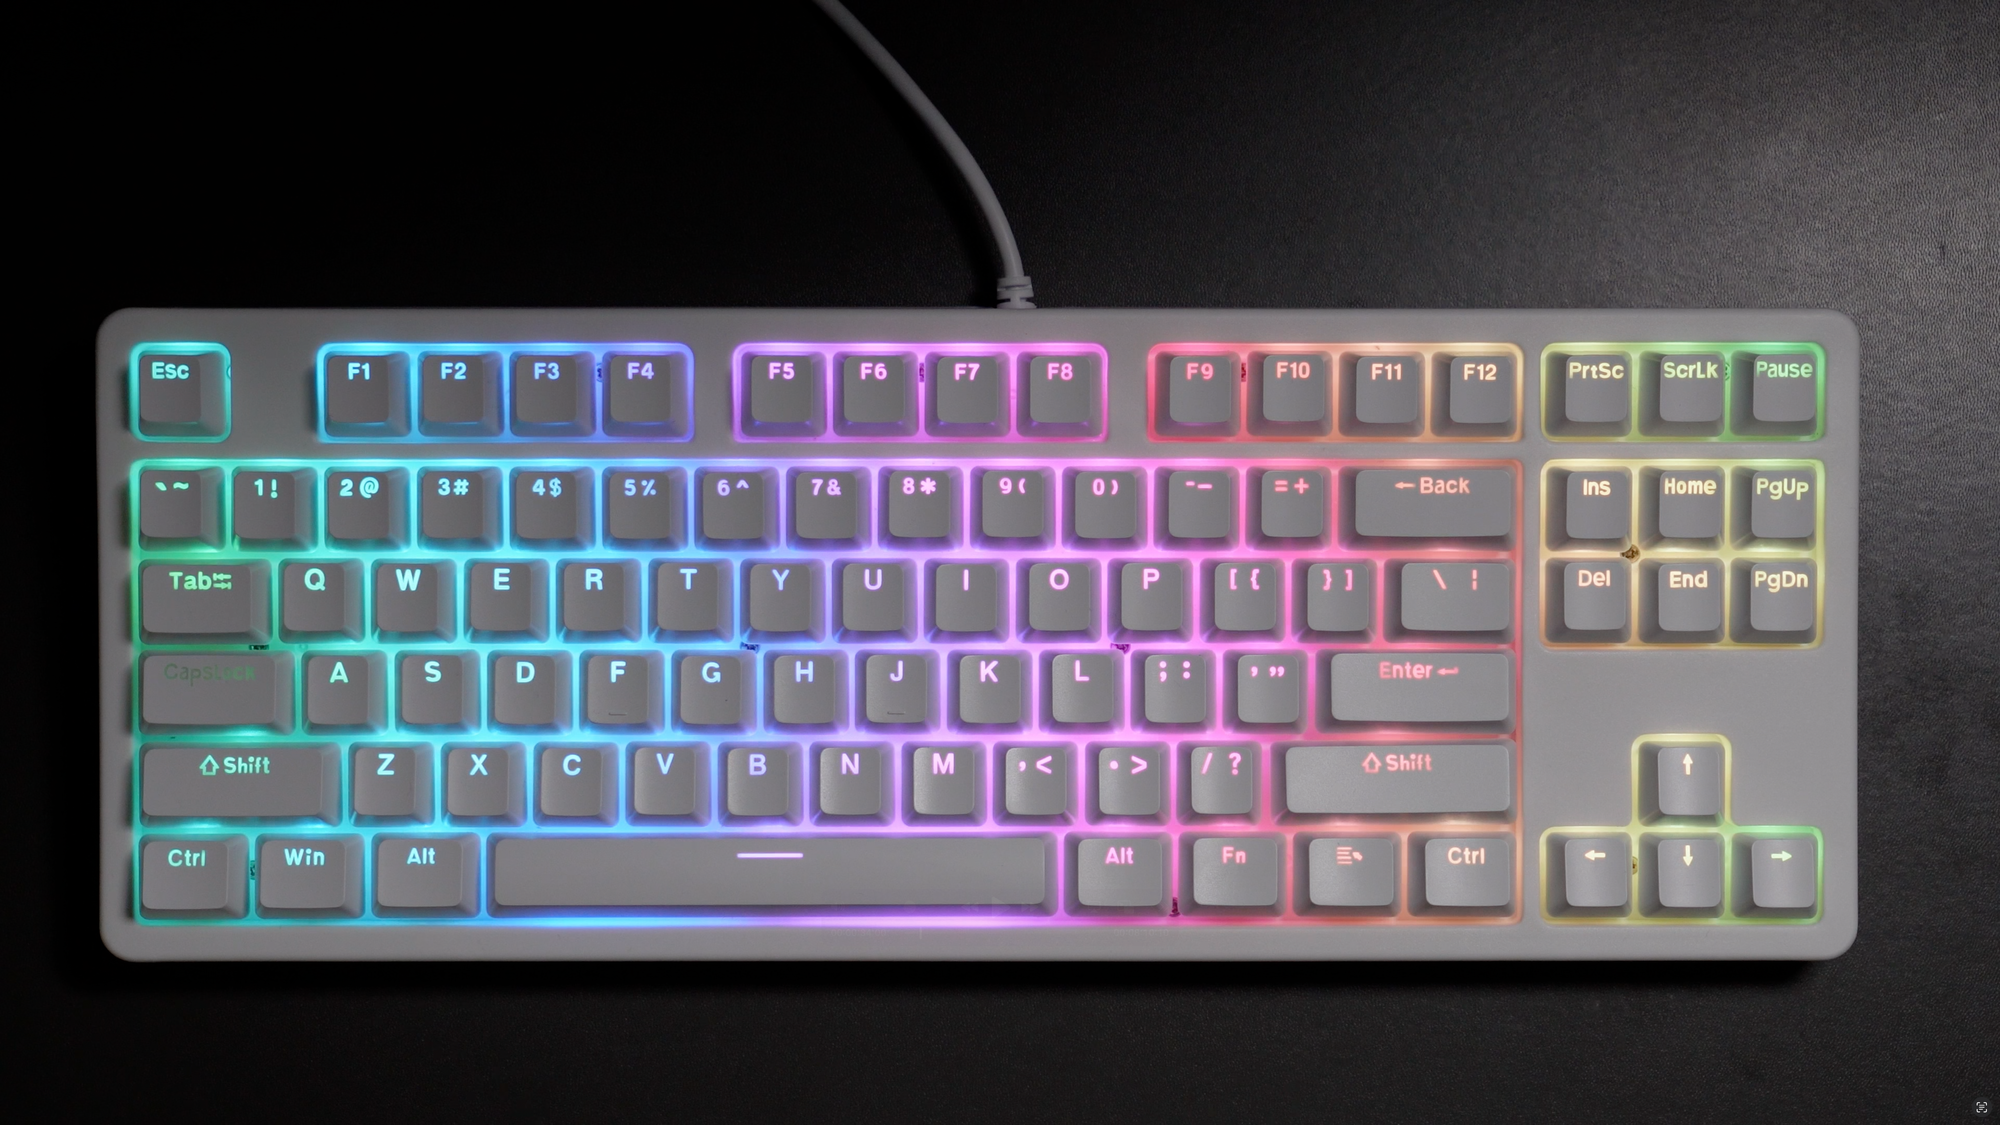
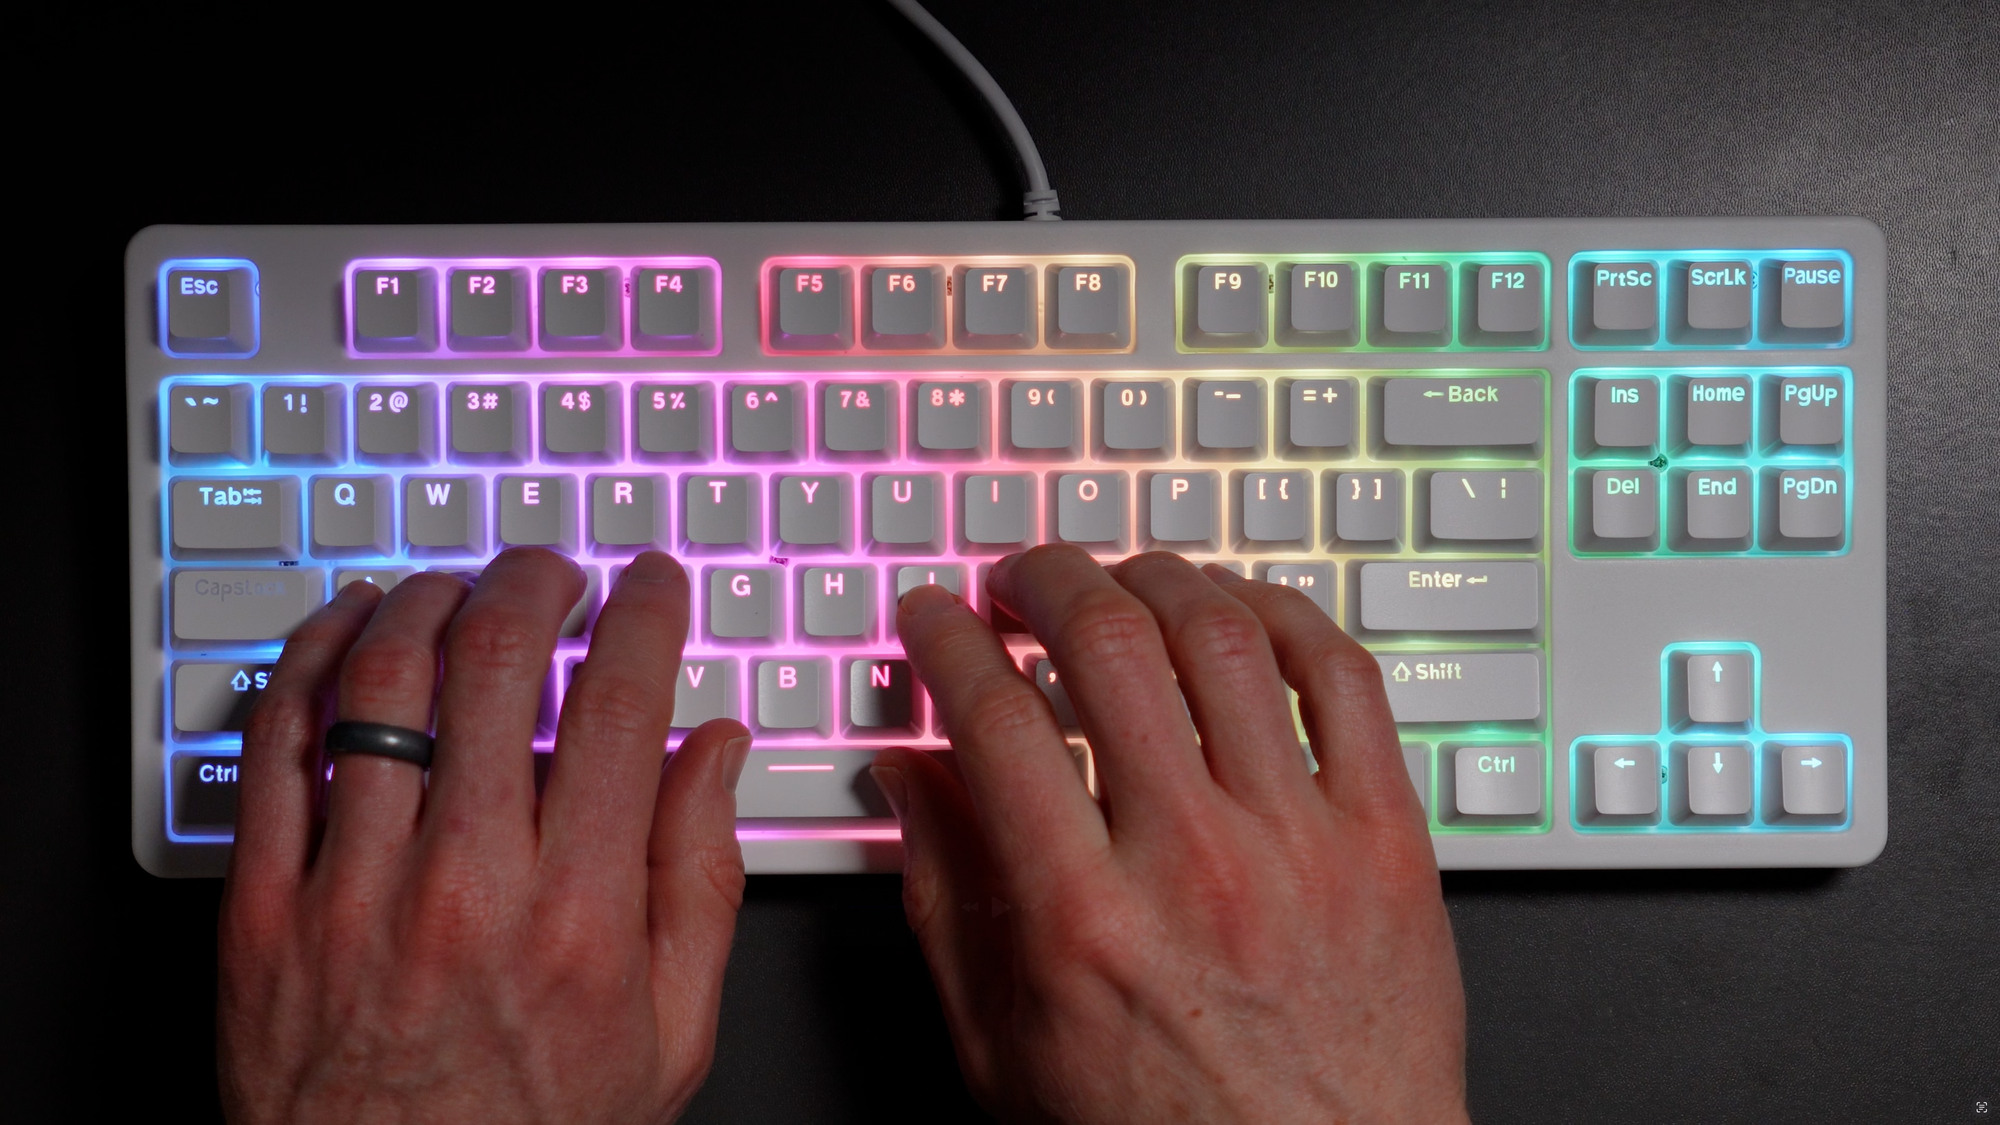
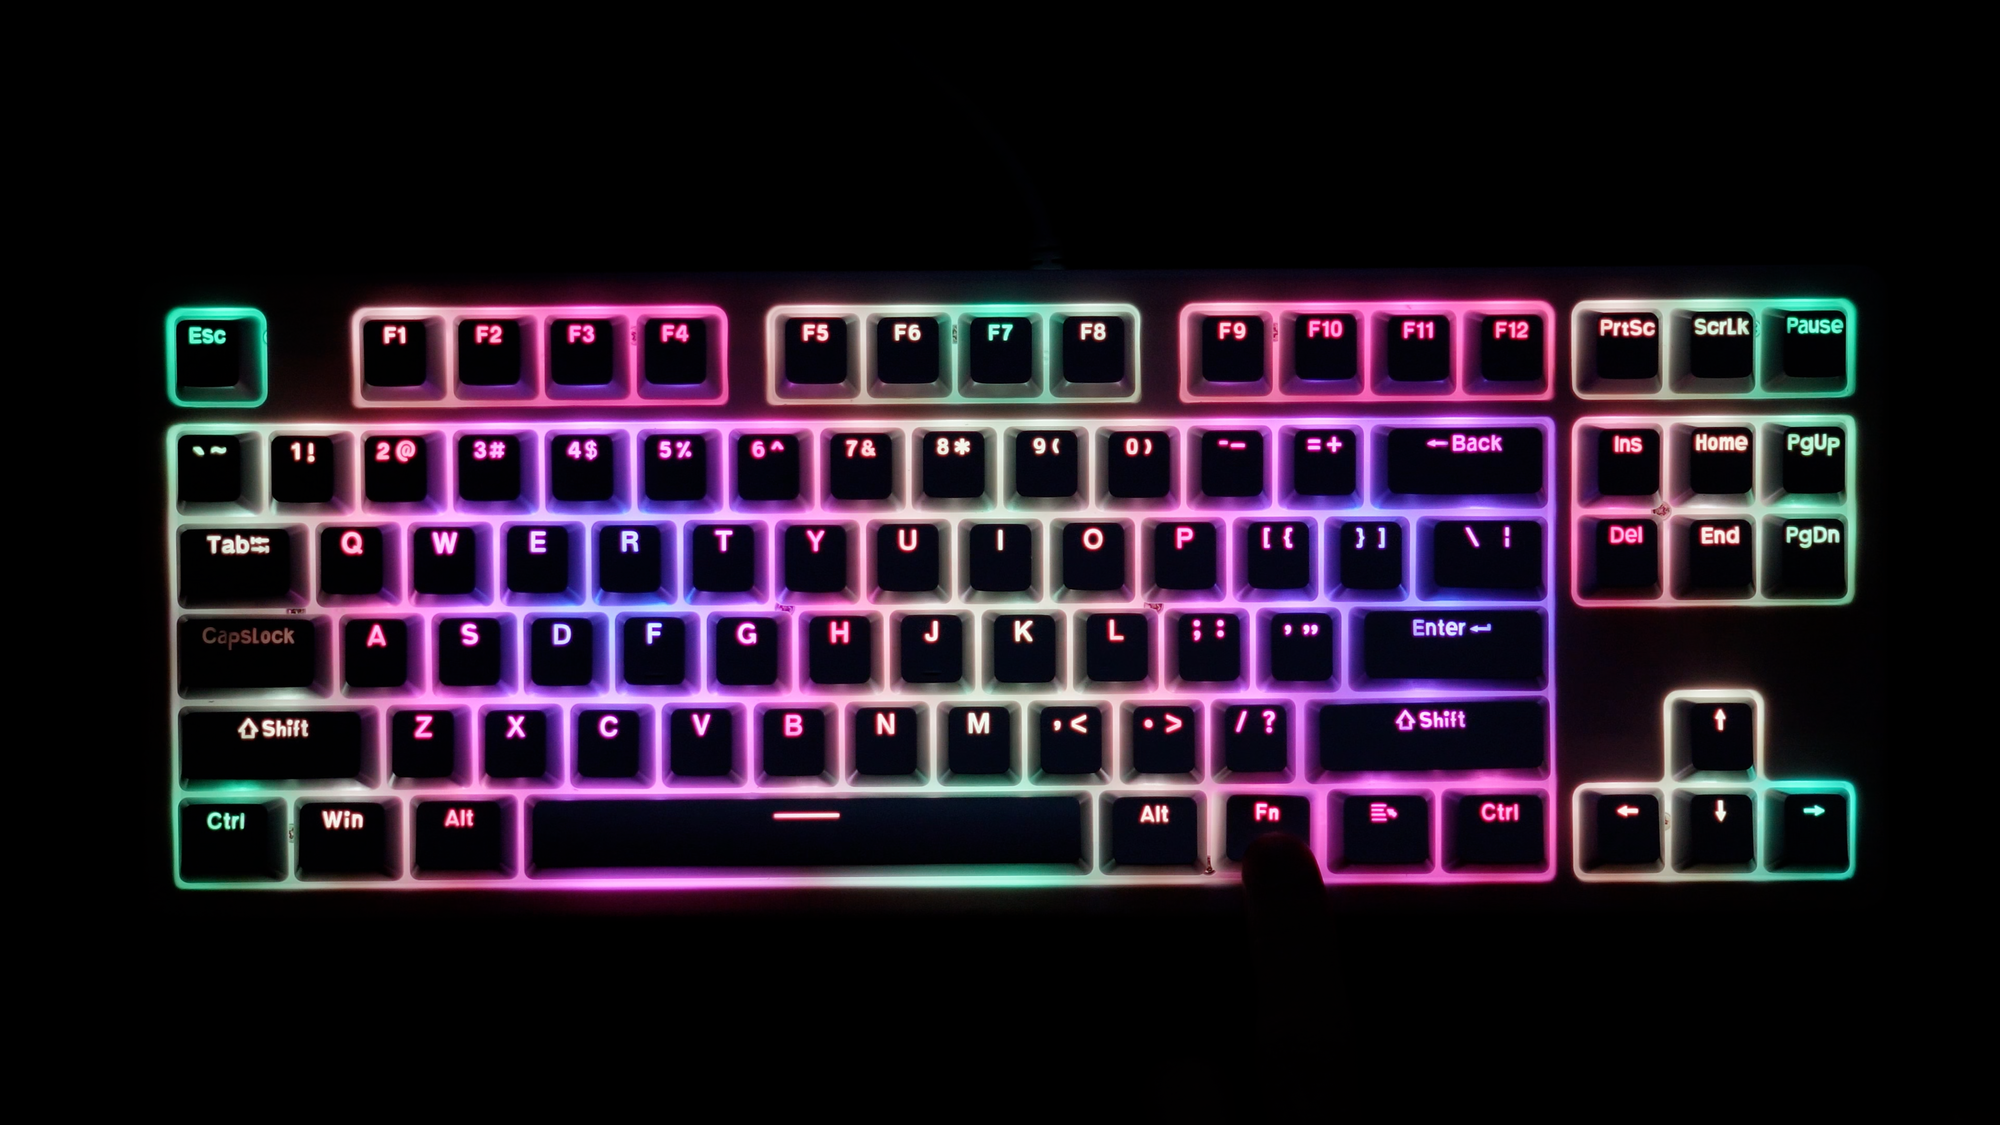
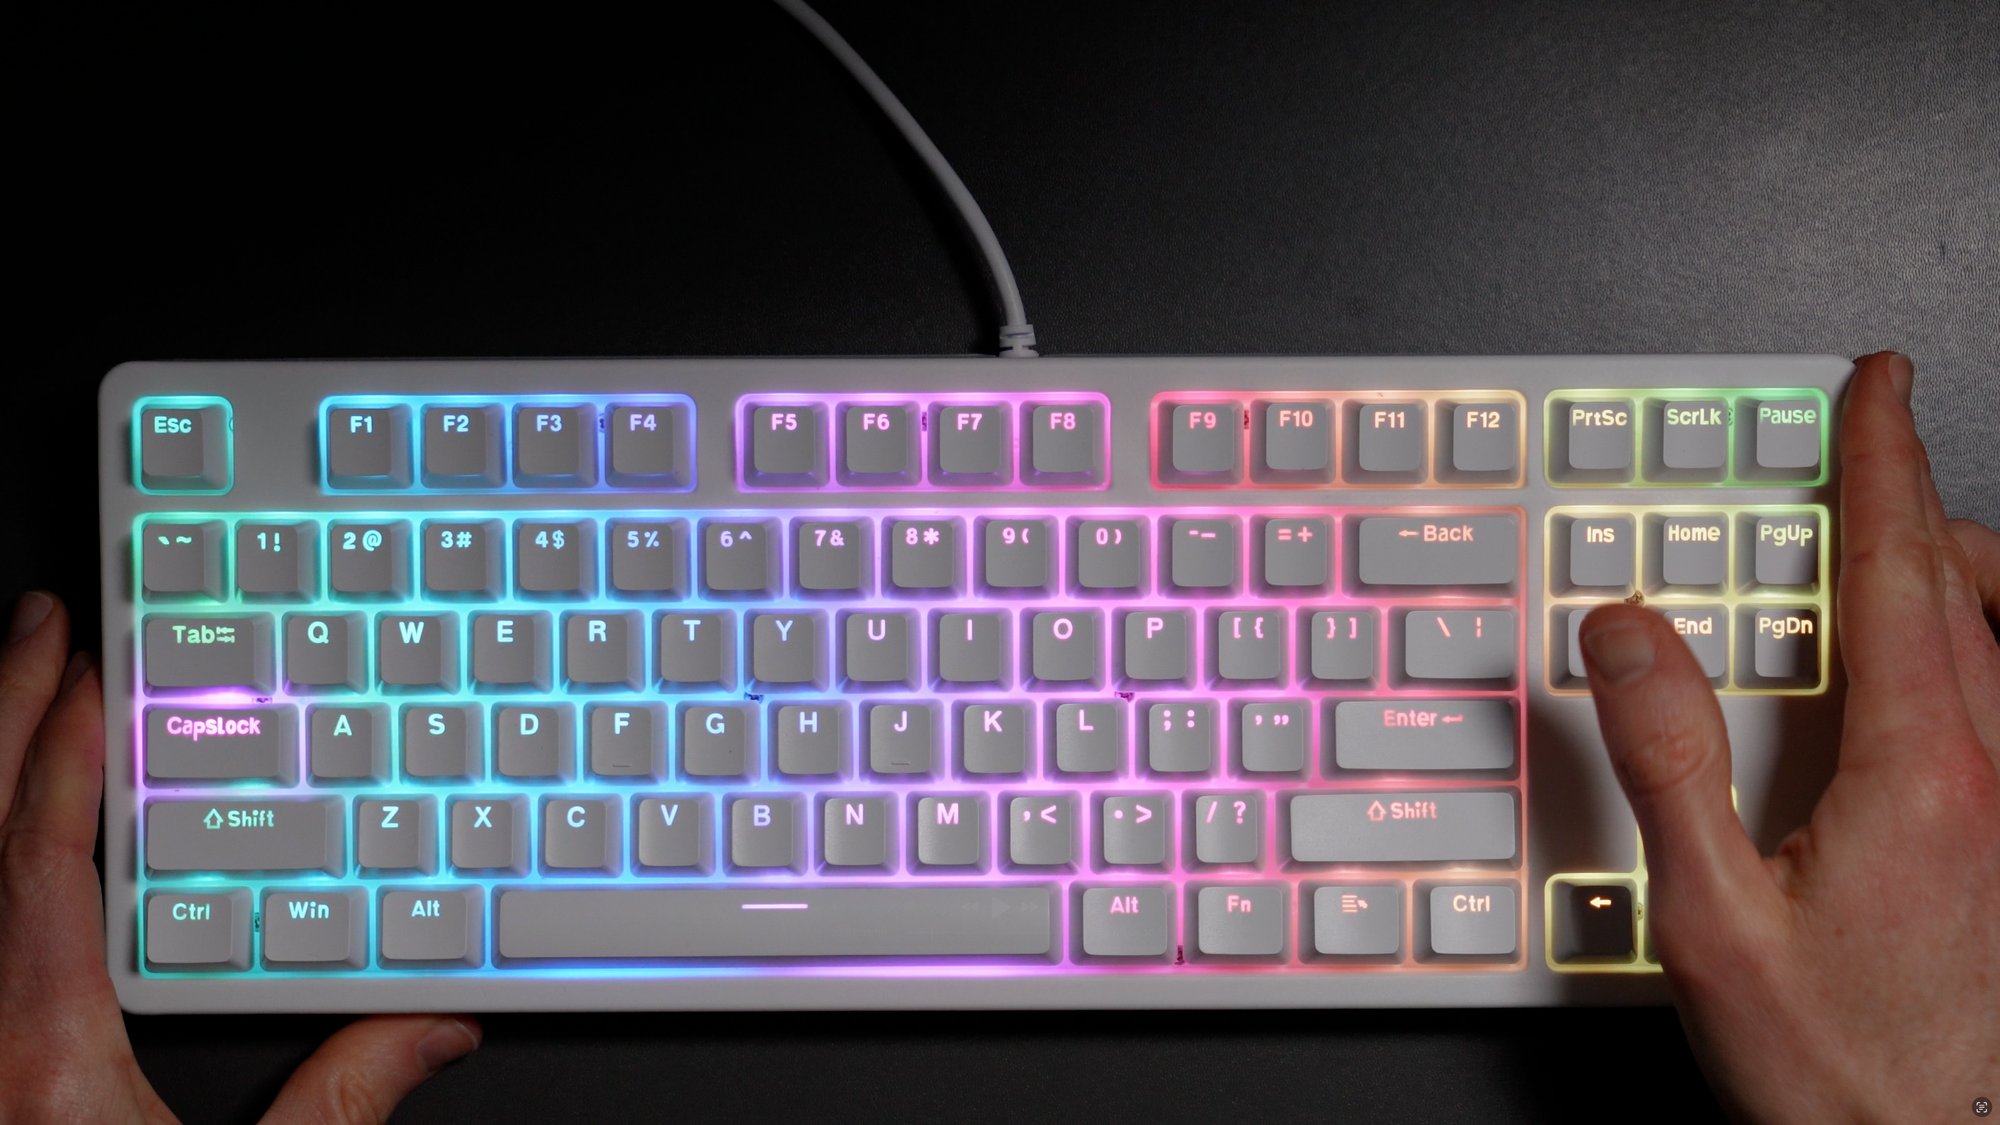
A closer look at the ThirdReality Smart Mechanical Keyboard MK1
Smart Home Control
But none of what I said so far is why you’re getting this keyboard.
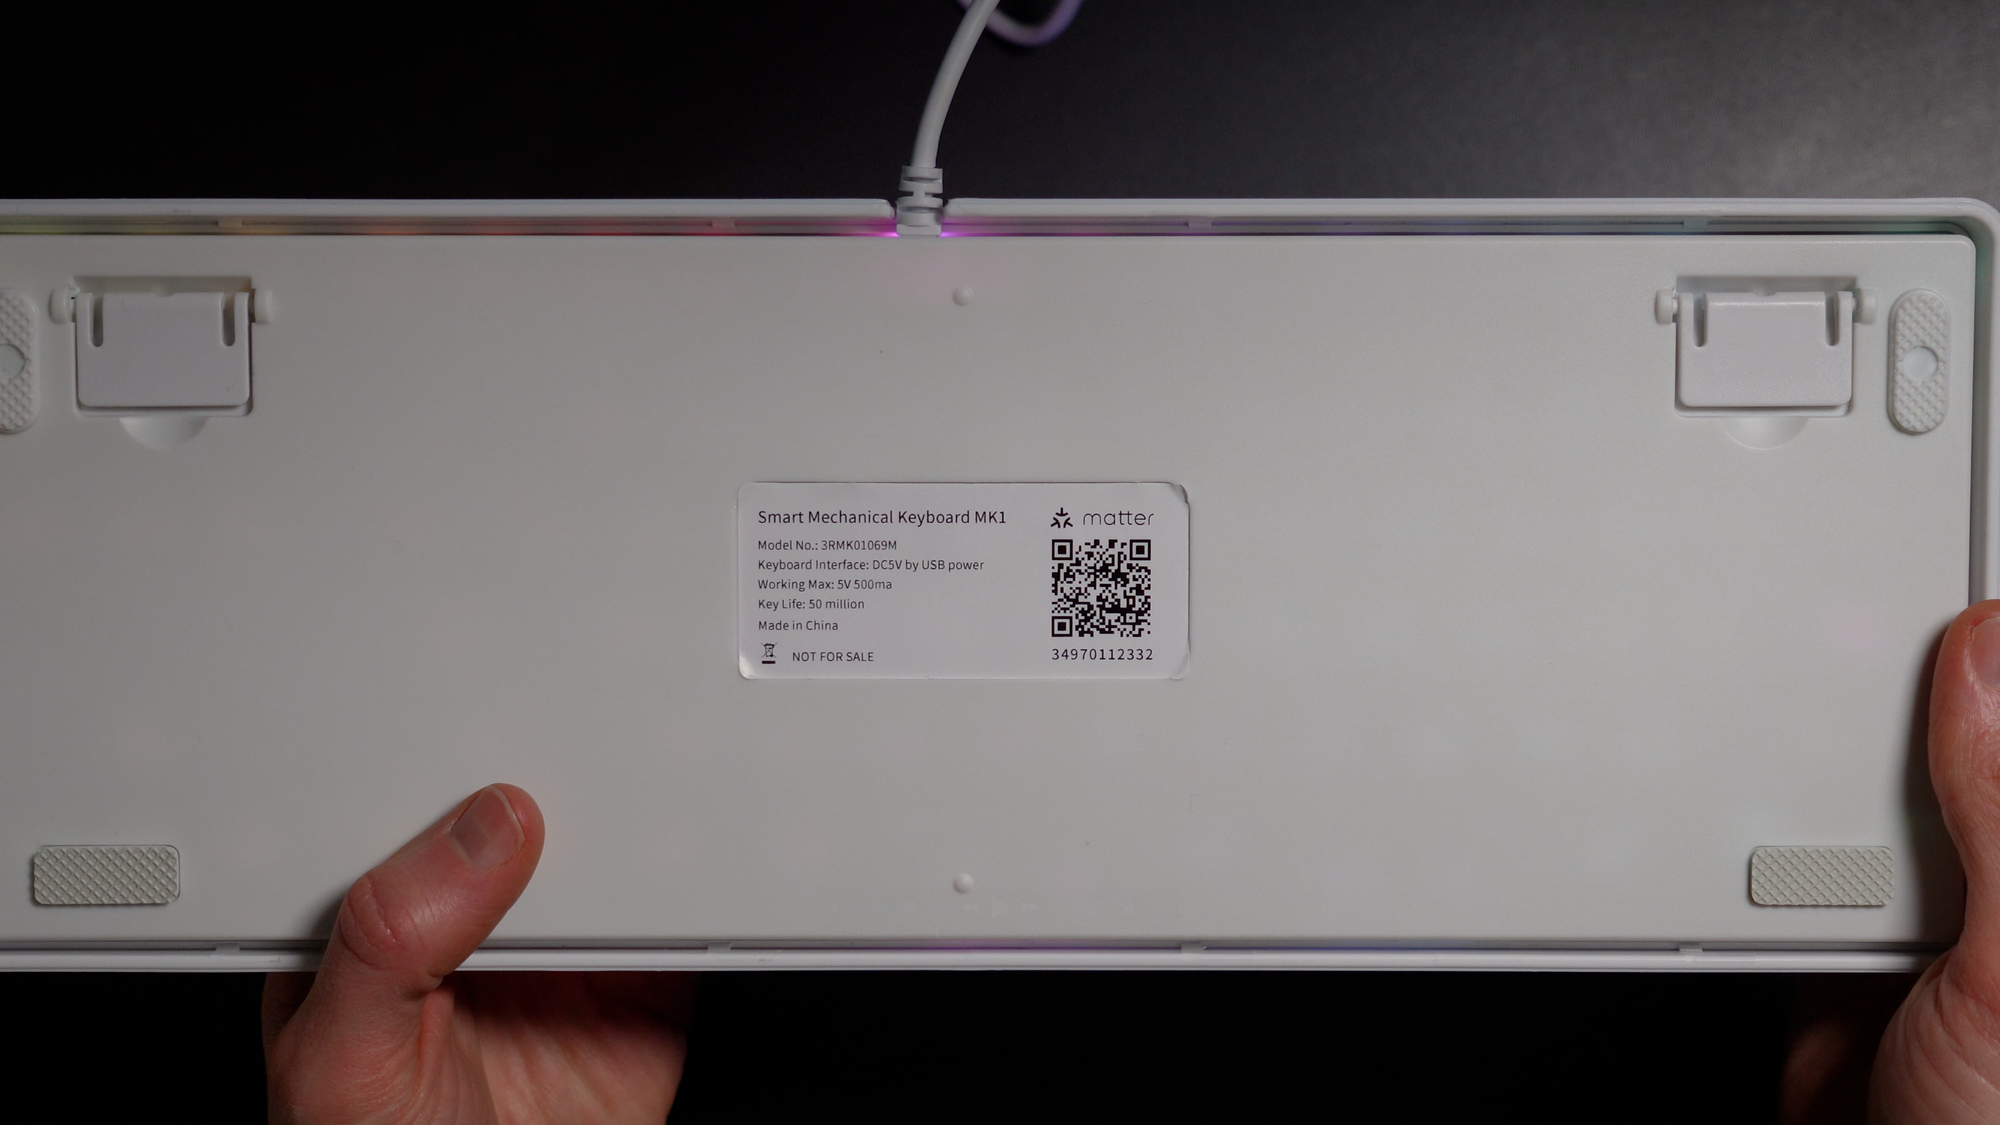
You’re buying it because of what it says underneath. That’s right, this keyboard has Matter support built-in. This means you can connect it to any of your favorite smart home platforms, and control your smart home right from the keyboar`d!
The first 10 function keys at the top of the keyboard can be programmed to control a smart home device, or to trigger a home automation. Just press Fn + F1 through F10 to trigger the smart home action.
You could use this to toggle lights on and off, adjust their brightness, start an automation that sets the scene in your office or game room with special lighting effects or changes to window shades, or that turns everything off at the end of the day and arms the alarm, or just about anything else that you can think of!
To start, I mapped F1 to control the lights in my office, F2 to trigger an automation that gets the room ready to record a video, and F3 to put everything back the way it was. I love this!
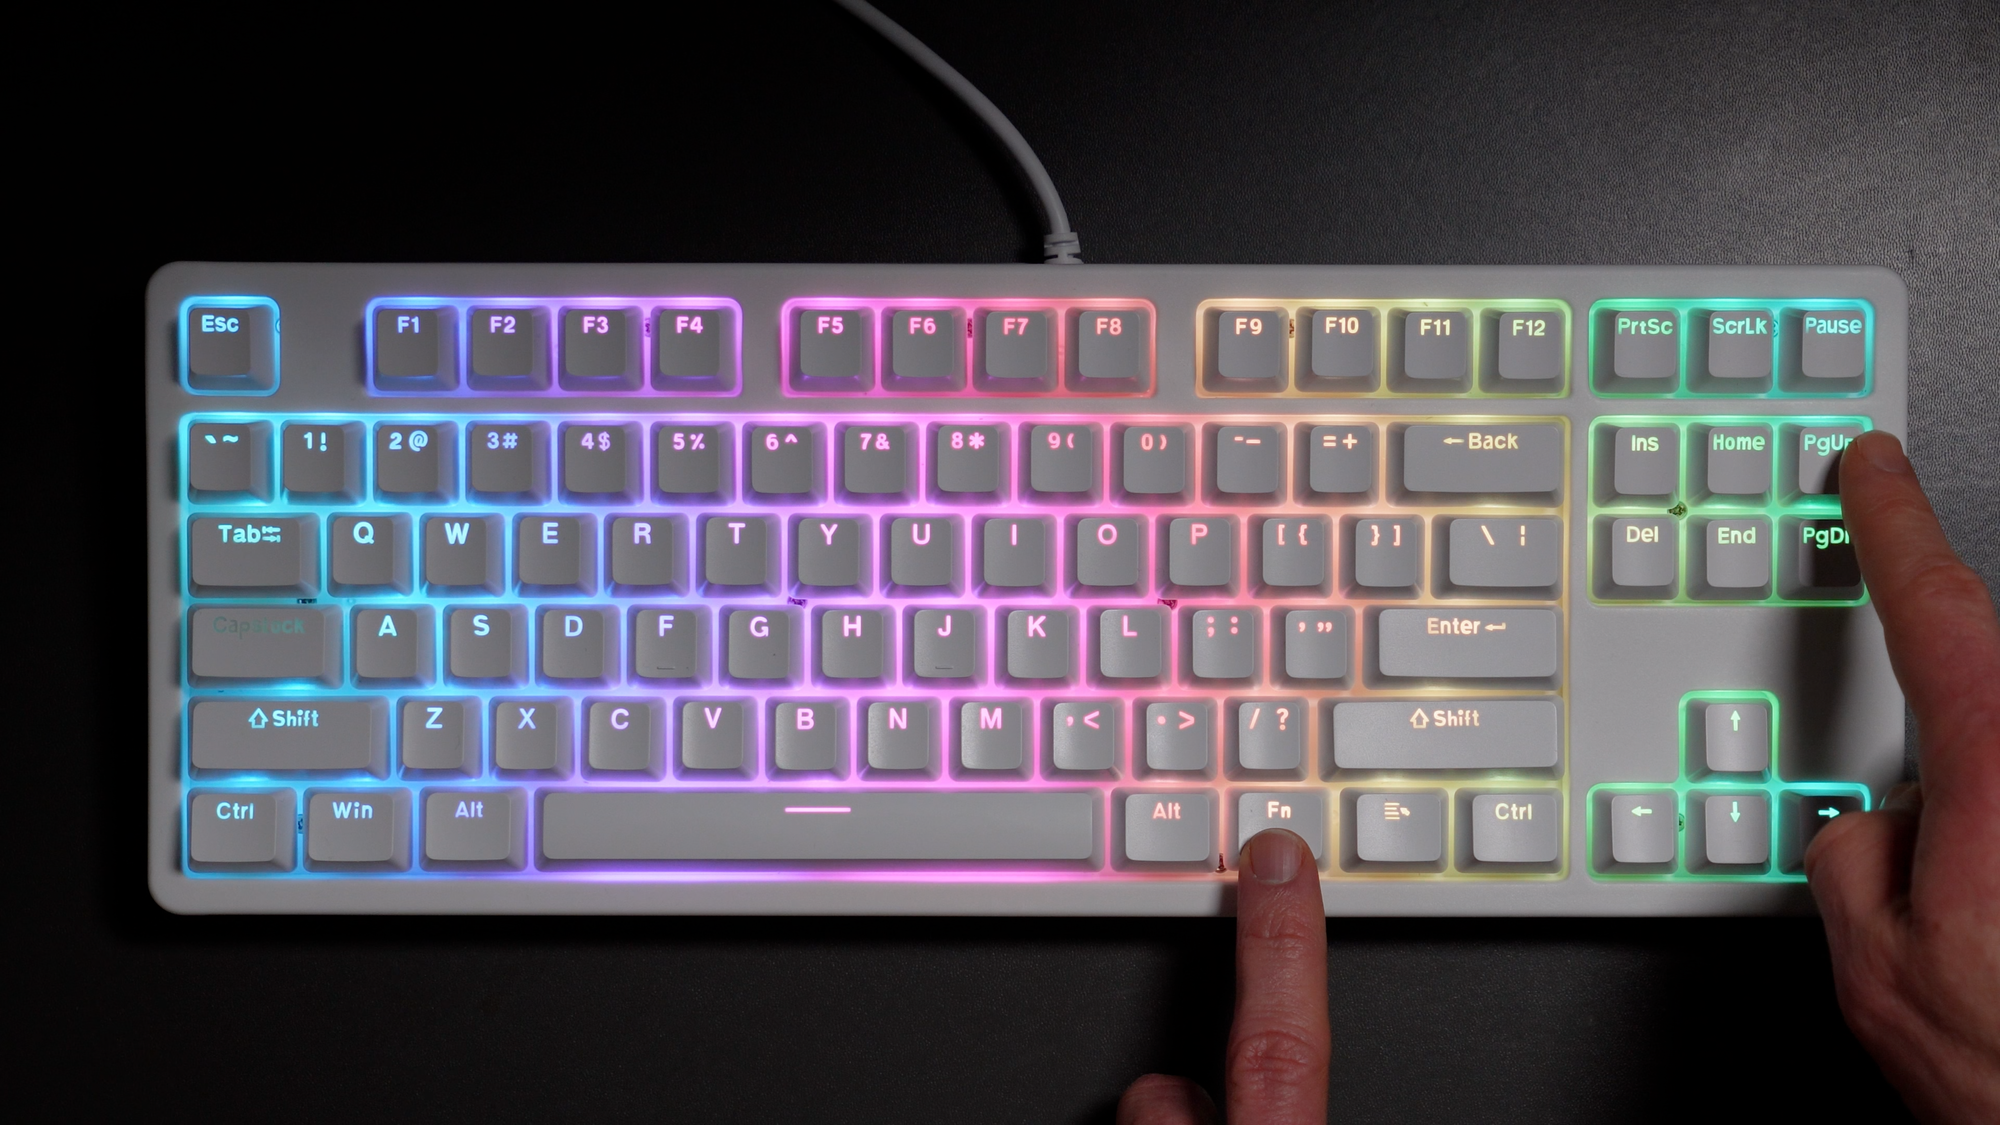
You can program the function keys F1-F10 on the ThirdReality Smart Mechanical Keyboard MK1 to control smart home actions and home automations
Home Assistant Setup
That all sounds great, but how do you actually set this up and program it to control your smart home? I’ll show you how I did it using Home Assistant and Apple Home.
First, make sure your phone is connected to a 2.4GHz WiFi network.
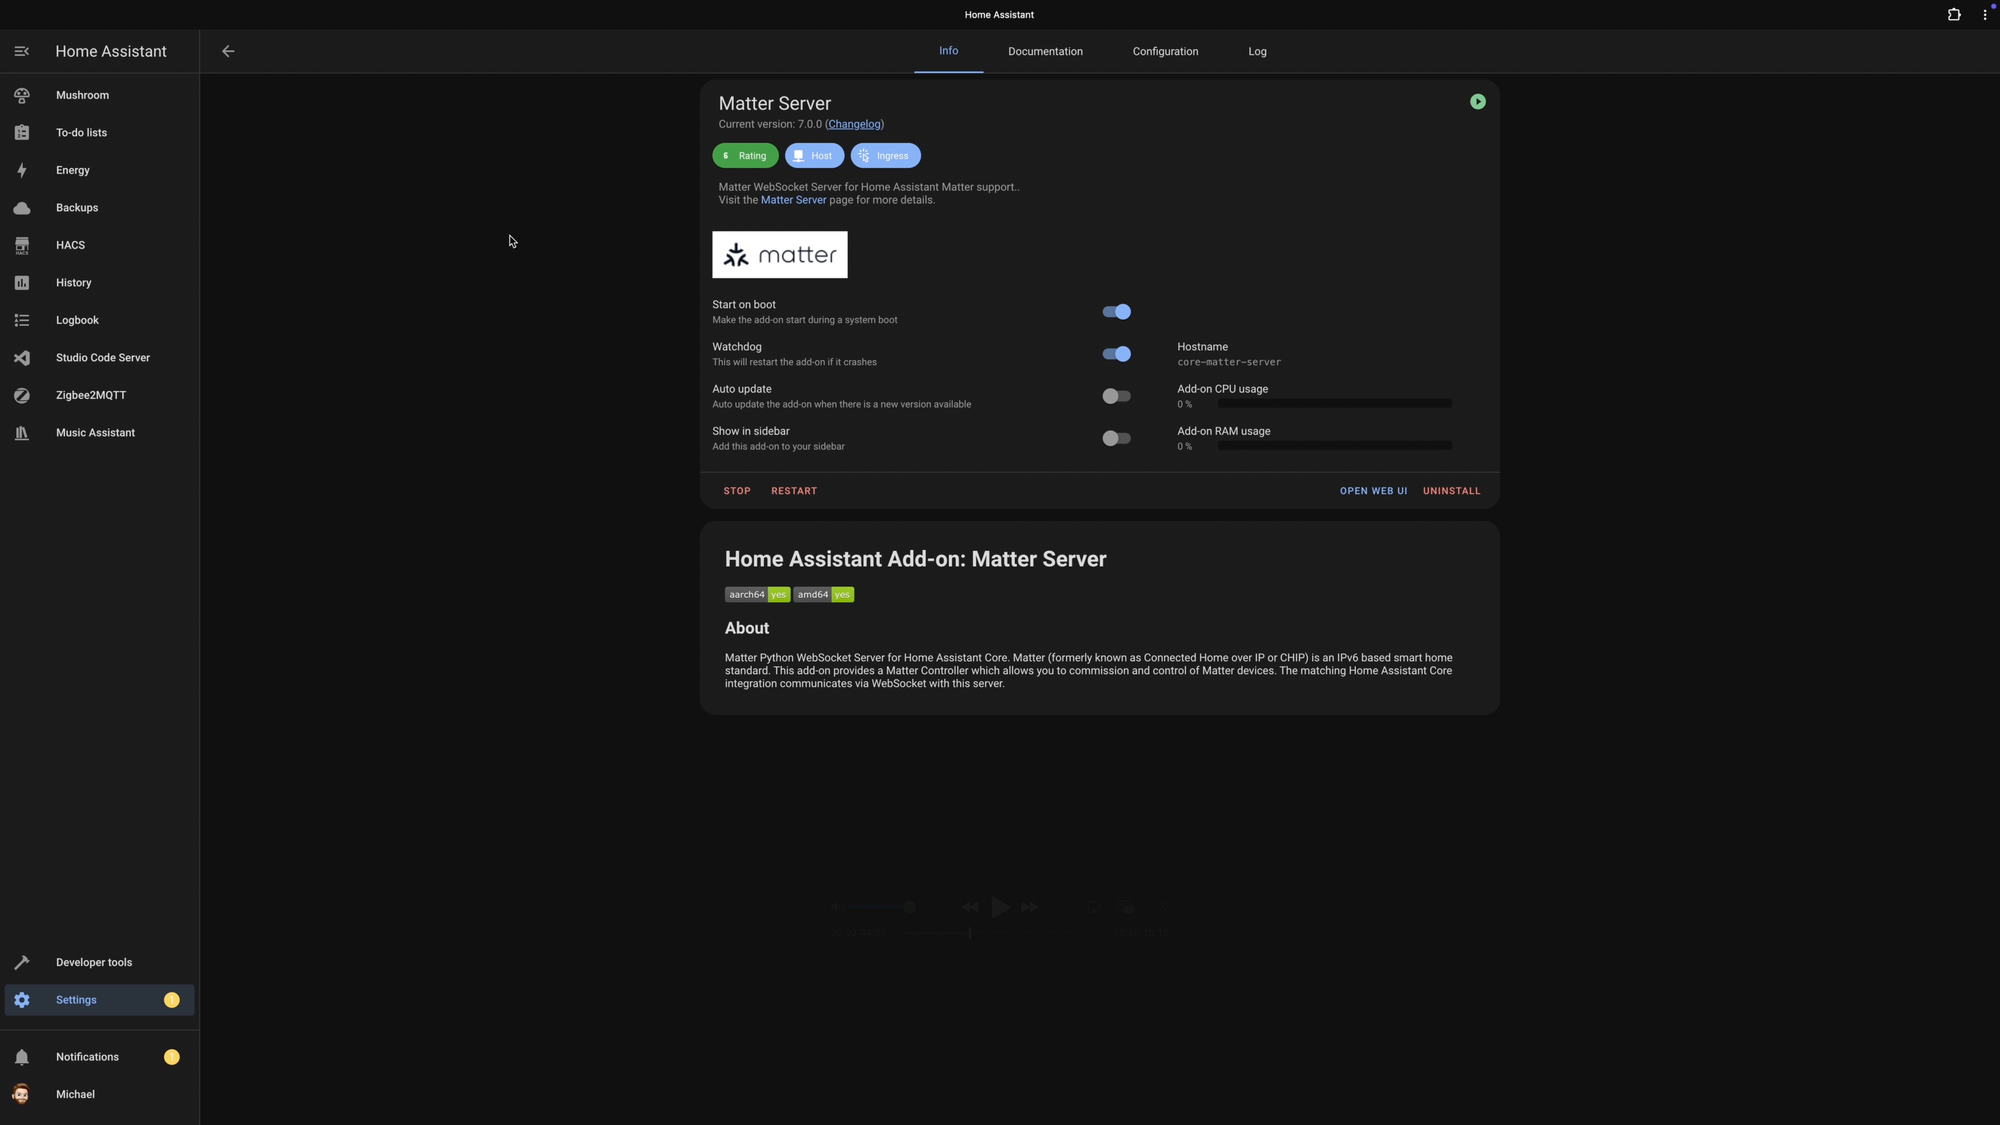
Second, you’ll need the Matter Server add-on and Matter integration added to Home Assistant. If you don’t have that or even know what I’m talking about, I’ll leave a link with more info on what to do.
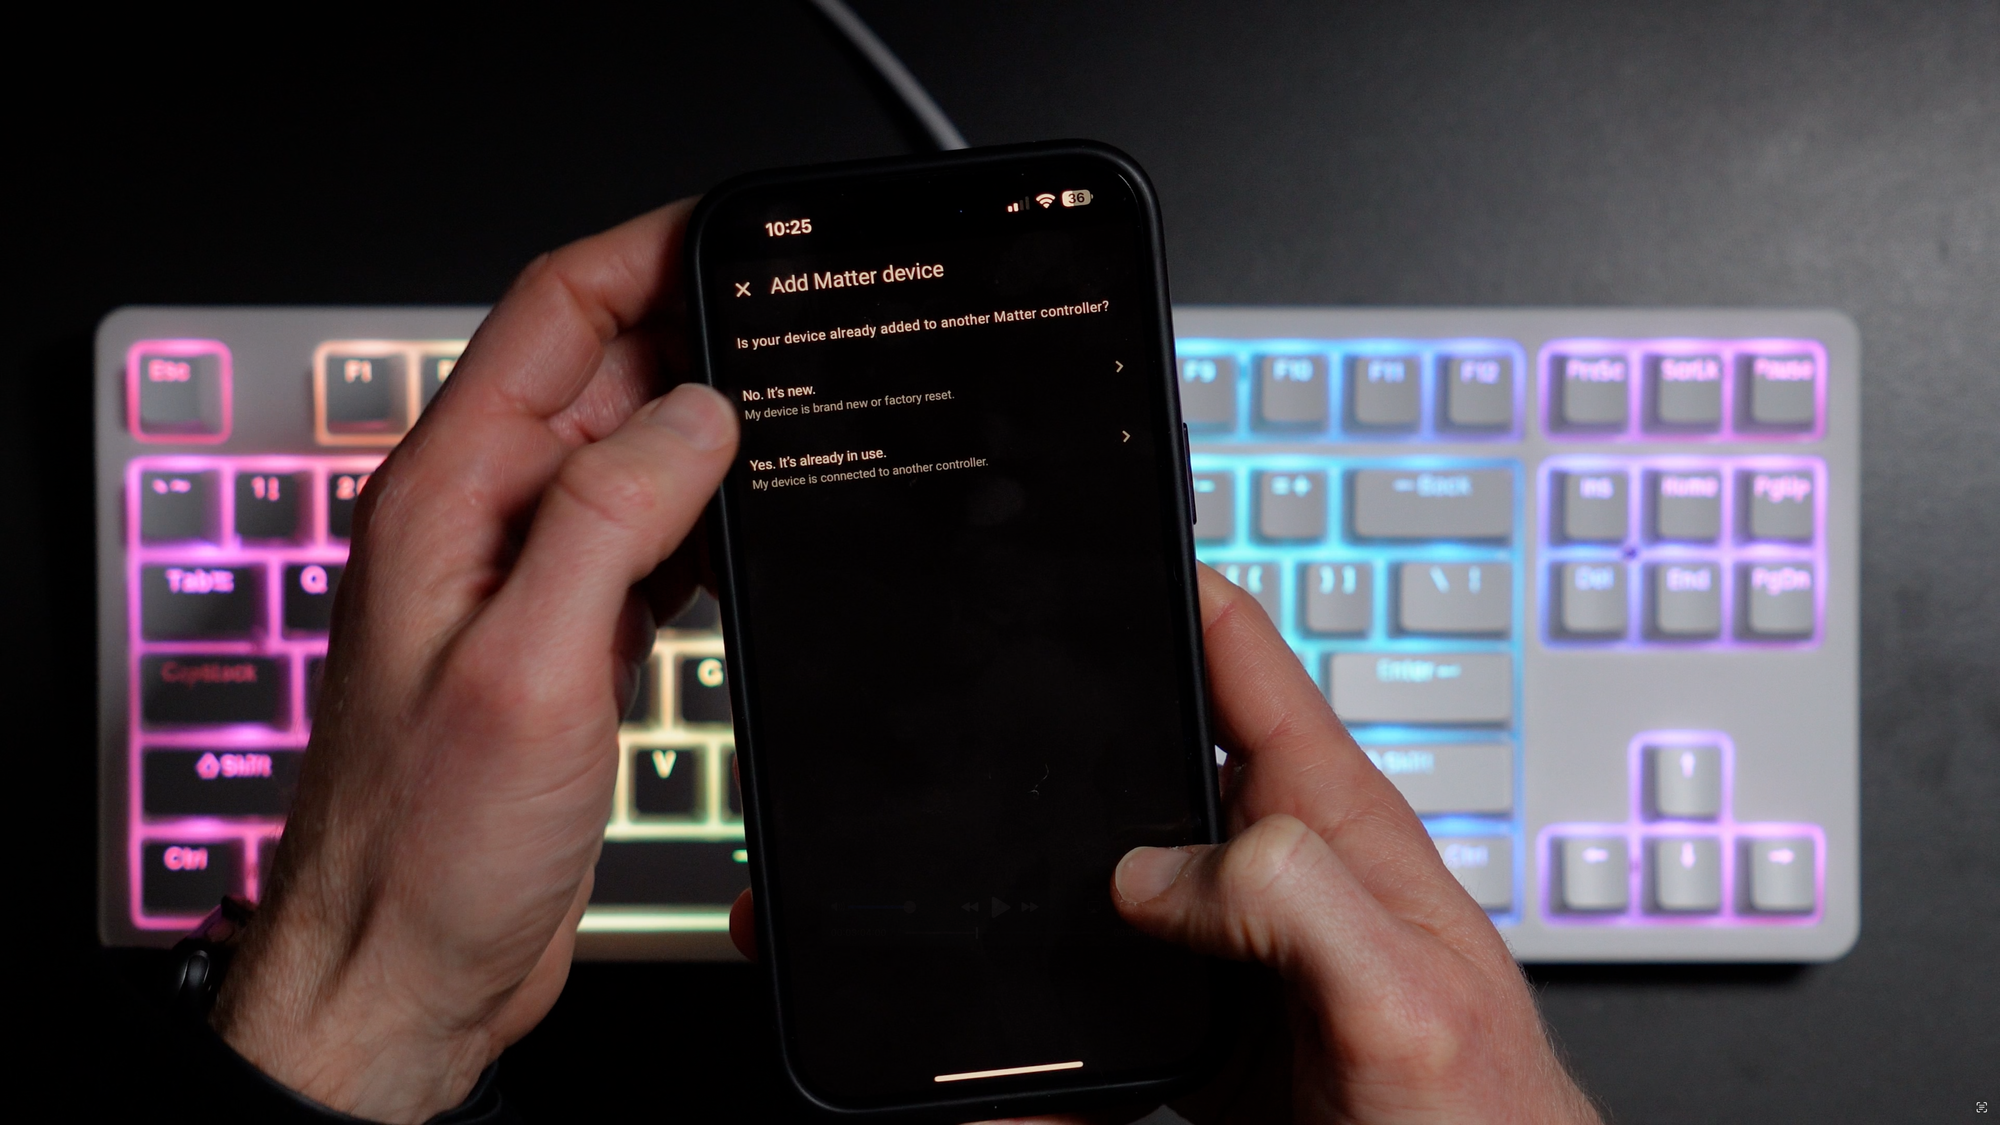
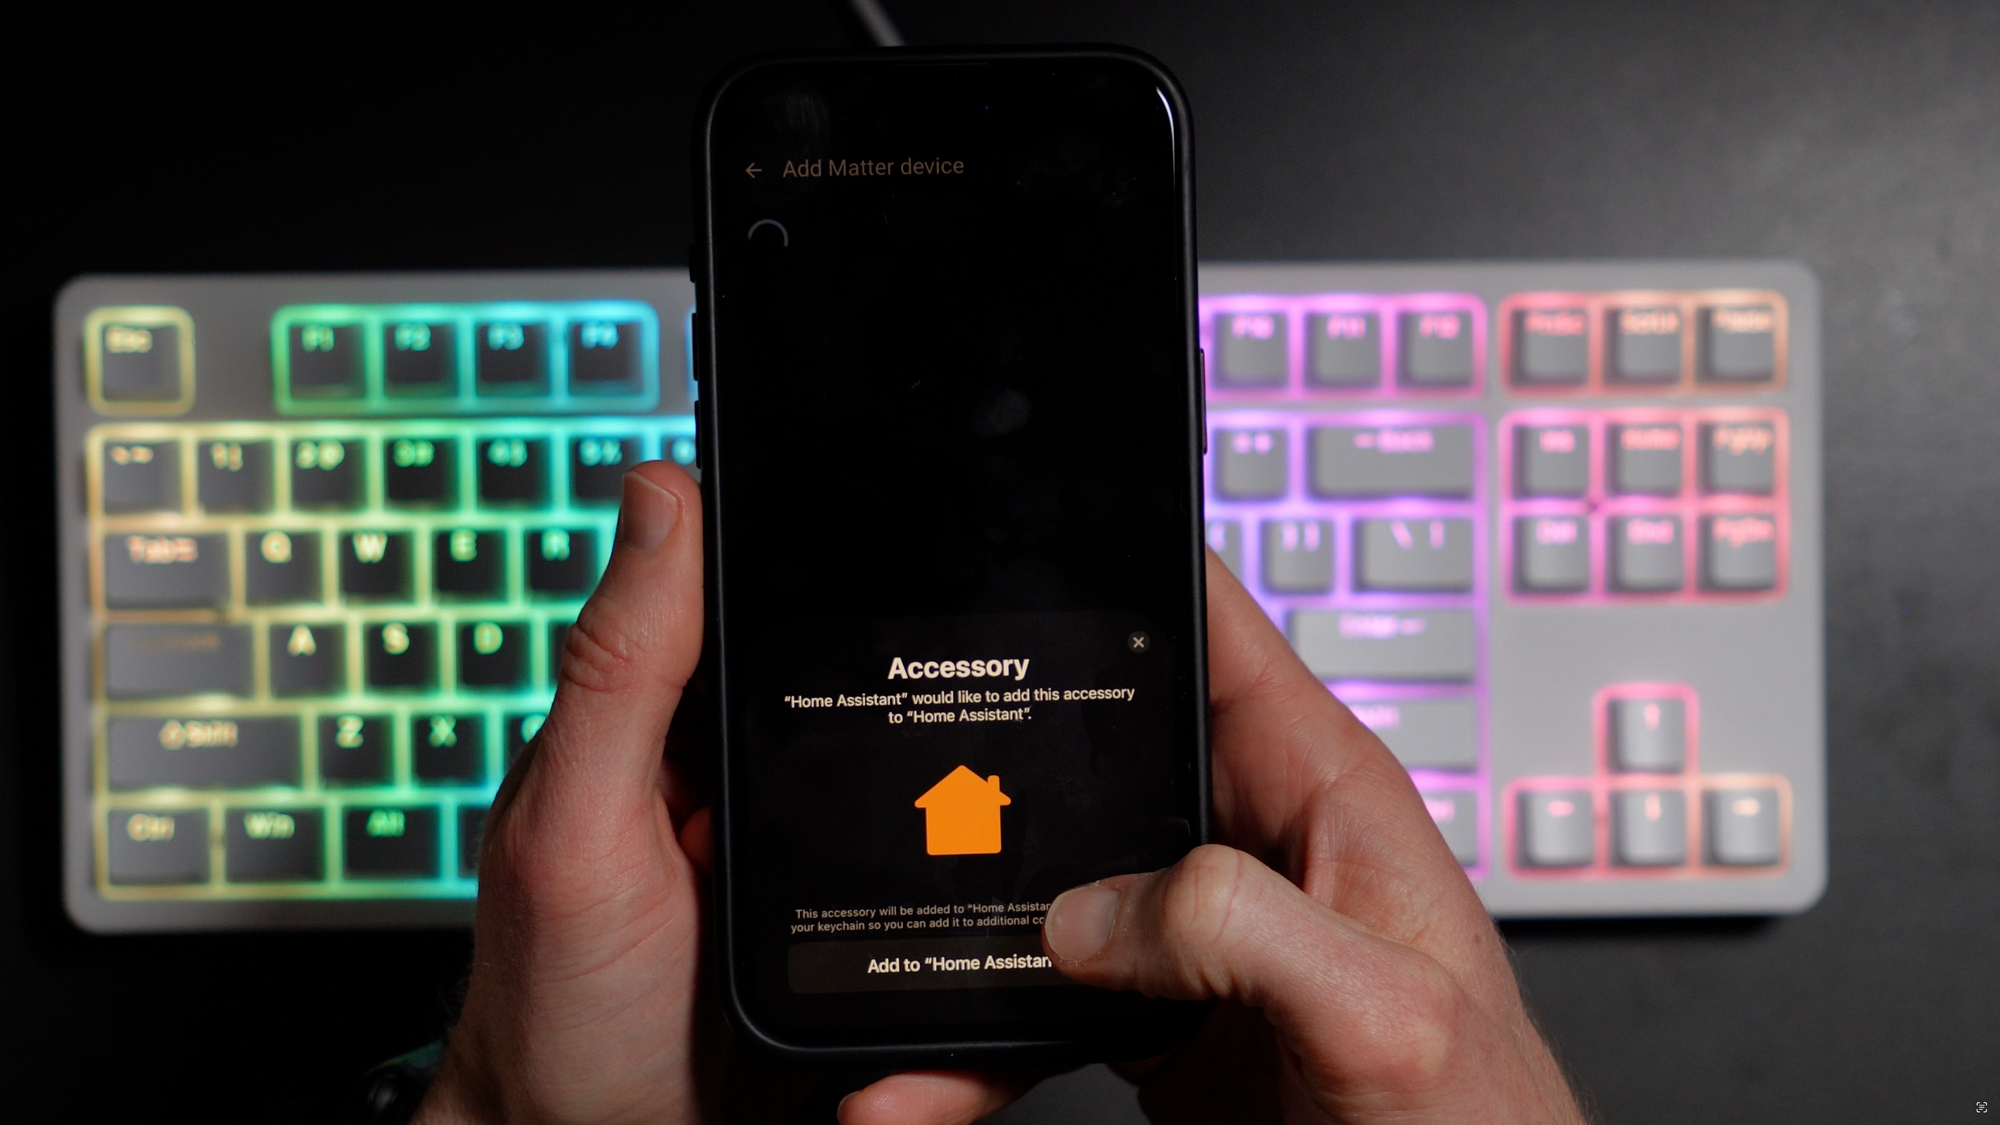
Third, open the Home Assistant companion app on your phone, and go to Settings > Devices & services > Devices > Add Device > Add Matter device > No. It’s new > and it will ask to scan a Matter QR code.
Fourth, plug in the keyboard to a USB A port on your docking station or computer. The Esc key should flash blue for five seconds to indicate it is in Matter pairing mode.
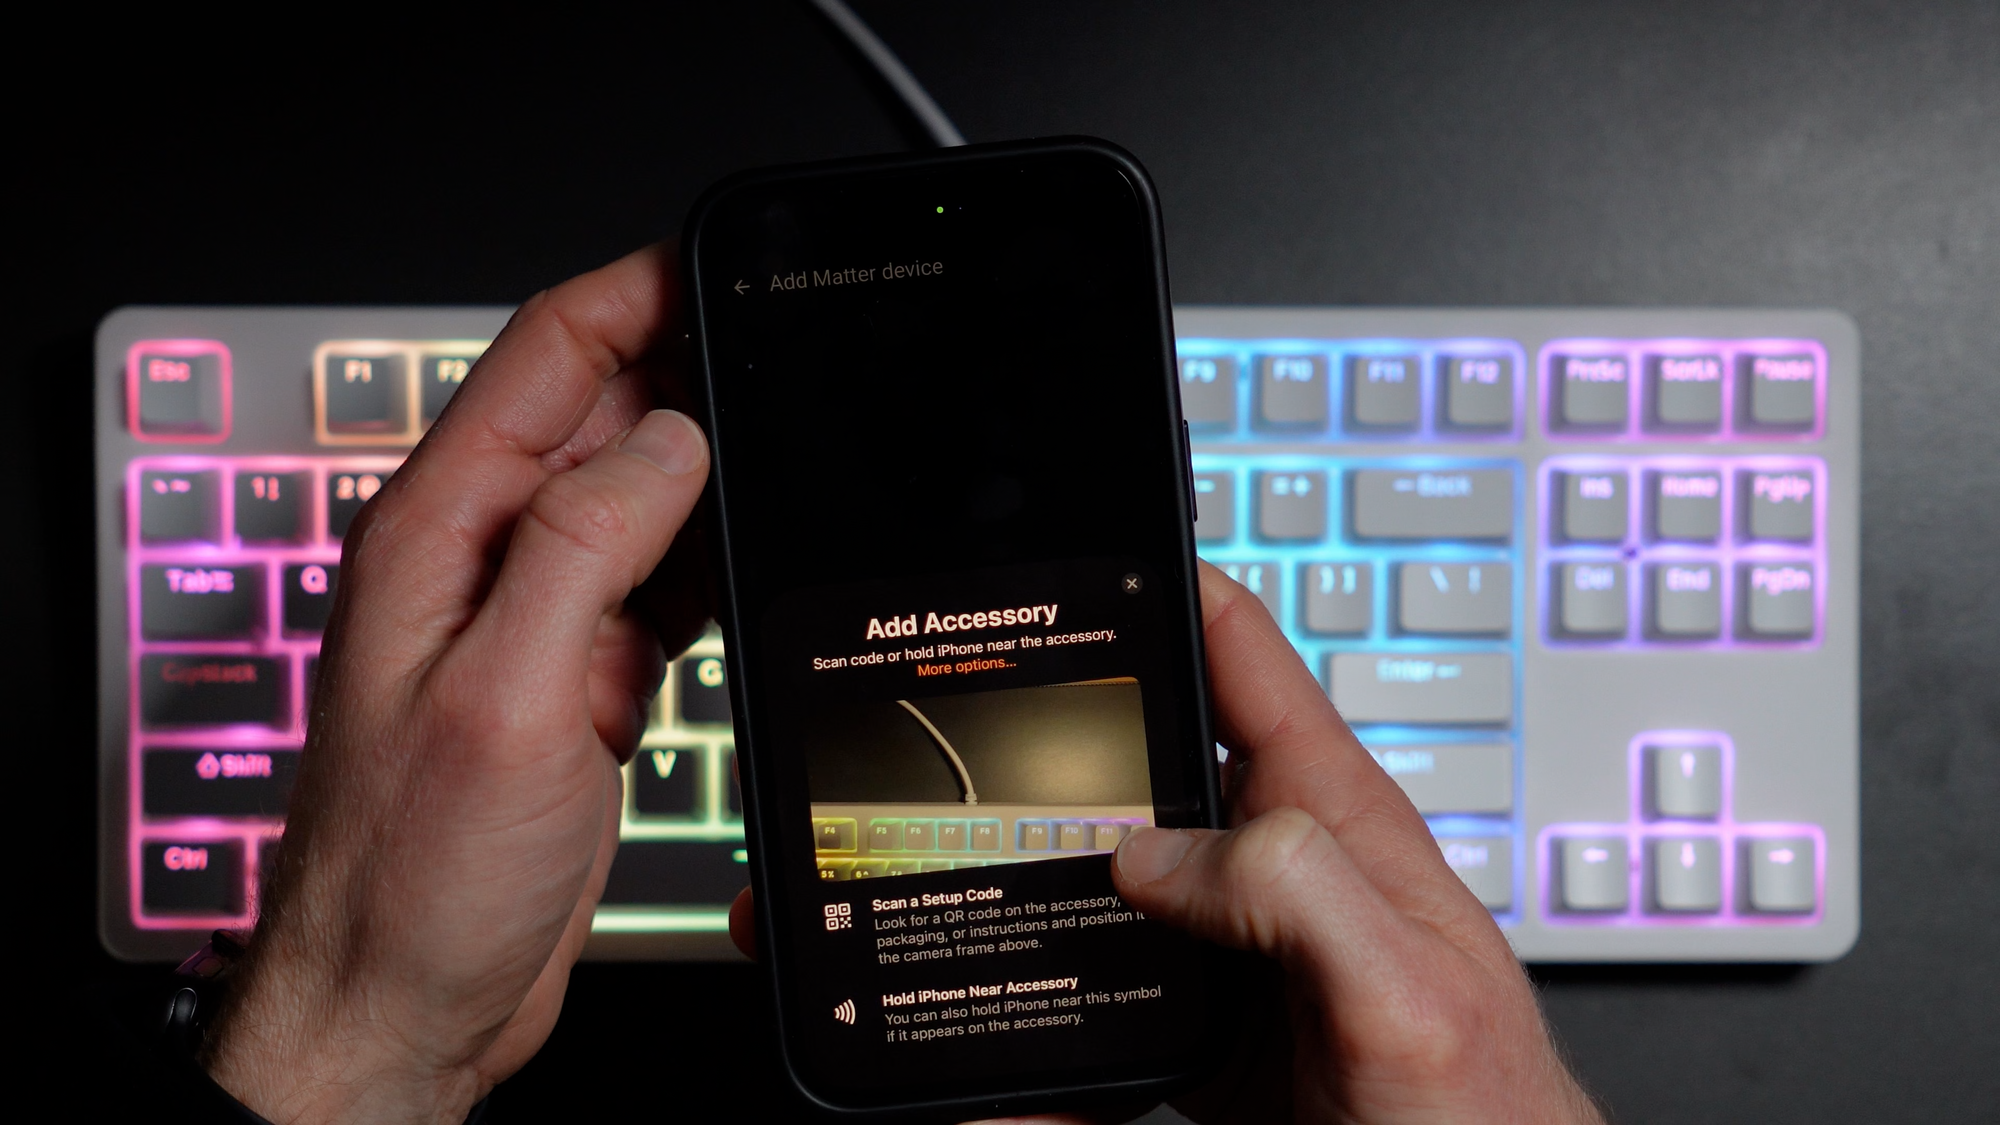
Finally, scan the Matter QR code on the bottom of the keyboard using your phone. It will connect and then setup the device.
The unit I have is not yet Matter certified, so I got a warning telling me that, and just clicked Add Anyway. But final versions of this keyboard will be Matter certified. Once added to Home Assistant, you can give the device a name.
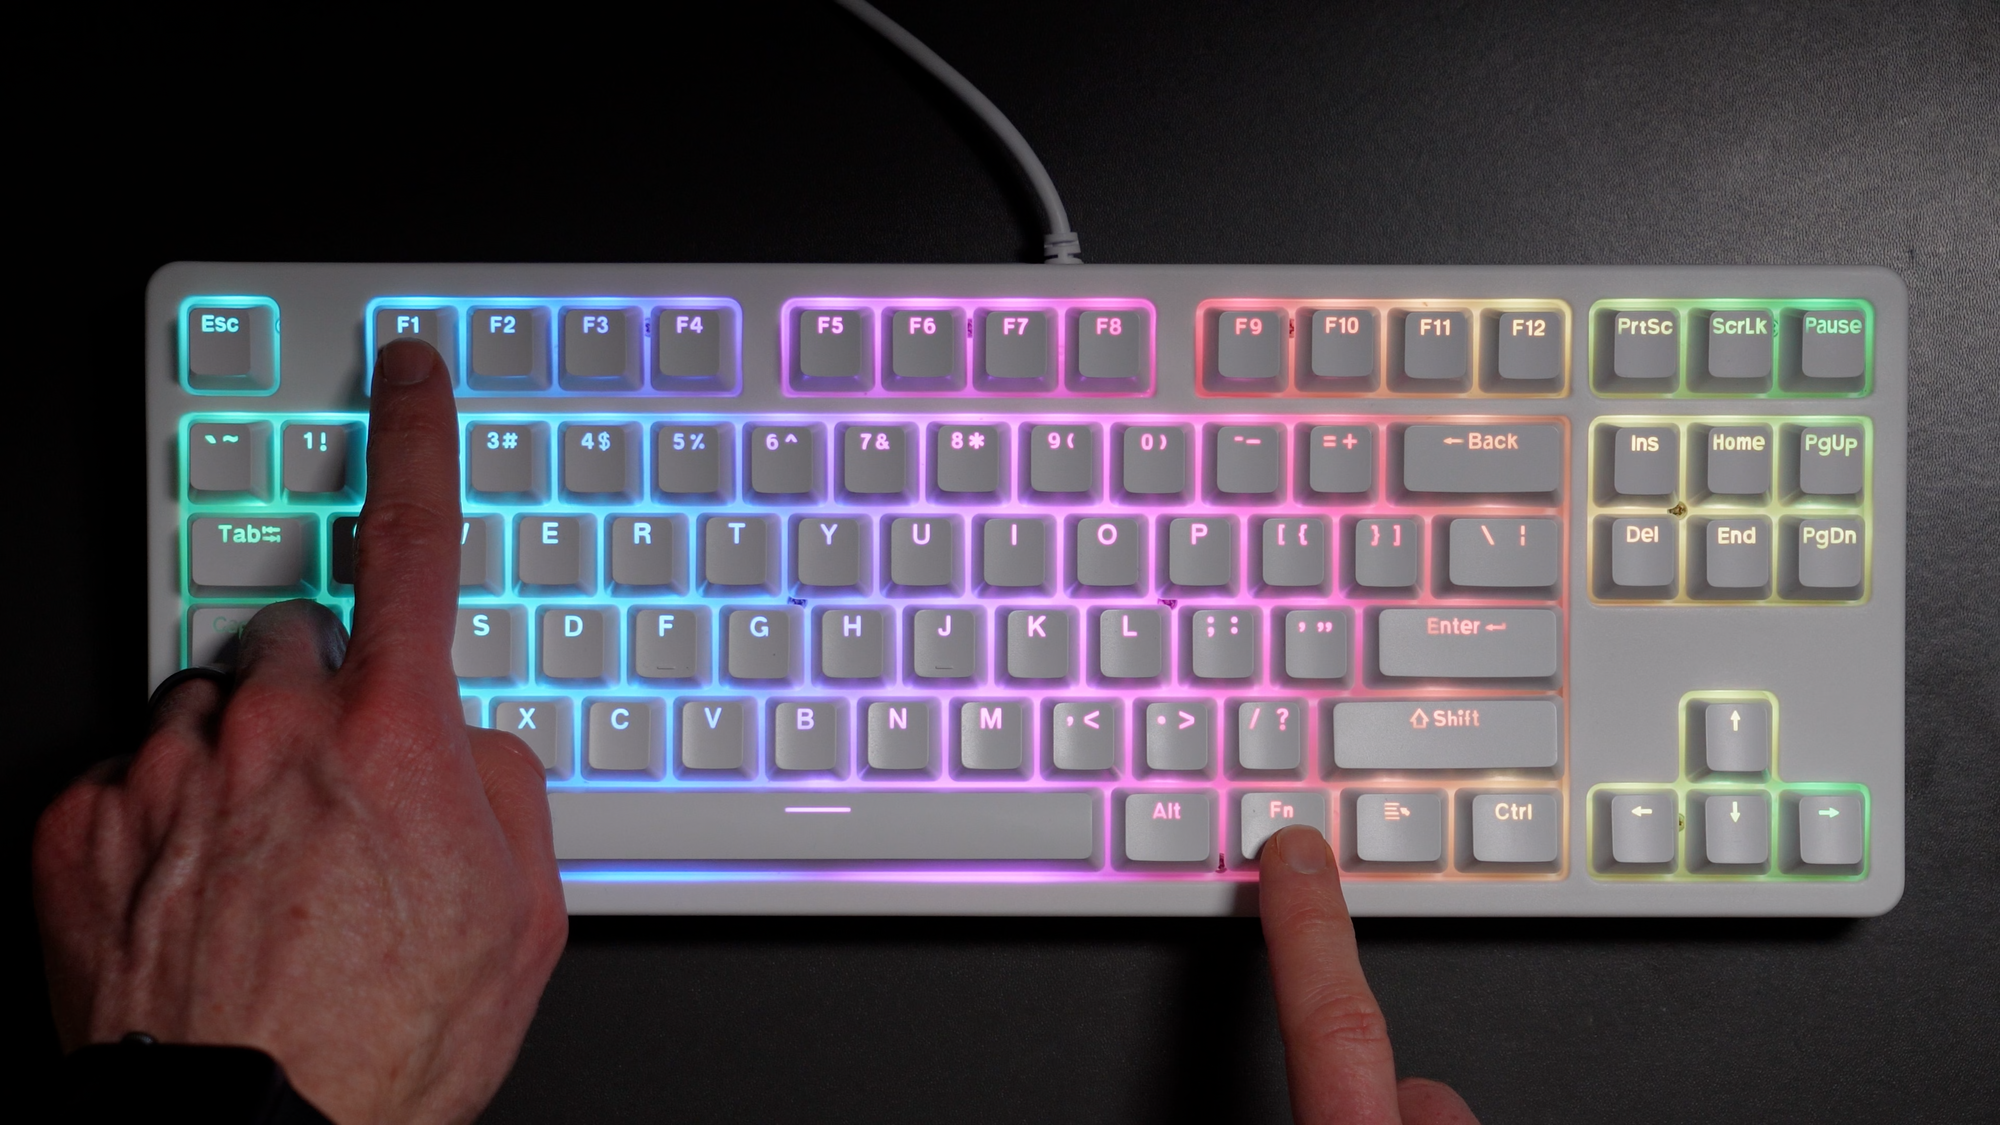
At first, you may notice in Home Assistant that all the function key entities are in an Unknown state. To resolve this, just press Fn + F1 through F10 in succession, and Home Assistant should immediately observe the button press events in the device log. Now, you’re ready to program the function keys to control you smart home in Home Assistant.
To do this, create a new automation based on the state change of an entity. In the “When” or trigger section of the automation editor, search for the F1 button entity. Click the three dots to the right and select “Edit ID.” Give it a name, such as TRIGGER_ONE.
In the actions under “Then do,” search for the Choose function. For option 1, select the name of the ID you created a moment ago. Then, choose the action you want to occur when the F1 key is pressed, such as toggling a light.
You can duplicate the trigger and the action for each of the 10 function keys. Just make sure to give each trigger a unique ID, and then to select each ID separately in the options under Choose. You can grab my automation YAML code here.
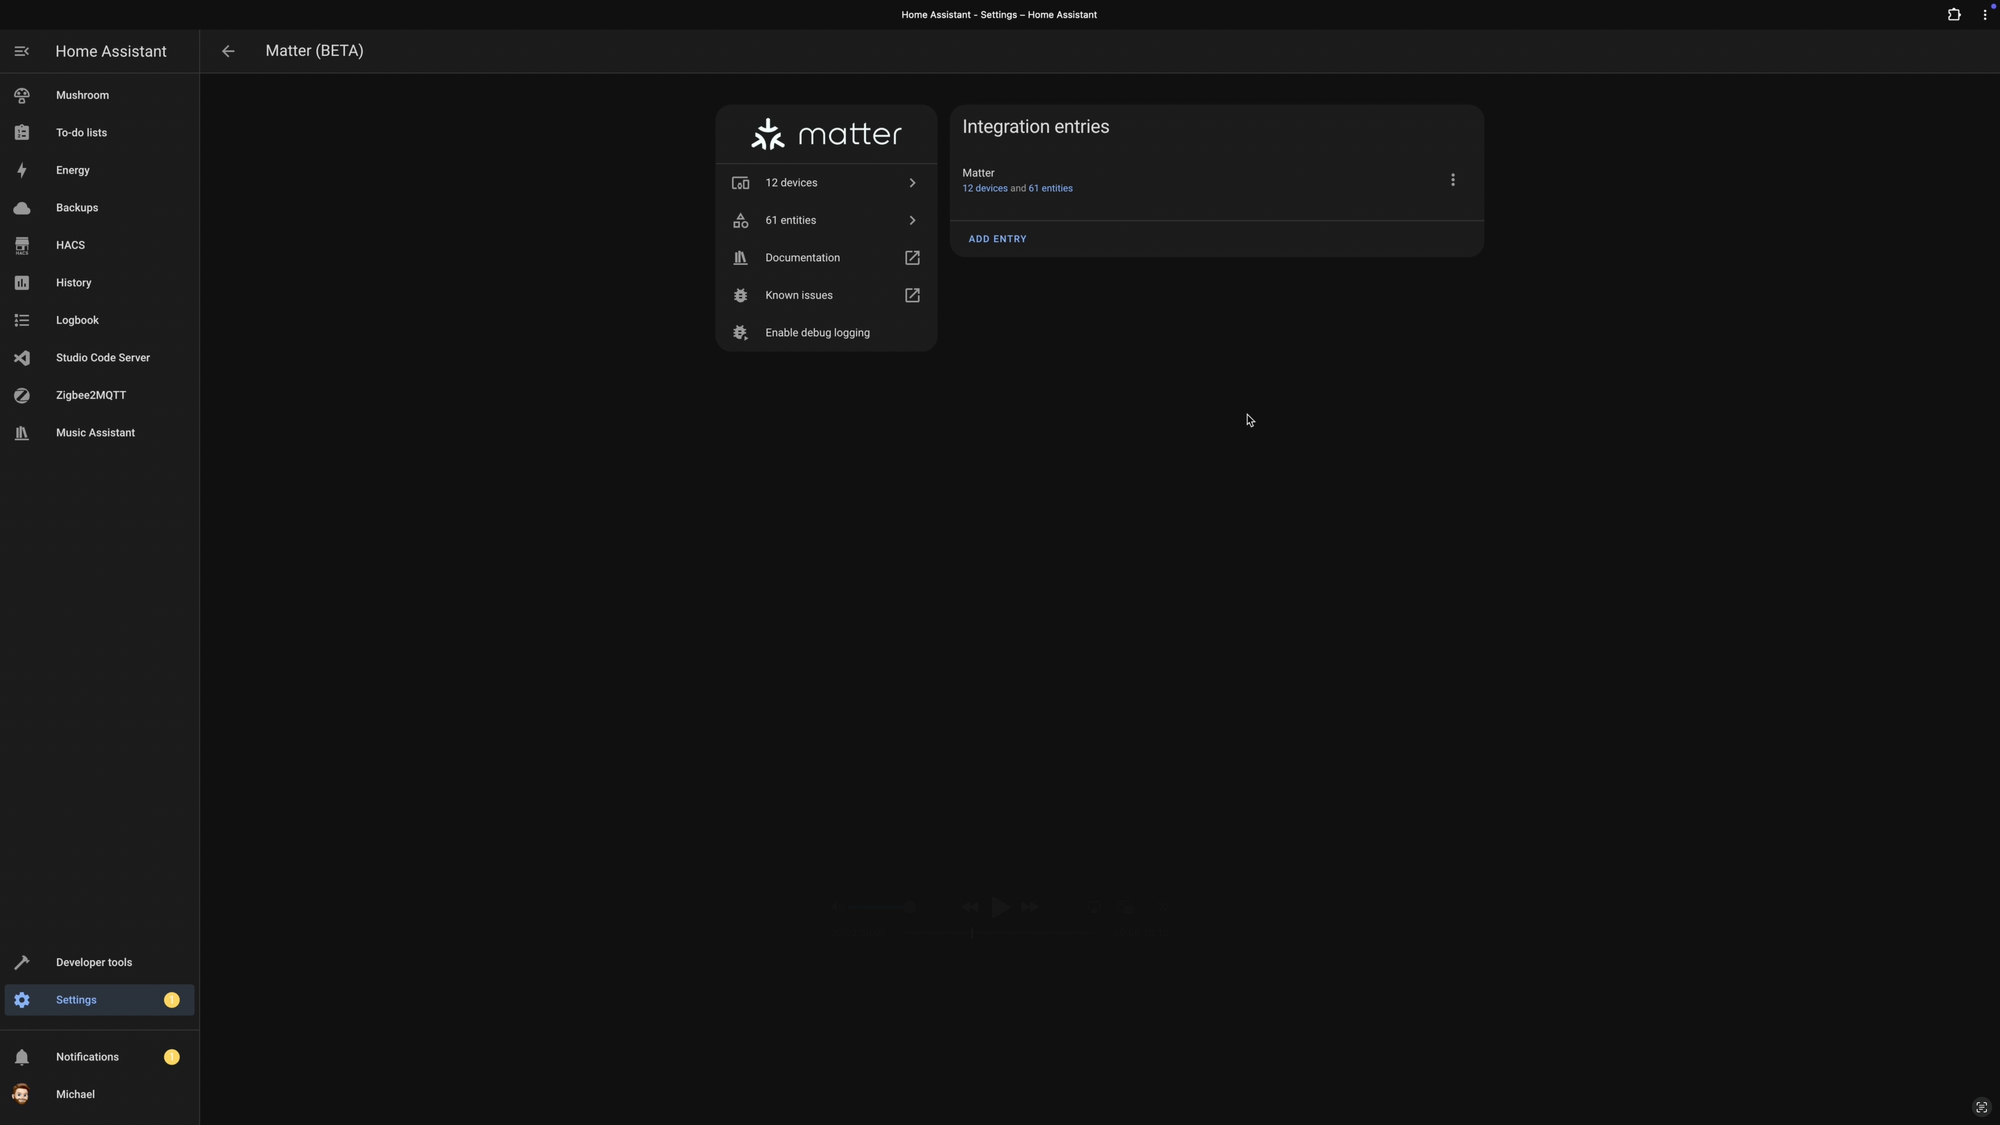

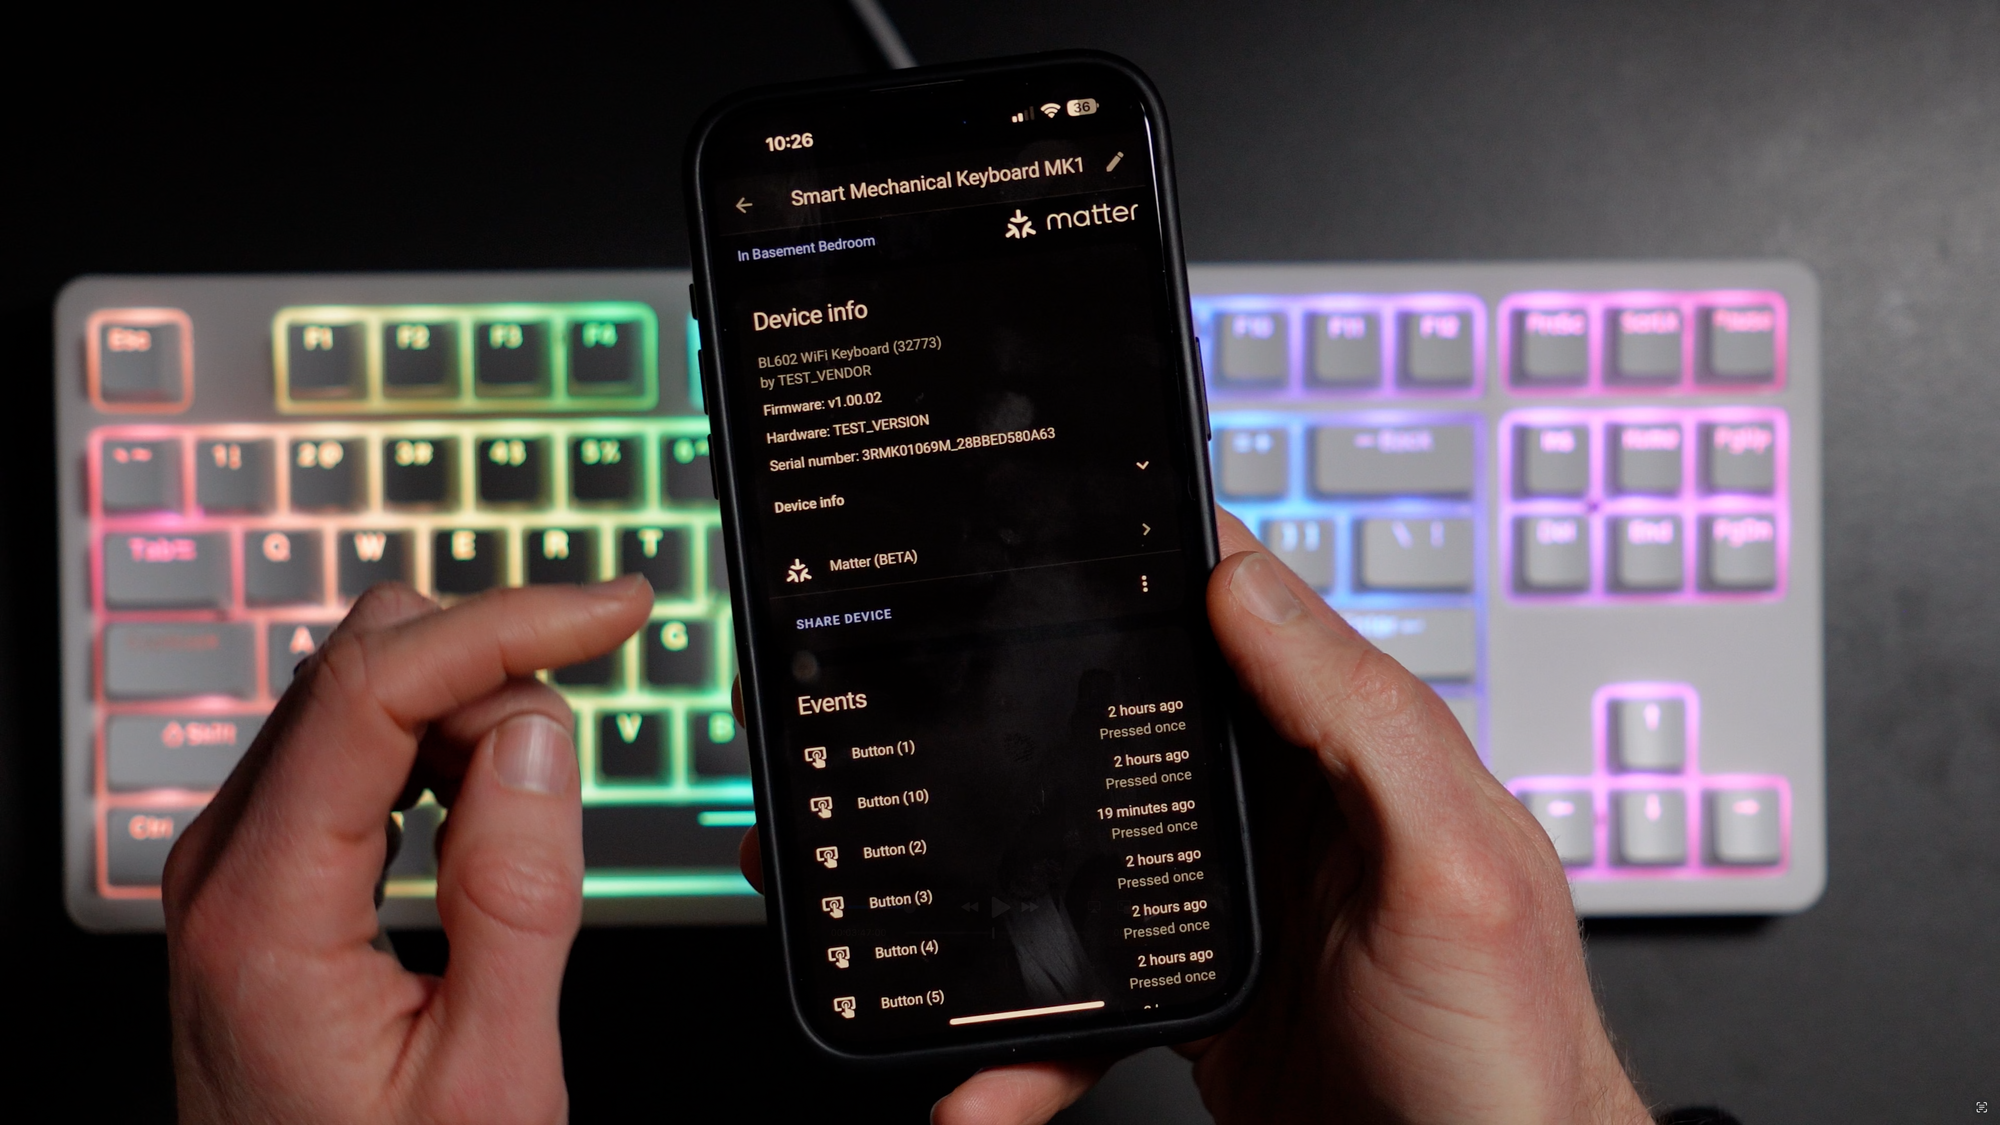
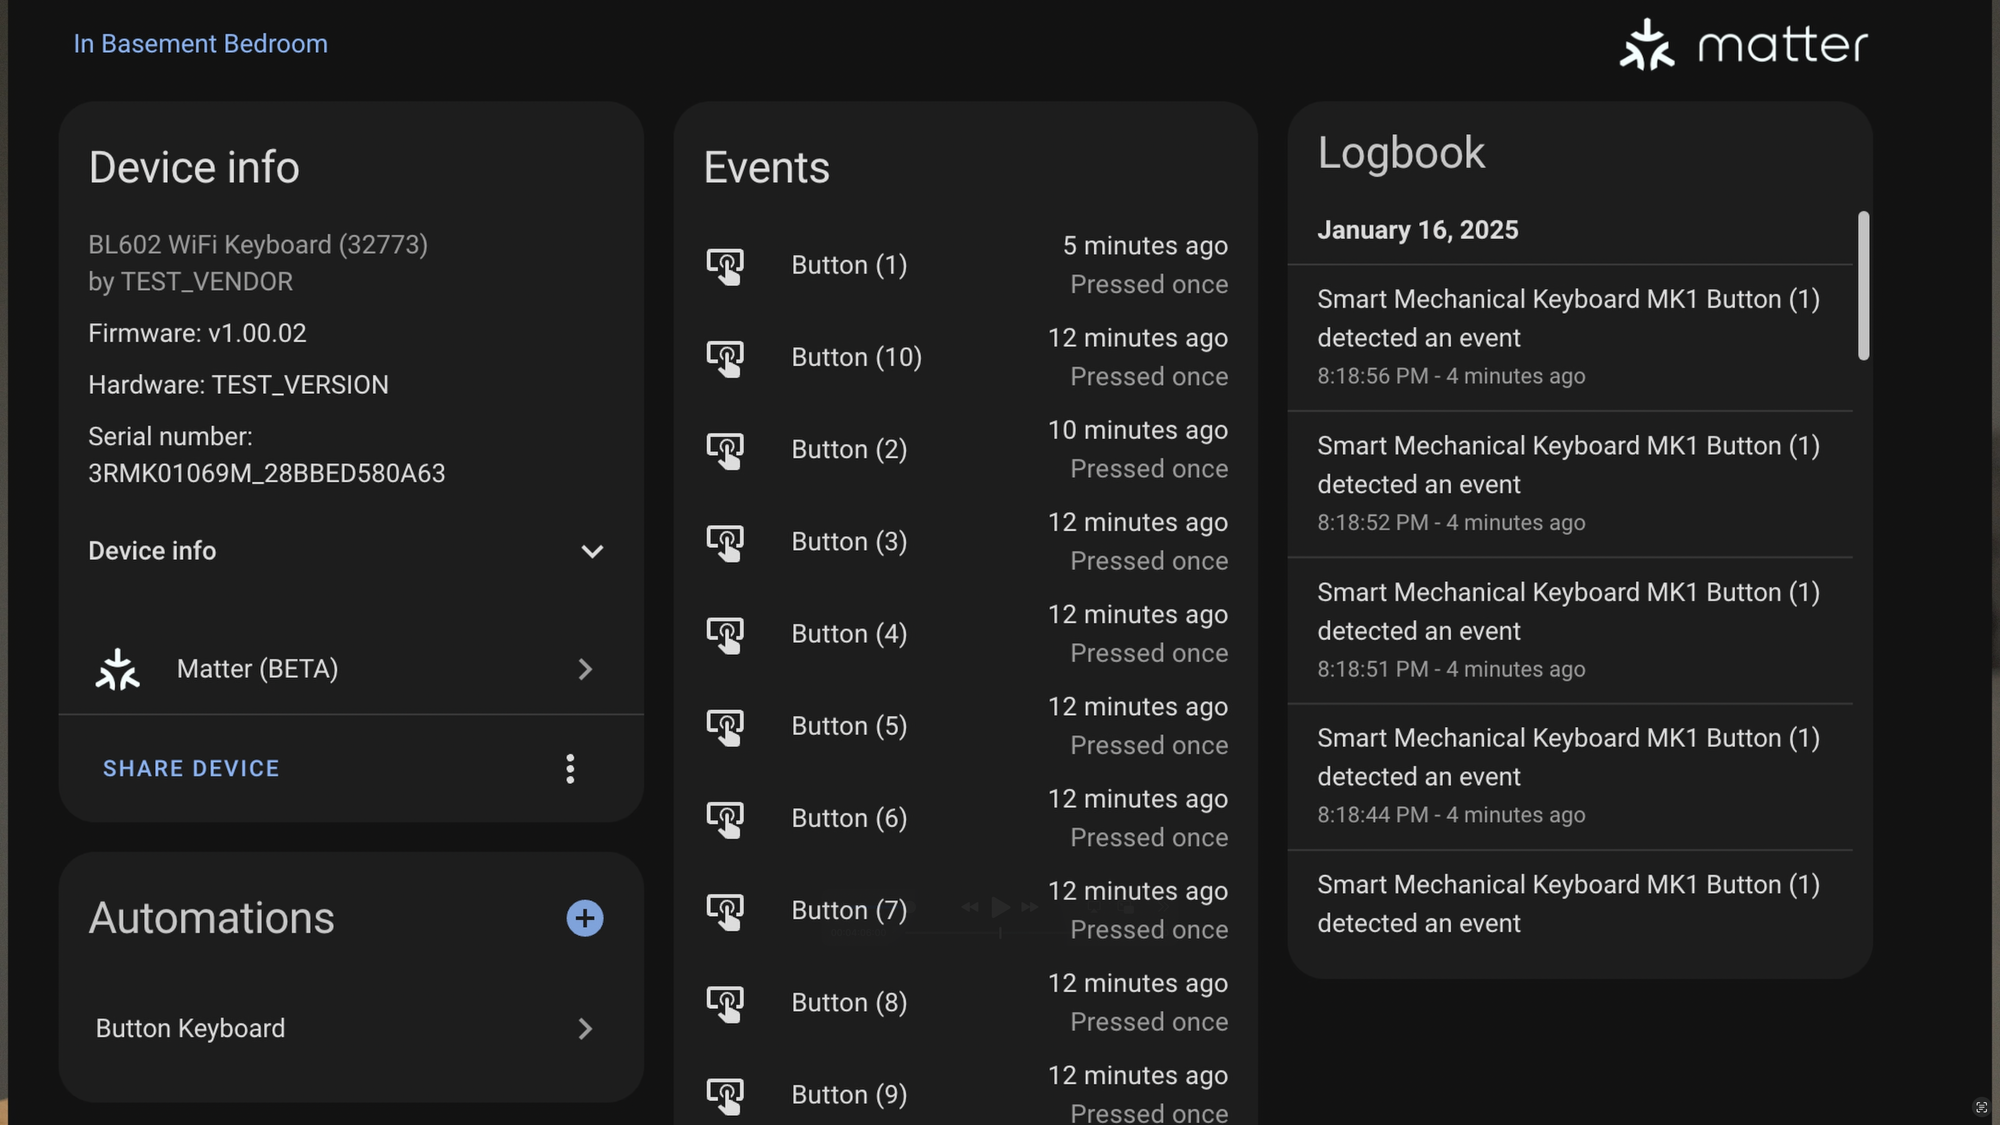
You can add the ThirdReality Smart Mechanical Keyboard MK1 as a Matter device to Home Assistant
Apple Home Setup
You can also add the keyboard to other smart home platforms, like Apple Home. If it’s the first time pairing the keyboard, open the Apple Home app > click the + icon > choose Add Accessory > scan the Matter QR code underneath the keyboard, and you should be good to go.
If you first paired the keyboard to another smart home platform and you want to add it to another one, go to the device in the first smart home platform, and you’ll need to turn on pairing mode which gives a new, unique code that you will paste into the second smart home platform during setup. I know, Matter is a bit wonky.


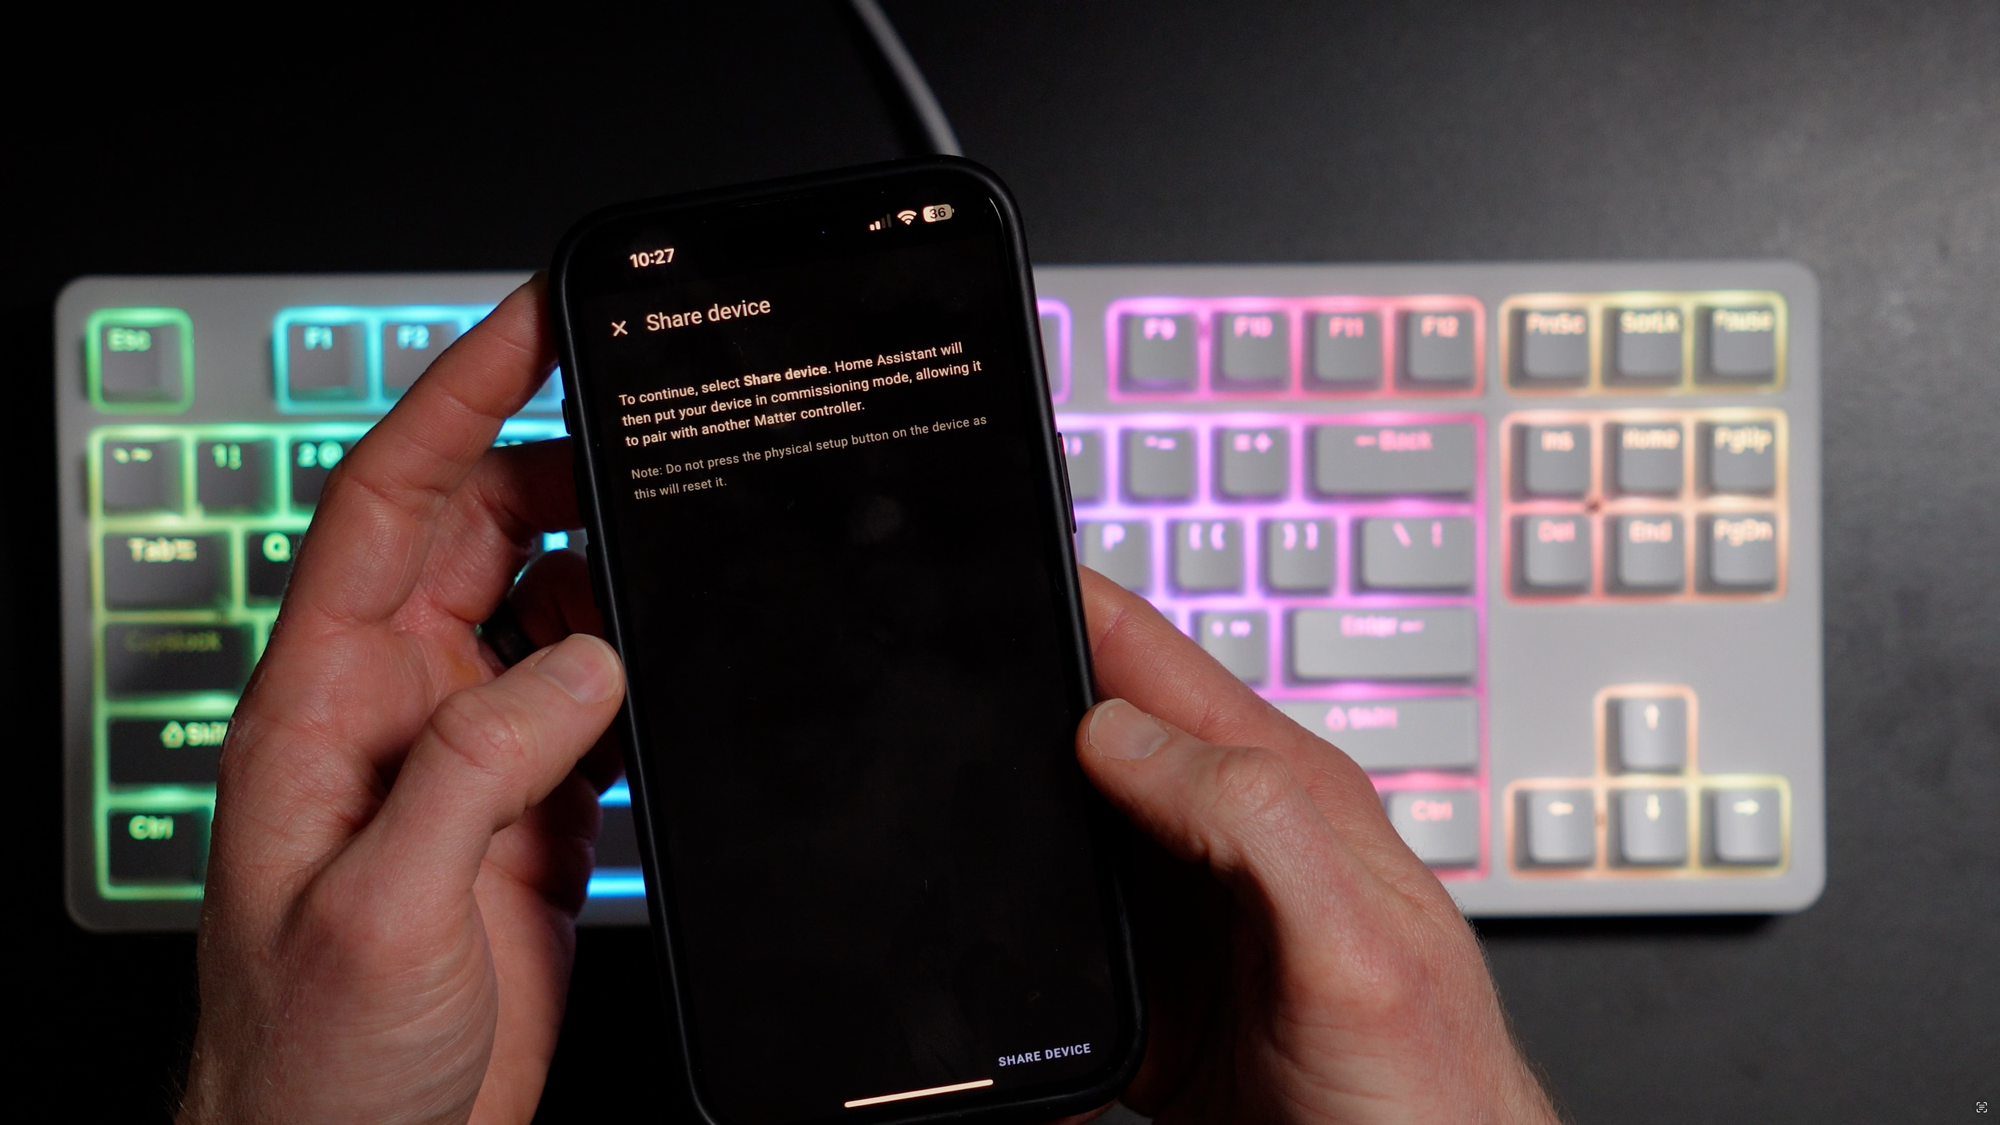
You can add the ThirdReality Smart Mechanical Keyboard MK1 as a Matter device to Apple Home
Matter Troubleshooting Tips
Devices such as this keyboard that connect using Matter-over-WiFi — not Matter-over-Thread - can pose challenges to anyone with a complex internet network setup, such as separate VLANs for IoT and other devices. If you have a flat network, adding Matter devices using WiFi should go smoothly.
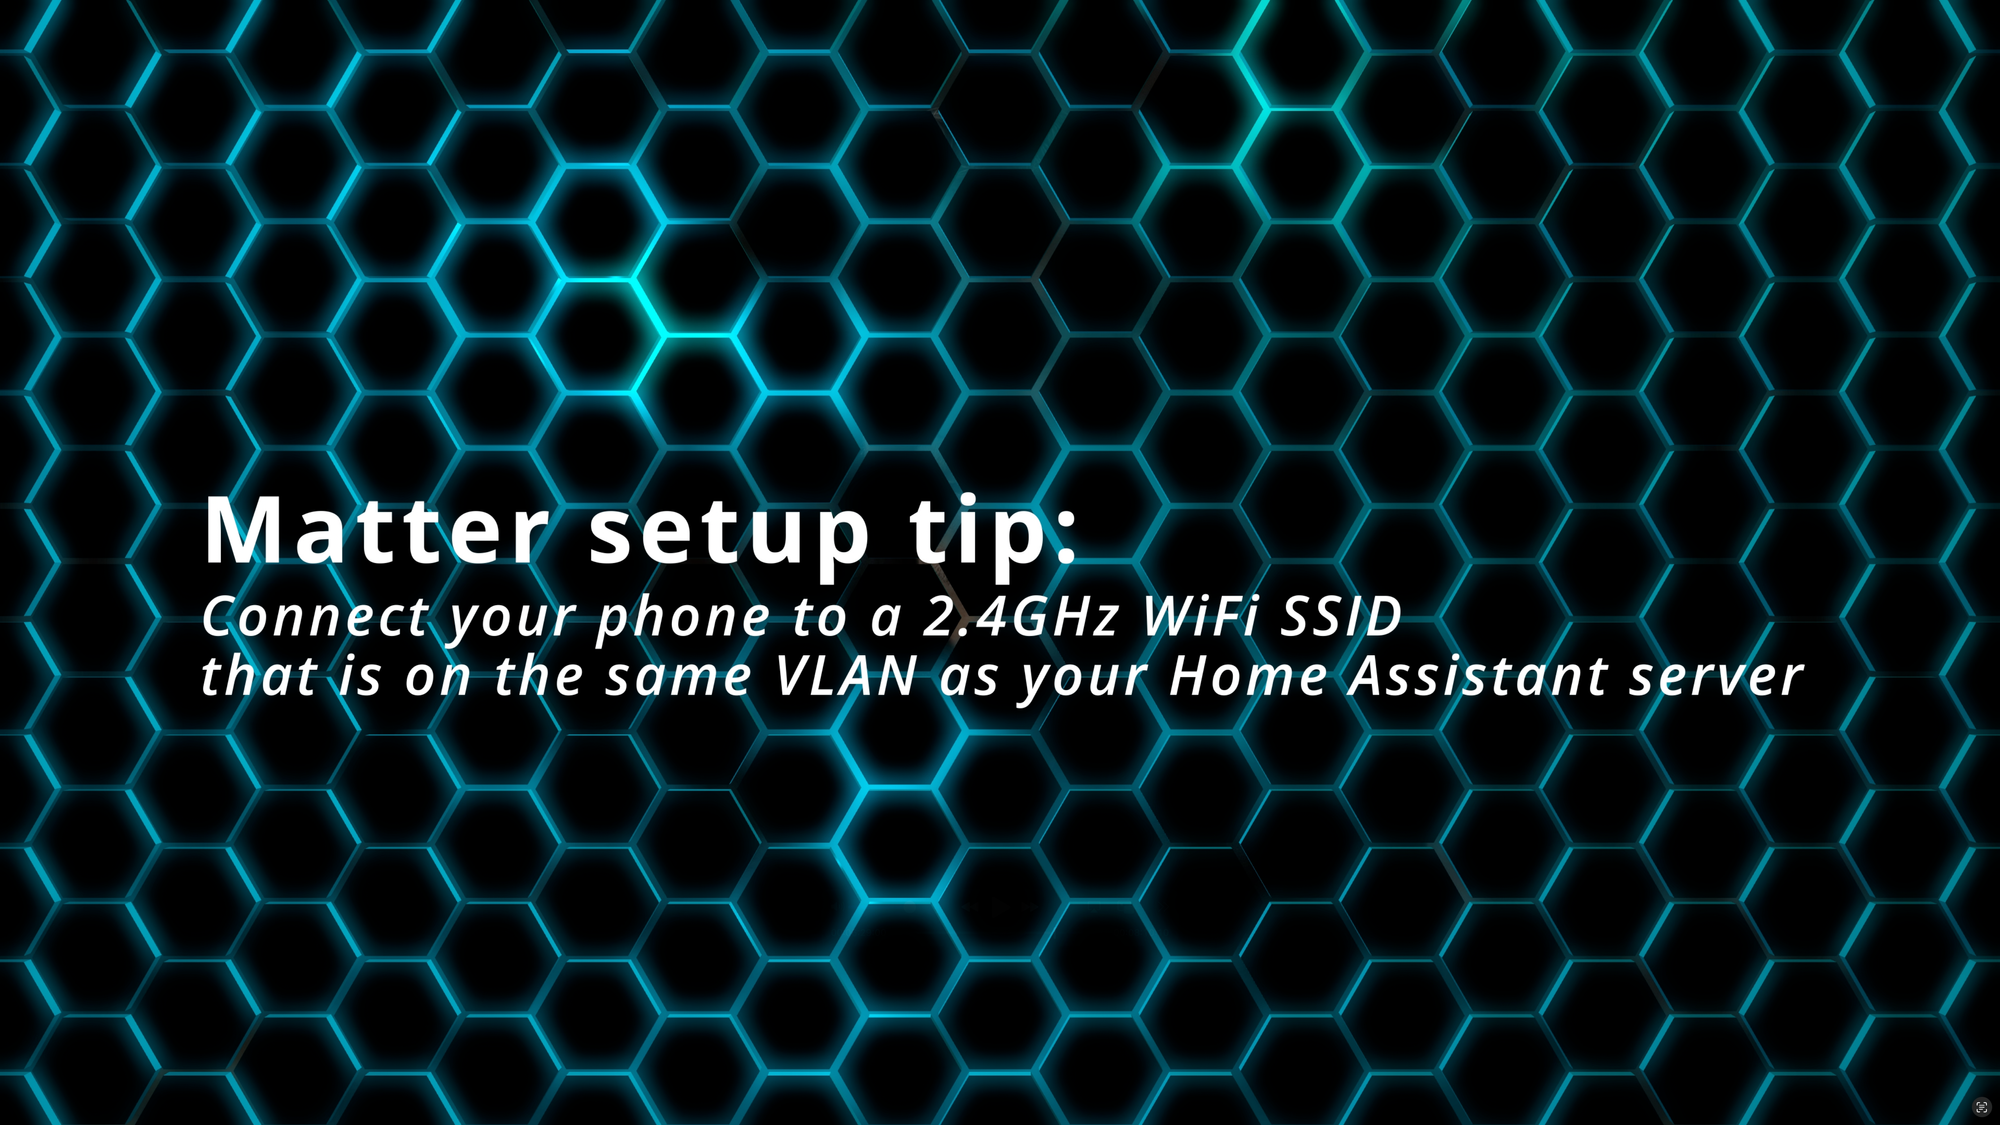
But if you do have different VLANs, one tip is to ensure that your phone is connected to a 2.4GHz WiFi SSID that is on the same VLAN as your Home Assistant server. Otherwise, it may fail to add the keyboard during setup. Once the keyboard is setup, you can re-connect your phone to any WiFi SSID you’d like.
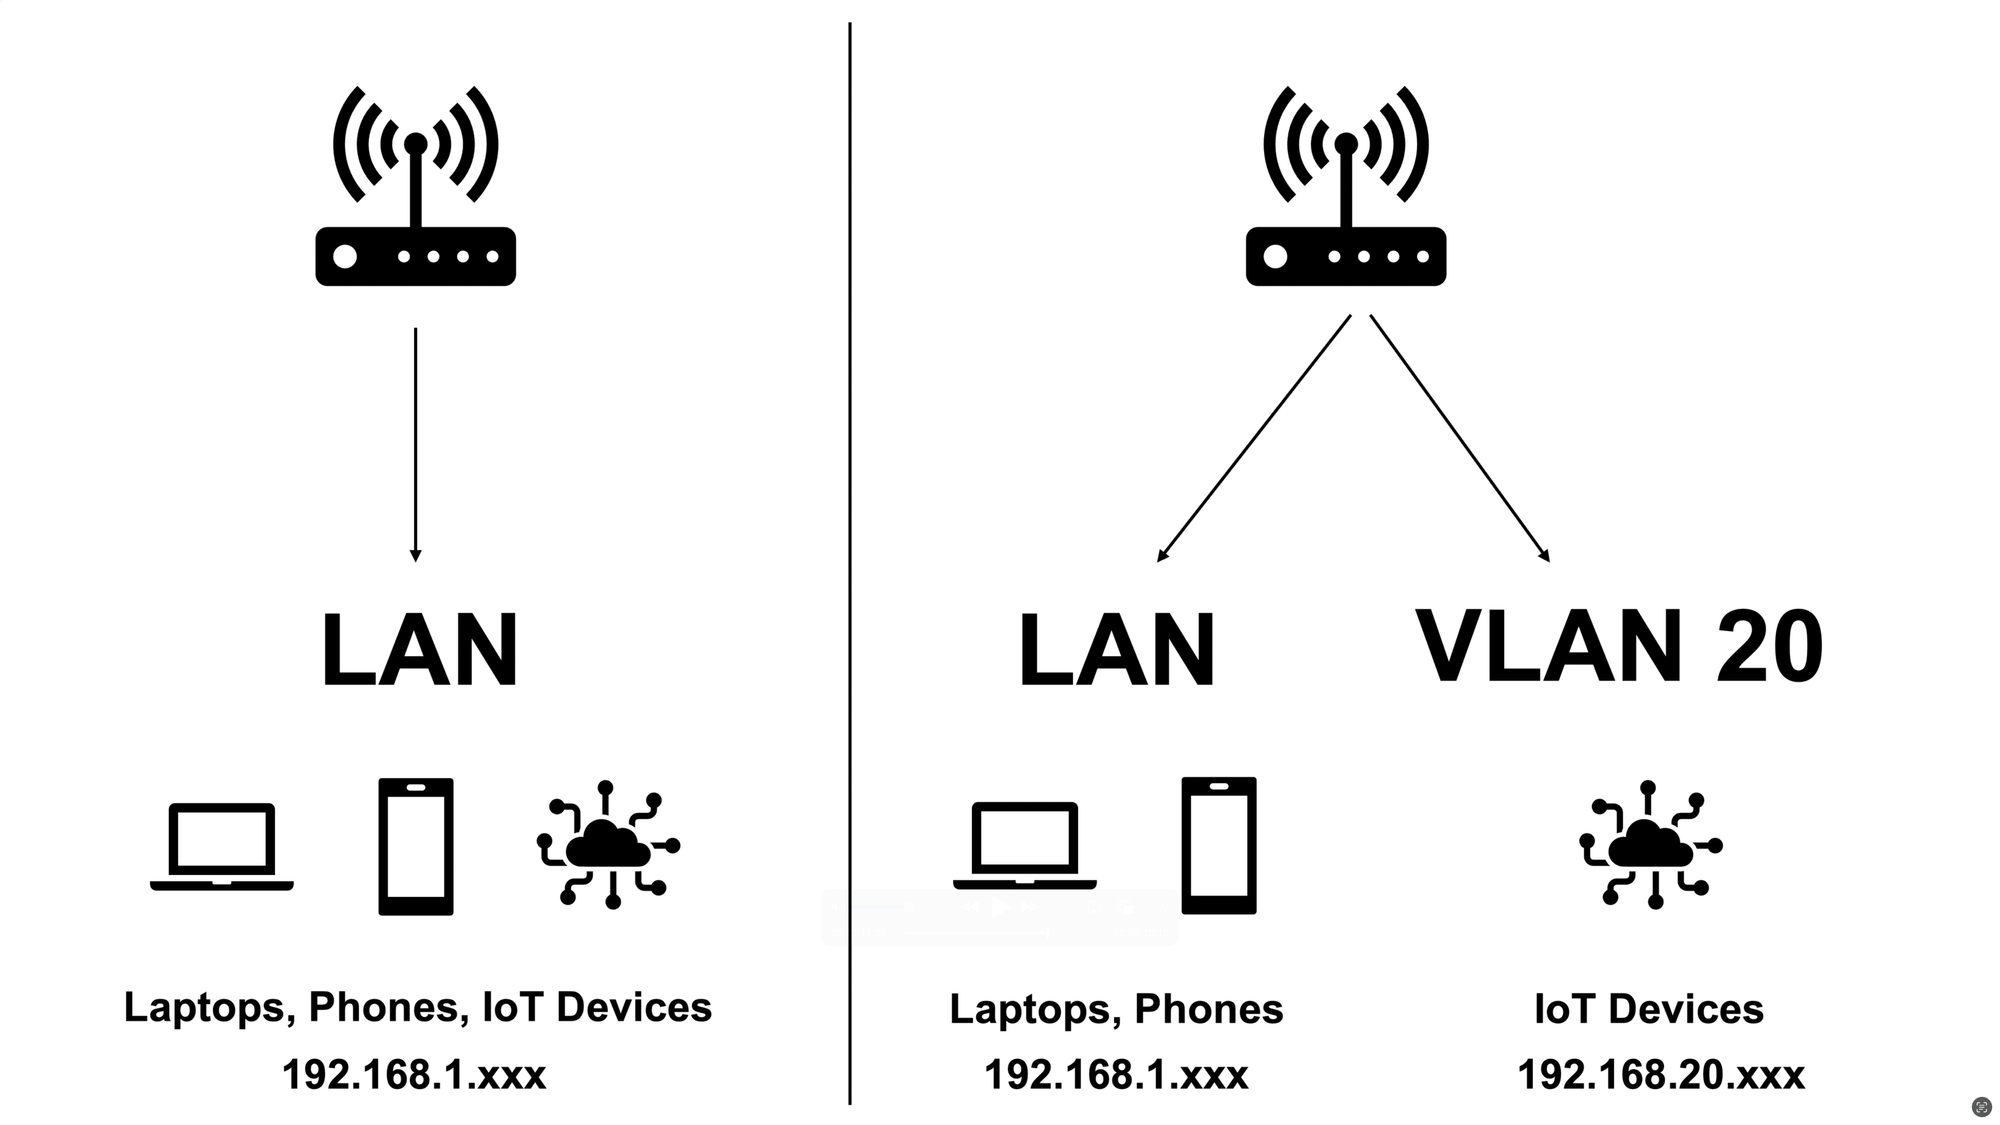
You may encounter challenges when trying to add a Matter device to a complex home internet network setup with multiple VLANs
Final Thoughts
The ThirdReality Smart Mechanical keyboard MK1 costs $79.99 and is available now for pre-order, and will begin shipping in March 2025.
This was honestly one of those devices that I didn’t know I needed until I saw it. I spend way too much of my life at this desk, but at least it’s convenient having smart home control and home automations just a keystroke away.
I want to hear from you. What else should I program these function keys to do? How would you use it? Let me know in the comments.
Watch on YouTube
Featured Tech
ThirdReality Smart Mechanical Keyboard MK1
Pre-order it here: https://shrsl.com/4ti0i