Everything Presence Lite mmWave Sensor: Smaller, Tougher, Cheaper
Review of the Everything Presence Lite, a presence detection sensor with mmWave for Home Assistant. You will learn what it does, how to set it up and create custom zones for your smart home, and how it compares with the Everything Presence One.
Introduction
Sensors are the backbone of a smart home. They power all my home automations, and I’ve talked about them a lot. The first sensor that I ever reviewed was the Everything Presence One, and I called it a game-changer for my smart home. It was the first sensor I used that enabled reliable presence detection. In other words, knowing if someone was in a room or not. This opened the door to all new automation possibilities, like how I regulate the thermostat, alarm, and lighting in ways that save me time and money.
Well, today, I’m looking at a follow-on to this, the Everything Presence Lite. With this sensor, you can now track up to three different targets across four unique zones. I’ll dive into what it does, how to set it up and create custom zones, and how to use it in your smart home. I’ll also compare it with the Everything Presence One, and help you decide which presence detection sensor is right for you.
Main Points
Features
The Everything Presence Lite is a presence detection sensor. It includes a HiLink LD2450 mmWave sensor with up to 6 meters — or about 20 feet — of sensing range, making it a good fit for small-to-medium-sized rooms. The sensor can track up to three different targets simultaneously. This way, you can make automations based on how many people are in a room, or where they are located in that room, with customizable detection zones.
It has an ambient light sensor, which is helpful for turning on the lights when a room is too dark. And it can function as a Bluetooth proxy for Home Assistant, the home automation platform this sensor was designed to be used with.
The Everything Presence Lite comes fully assembled in a white, injection-moulded case, with a ball-joint stand allowing you to adjust the sensor’s angle for your environment. This Kit version — that I purchased with my own money — includes a USB-A to USB-C right-angle braided cable, though you’ll need to supply your own wall power brick. You can scan a QR code printed on the inside of the box to access the quick start guide, which brings me to device setup.
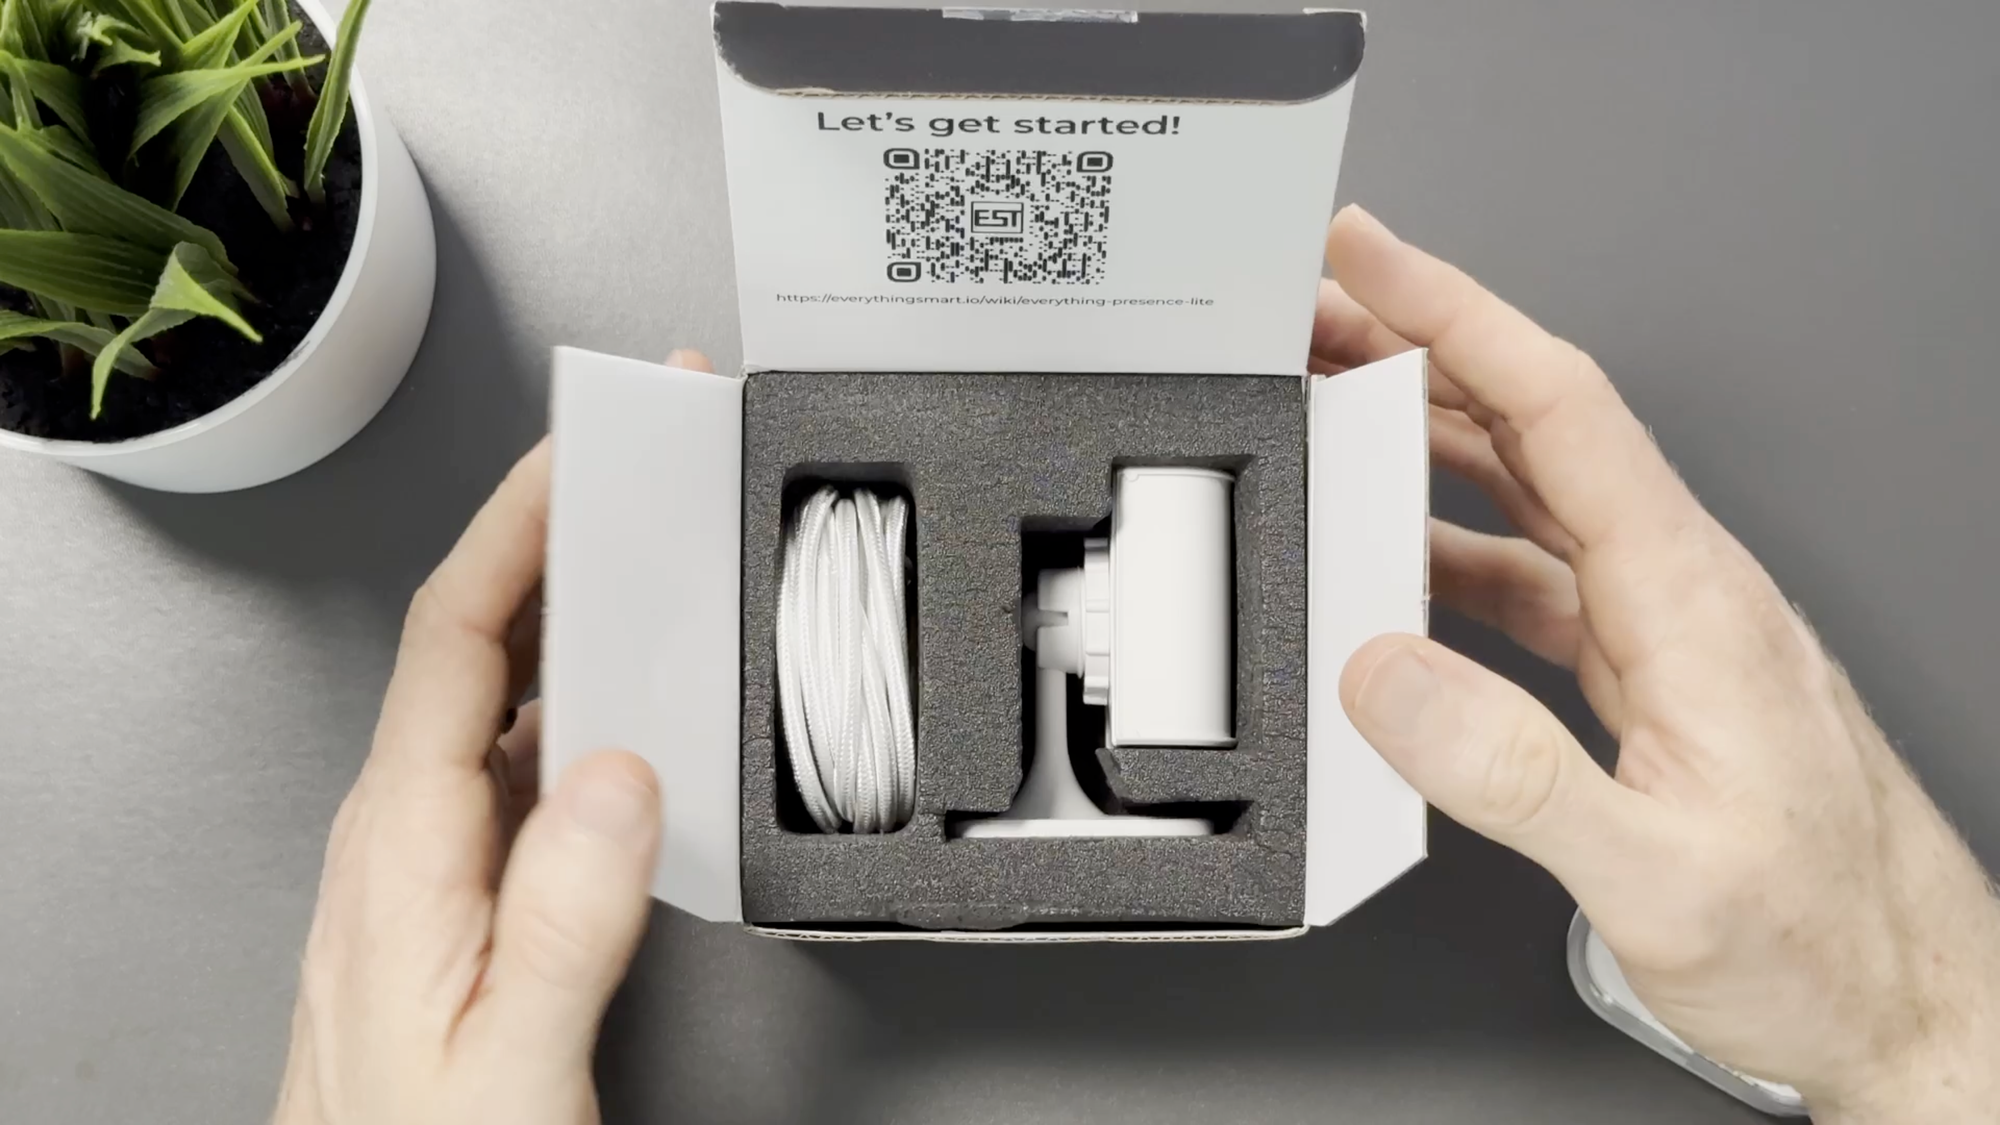
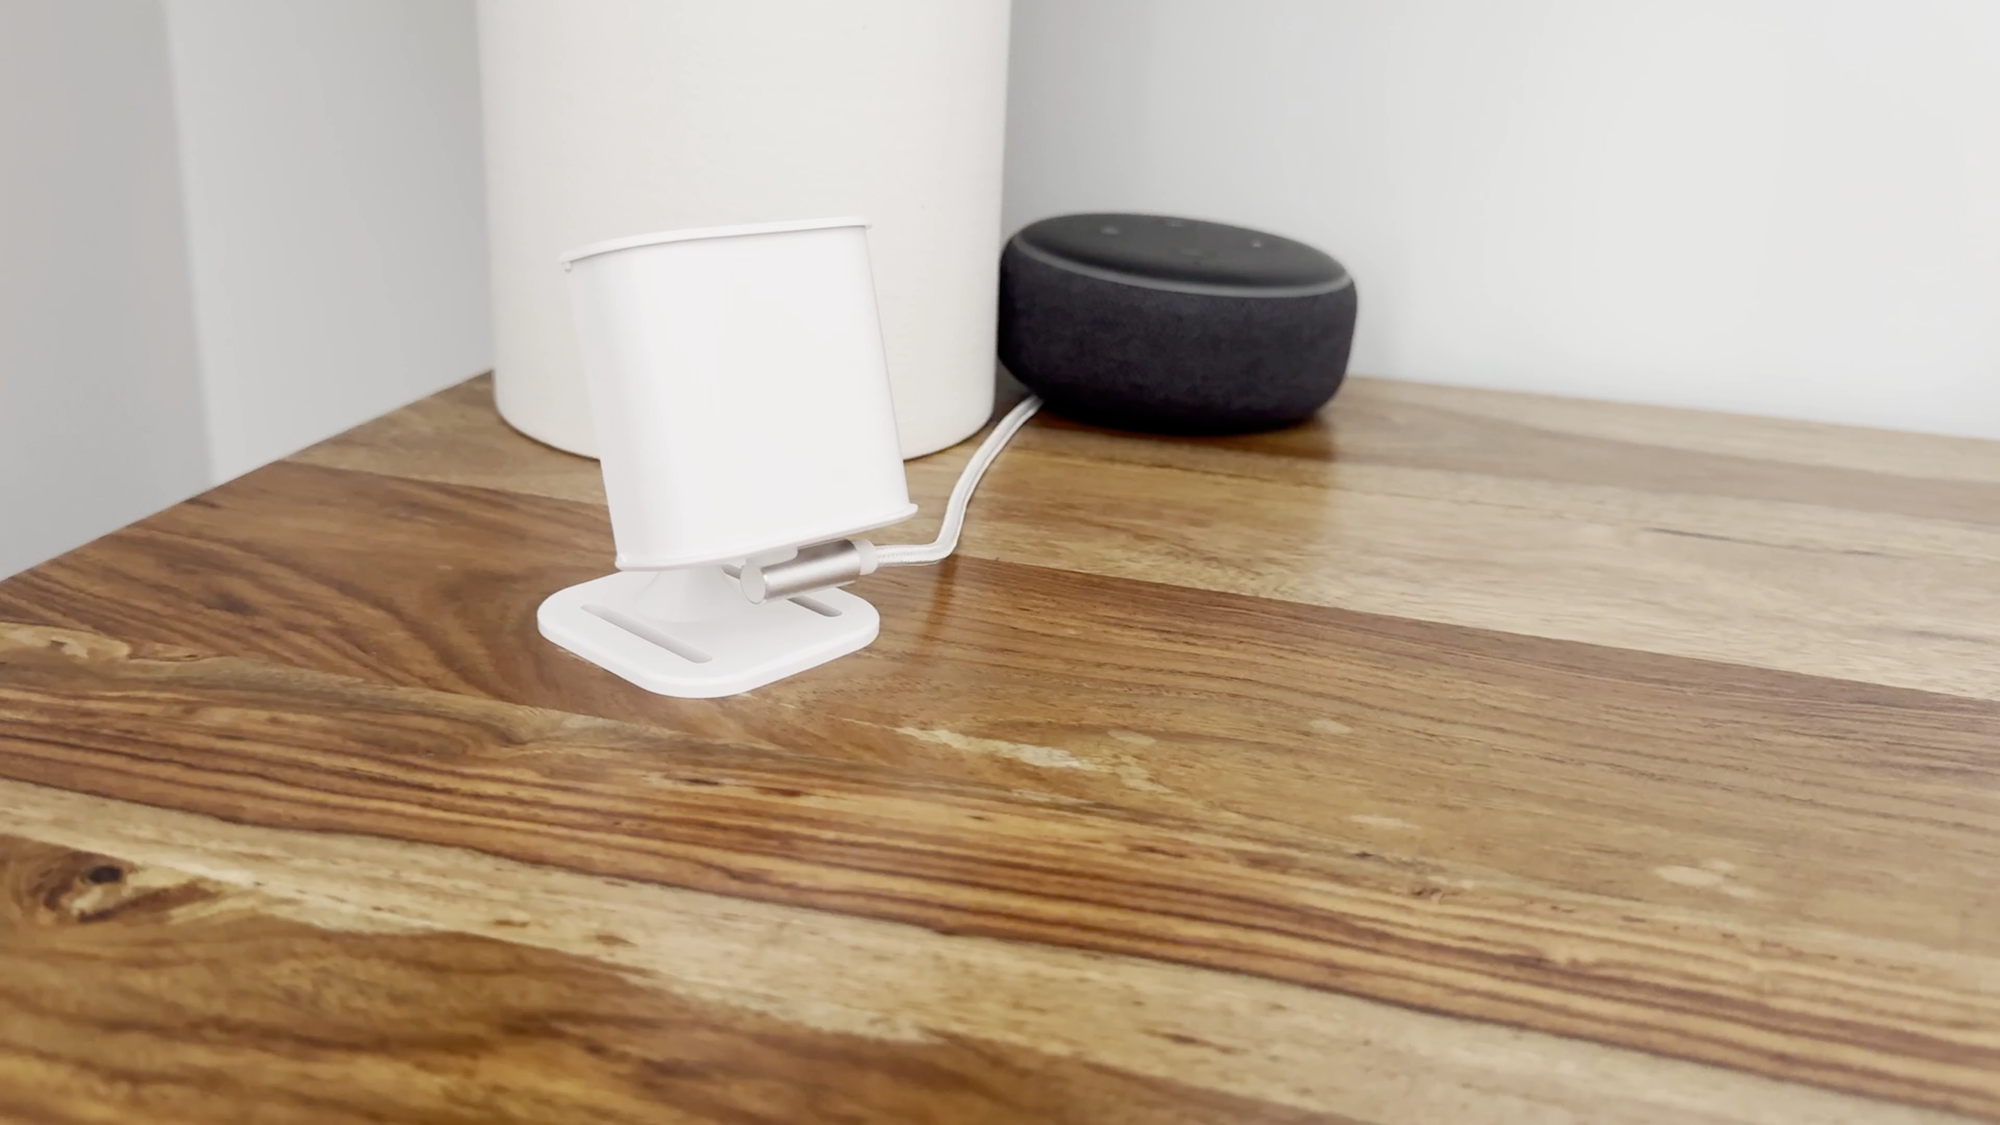
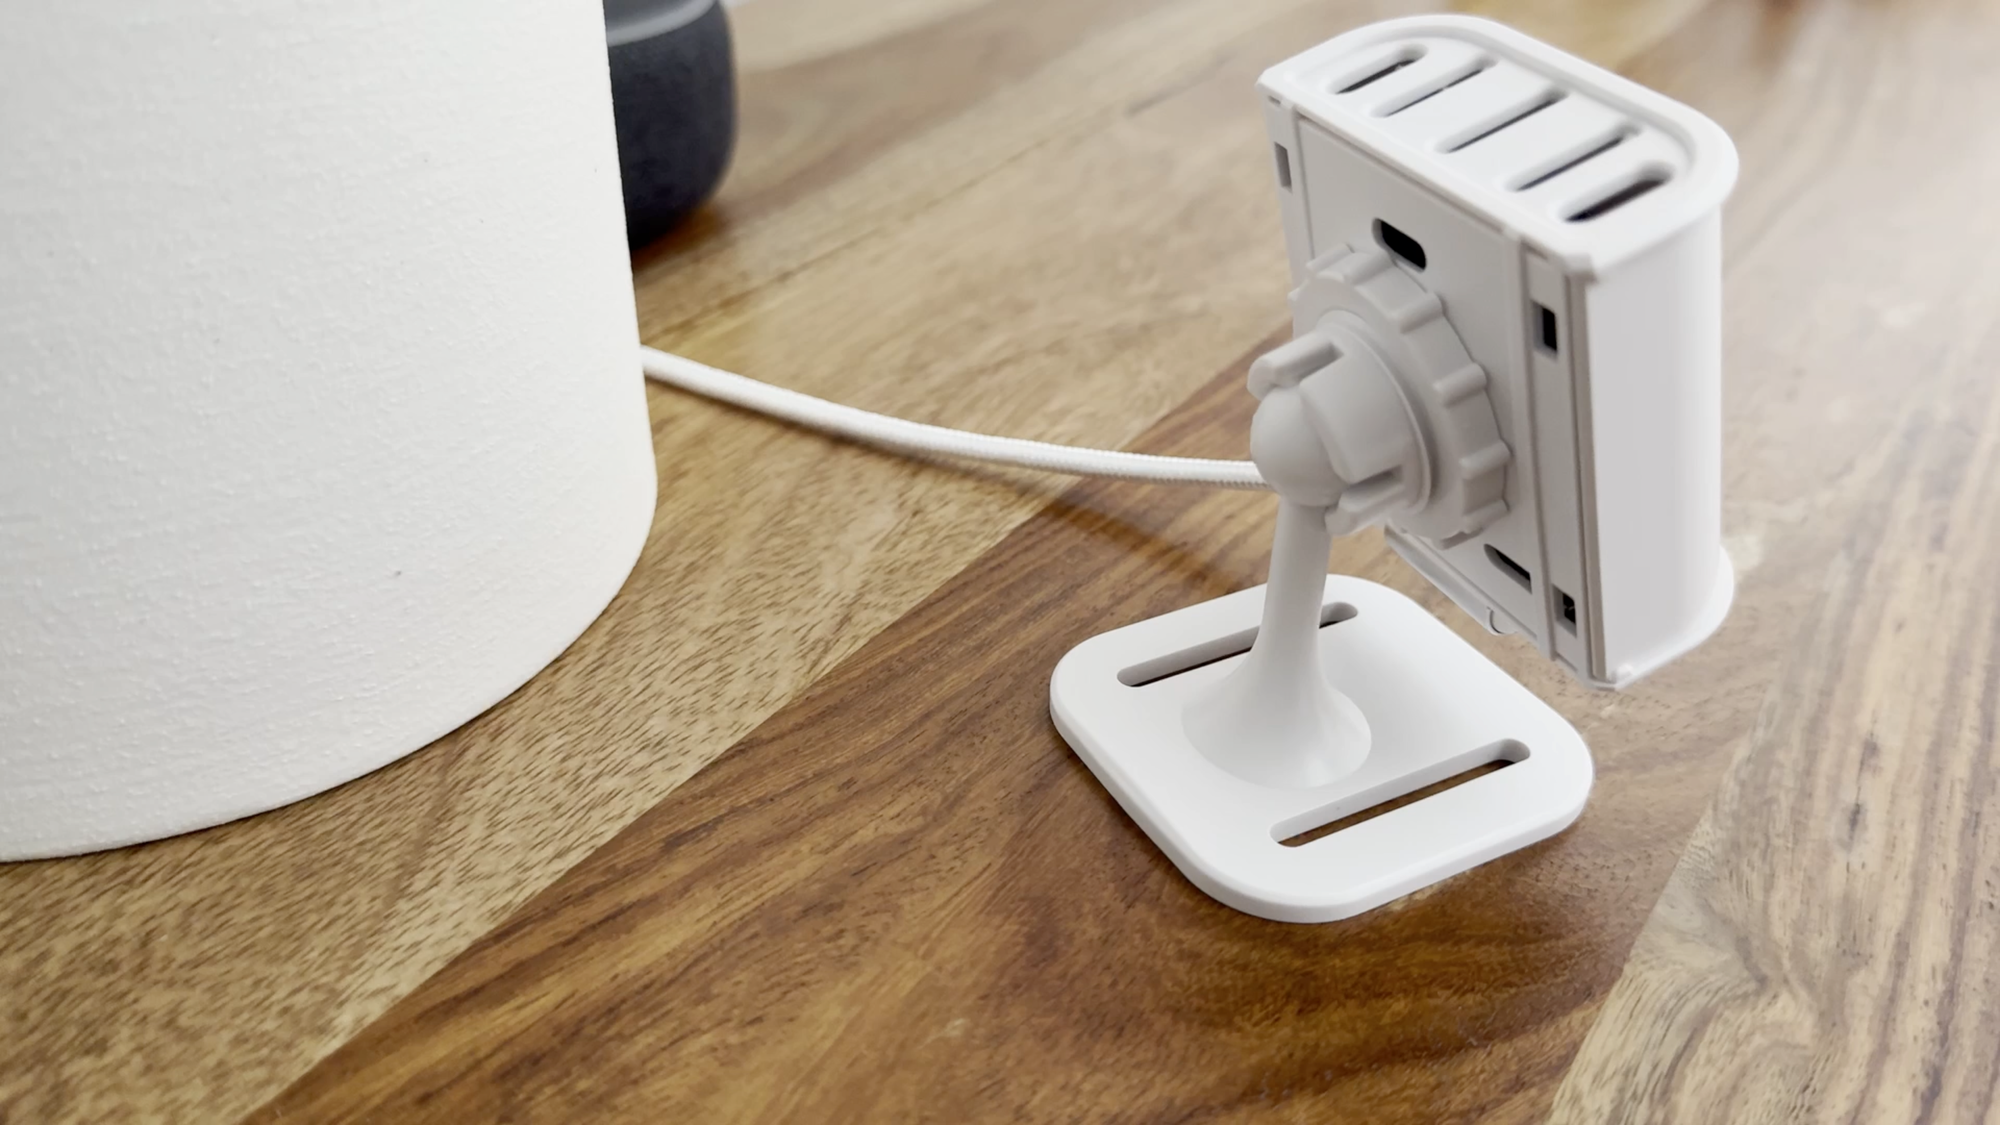
A close look at the Everything Presence Lite, a multi-target and multi-zone presence sensor for Home Assistant.
Setup
The Everything Presence Lite connects to Home Assistant via WiFi and ESPHome. To get started, plug the Everything Presence Lite into a computer using the included USB cable. Open a Google Chrome browser, and visit this link for updating and connecting to WiFi. Click Home Assistant > LD2450 > Bluetooth proxy > Connect. Confirm that you wish to erase the device and install the latest firmware, and connect to your WiFi network when prompted.
Once connected to WiFi, click Add to Home Assistant > Open link > Click OK to set up ESPHome > Select the Everything Presence Lite from the Discovered devices list > Submit > Finish > Assign to a room if you’d like > Finish.
Visiting the Device info page in Home Assistant, there are separate sections for device controls and device sensors. Device controls allow you so set the size of your room using the Max Distance field. It’s important to adjust this to the max length of your room, otherwise you may get unwanted detections. Also under Controls you can setup custom detection zones. By default, it only displays entities for one general zone. If you want to use multi-zone tracking, you’ll need to click entities not shown, and then enable the entities for Zones 2, 3, and 4, which will appear after 30 seconds.
Under the Sensors section, you can see all of the real-time detections, including the brightness level in the room, if occupancy is detected, and the movement and position of anyone in that space. The X entities reflect how far left or right you are from the sensor, whereas the Y shows how near or far you are from the sensor. You can also see in real-time if any one of your custom detection zones is occupied or not.
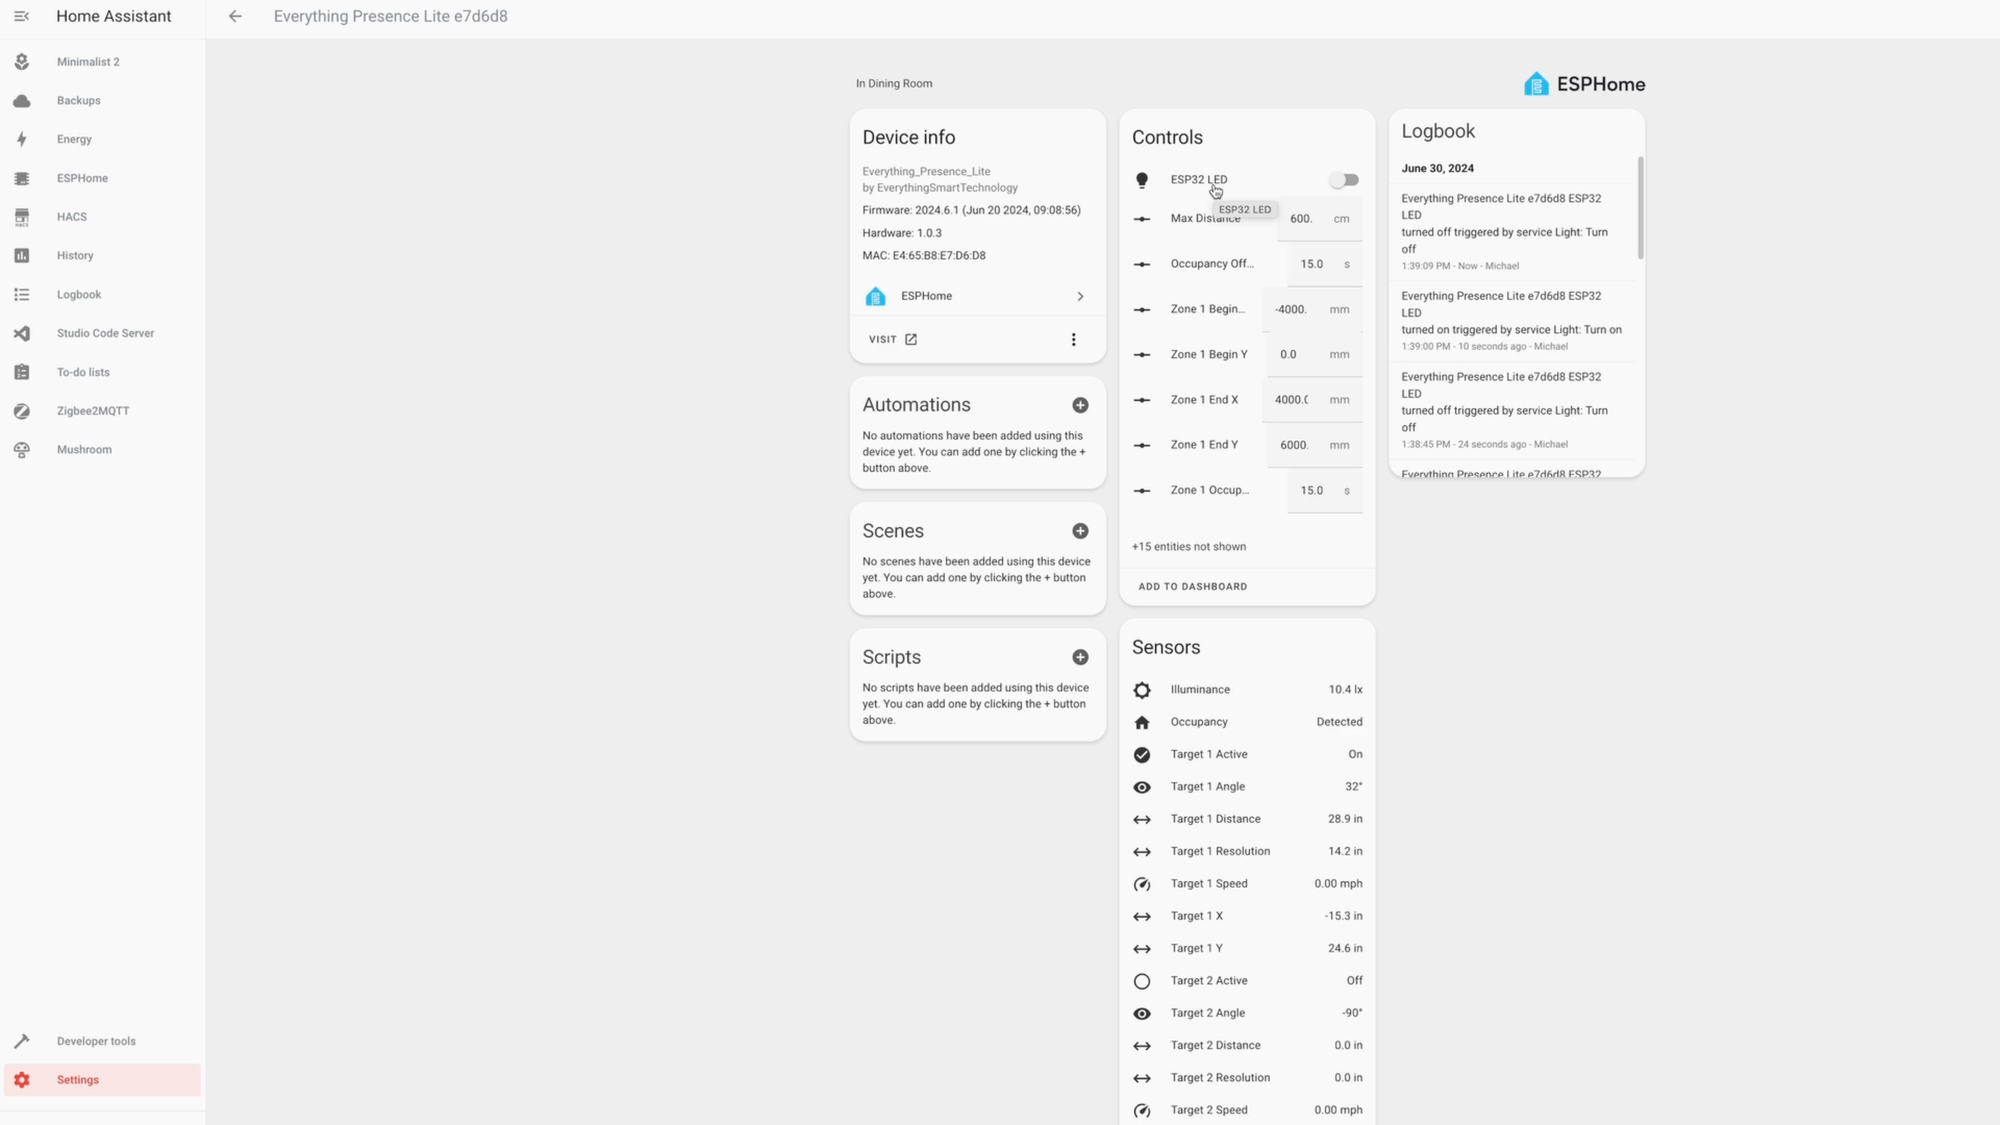
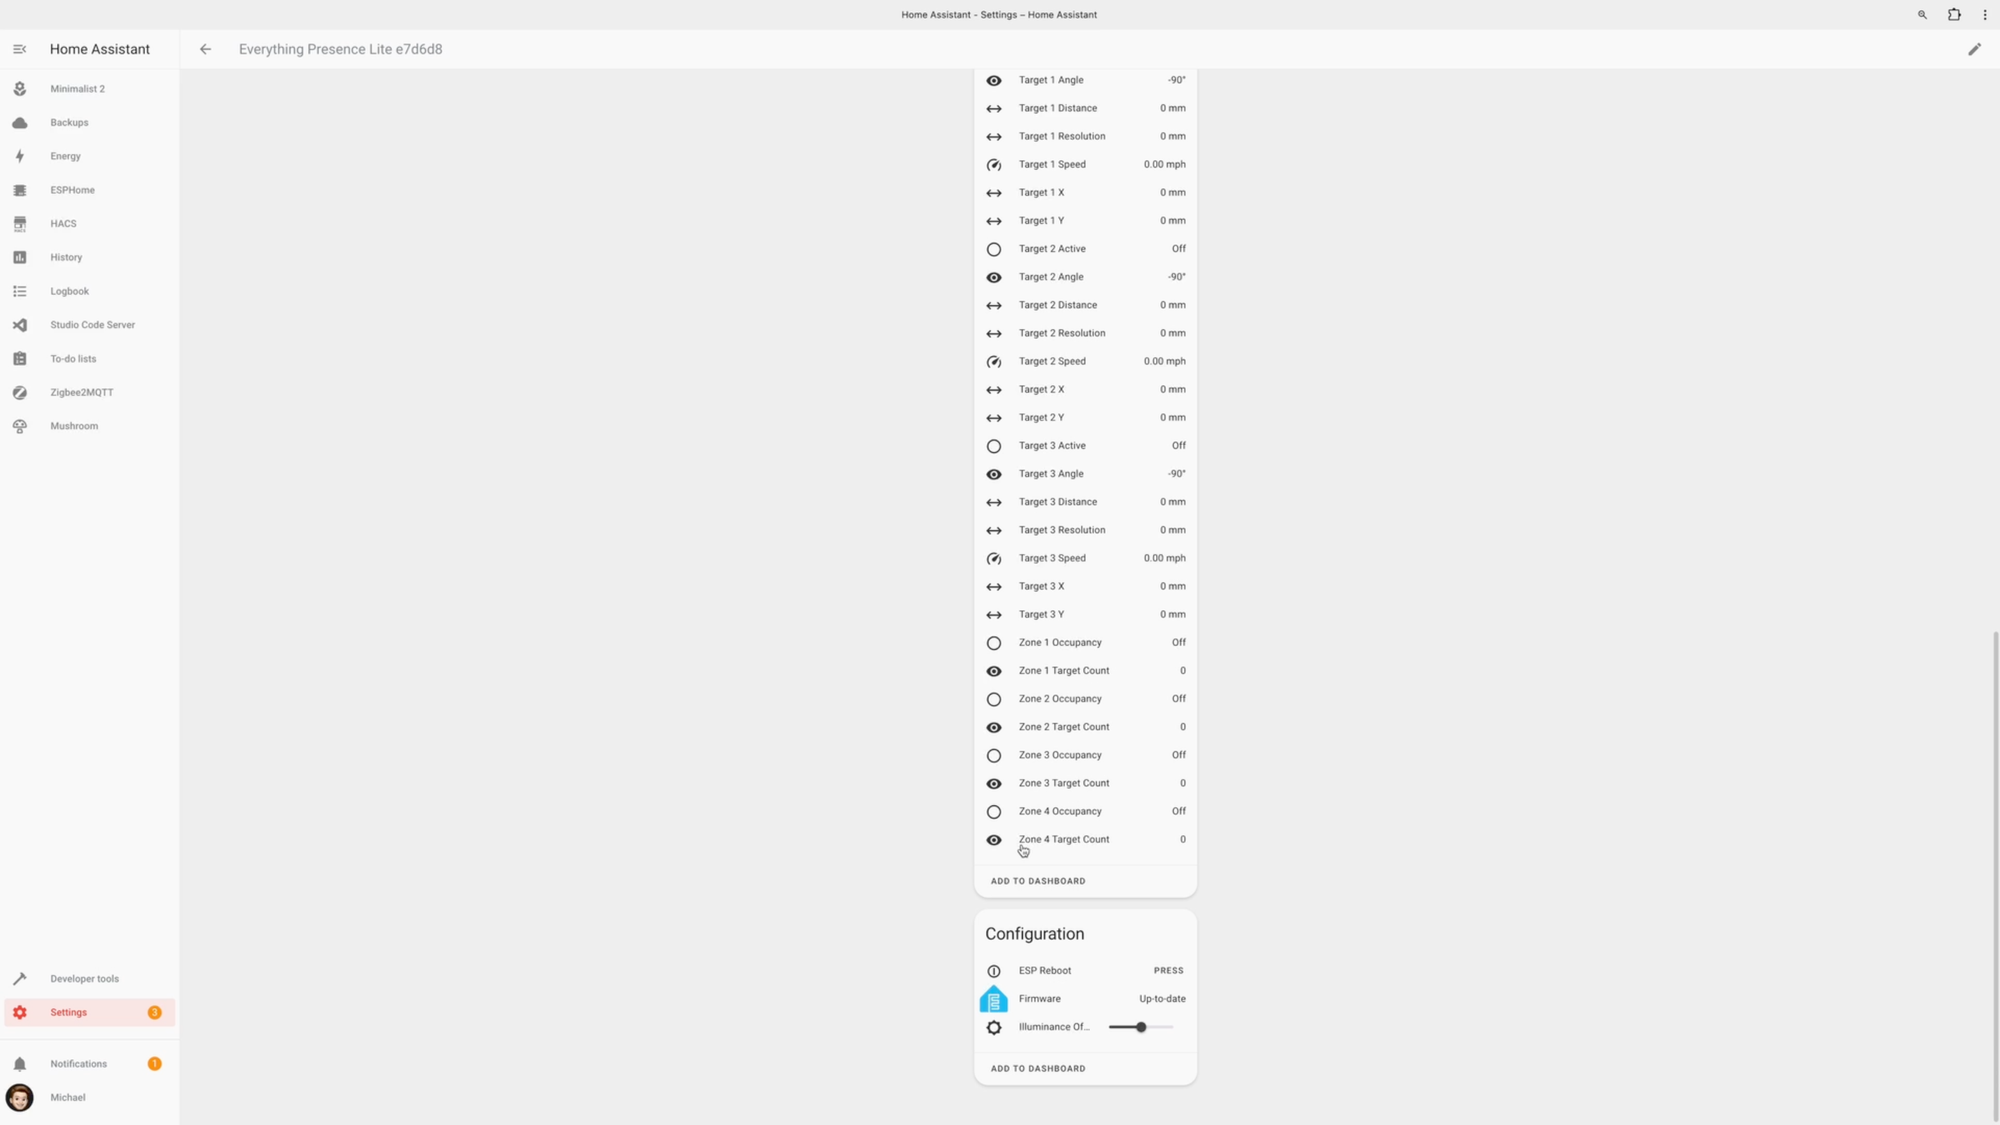
The Everything Presence Lite offers a ton of entities and customizations in Home Assistant.
Custom Zones
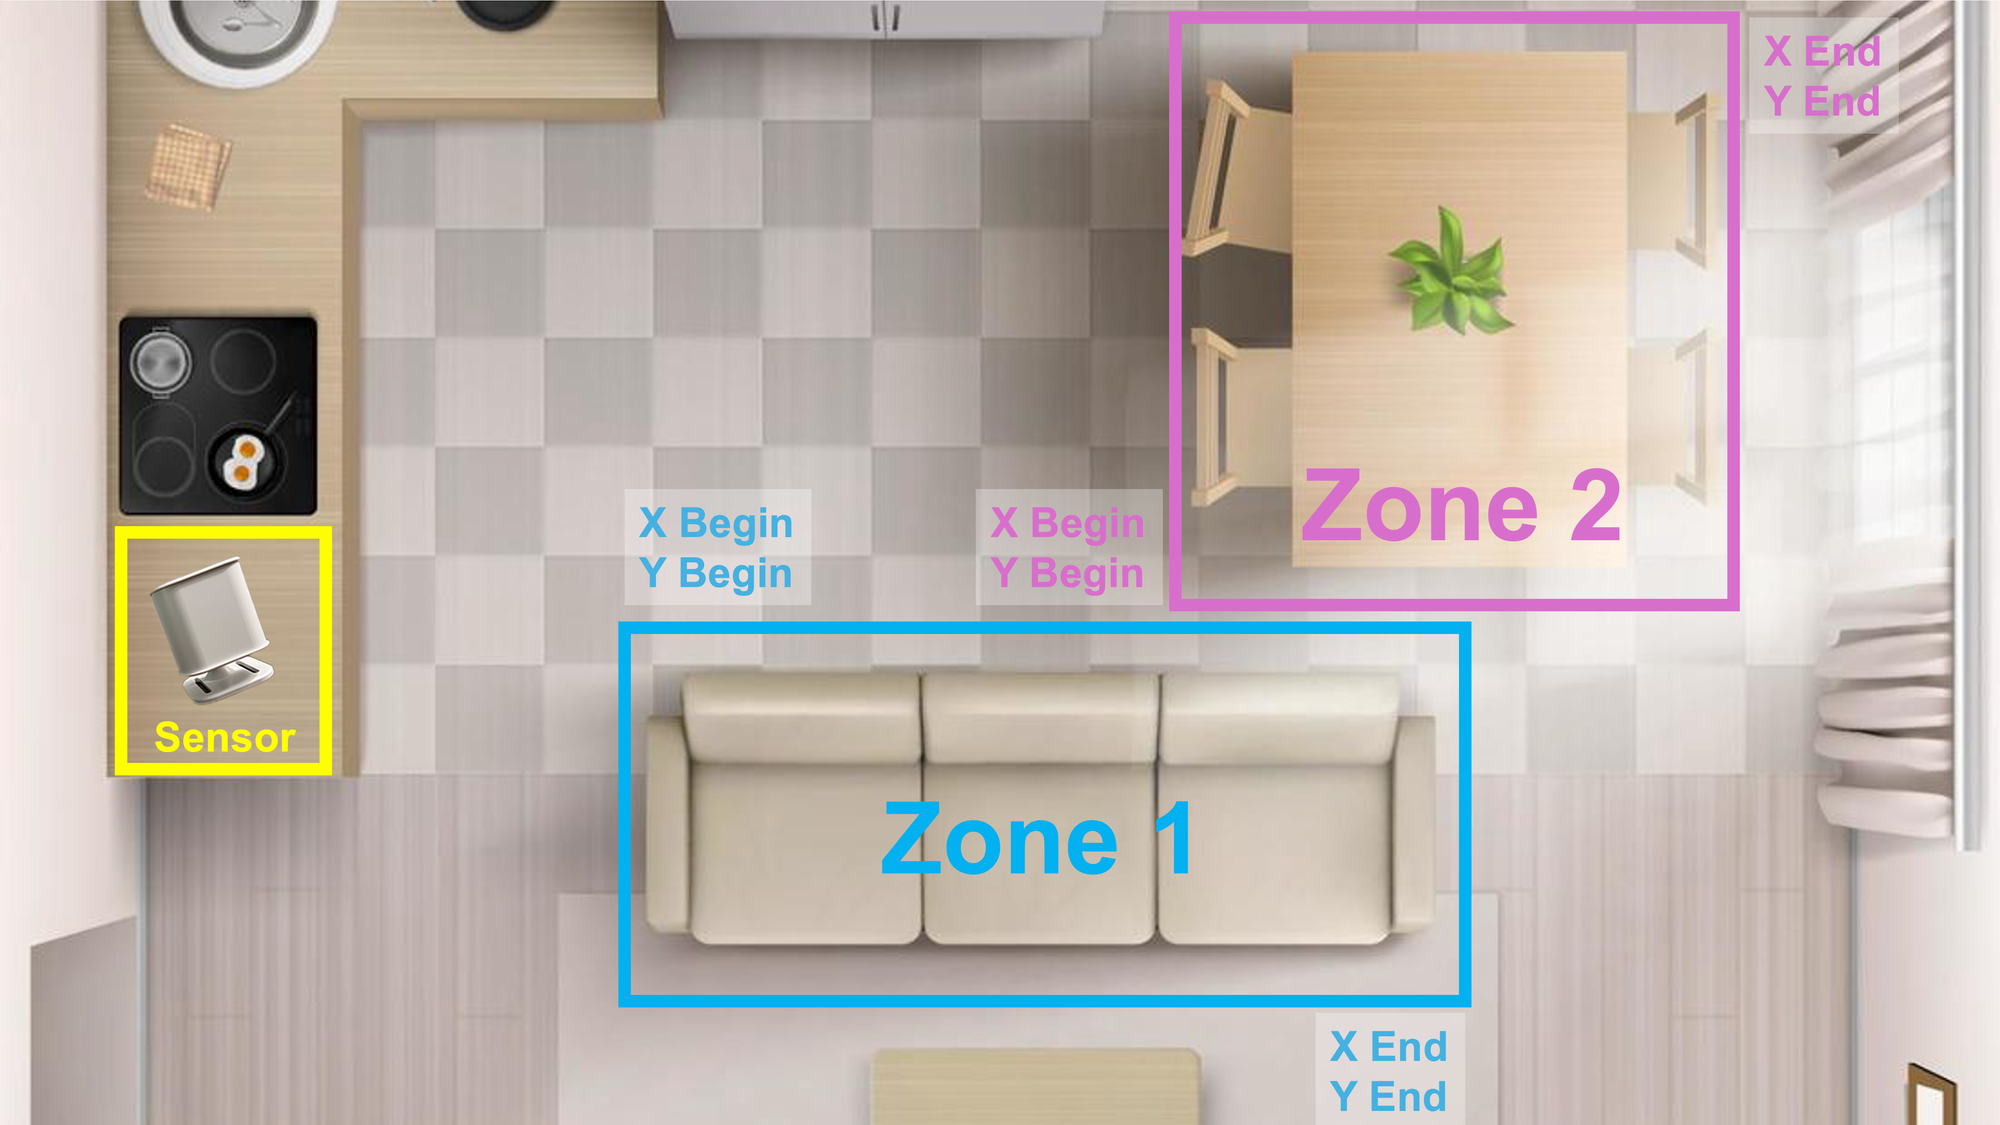
Chances are if you purchase this device you are interested in creating custom detection zones. Well, the process of creating custom detection zones is not super straightforward, so let me share how I did it.
I would sit in the area where I wanted to create a zone, for example a chair, and then move from one corner of my imagined zone to the far opposite corner. This would give me the outer limits for the Target 1 X and Y positions relative to the location of the Everything Presence Lite sensor. I then entered those outer limits in the Controls section, putting the lower number in the Begin field and the larger number in the End field for both the X and Y. I believe it’s important that the zones don’t completely overlap.
After I did this for each of my custom zones, I would then sit in that zone and confirm if the zone’s occupancy sensor changed from 0 to 1 — meaning 1 person was in that zone — and then back to 0 once I moved away. It takes a little playing around with, but you can do it.
Use Cases
Let’s look at some of the interesting ways to use a sensor like this.
To start, you can use it as a single zone, presence detection sensor. This will tell you if a room is occupied, which is useful for automations that turn off lights, adjust the thermostat, arm the alarm, start the robot vacuum, and a lot more, based on when a space is no longer occupied.
You can reach the full potential of the Everything Presence Lite by creating multiple detection zones. A reading lamp can turn on when you sit in the living room arm chair, and turn off when you move to the couch. If you share a bedroom, you could create an automation that turns off the home’s indoor lights and arms the alarm when it’s late in the evening and two targets are detected in the bedroom.
To demonstrate how precise this is sensor is, I created detection zones for individual chairs at our dining room table. When I sit in one chair, the lights turn blue. As I step away, the light turns off. Once I move to another chair, the lights turn green, and then off as I step away. And if I move to a third chair, the lights turn red, and then off again once I stand up.
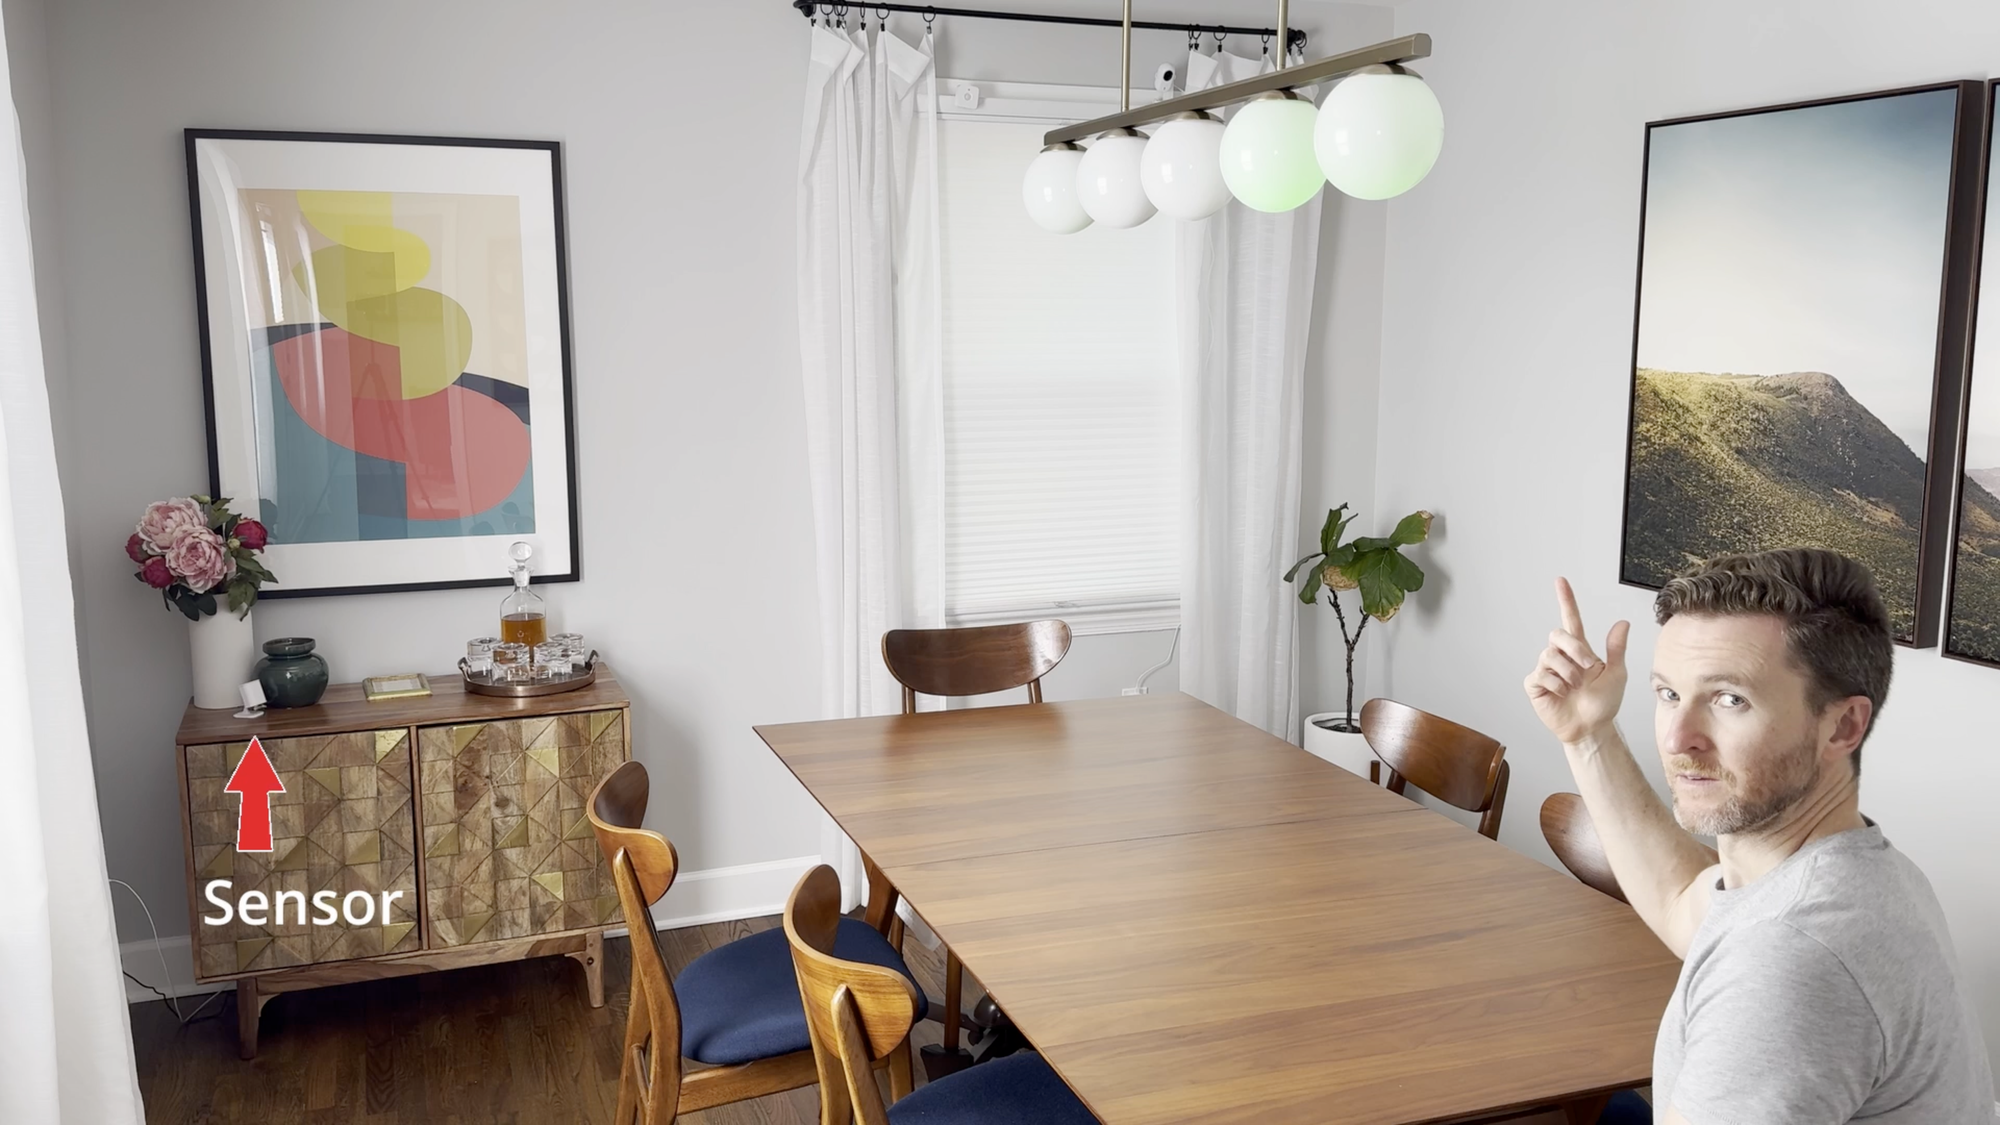
Speaking of lights, the Everything Presence Lite has a built-in LED. This could be used as a notification light, for example, it could light up red if it’s late at night and the garage door has been left open. Just know that it can only display a red light.
Comparison to Everything Presence One
So, how does the Everything Presence Lite compare with the Everything Presence One?
The EP Lite is positioned as a more affordable entry into presence detection. The EP Lite Kit is $37, which includes the sensors, case, and USB cable. The EP One Kit is $55, which includes the sensors and USB cable. The case will cost you another $10. When I purchased the EP One Kit around two years ago, it did not include a USB cable, so that’s a helpful addition. Nice.
Even though you pay $10 extra to get a case for the EP One, it’s unfortunately a worse case. In fact, the case was the only issue I had with the EP One when I reviewed it. I’m happy to say that the injection-moulded case with the EP Lite Kit is super strong, and I also think it’s a slightly nicer appearance. I do still wish it had a magnetic mounting option, but I know I could add that myself.
The EP Lite is also smaller than the EP One, making it slightly more discrete. The most differentiating factor for the EP Lite though is its ability to track multiple targets across multiple detection zones at the same time. This is completely lacking in the EP One.
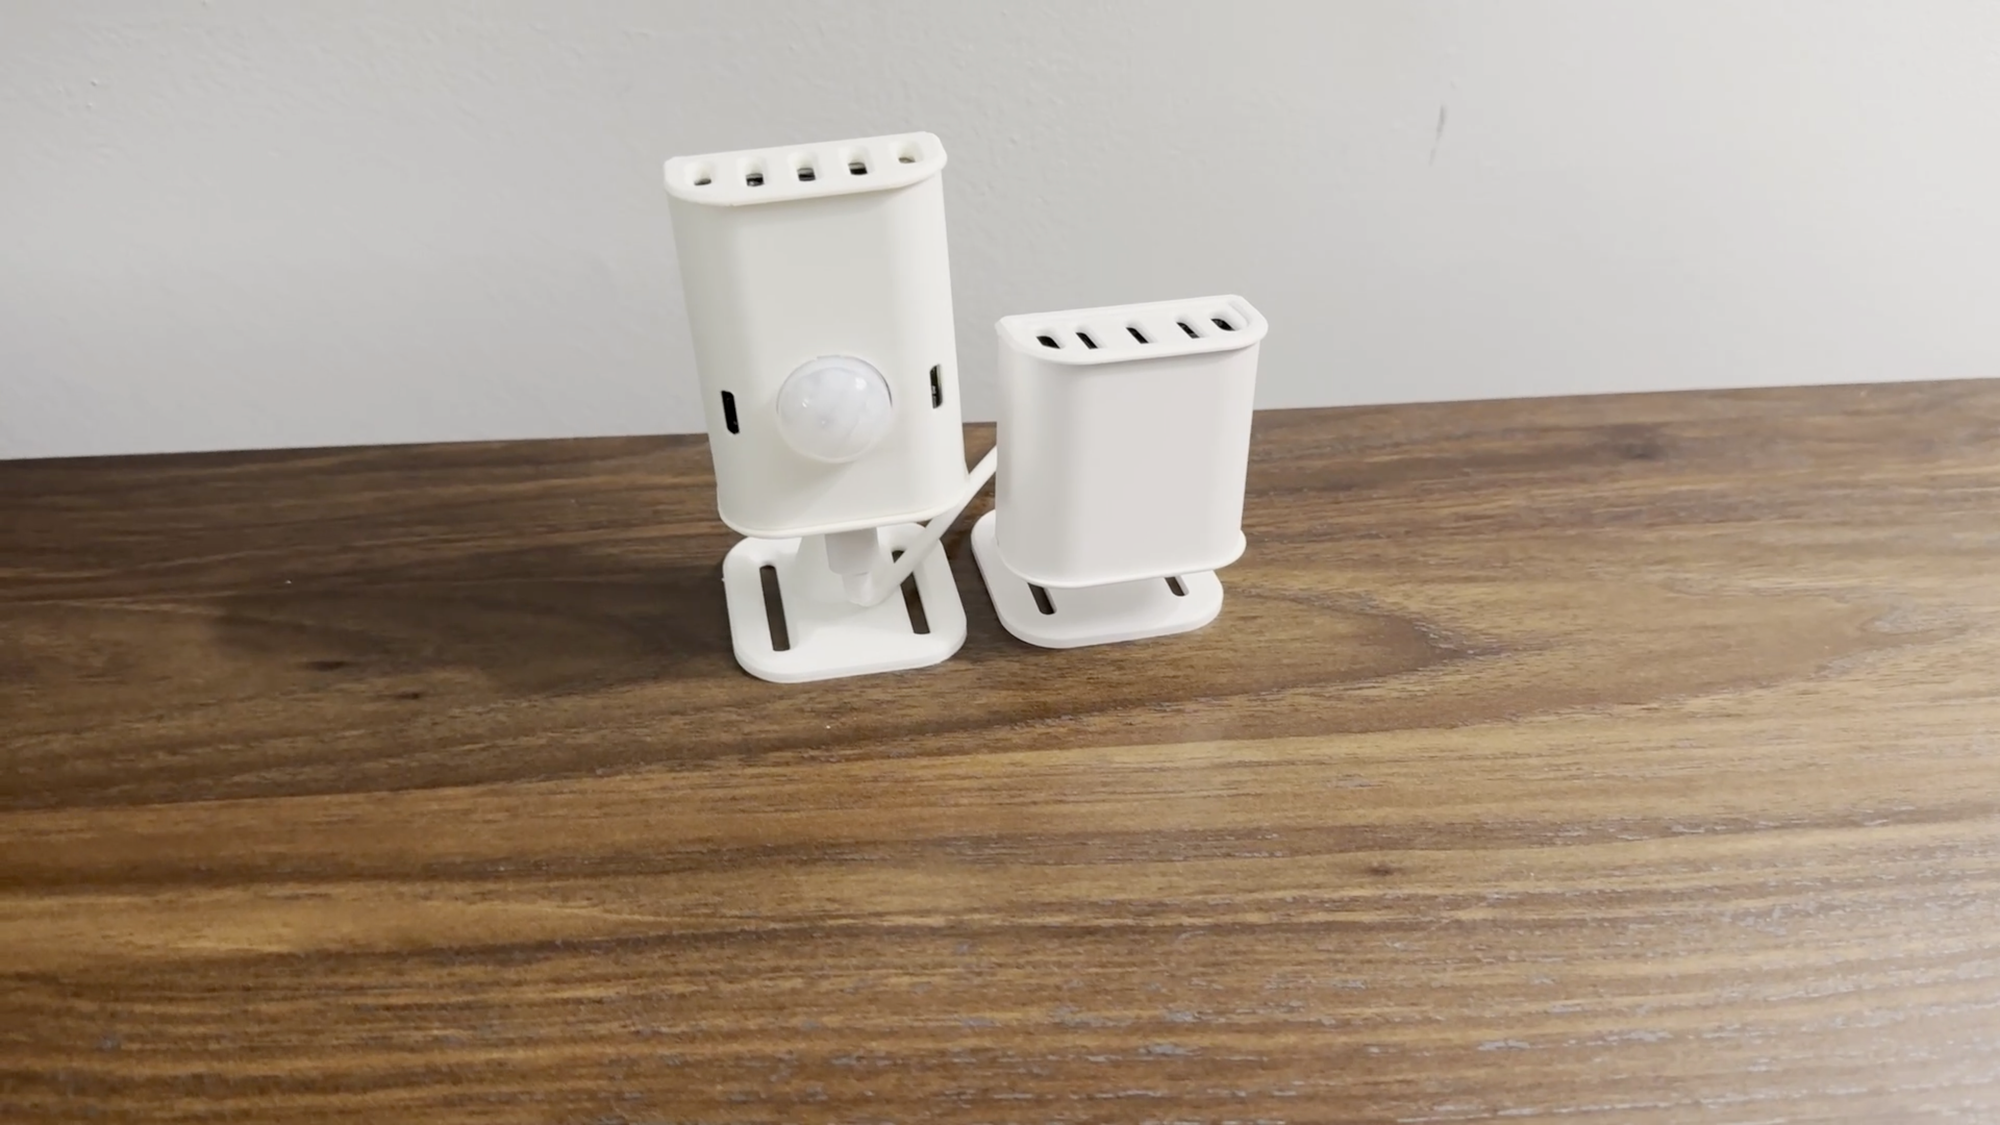
Well, why is that, and why does the EP One cost more? Well, several reasons.
The EP One has different mmWave sensor — the DFRobot SEN0609, vs. the HiLink LD2450 in the EP Lite. While the mmWave sensor in the EP One does not support multi-target or multi-zone tracking, it does offer some advantages depending on what’s important to you. mmWave in the EP One is likely better at still presence detection, and you can make small adjustments to the mmWave sensitivity. This can be crucial to avoid subtle movements, like a curtain shifting from a ceiling fan or air vent, triggering your automation. The mmWave detection zone is also far larger on the EP One, making it much better for large, open rooms.
And, the EP One includes several sensors that the EP Lite does not, most notably an industrial PIR motion sensor, but also sensors for measuring a room’s temperature and humidity. This makes the EP One a great all-in-one sensor, especially when you use PIR motion to trigger lights turning on, and mmWave to trigger lights turning off.
Both the EP Lite and EP One have an ambient light sensor for measuring room brightness, and can function as a Bluetooth Proxy in Home Assistant.
I’ll note that the EP Lite arrived fully assembled, whereas the EP One required assembling the board and the case — at least when I received it — though it was easy to do.
| Feature | EP Lite | EP One | Winner |
|---|---|---|---|
| Kit Price | $37 | $55 | EP Lite |
| Case Price | Included | $10 | EP Lite |
| Case Quality | Durable | Fragile | EP Lite |
| Size | Medium | Large | EP Lite |
| Multi-Target Tracking | Included | Not included | EP Lite |
| Multi-Zone Tracking | Included | Not included | EP Lite |
| Sensitivity Adjustments | Not included | Included | EP One |
| mmWave Detection | 6 meters | 25 meters | EP One |
| PIR Motion Detection | Not included | 12 meters | EP One |
| Temperature | Not included | Included | EP One |
| Humidity | Not included | Included | EP One |
| Ambient Light | Included | Included | Tie |
| Bluetooth Proxy | Included | Included | Tie |
What I Like
So, what do I like about the Everything Presence Lite? The price, and the quality of the case. The Everything Presence One has been my favorite smart home sensor since the day I got it, but it was a little pricey, and the case wasn’t good. The Everything Presence Lite addressed all of this, with a lower price and a solid case.
What to Improve
The number one way to improve the Everything Presence Lite is to make zone setup easier. Playing around with the X and Y coordinates it not super intuitive and it requires a lot of manual work to get it configured just right.
Apollo Automation offers a multi-zone presence sensor, the MTR-1, which I previously reviewed. You can connect the MTR-1 via Bluetooth to a third-party app that makes zone creation fast and easy. It allows you to see a visual of targets moving about the room, and you can drag-and-drop virtual boxes to create custom detection zones. I would love to see this functionality be available natively within Home Assistant. That may be more of a shortcoming of Home Assistant than the Everything Presence Lite, but such a feature may help accelerate adoption of powerful sensors like this.
Final Thoughts
Overall, the Everything Presence Lite is a quick and accurate presence detection sensor at a more cost-effective price point than the Everything Presence One, while adding support for multi-target and multi-zone tracking. This makes it ideal if you’d like to create home automations based on the number of people in a room, or their precise location in that room.
Personally, I prefer the excellent mmWave range and still presence detection coupled with the onboard PIR motion sensor in the Everything Presence One. But, you can’t go wrong with either pick.
Watch on YouTube
Featured Tech
Everything Presence Lite Kit: https://go.michaelsleen.com/ep-lite
Everything Presence One Kit: https://go.michaelsleen.com/ep-1