How to Setup Home Assistant Remote Access using a Cloudflare Tunnel
Options for setting up remote access to Home Assistant, why I switched to using a Cloudflare tunnel, and take you step-by-step through the process.
Introduction
One of the benefits of a smart home is the ability to access and control smart devices when you are away from home. Maybe you want to adjust the thermostat, lock or unlock a door, or turn lights on or off.
If you are using Home Assistant for your home automation platform and want to log-in when you’re away from home, then you’ll need to configure remote access. There are several ways to do this though, and it can be confusing. I’ll discuss various options for setting up remote access to Home Assistant, why I switched to using a Cloudflare tunnel, and take you step-by-step through the process.
Main Points
Remote Access Options
First, let’s go over the remote access options.
When I got started with Home Assistant and needed to enable remote access, I used port forwarding. To do this, I got a free domain through DuckDNS, an SSL certificate from Let’s Encrypt, and then configured port forwarding on my router to my Home Assistant server. This method was completely free. However, port forwarding doesn’t work if you have a Carrier Grade, or CG, NAT. While this wasn’t an issue for me, port forwarding may pose some security concerns, since it means your router is allowing outside devices to initiate connections to devices on your network. Because of this, I was interested in an alternative solution for remote access to Home Assistant.
An alternative to port forwarding is a VPN, or virtual private network. I looked at VPN solutions through Wireguard or Tailscale. While these allow for secure remote access, it requires a VPN connection to be established before connecting to Home Assistant. I didn’t love the idea of having to bother with VPN connections.
A simpler approach — in fact, the easiest way to get remote access — would be with the Home Assistant Cloud from Nabu Casa. Unlike the other options, Home Assistant Cloud is not free, but at $65 for the entire year, I think it’s a reasonable price. Plus, paying for Home Assistant Cloud directly supports the developers of Home Assistant, and I think that’s a good thing. If quick and easy are your priorities, then Home Assistant Cloud is probably the best way to go.
But, the deeper I go into my home automation journey, the more I gravitate toward the DIY approach. So, I decided to setup a Cloudflare tunnel for my remote access to Home Assistant. I chose to use a Cloudflare tunnel because it is more secure than port forwarding, does not require connecting to a VPN, works with Amazon and Google’s smart home platforms, and allows me to continue to access my Home Assistant server remotely from anywhere. It’s also completely free, and Cloudflare is a company that I know and trust.
But, what is a Cloudflare tunnel? Basically, it creates a private link between your Home Assistant server and Cloudflare, resulting in secure, outbound-only traffic.
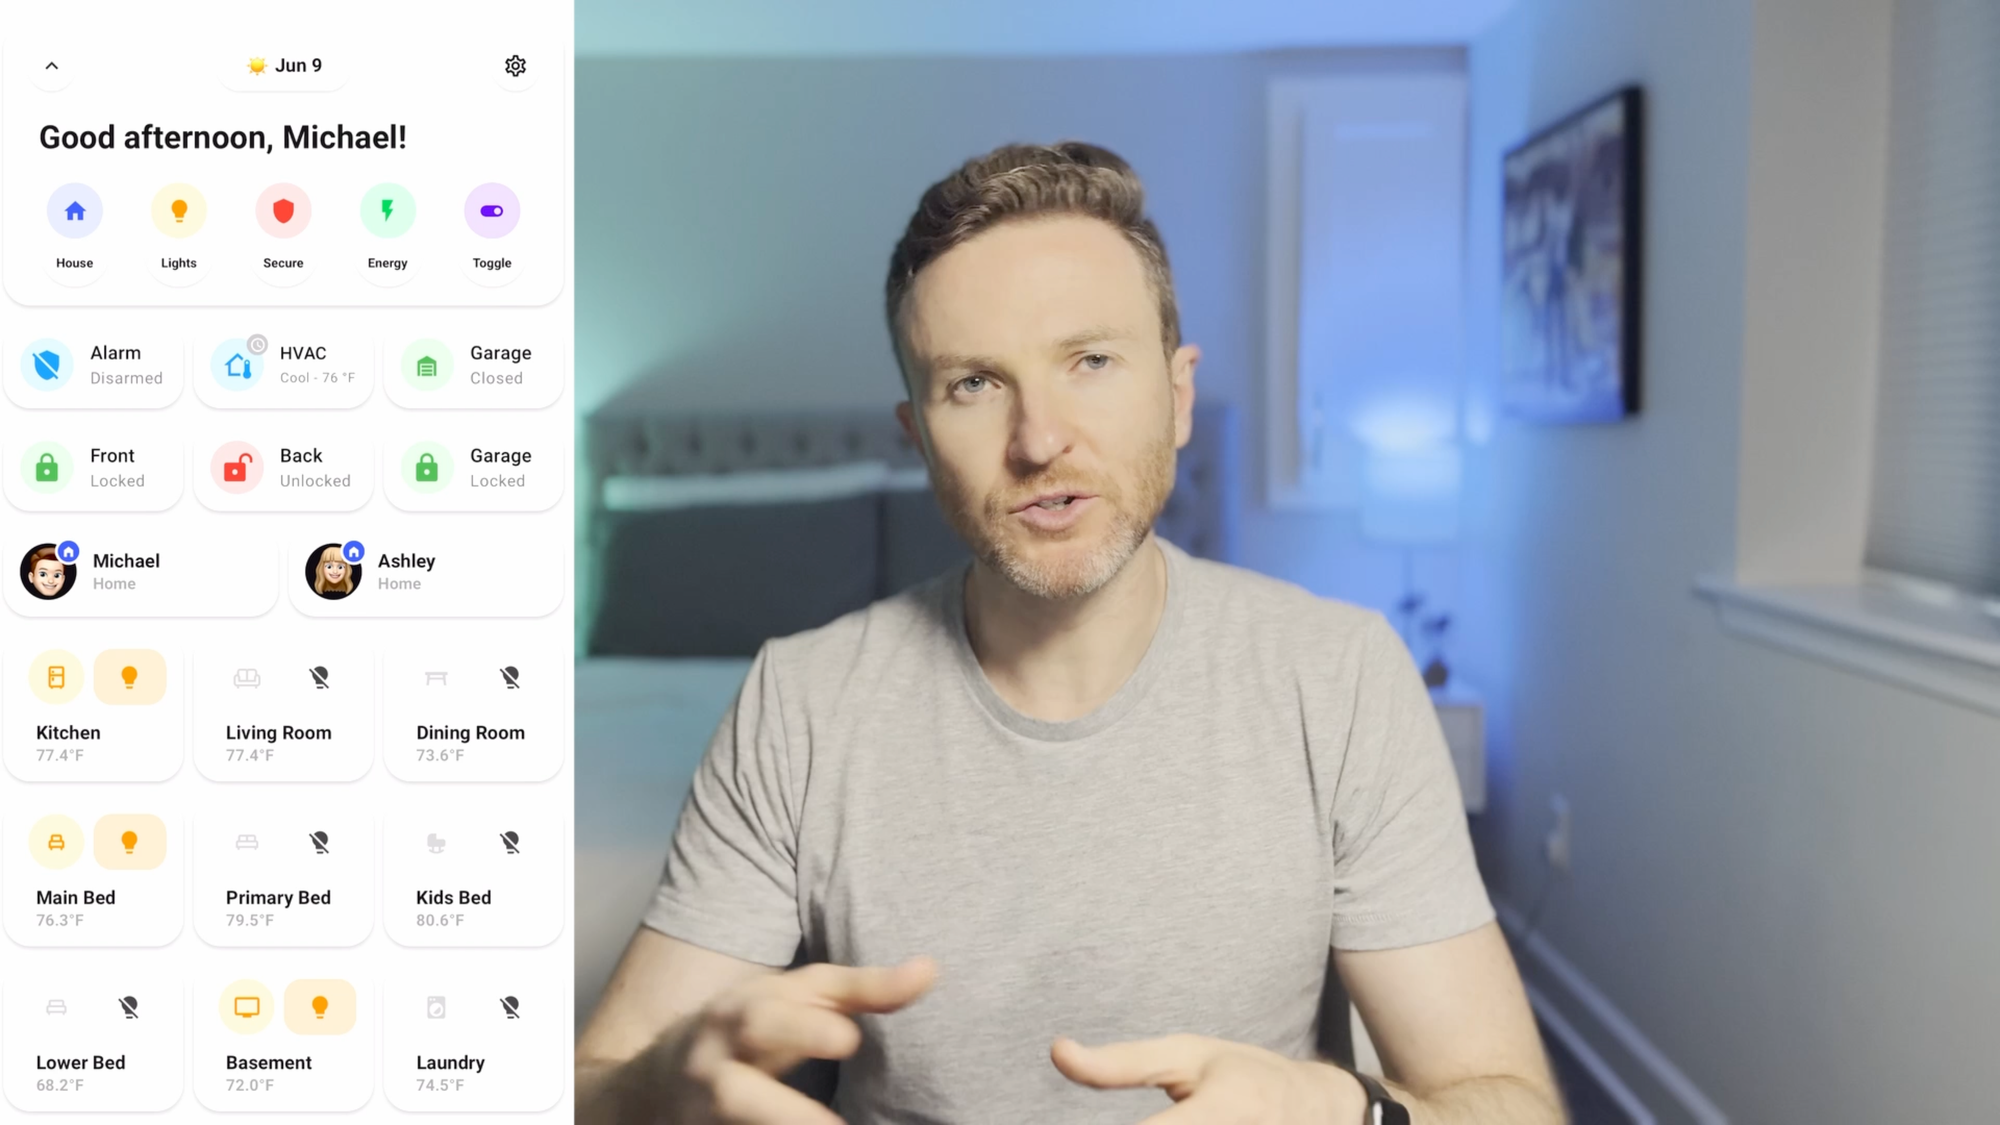
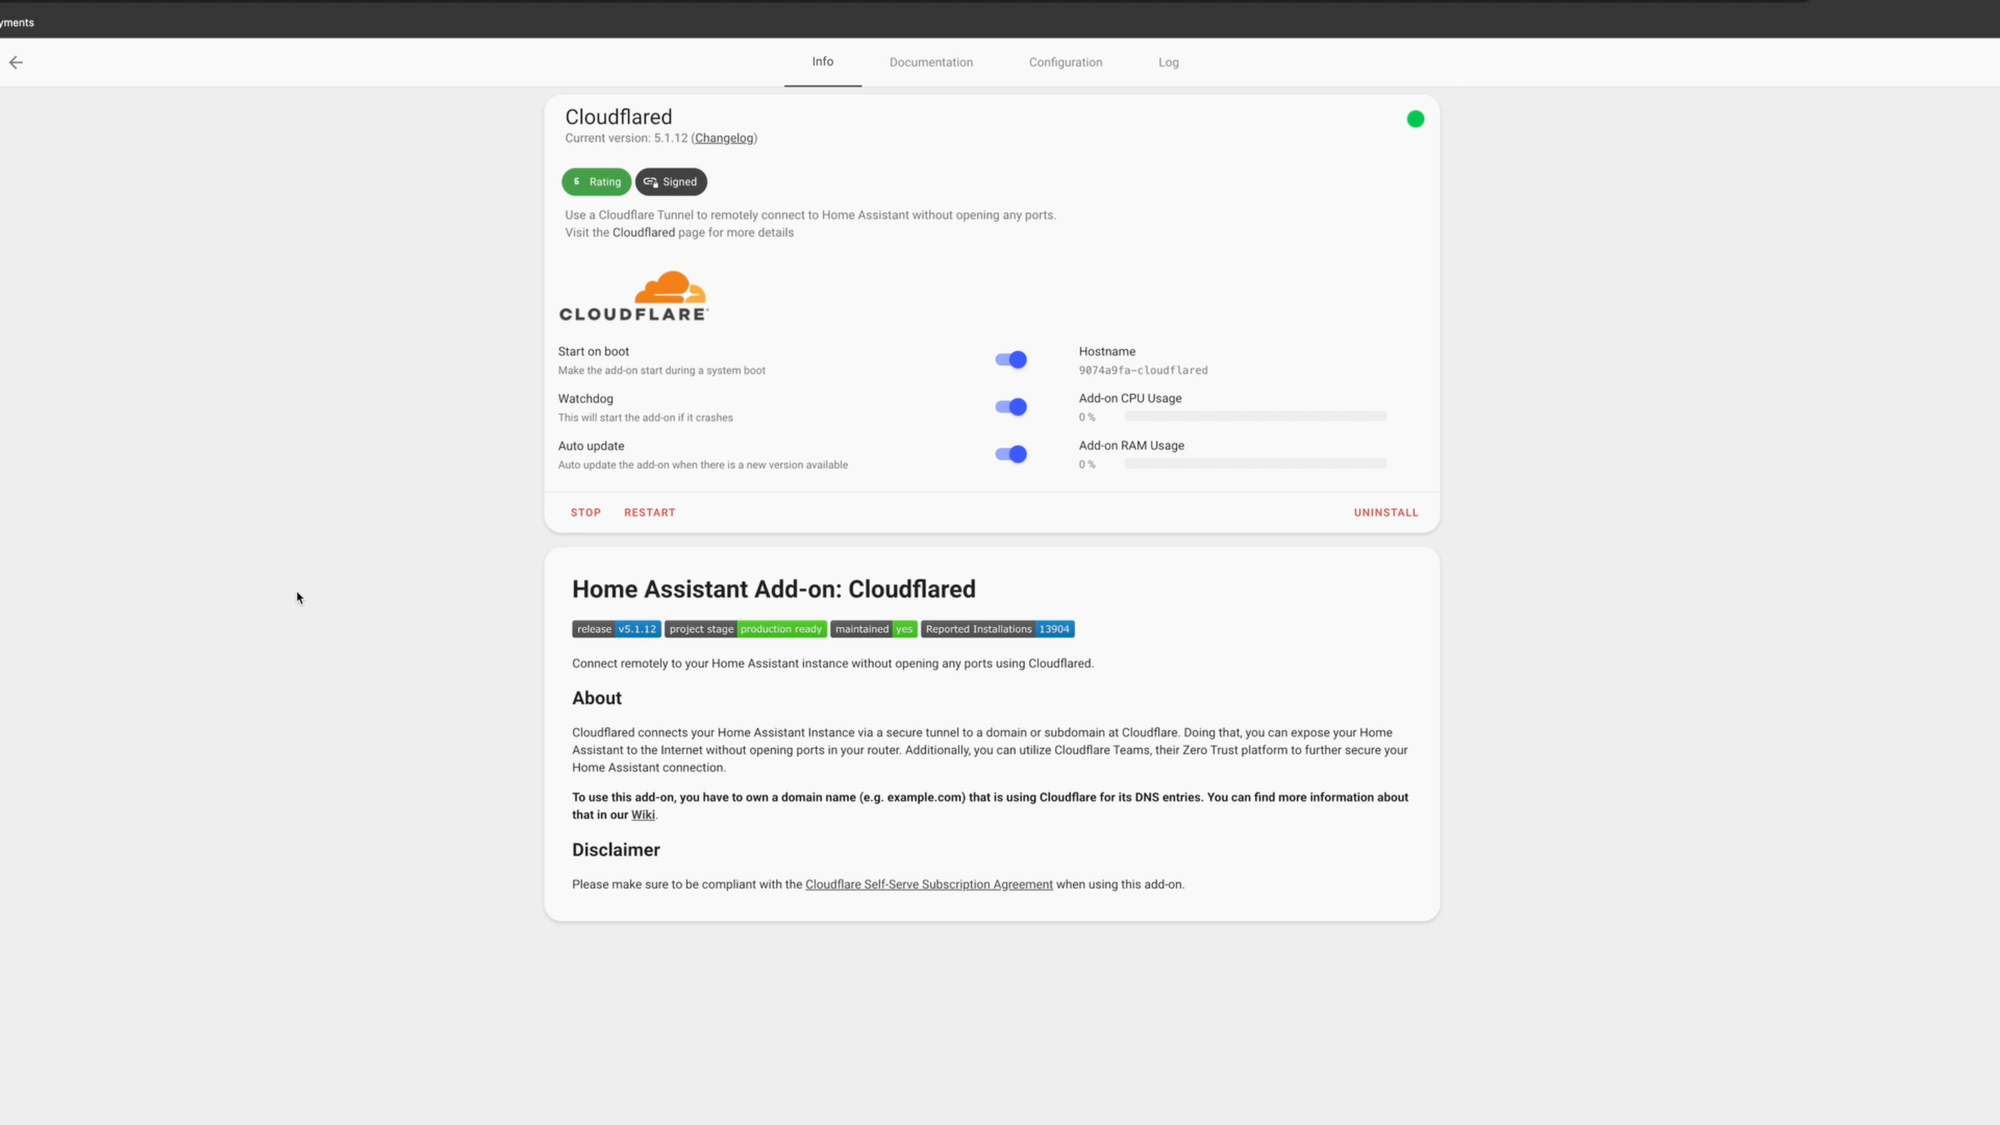
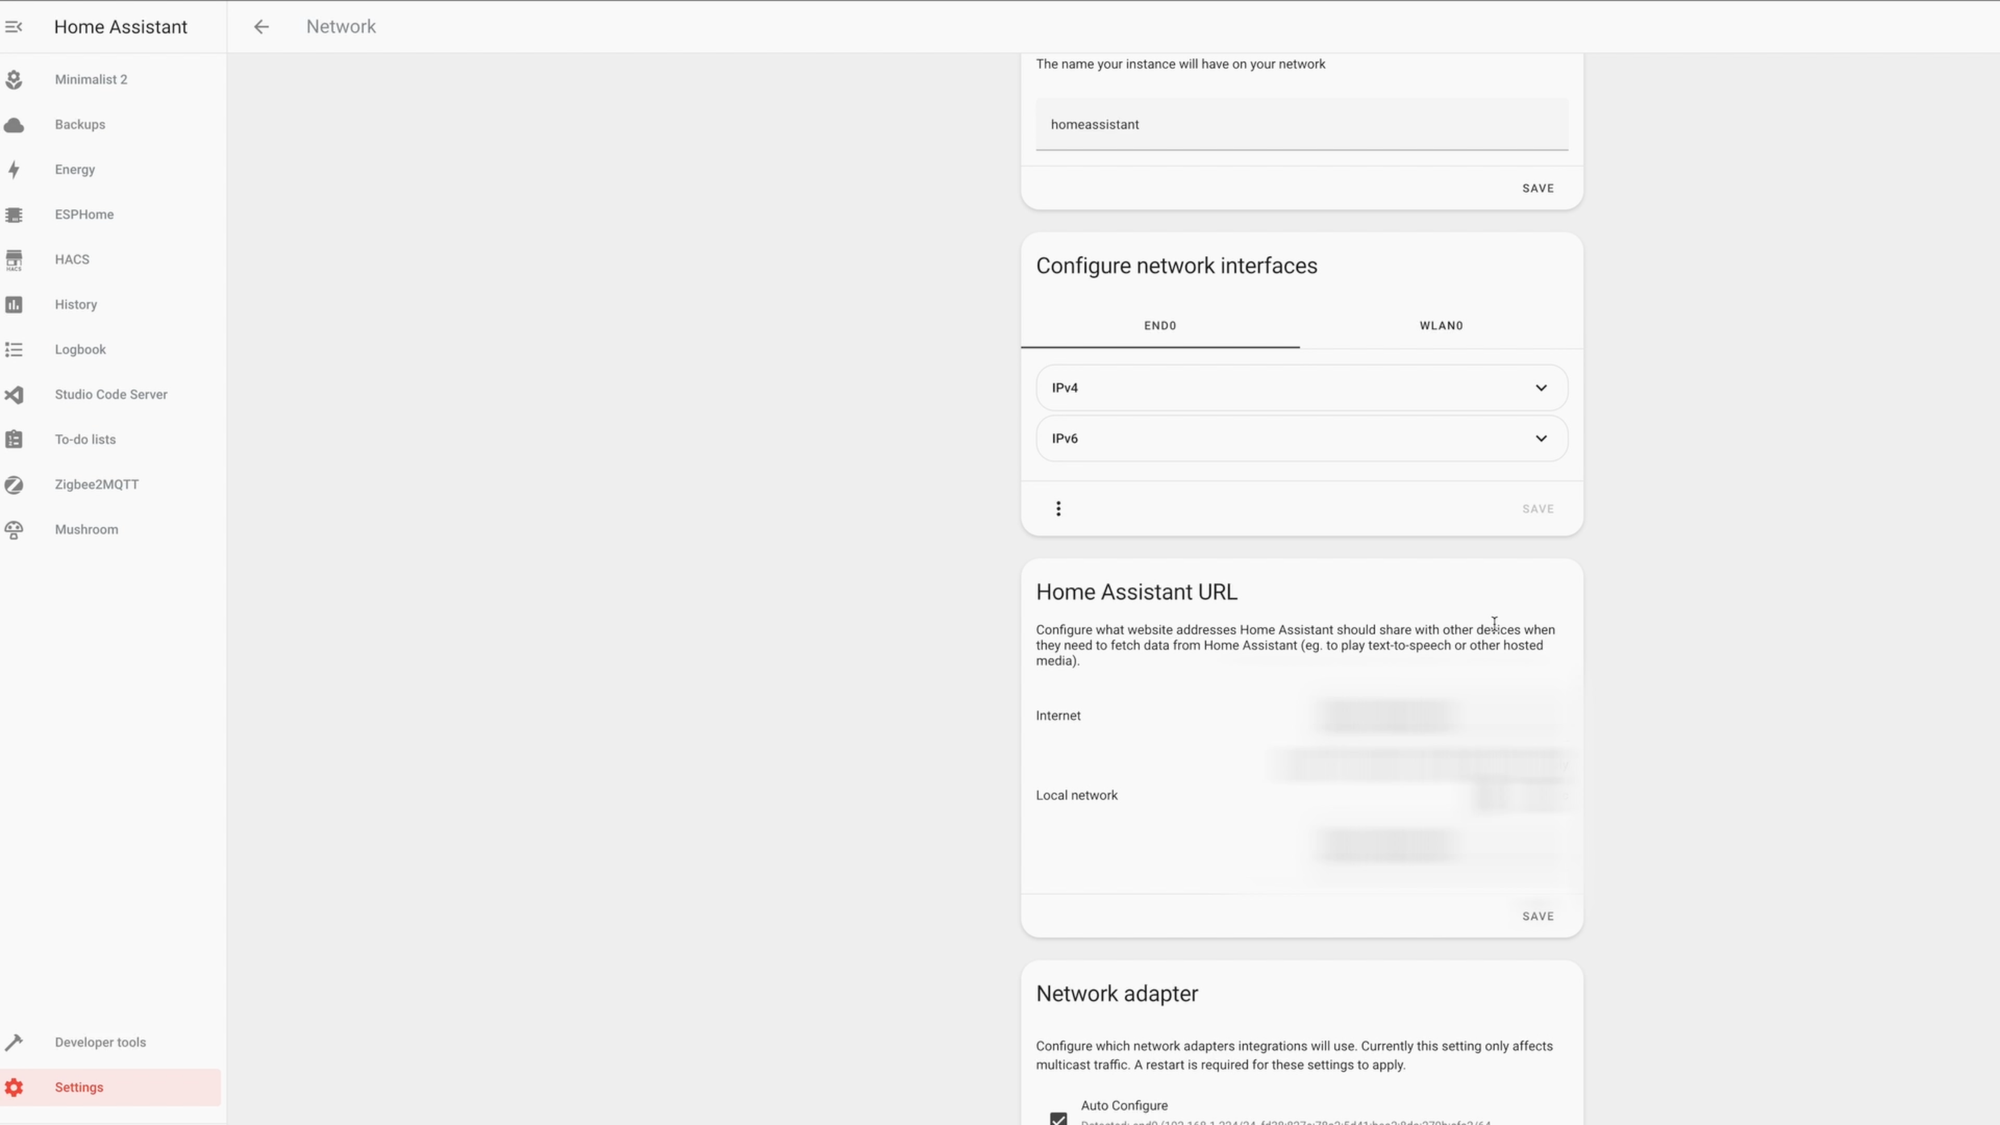
Create a Cloudflare Tunnel to access your Home Assistant dashboard remotely when you are away from your home's WiFi network.
Cloudflare Tunnel Setup
To get started with a Cloudflare tunnel, you’re going to need a domain name. Something like yourwebsitename.com. If you don’t already have one, there are sites that claim to offer free domains. However, this felt a bit sketchy to me, so I opted to purchase my own domain.
I know I said earlier that a Cloudflare tunnel is free — and it is — but that assumes you bring your own domain. The good news is that it’s quite easy and inexpensive to purchase a domain. And if you purchase your domain from Cloudflare, the entire process is super turnkey.
Just to be clear — I have no affiliation with Cloudflare and they have nothing to do with this.
Domains prices ranged from $5 to $45 per year for domain names that I was looking at. The one that I purchased was $25 for one year. Website domains ending in .com or .io tend to cost more.
Once you have a domain name, create a free account with Cloudflare, if you don’t already have one. Then, go to websites in the top left, and select or enter your domain. You may have additional steps to complete if you acquired your domain outside of Cloudflare.
Then, go to Home Assistant, Settings, Add-Ons, and click new Add On. In the top right, select repositories, and paste in the Cloudflared add-on repository. You can find the link for this here. Then, hit save.
If you don’t see Cloudflared in your list of add-ons, restart Home Assistant. Once re-booted, open the Cloudflared add-on, and click install. Go to Configuration in the add-on, and enter your domain name in the external Home Assistant hostname field. Click save, and then start the add-on. I like to also enable start on boot and watchdog.
Once the add-on has started, go to logs and look for a line that tells you to open a certain URL. Open that link in a separate window to authorize your Cloudflare tunnel. Once completed, you can return to the add-on in Home Assistant, and refresh the logs to confirm you are successfully logged in.
Then, go to the Documentation tab and scroll down until you find the Home Assistant configuration section. Copy and paste the small bit of code into your Home Assistant config file, and then restart Home Assistant. Once restarted, it’s time to test out remote access from your domain name.
Visit https://yourdomainname.whatever in your browser, and you should be presented with the option to log-in to Home Assistant. If you did this on your home’s WiFi, you should also test this on your mobile phone by turning off WiFi to simulate being outside your home network.
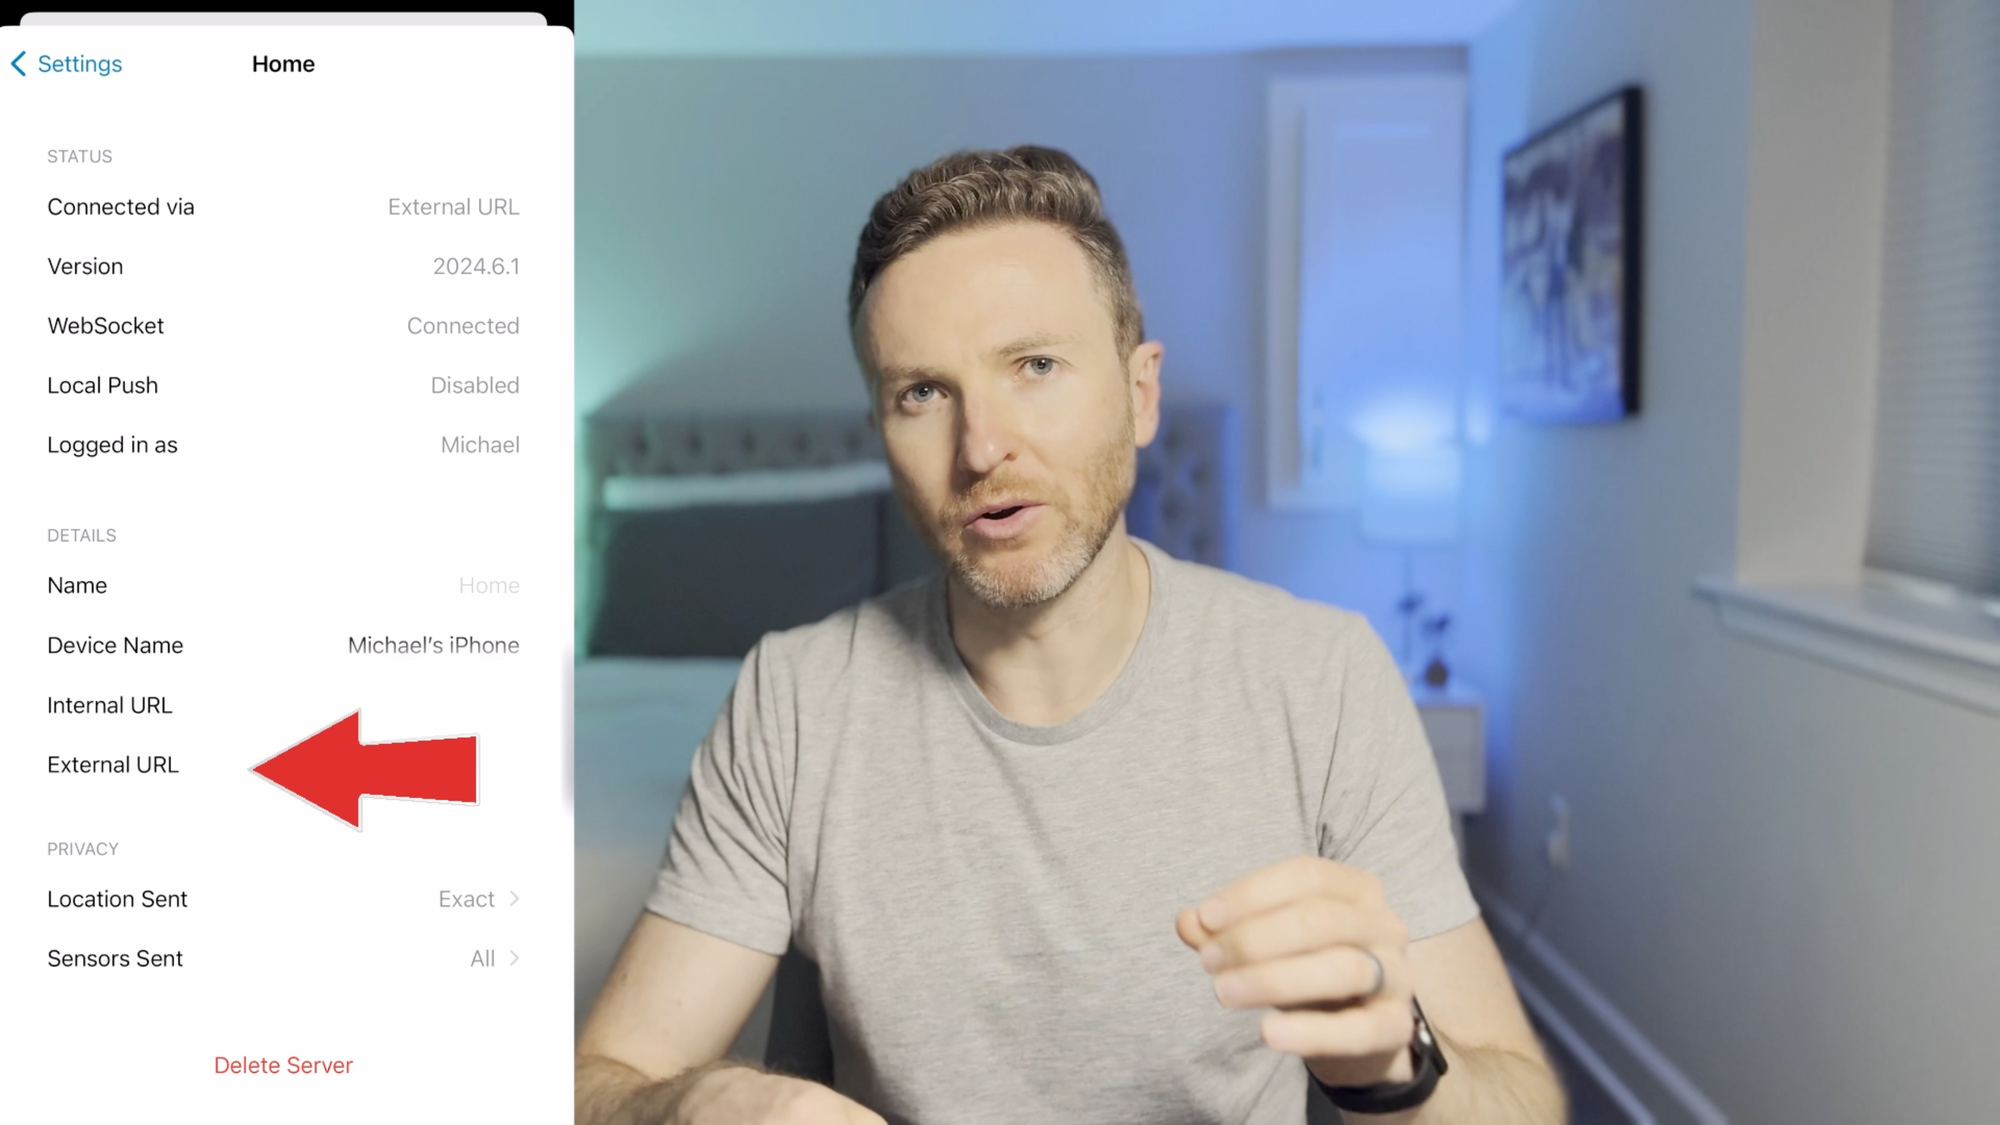
Once you’ve confirmed that internal and external connections are working, you’ll want to update the internal and external URLs for your Home Assistant network. Go to Settings, Network, and enter https://yourdomainname.whatever in the internet and local network fields under Home Assistant URL.
You may need to do the same in the Home Assistant companion app, which you can do by visiting Settings, Companion App, clicking your profile at the top, and then updating the internal and external URL fields as needed.
At this point, you’re all set, and you can now log-in to Home Assistant remotely using a secure Cloudflare tunnel.
Tips
One thing that I noticed after moving to a Cloudflare tunnel was that the thumbnail images in my Home Assistant doorbell-related automations were no longer updating. Instead of seeing a picture of who was at the front door in that moment, I was seeing an earlier, cached image.
To resolve, I had to update my automations to use the full URL of my new Home Assistant domain. For example, my automation previously pulled the image from this path:
/local/tmp/your_image_name.jpgOnce I updated to a path that included my full URL and made each image unique by adding a time stamp, everything started working again correctly.
https://yourdomainname.whatever/local/tmp/your_image_name.jpg?{{as_timestamp(now())}}However, I later revised this once I re-configured local access, as explained below.
Local Access
If you setup a Cloudflare Tunnel to access Home Assistant remotely, but are unable to access Home Assistant from the local URL, follow these troubleshooting steps:
- Go to the Cloudflared add-on > configuration > edit in YAML > copy the YAML and paste into a text editor and save it for later.
- Uninstall the add-on.
- Open your code editor in Home Assistant (e.g., Studio Code Server), delete the ssl_certificate and ssl_key lines in the configuration.yaml file.
- Restart Home Assistant.
- Log-in to your Cloudflare account > click the site that you are trying to manage >click Access in the left hand menu > Launch Zero Trust > Select your account.
- From the left hand menu, go to Networks > Tunnels.
- You should see your Home Assistant tunnel listed. Click the three dots at the far right > click Delete. Accept the warnings that appear.
- Go back to Home Assistant, but this time use http://IP:8123, replacing IP with the IP address of your Home Assistant server. Note: You need to use http, and not https.
- Reinstall the Cloudflared add-on.
- Go to the Configuration section of the add-on > click the three dots > click edit in YAML > paste your config that you saved earlier.
- Start the Cloudflared add-on, and give it a few moments to start up.
- Go to the Log section of the add-on. You should get instructions for copying a URL to authorize your new tunnel. Do that, and confirm on the Cloudflare site.
- Go back to Home Assistant, and your Cloudflared logs should switch shortly to confirming the new tunnel. Now, your local access is http, and the external is all https.
With this change, I then updated the path used for camera snapshots in my Home Assistant automations. I now save camera snapshots to the following path:
/media/images/your_image_name.jpgAnd I reference the following path in notifications to see the image on my phone:
/media/local/images/your_image_name.jpgCloudflare Zero Trust
For the best security, you can restrict access to your Cloudflare tunnel to specified users by using Cloudflare Zero Trust with an Access application and policy. To do this, you can take the following steps:
- Log in to your Cloudflare dashboard.
- Click on "Zero Trust" in the menu.
- Click "Access."
- Click "Create an Application."
- Under "Self hosted," click "Add an application."
- Give the application a name (e.g., Home Assistant).
- Click "Add a public hostname" and enter the domain you use to host your Home Assistant for remote access. If your domain is hosted with Cloudflare, you just select it from the dropdown.
- Under "Access Policies," click "Create a new policy."
- Give the policy a name (e.g., Home Assistant).
- Specify your desired "Include" rules. For example, you can select "Emails" from the "Selector" dropdown, and enter the email address of the person you want to have remote access to your Home Assistant server.
- Click "Save."
Once configured, only users specified in the Access Policy will have access to your application via the Cloudflare tunnel. This provides an extra layer of protection before your tunnel traffic starts.
Cloudflare Zero Trust with iOS
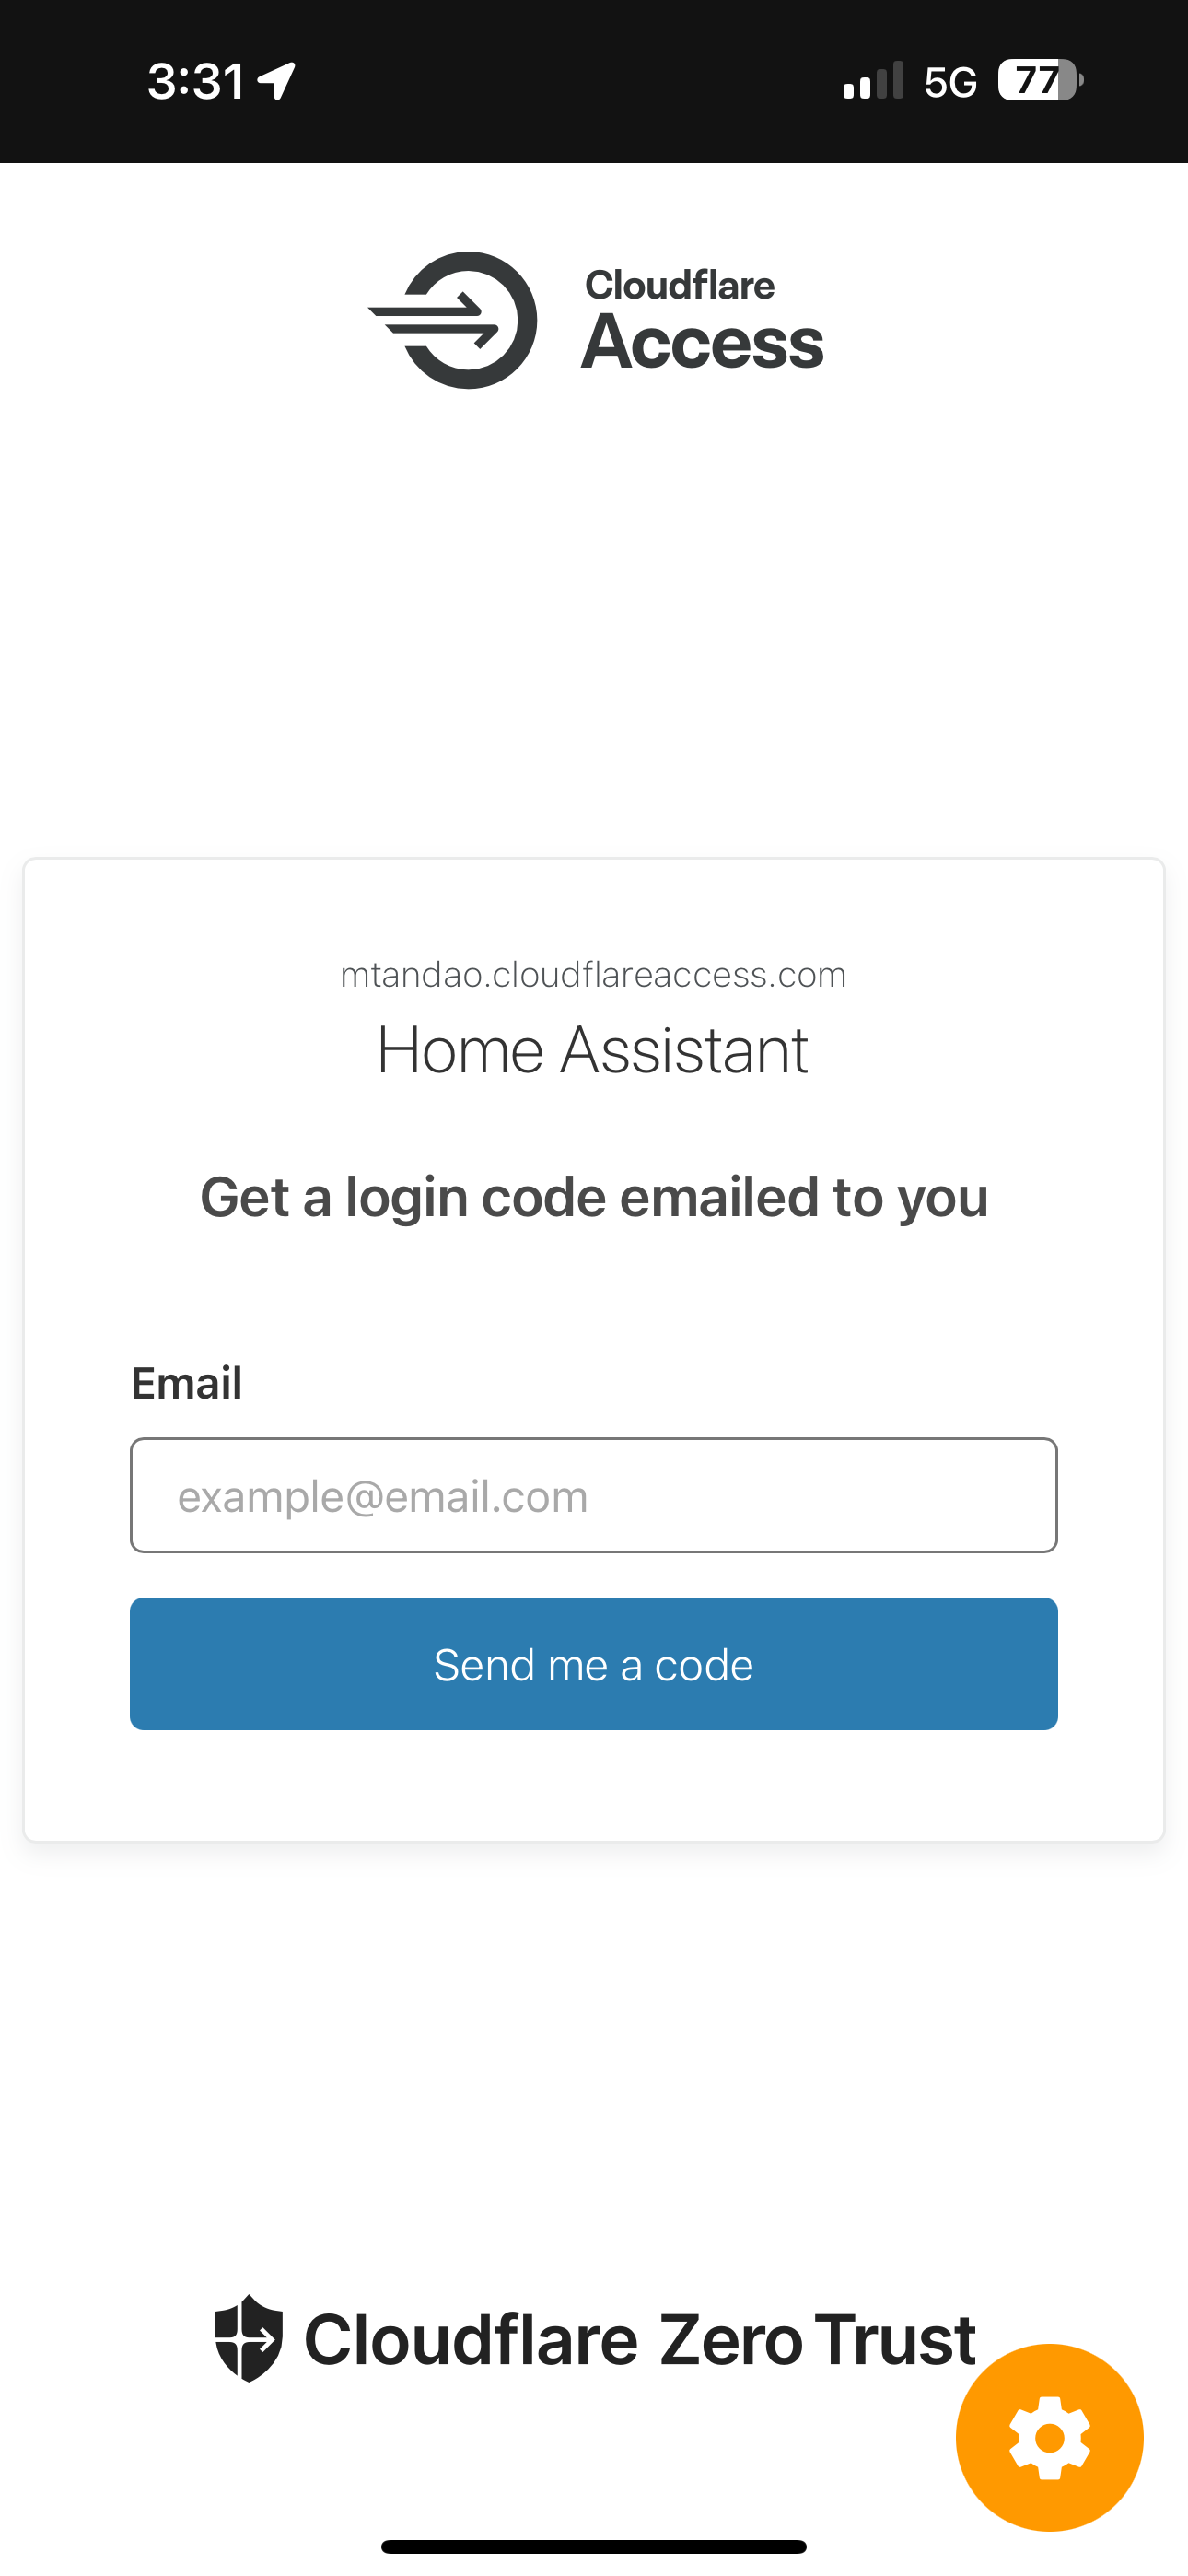
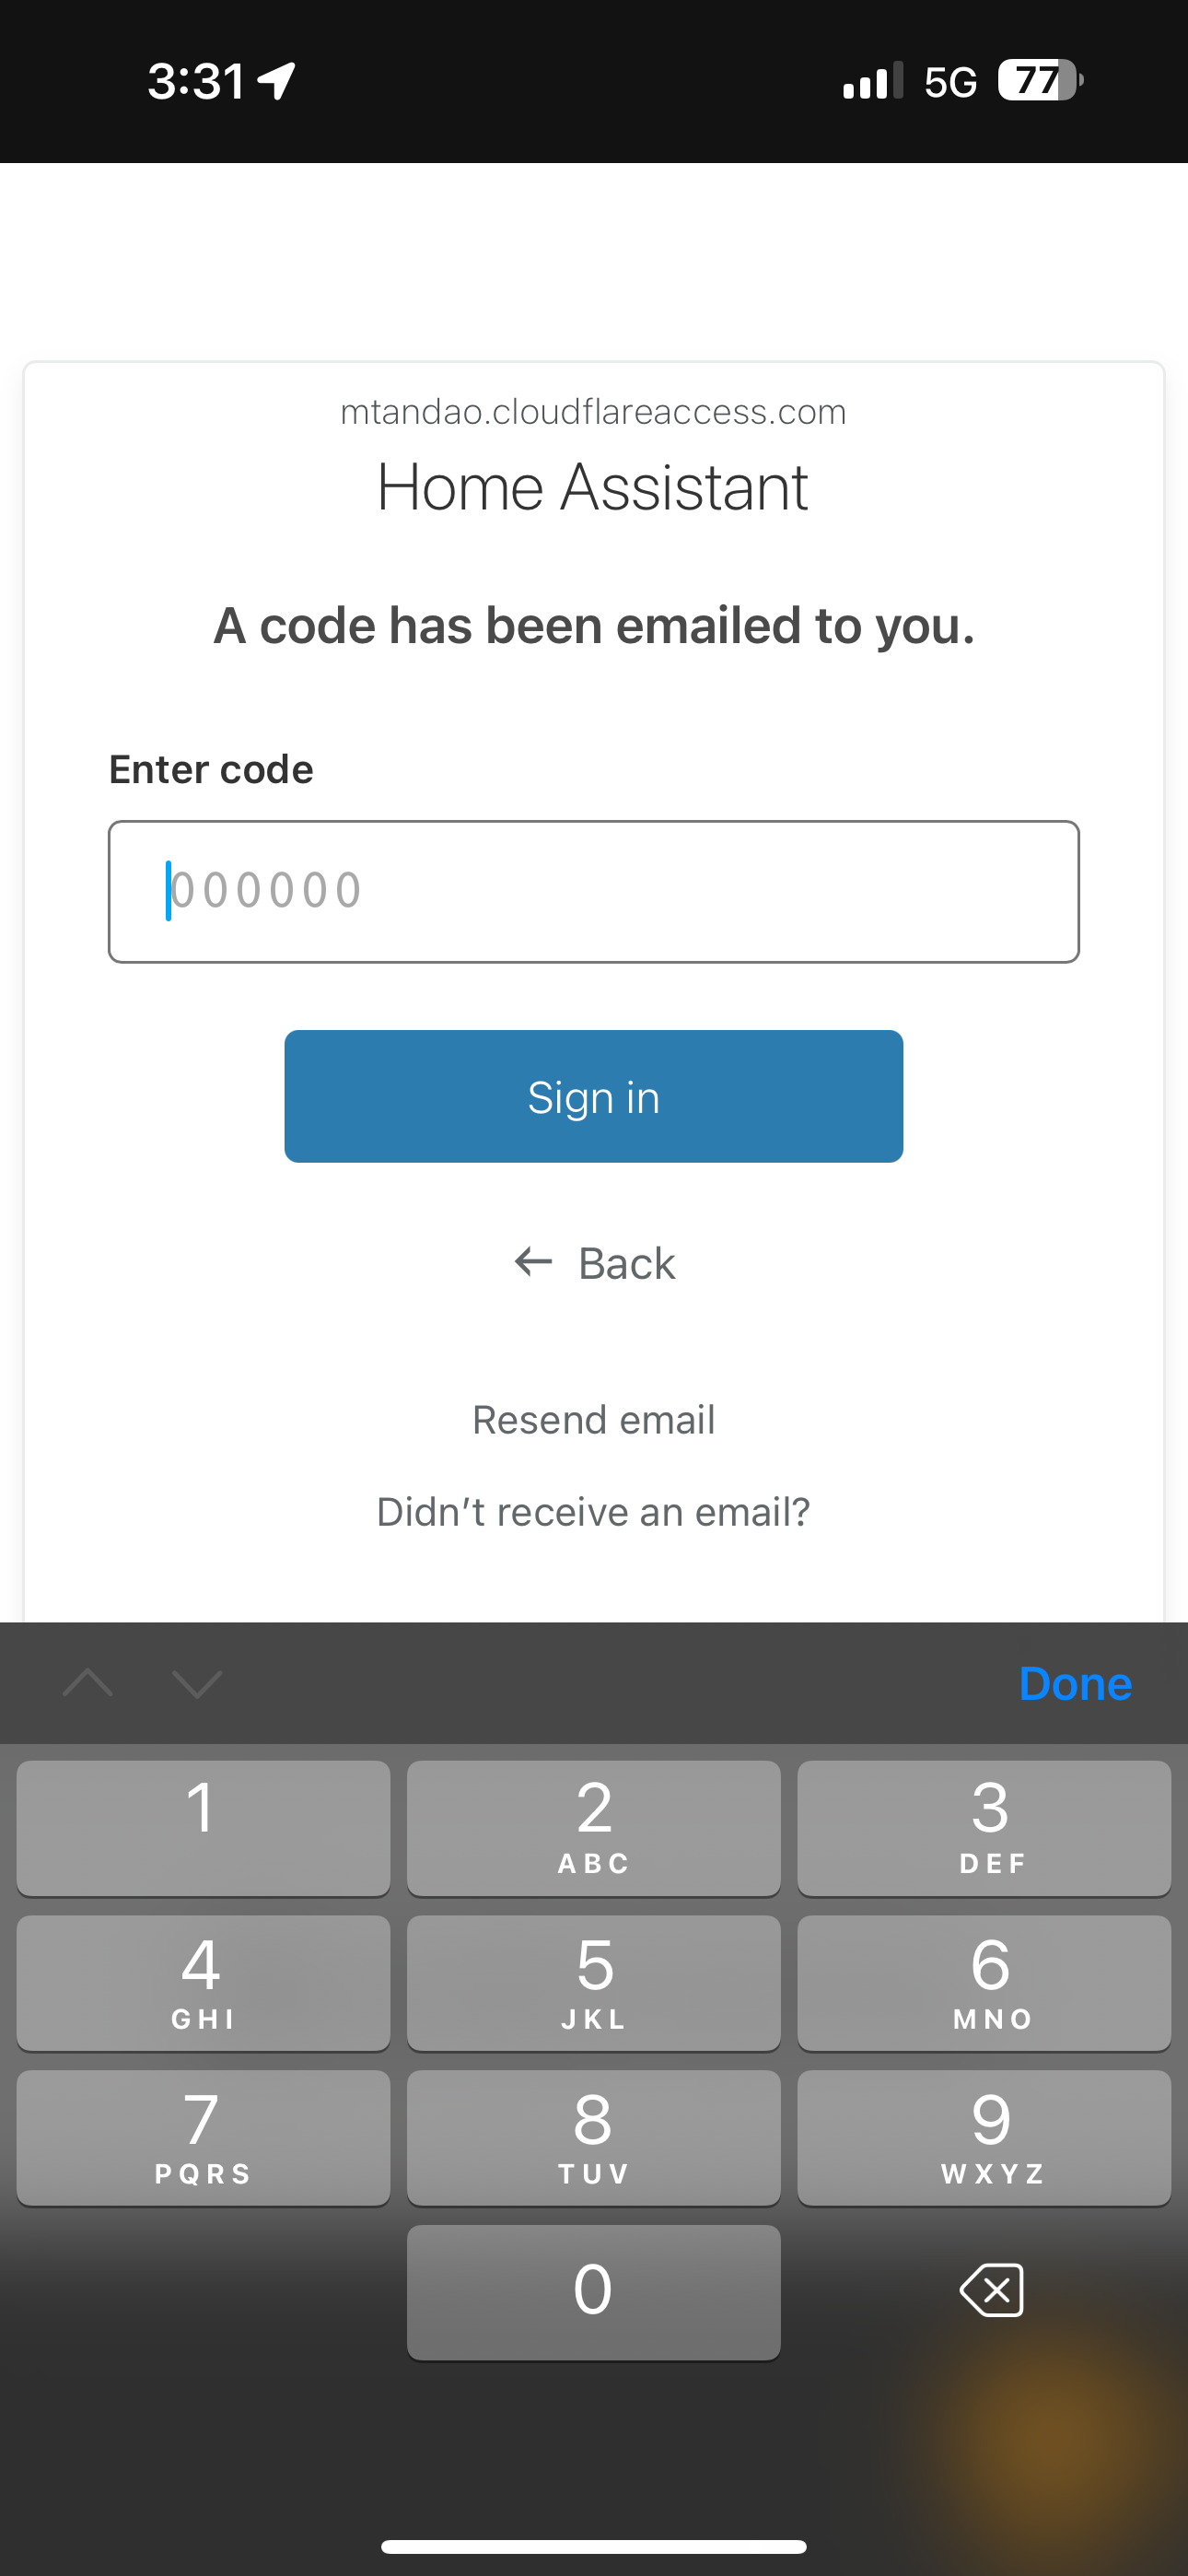
If you are using the Home Assistant Companion App on iOS, you may run into some limitations with Cloudflare Zero Trust. When you open the Home Assistant companion app, the Cloudflare Access screen will prompt you for your email address, and then email you the one-time passcode. But if you go to your email app, copy the code, and return to the Home Assistant app, the page will have refreshed and ask you for an email address all over again, with no option to enter the one-time passcode. (If you can view your email on a secondary device, i.e., computer browser, then you can view and enter the one-time passcode and load the Home Assistant iOS companion app successfully, but this is less helpful when you are away from home.)
As a workaround, you can access your Home Assistant server remotely using Zero Trust from your phone's mobile browser. But the tradeoff is that zone-based automations will not work as expected, since the Home Assistant companion app is no longer connected when you are away from home.
Let me know in the comments if you are able to use Cloudflare Tunnel + Zero Trust + Home Assistant iOS Companion App.
Cloudflare Zero Trust
Final Thoughts
I’m really happy with the move from port forwarding to a Cloudflare tunnel. It was much easier and faster to setup than I expected. It gives me peace of mind knowing that I’m using a more secure method to log-in to my Home Assistant server remotely. And my Home Assistant loads even faster now, whether I’m on my home’s WiFi, or connected remotely.
Shout out to Tobias Brenner who built the Cloudflared add-on for Home Assistant, and to Simon Irwin who shared the troubleshooting steps for local access.
Watch on YouTube
Featured Tech

