How To Replace Under Cabinet Lights for Smart Home Automations (Full Walkthrough)
How I replaced my existing under cabinet lights to enable smart home control in Home Assistant, including the gear you need, the steps to follow, and how I’m using this in home automations.
Introduction
This is a project that I’ve been wanting to do for the last four years.
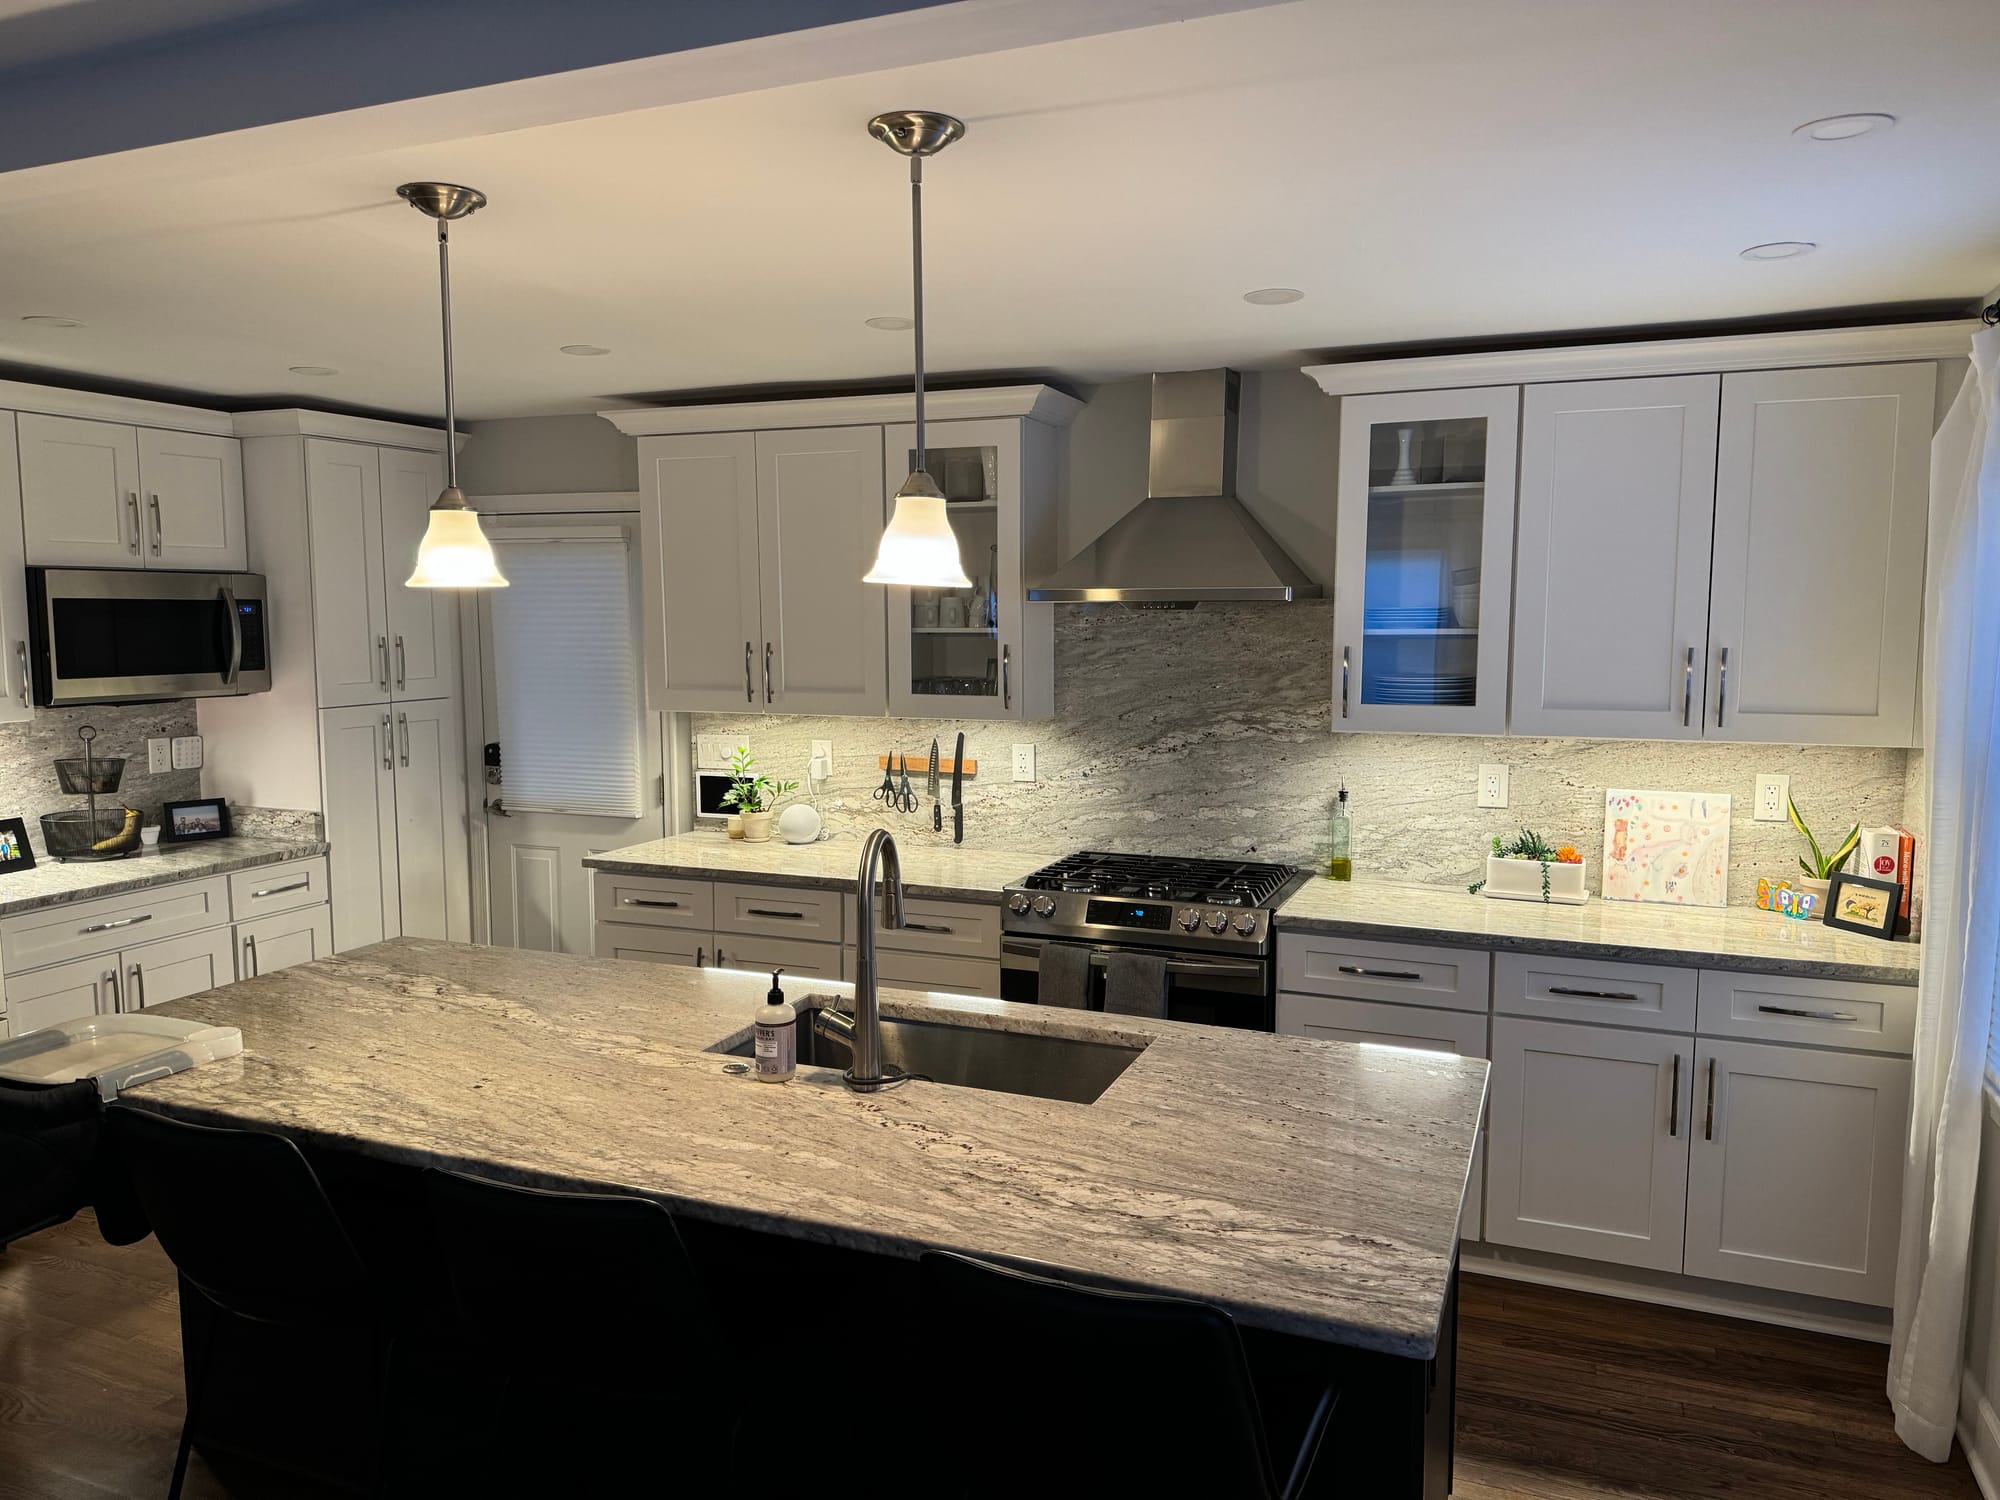
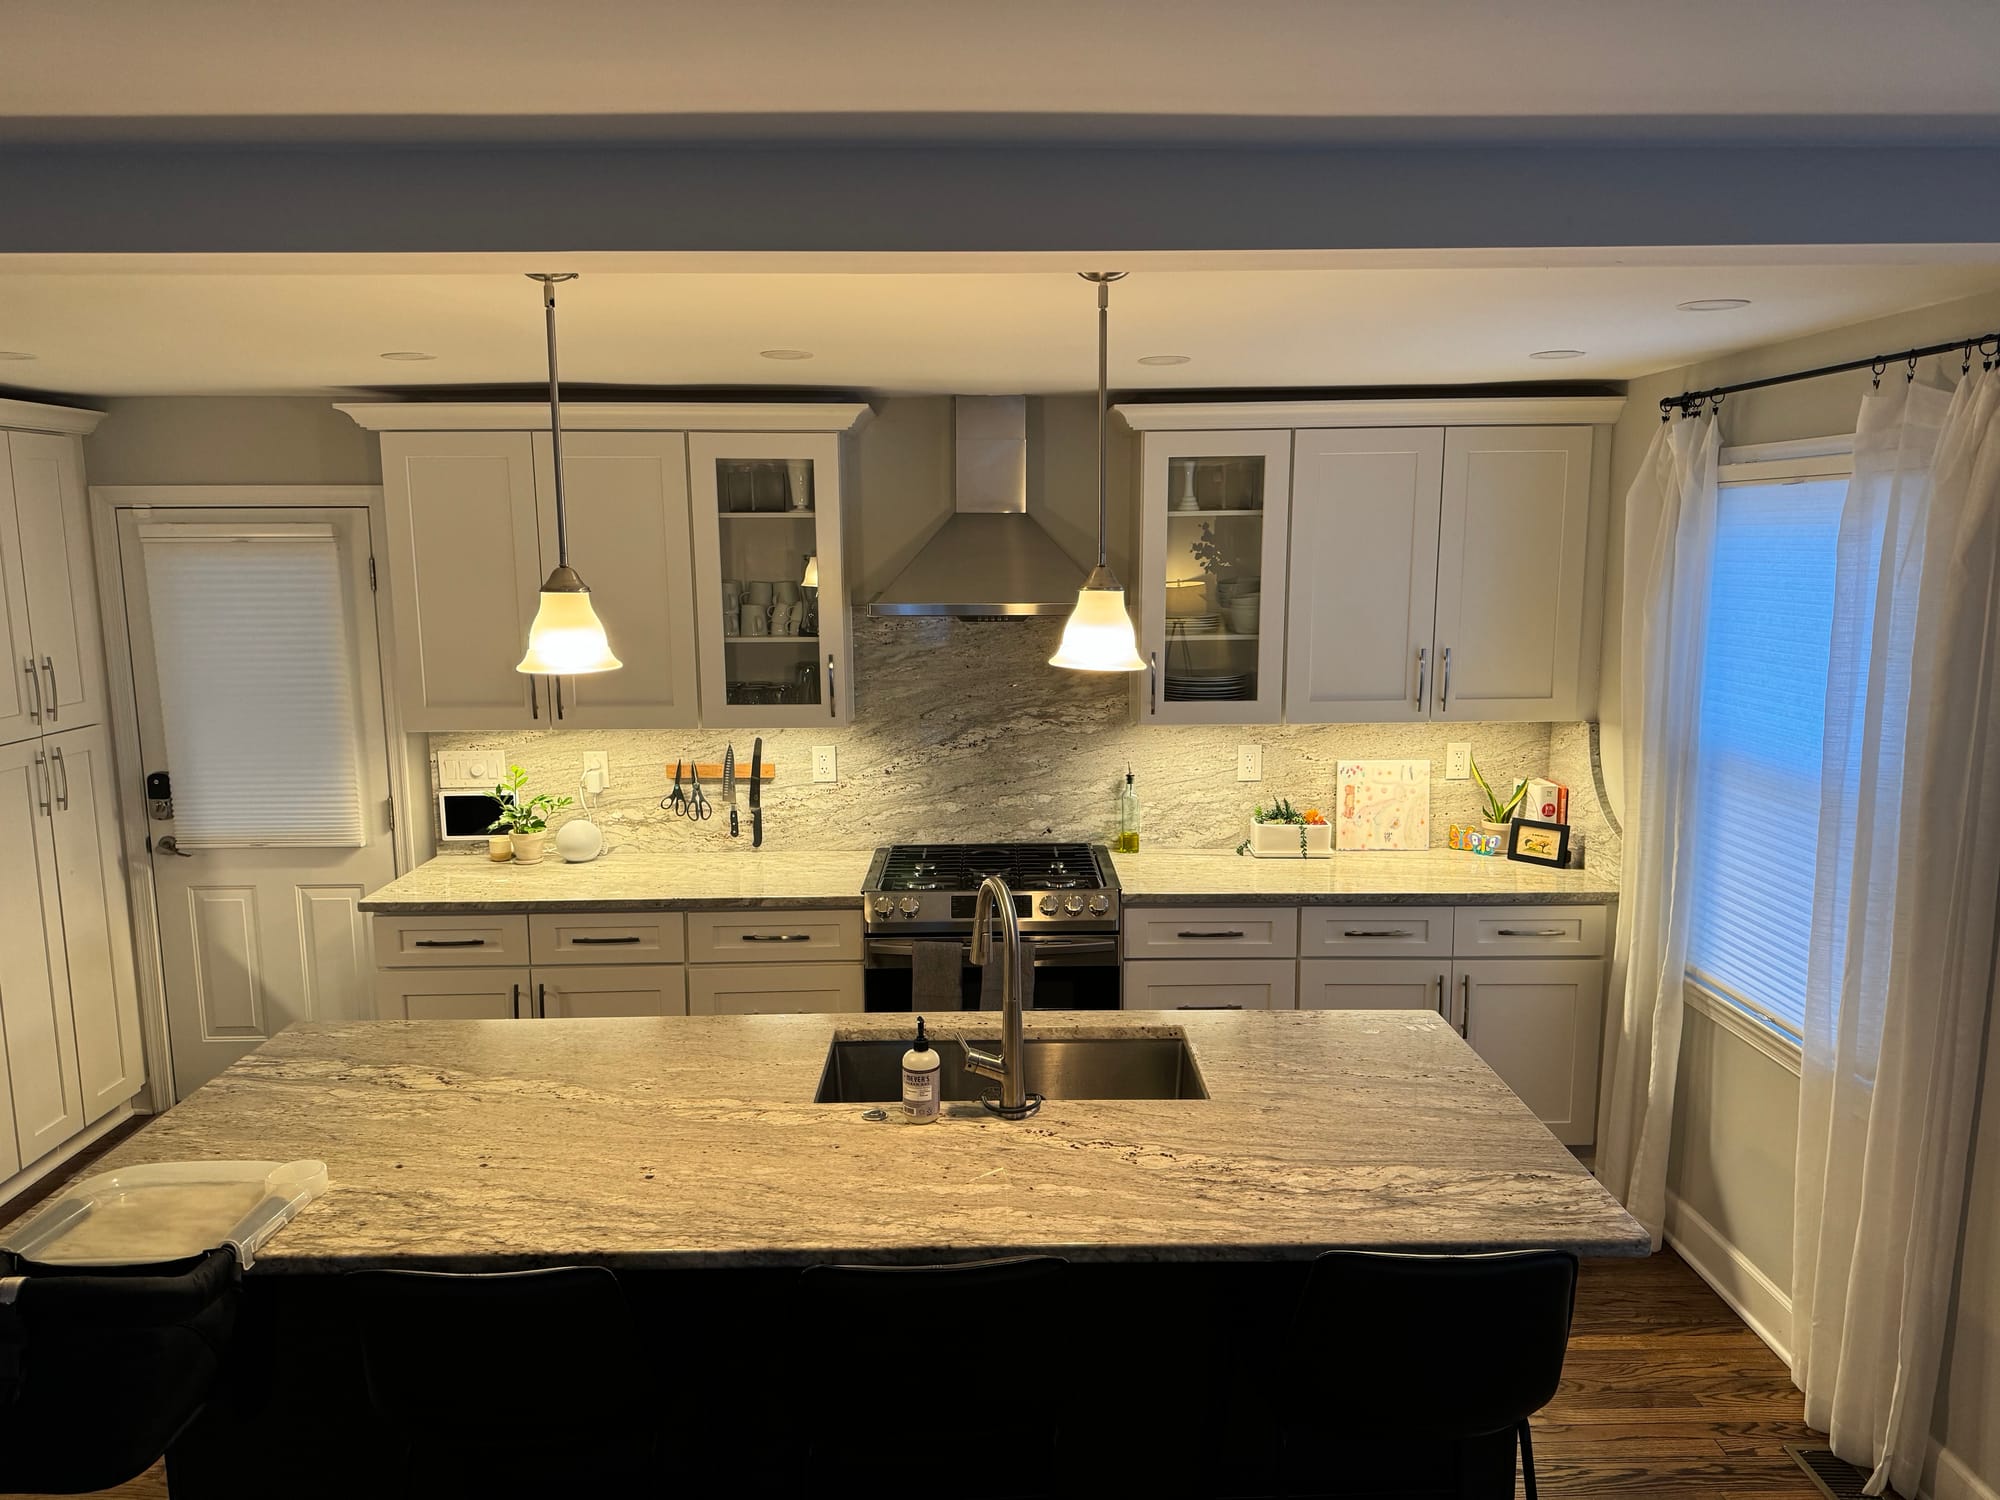
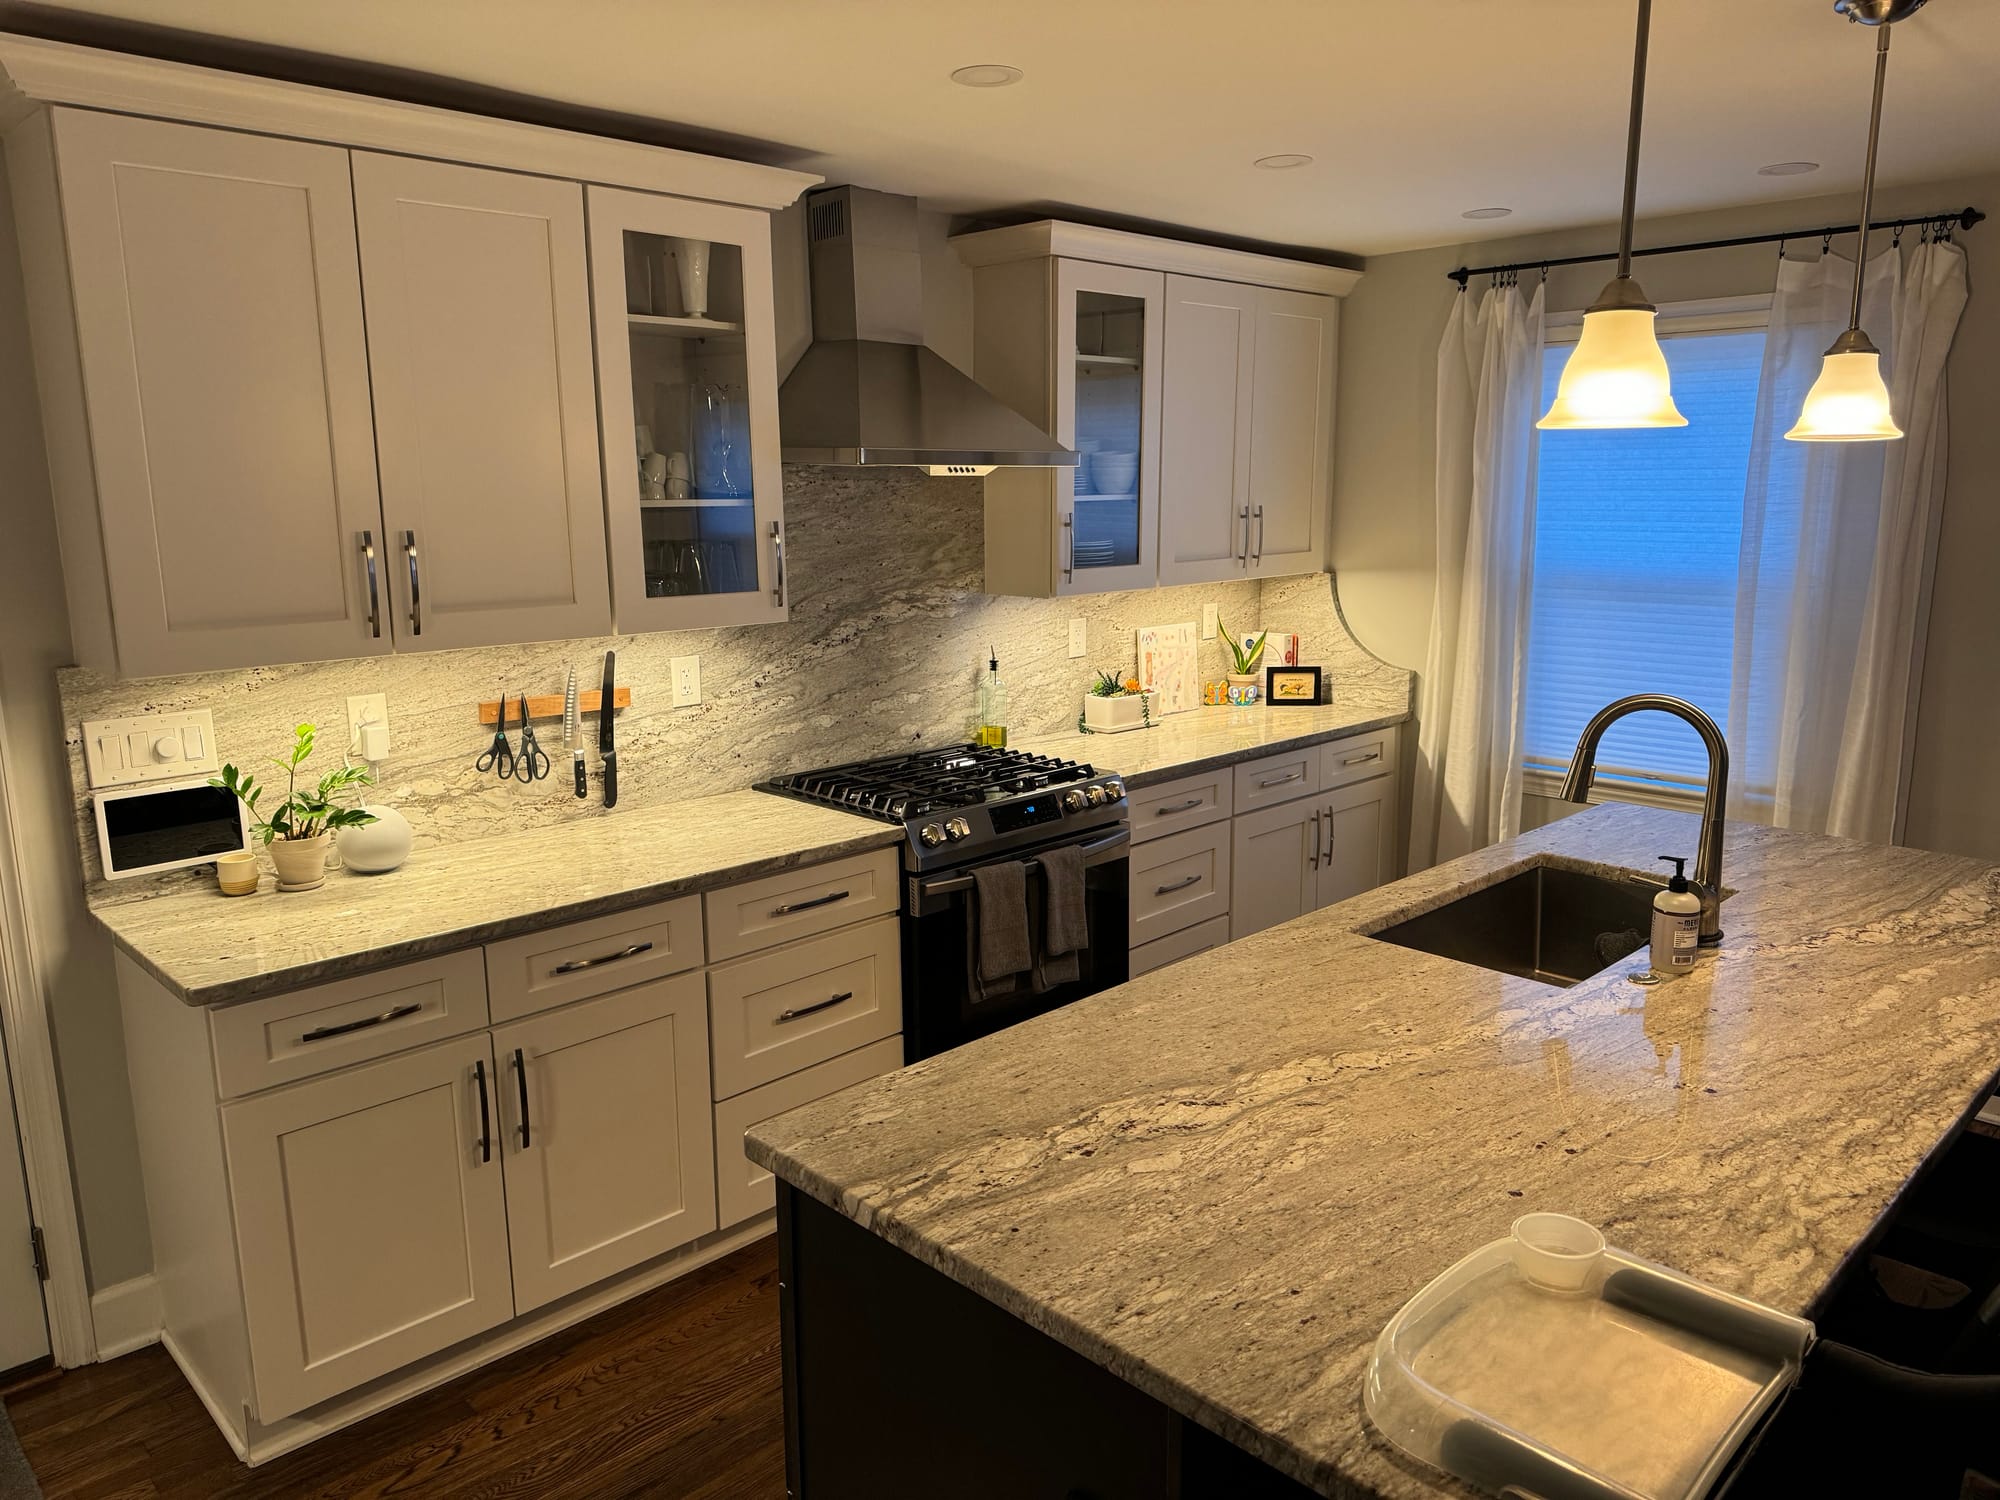
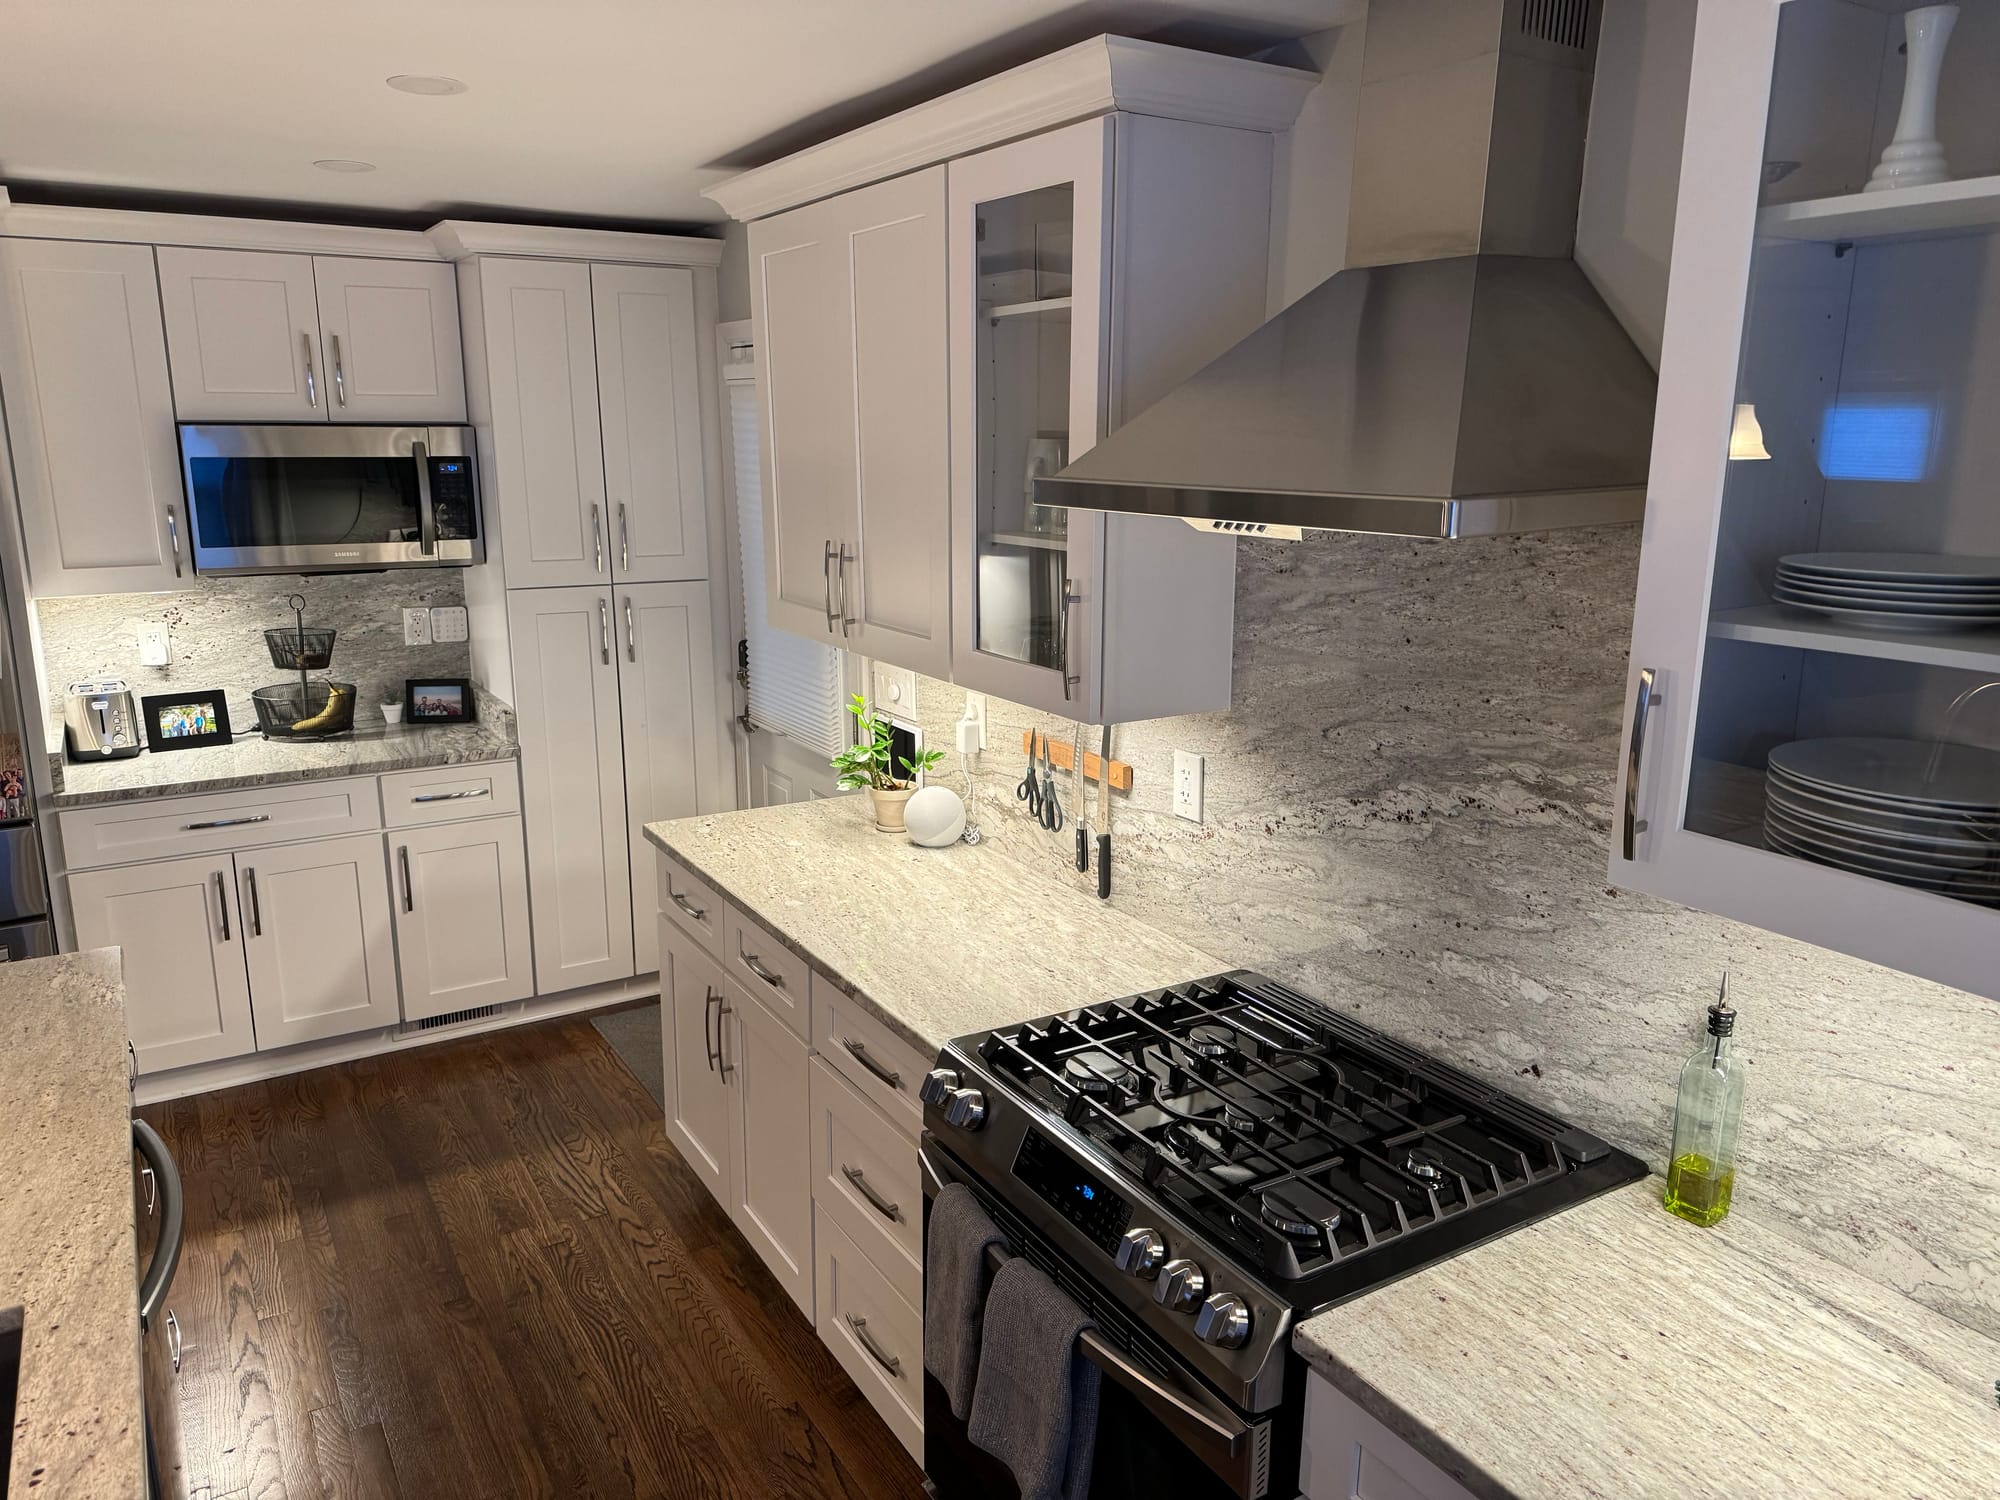
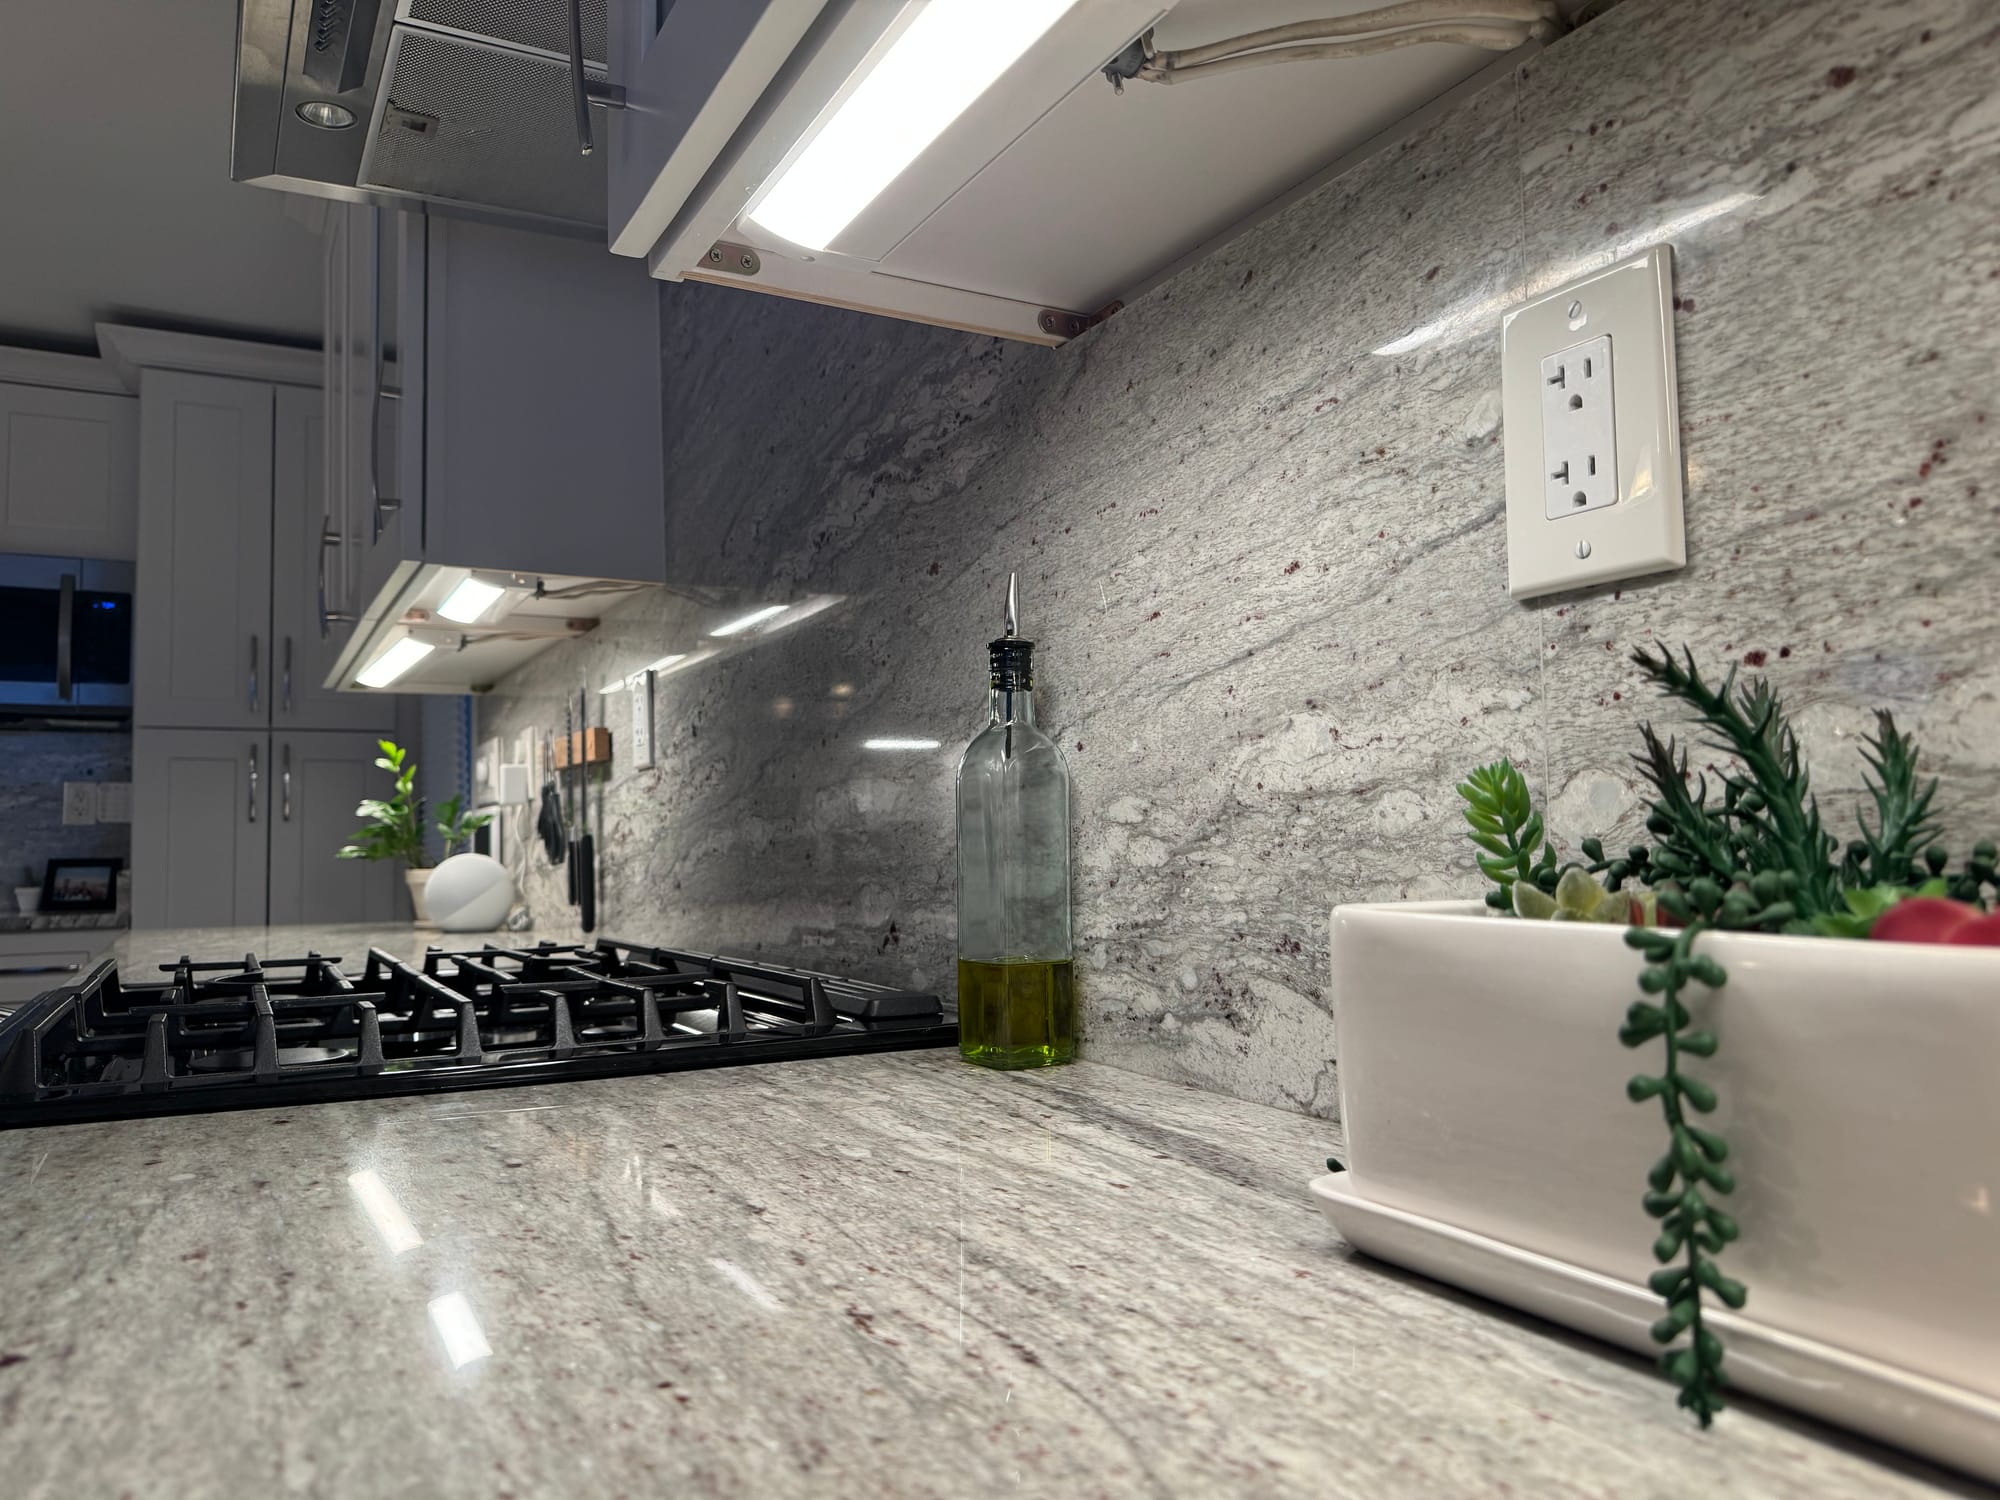
When we bought our home, it had five, under cabinet lights in our kitchen. This extra light was great for cooking at night, but two things bothered me.
First, the existing lights were not smart, so I could not include them in home automations, or control them by my smart home dashboard. I’ve been on a mission to make our home smart, so this gap on lights that we use every day annoyed me.
Second, the existing lights did not support brightness or complete color temperature adjustment. If you’ve been following the channel, you might know how much I love Adaptive Lighting. This is where the brightness and color temperature of lights can dynamically adjust based on the sun’s position in the sky, from cool, bright lights to energize you during the day, to warm, amber lights to help you relax in the evening. Adaptive Lighting is one of my favorite parts of our smart home, and I was determined to make this work for the under cabinet lights in our kitchen, one of the most used rooms in the house.
I’ll show you how I replaced my existing under cabinet lights to enable smart home control in Home Assistant, including the gear you need, the steps to follow, and how I’m using this in home automations.
Main Points
Let me begin by briefly touching on what I considered doing, but decided against.
My first attempt was to replace the existing switch with a smart one. This would solve the gap of controlling the lights via automation or app. However, using a smart switch created a persistent buzzing sound in my lights, any time they were on. I tried two types of Lutron Caseta smart light switches, and both resulted in buzzing, perhaps because the old lights did not support dimming. Even if they did though, I still would have been faced with lack of support for brightness and color temperature adjustment for use in Adaptive Lighting.
So, next, I considered replacing all of my under cabinet light fixtures with LED light strips. When I researched DIY smart under cabinet lights, all roads pointed to SK6812 light strips from BTF Lighting, paired with a QuinLED Dig Uno for running WLED software, plus some kind of power supply. I’ll link to everything I talk about in the video description. However, given I already had romex wires for all five under cabinet lights in my kitchen, plus how these lights were spaced out, I could not make sense of how to do the DIY light strip approach, and have no wires showing.
Thanks to the broader smart home community, I then stumbled upon a particular set of under cabinet lights very similar to the ones that I owned, except they had Zigbee built-in for smart home control, and supported brightness and color temperature adjustments.
Let’s dive right into what I used, and how I did the installation and smart home setup.
Gear
I’m using Sylvania LIGHTIFY under cabinet adjustable LEDs with Zigbee. Three of the lights are 12” long, and two are 24”, just like the existing lights that I was replacing.
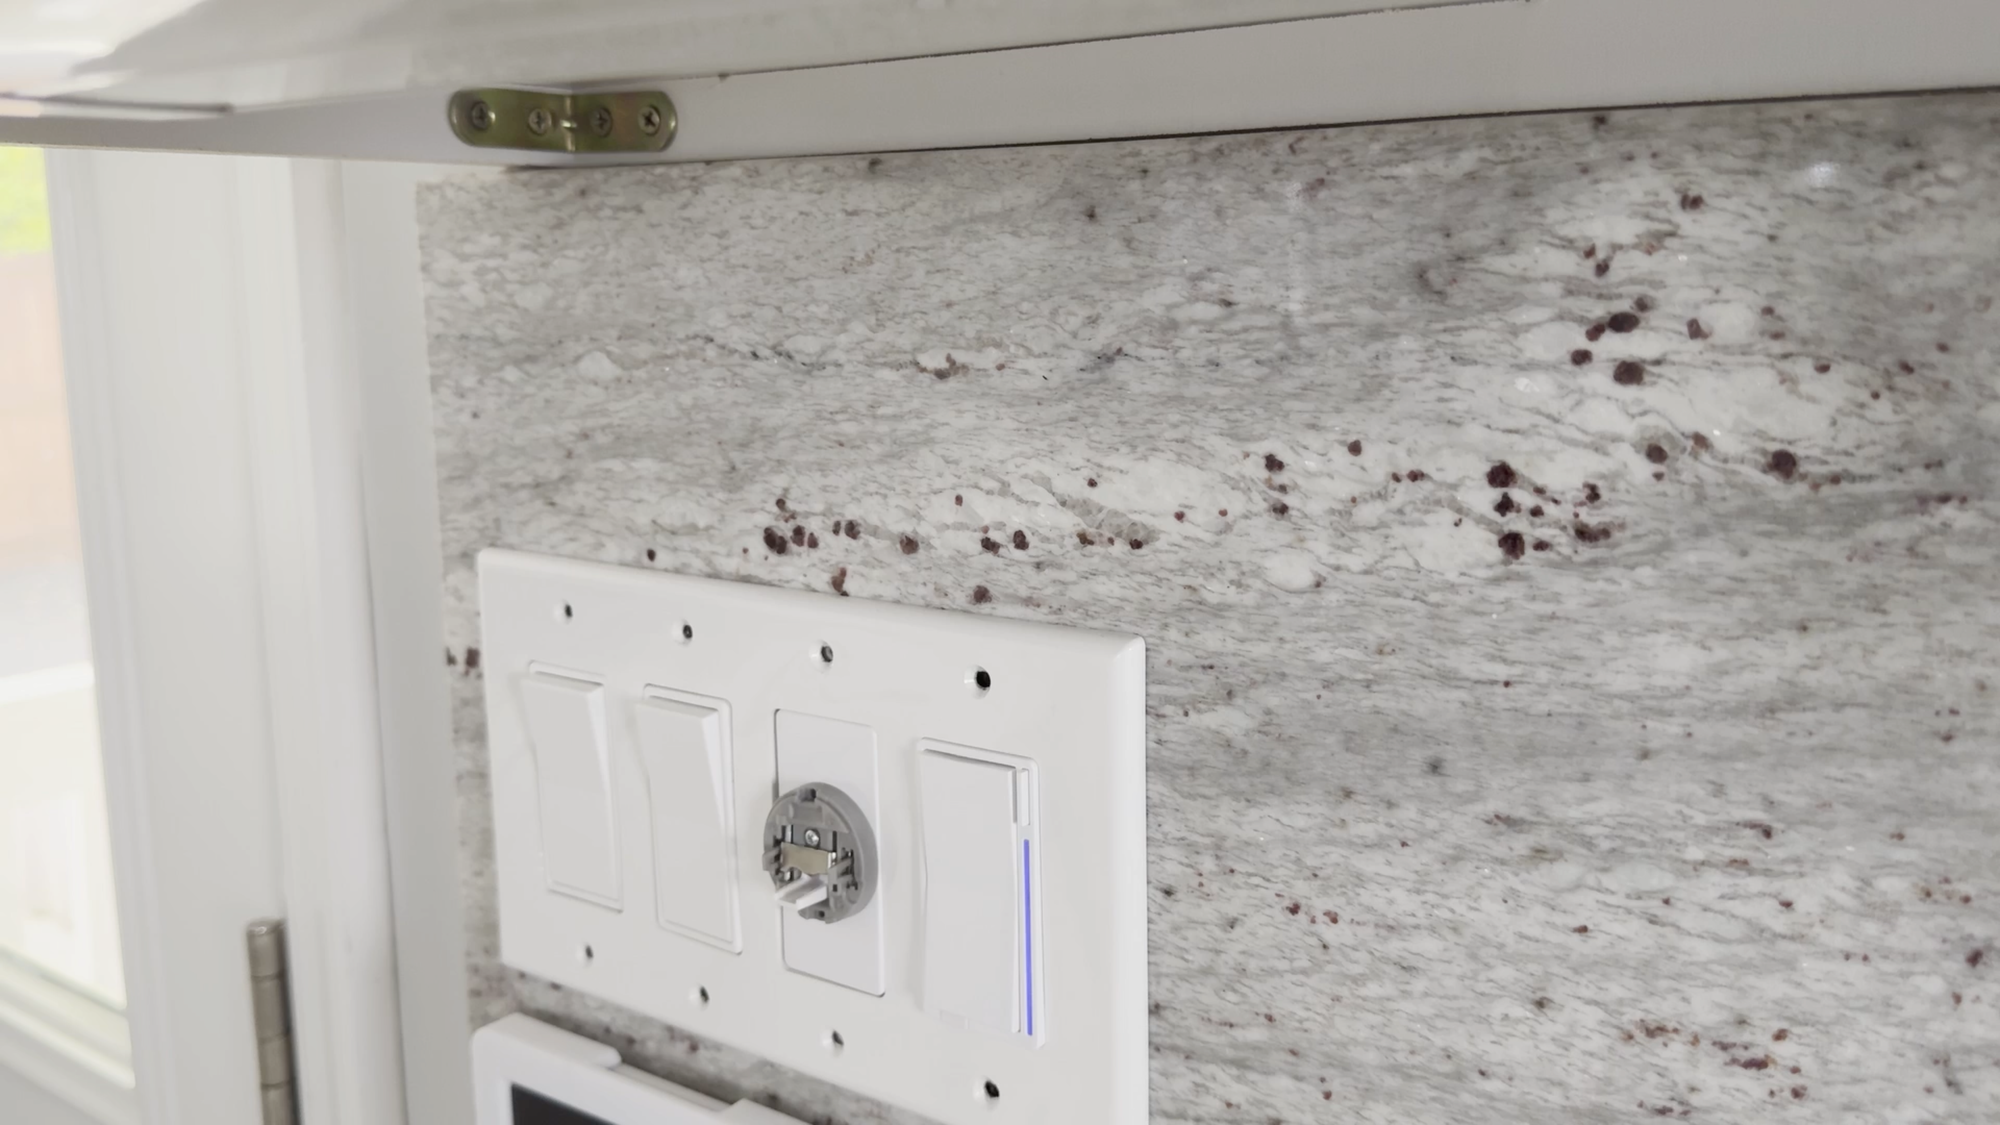
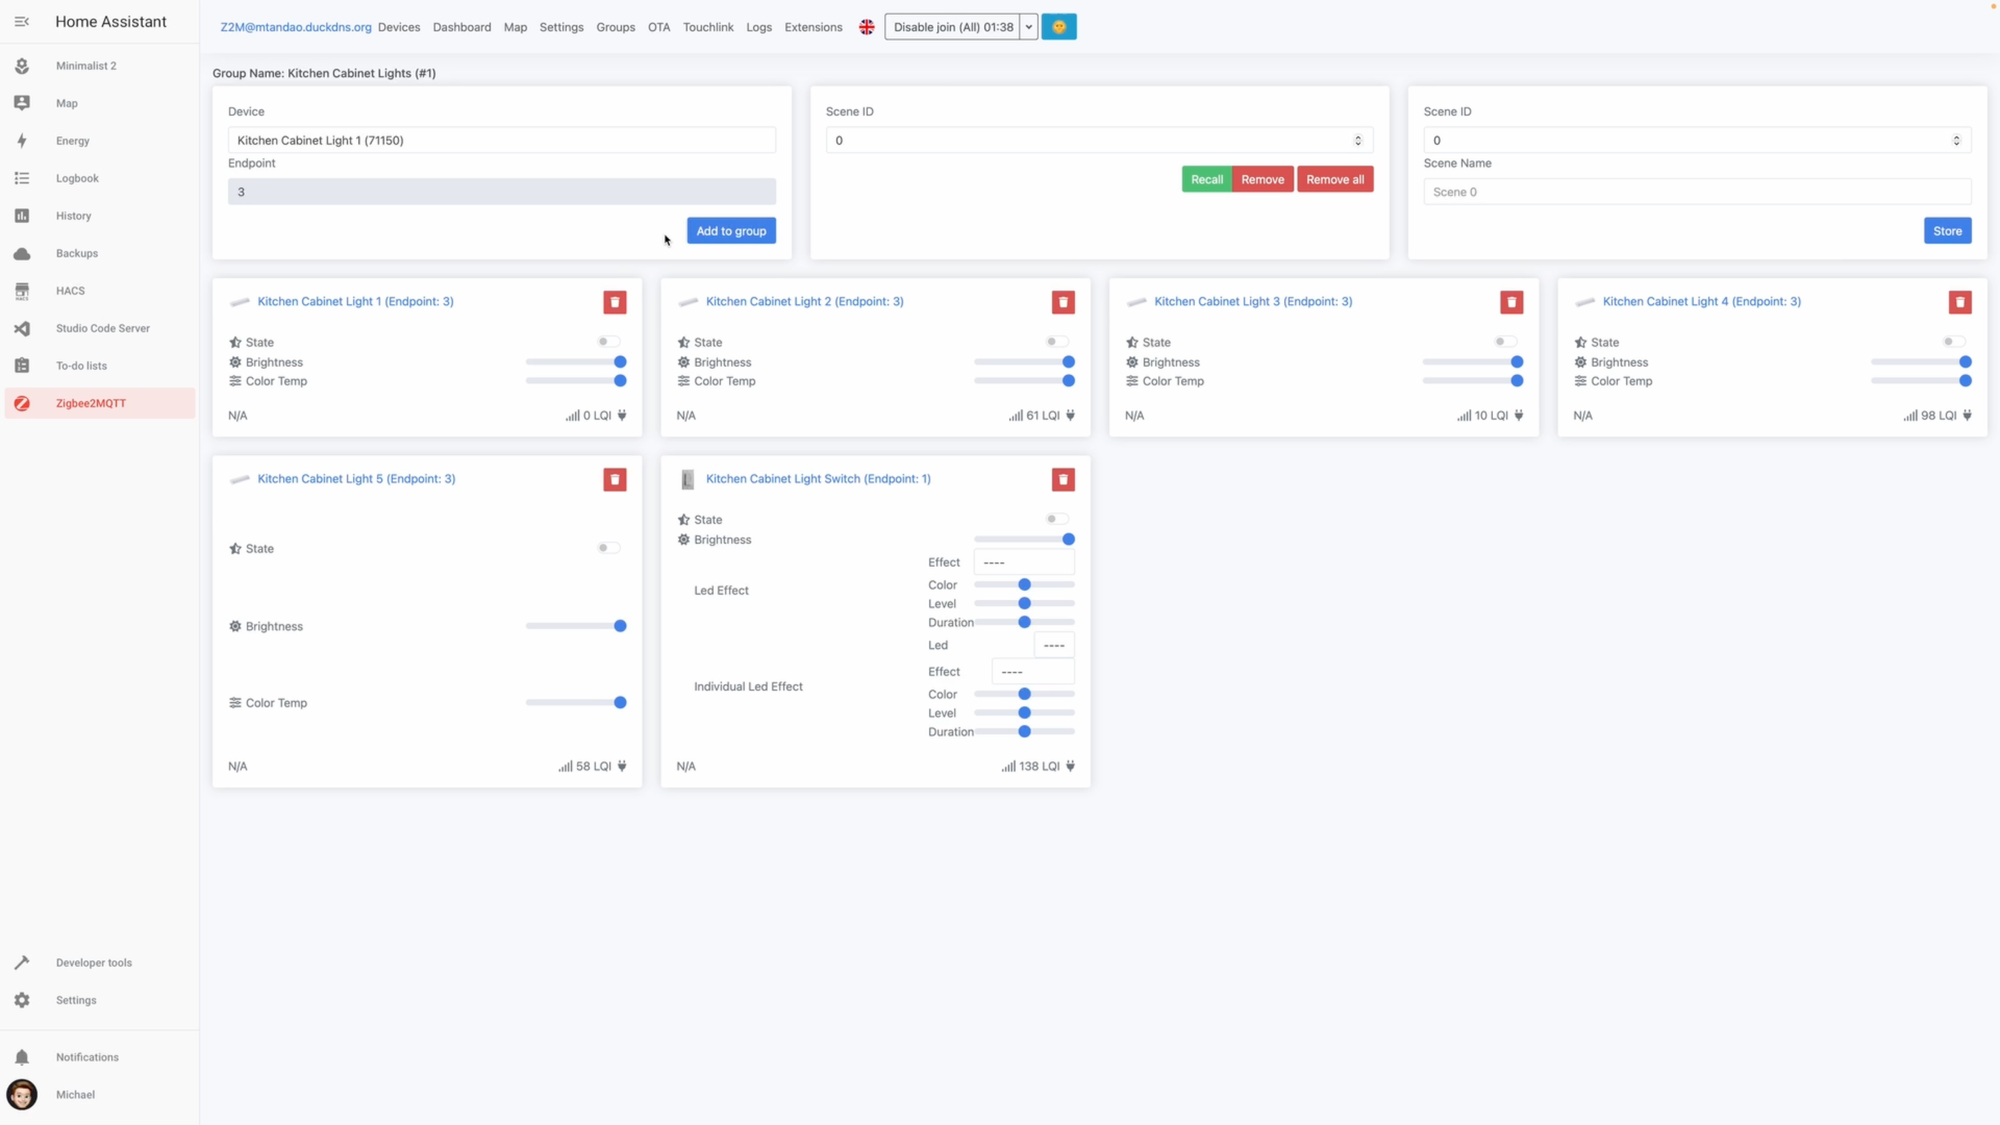
Once installed, I paired these lights with an Inovelli Blue Series Smart Dimmer, also with Zigbee. This replaced the standard switch, and uses Zigbee binding to control the group of under cabinet lights, but more on that later.

Installation
Before I get into the installation, I should make it clear that I am not an electrician. If you are unsure or uncomfortable with electrical work, then you should not do this, and instead hire a licensed electrician to do this part for you. I am simply showing the process that I followed, including the mistakes I made.
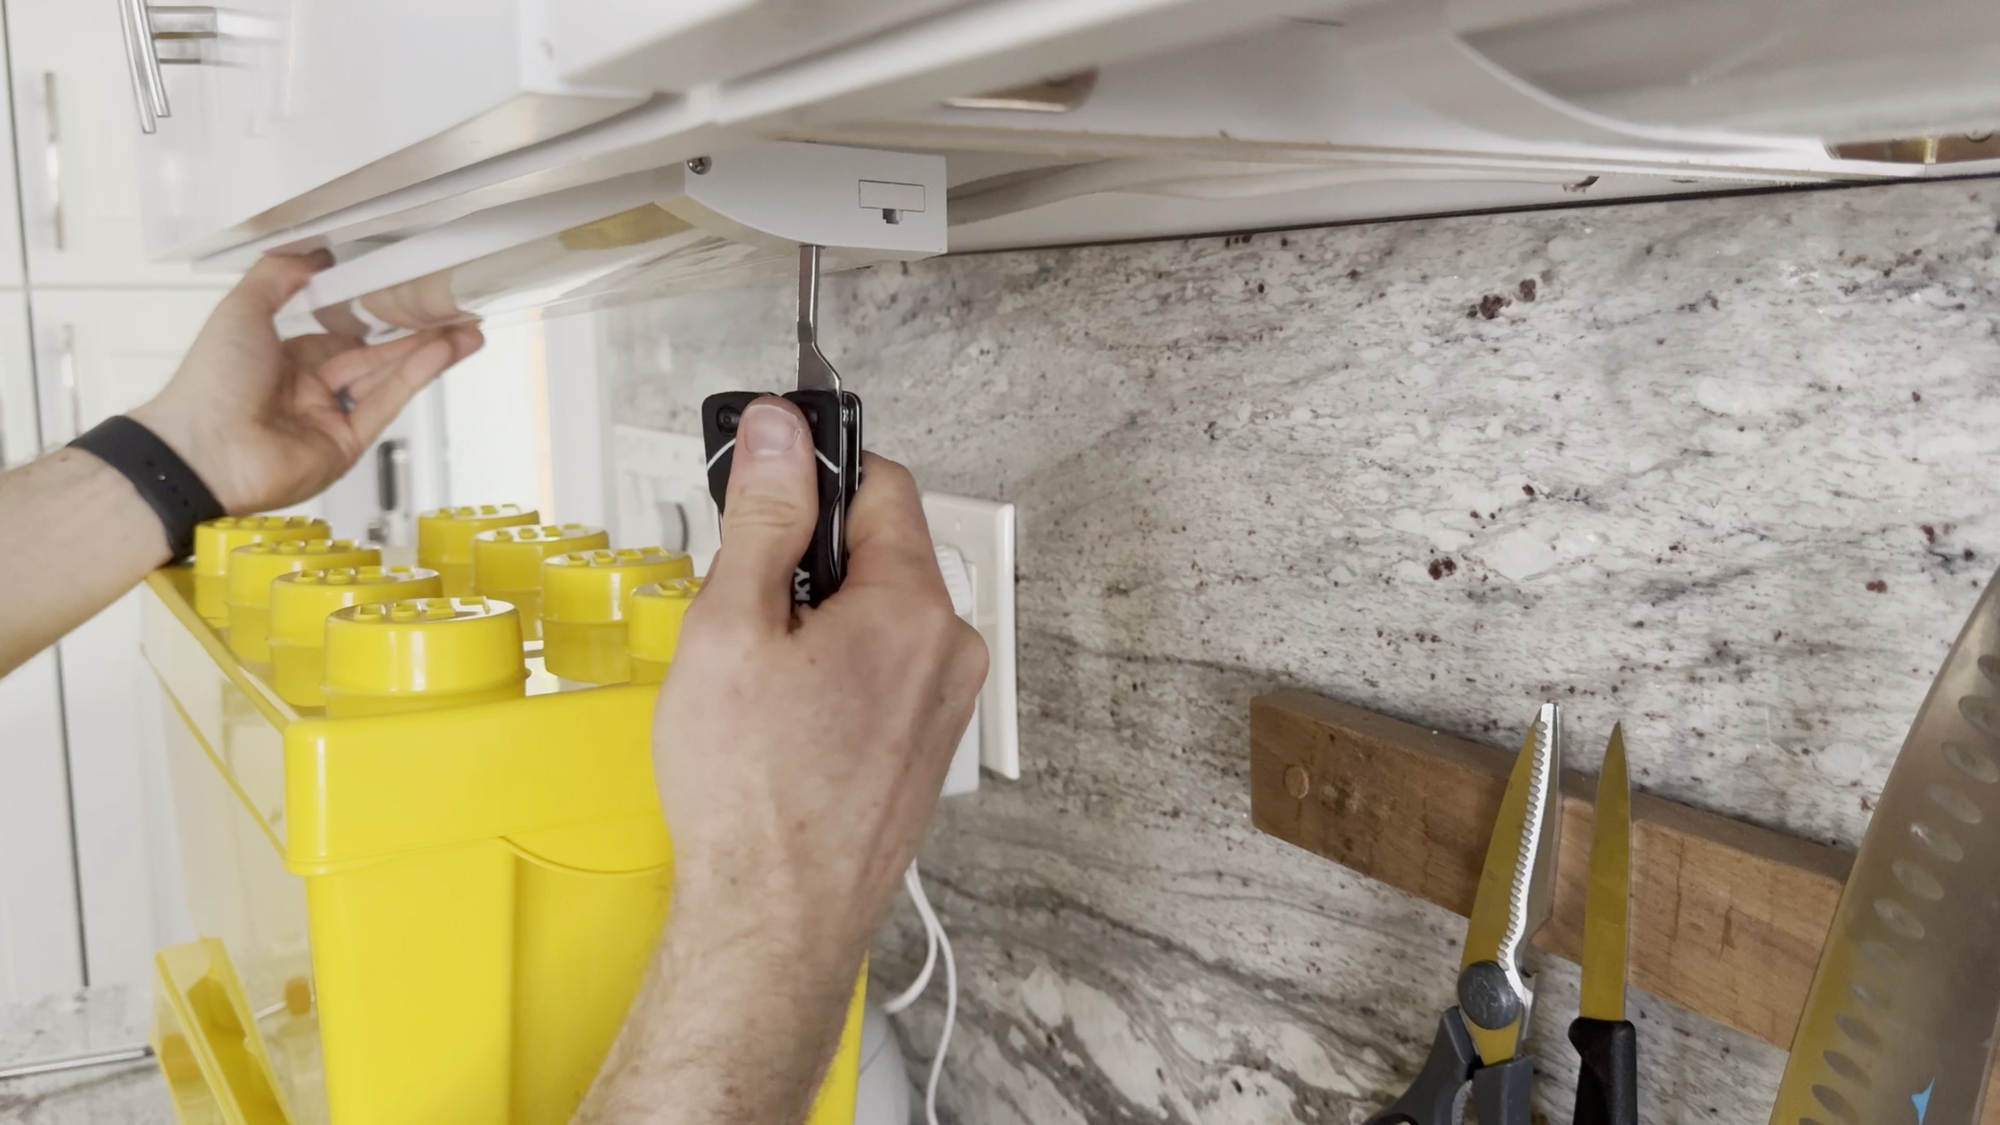
To start, I turned off all power to the lights at the breaker, and then tested to ensure no power was flowing to them using a non-contact voltage tester. Since all of my existing lights were in a daisy chain, I started at one end, unscrewing the existing light from under the cabinet, and then disconnecting the wiring. This was the easy part.
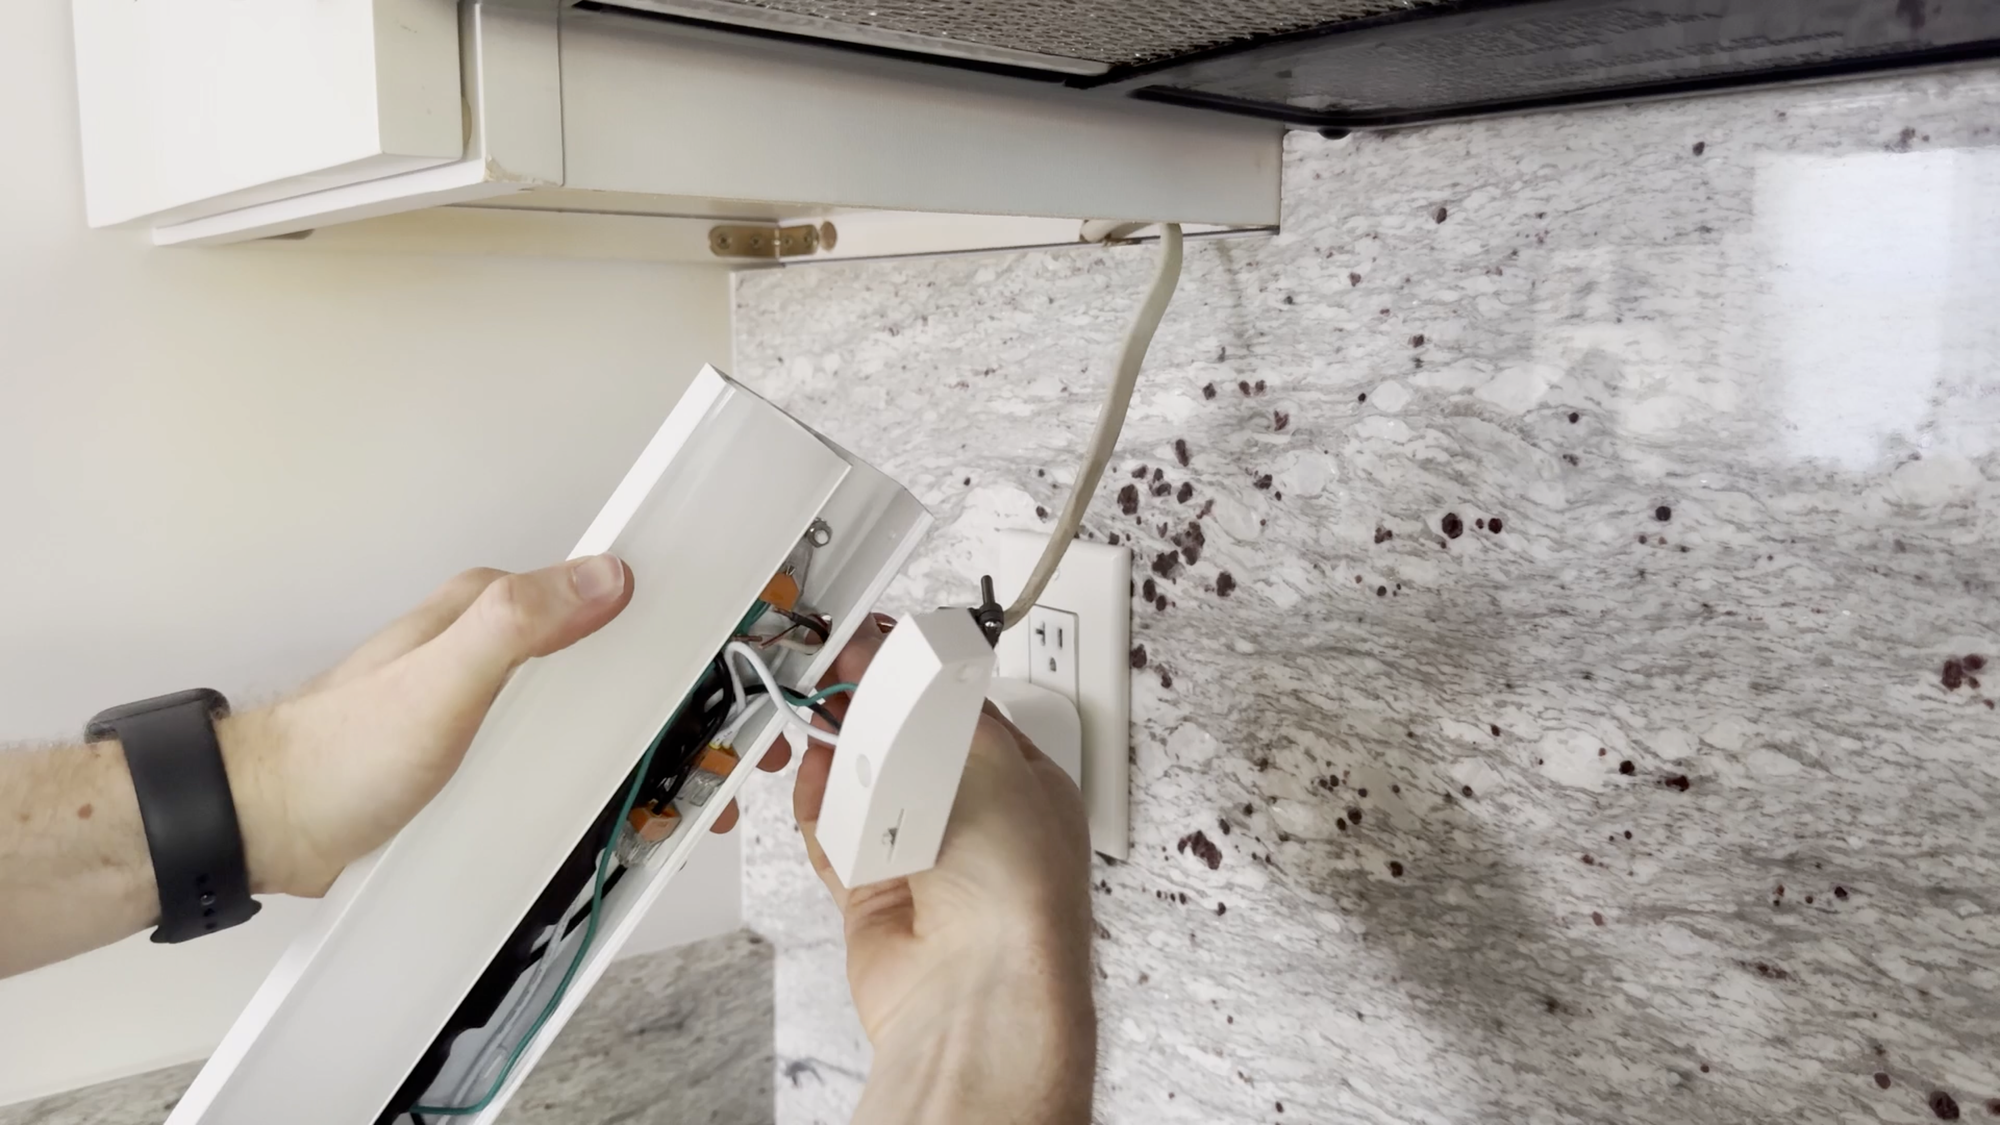
The new LEDs came with all necessary screws, internal wiring, and a paper template for measuring where to install it under the cabinet. Each LED light has three locations in the back where you can punch out an opening using a flat head screw driver to route the romex wire from the wall into the LED.
I ran into my first problem when I opened up the new LEDs and saw how the wiring was layed out. The wiring in the old lights all terminated at one end of the fixture together. In the new LEDs, the wiring terminates at different areas along the length of the light. This meant the existing romex wiring coming from the wall would not reach the wires in the new light.
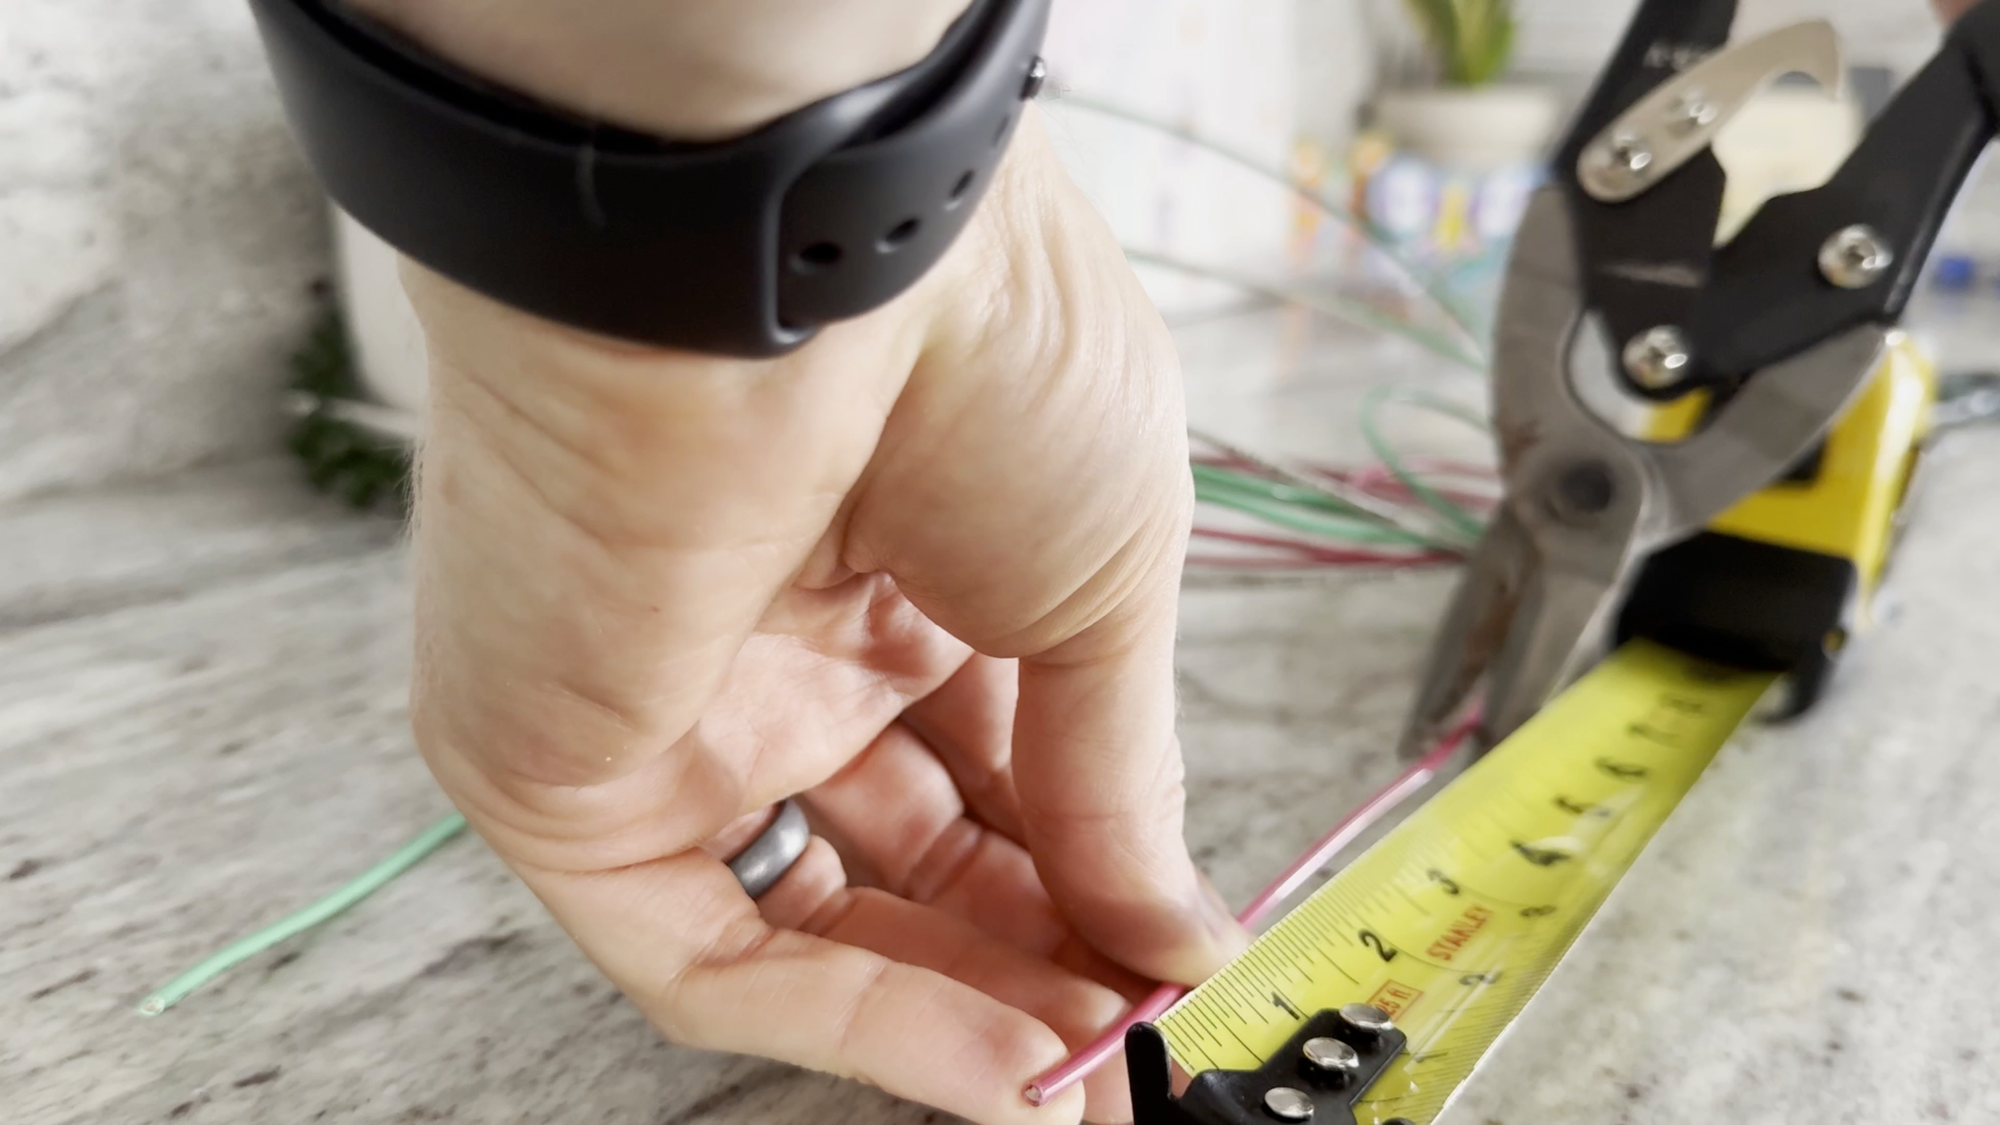
After some research and a trip to The Home Depot, I bought additional wire, along with WAGO wire connectors, which I could use like a jumper between the wires in the wall and the wires in the light to bridge the gap. Note that the additional wire I purchased is green, white, and red. I wanted black instead of red, since the red color usually corresponds to a secondary hot, but the store was out of black. So, I marked the red wire with black electrical tape to indicate that is is the primary hot wire.
I had to measure and cut each wire to size back at home, stripping both ends of the green, white, and red wires using a Swiss Army style knife since I don’t own a wire cutter tool. I used the WAGO connecters to connect the new wire to the romex coming from the wall on one end, and inserted the other end into an existing connecter with the new LED. This was done for each color of wire.
These additional steps of creating a jumper-style wire not only made the entire process much more time consuming, but also presented a second, even bigger challenge. With the additional wire and WAGO connectors, I struggled to fit everything back into the LED light fixture. This was especially difficult on the 12” lights which had less internal space compared with the 24” fixtures. There were multiples moments where I thought it wasn’t going to be possible, and I should just abandon the entire project. The situation required me to think very carefully about where and how I connected the wires so that everything could fold back down just enough to close up the light fixture. If you don’t need additional wire and WAGO connectors, this should be an issue for you.
To make the work a bit easier, I stacked Lego boxes on top of each other to support the LED fixture while I was wiring it up. Bending over the counter for hours can be back-breaking enough. After wiring up each light, I then installed it under the cabinet using two wood screws. The holes from the prior lights were too narrow, so I had to create new holes, and used an included paper template to measure out the holes and location for the new lights. In case you’re wondering, no, the screws are not visible from the inside of the cabinet — they aren’t that long.
Before going on to the next light, I would pause to flip the power back on at the breaker and check my work to ensure the new light was working as expected. Once confirmed, I moved on to the next light, until all five LEDs were installed under the cabinets. With all five lights working on the standard switch, it was time to swap that out for a smart dimmer.
This is where I ran into a third set of challenges, most of which were my own fault. When I first wired up the smart dimmer, I confused the line and load wires. Fortunately, I noticed this issue immediately. So, once again I cut the power, re-wired, and turned the power back on.
But this time, the lights were buzzing! I was right back where I started with the old lights and a Lutron switch, and couldn’t believe it. Now, the Inovelli Blue Series Smart Dimmer says it does not require a neutral wire, so I initially wired it up without one, thinking that was just easier. However, my home does have neutral wires, so, I cut the power once again, and decided to wire it up using a neutral wire this time. In the back of the light switch box in the wall, I could see a bundle of four, white wires all capped by one wire nut. So, I pulled out one of those wires and connected it to neutral end of the smart switch.
But this was wrong! Instead, I had to leave the bundle of white wires as they were, and add a fifth white, neutral wire going from the switch into the same wire nut as this bundle. At this point, you’re probably thinking this guy doesn’t know what he’s doing, but I wanted to give you an honest depiction of the process I went through in case it’s helpful.
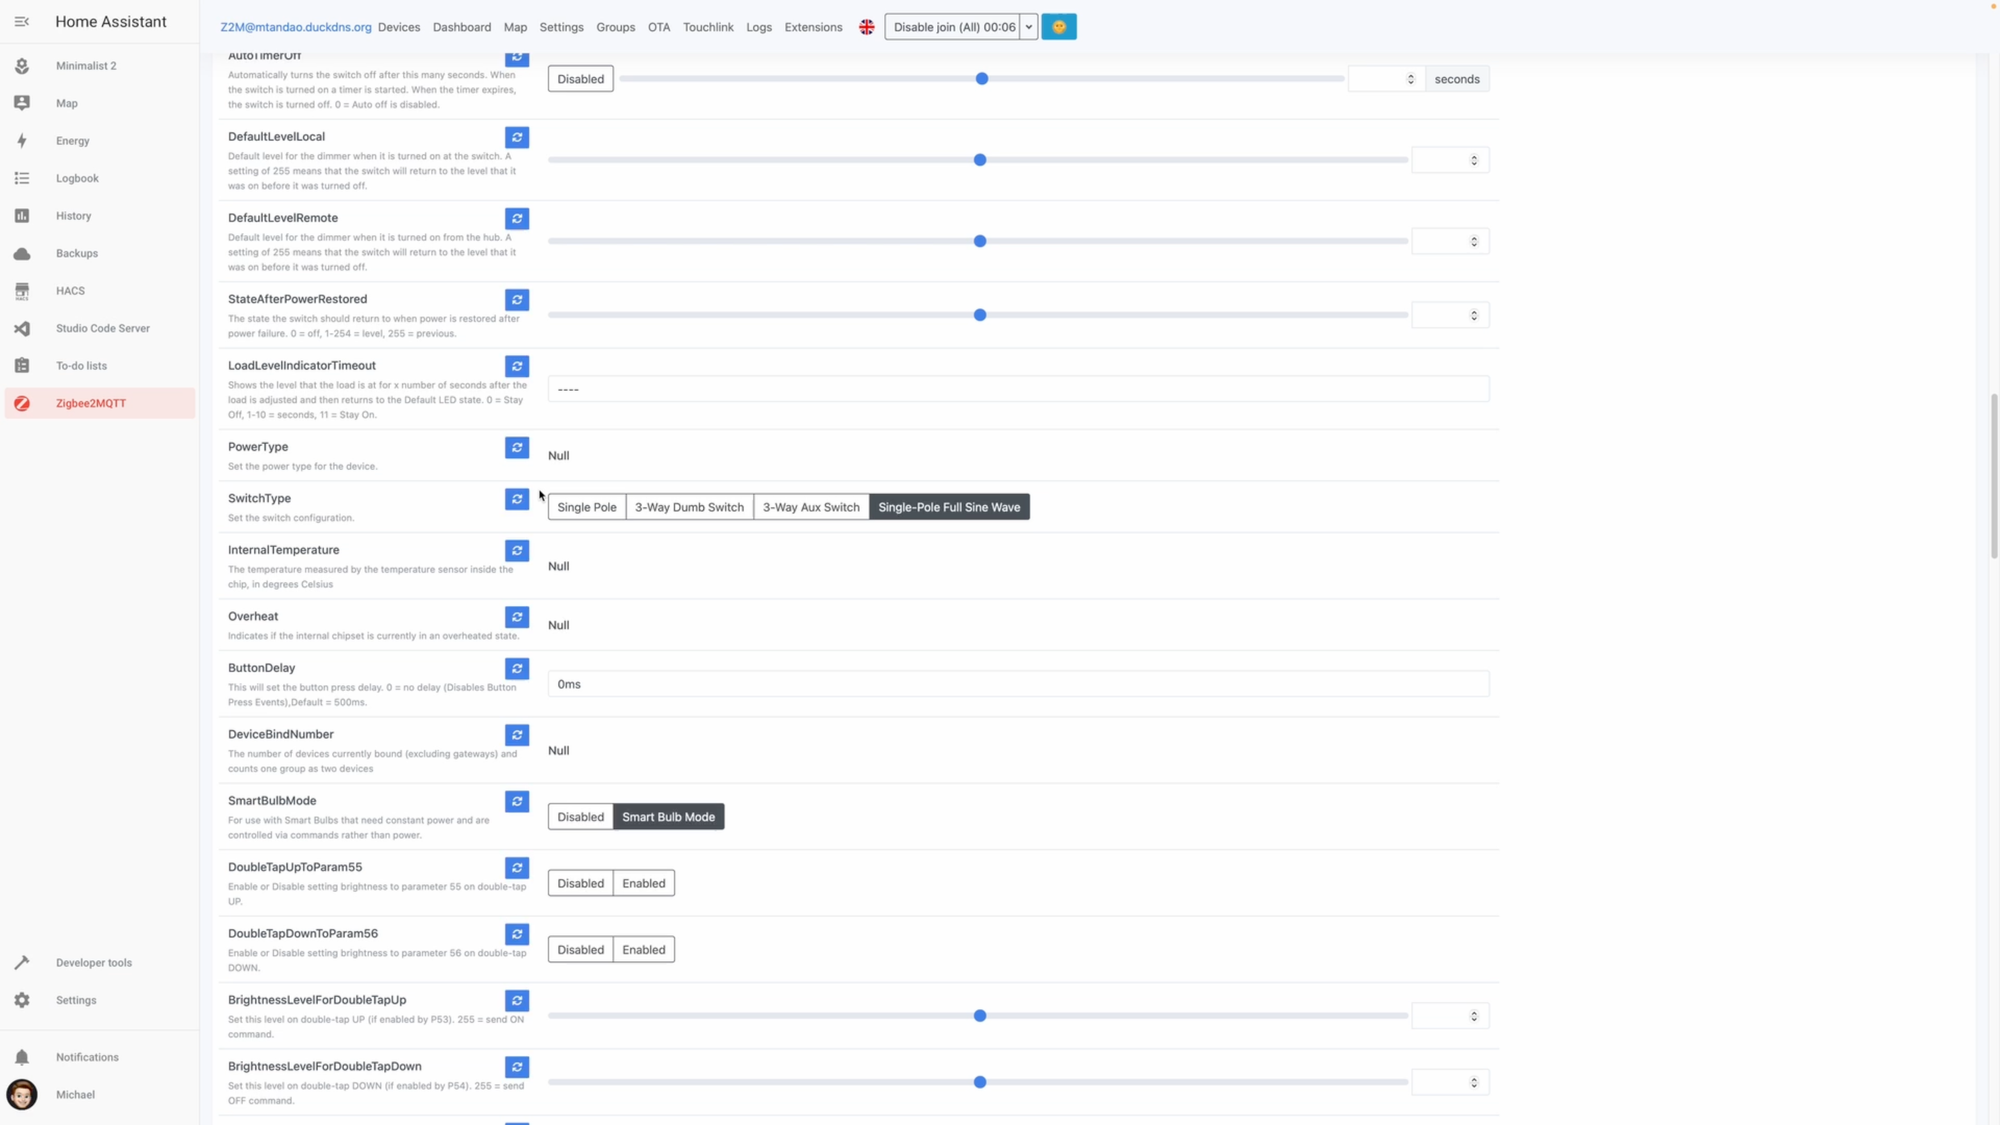
Now, the new LEDs and smart switch were working…but I could still detect a faint buzzing sound when I put my ear up to each light, albeit much quieter than before. To fix this, I had to adjust some of the smart switch settings, which brings me to the topic of smart home configuration and control.

Installing Zigbee under cabinet lights and setting up in Home Assistant
Configuration & Control
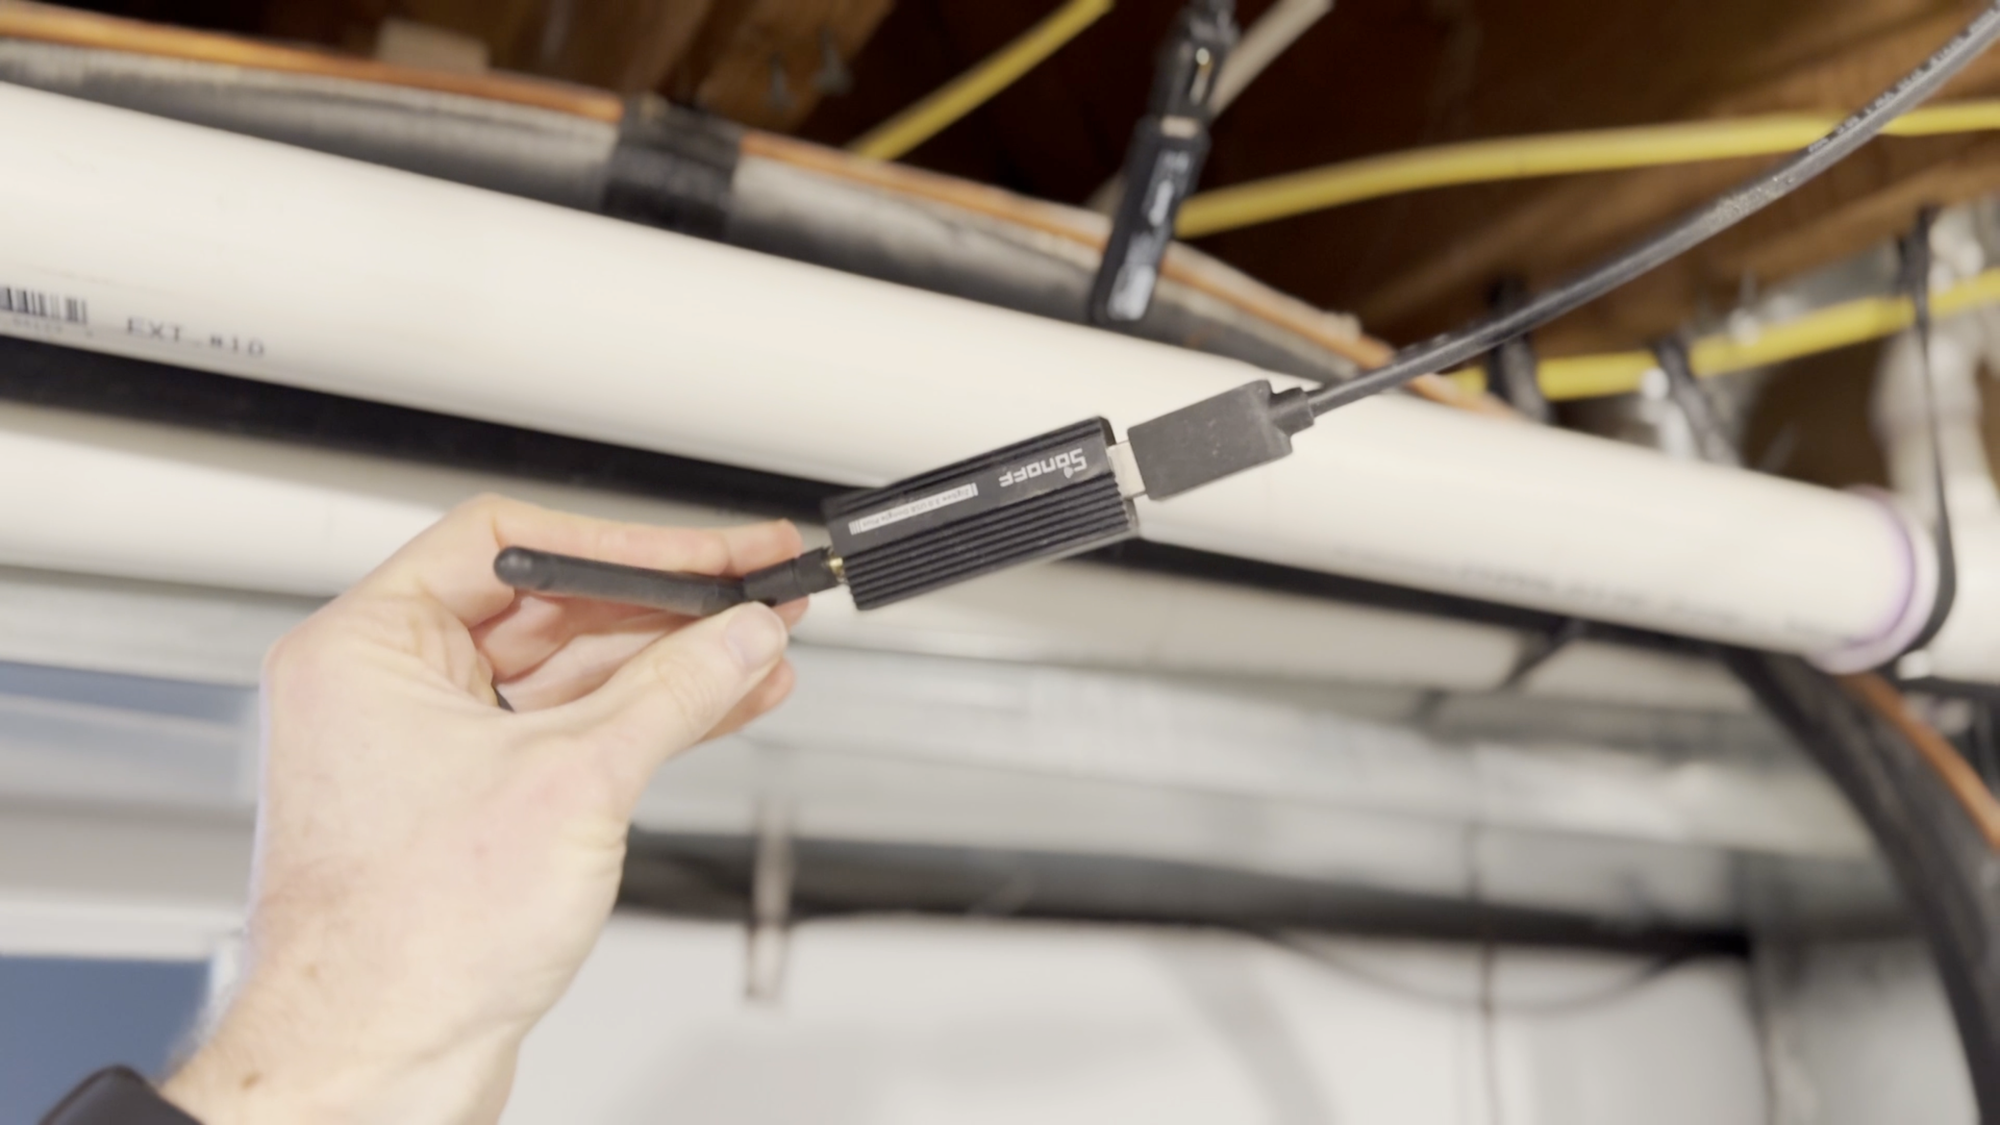
As I mentioned, the new LEDs and smart switch use the Zigbee protocol for smart home control. I already owned a SONOFF Zigbee 3.0 coordinator for controlling other smart home devices in Home Assistant, which is my smart home platform.
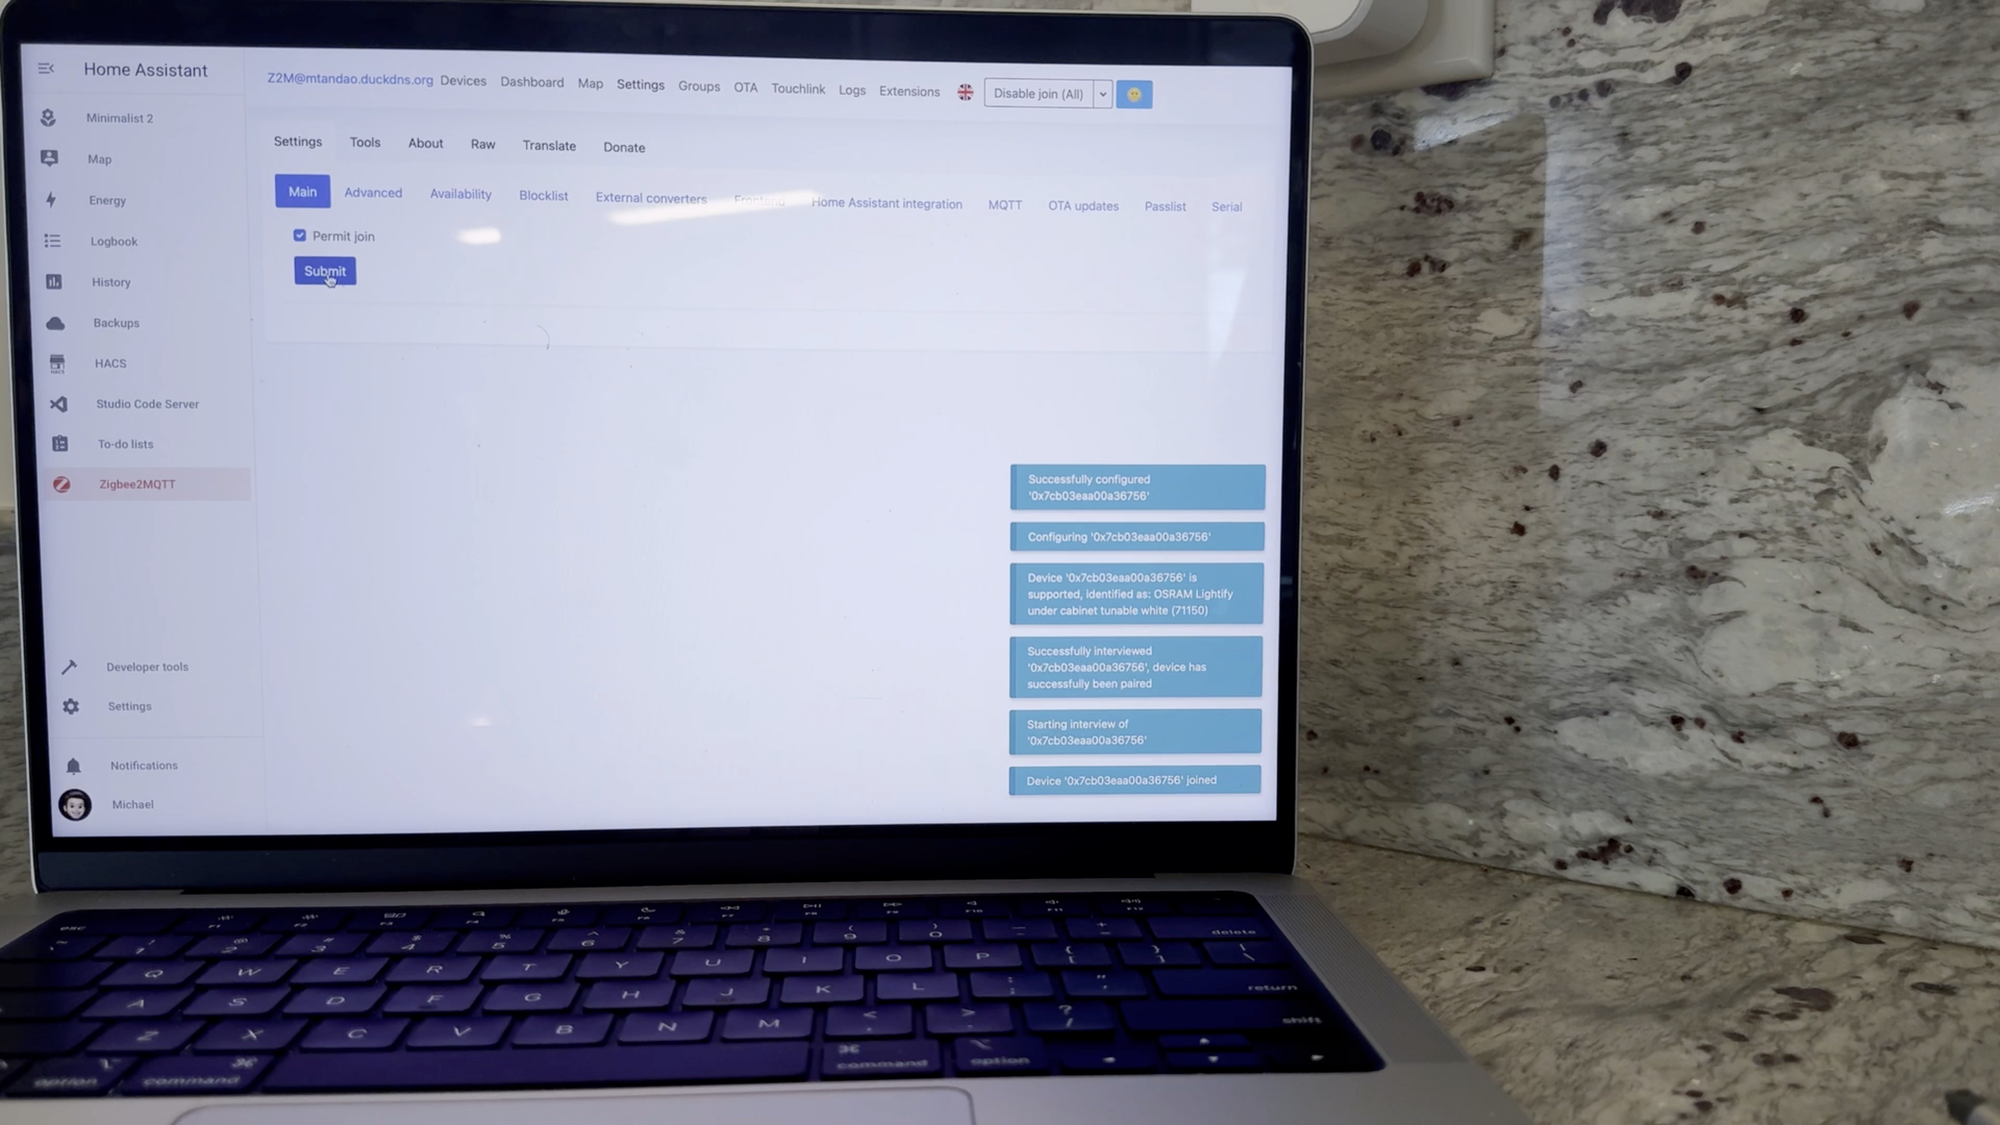
Watch the YouTube video for how I added the LEDs and smart switch to Home Assistant using a program called Zigbee2MQTT, and how I control them on my smart home dashboard, in home automations, and using Adaptive Lighting.
Final Thoughts
So that’s how I replaced my existing under cabinet lights to gain smart home control. Now, we can continue to use a wall switch for controlling these lights, but gained the ability to turn them on and off using home automations or a smart home dashboard. Best of all, the under cabinet lights are now included in Adaptive Lighting, so we get the perfect ambiance in any room all day long without needing to manually adjust anything with a switch or app. I love when home automations like this just work, so you don’t have to think about it.
Watch on YouTube
Featured Tech
Gear I Used
Sylvania LIGHTIFY Under Cabinet Adjustable 12": https://amzn.to/3xTN2xw
Sylvania LIGHTIFY Under Cabinet Adjustable 24": https://amzn.to/4dcl546
Inovelli Blue Series Smart Switch: https://amzn.to/49RcssN
Alternatives Considered
Lutron Caseta Smart Home Dimmer Switch: https://amzn.to/48EZ1LQ
Lutron Caseta Smart Dimmer Switch for ELV+ Bulbs: https://amzn.to/49WZLgn
BTF-LIGHTING RGBW RGB+Warm White SK6812 Light Strips: https://amzn.to/49O35tW
QuinLED-Dig-Uno: https://bit.ly/3arf6wB