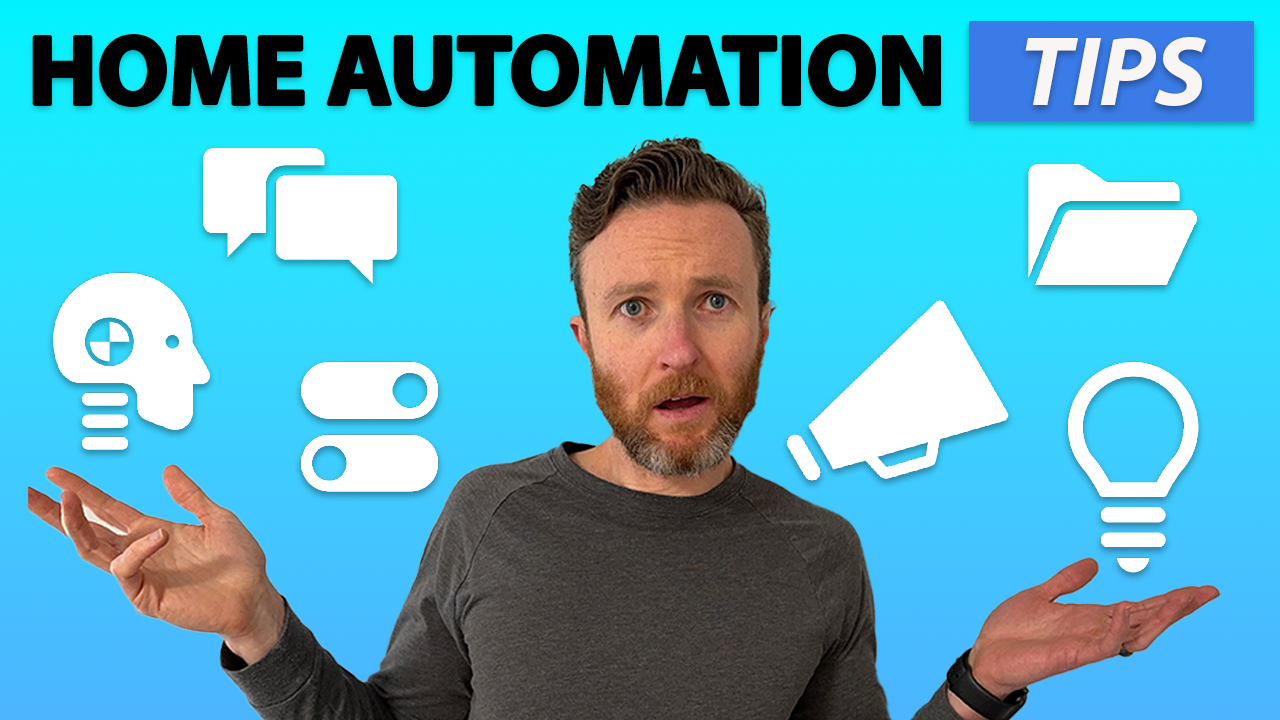
10 Must-Know Tips for Smarter Home Automation
My top 10 tips for creating home automations the right way. These will help you achieve home automations that benefit you — and anyone you live with — for most any scenario.
Introduction
I’ve been automating my smart home for a long time now. And over that time I’ve learned what to do…and most importantly what not to do to create the best home automations. The possibilities are really endless with a smart home, and there’s usually more than one way to create any single automation.
I’m going to share my 10 tips for creating home automations the right way. This will help you achieve home automations that benefit you — and anyone you live with — for most any scenario. These tips will save you time, help you avoid pitfalls, and maintain peace and order in the home — well, a least partially.
Main Points
My top 10 tips will focus on Home Assistant, which is my home automation platform. However, most tips are broadly applicable no matter the smart home hub or home automation platform you are using.
Tip #1
Let’s dive right into my first tip for creating home automations the right way: Be useful. When you’re thinking about new home automation ideas, a good starting point is to consider what repetitive tasks you could automate. Or, what pain points do you experience in managing your home.
This mentality is especially useful if you live with others and want to create home automations that work for the entire home. By working backward from a customer problem, your automations will deliver incremental value. This may be saving you time and money, or making your home more comfortable and secure. Automations that deliver immediate utility are a great way to demonstrate the benefits of a smart home to any skeptics.
Tip #2
The second tip is use all four types of smart home control. When I got started in smart home, I thought the cool thing was to control everything by voice. But voice control isn’t ideal every time you want to do something. It also doesn’t work as well for guests or young household members. And it can get tiring to speak everything into being. But…voice control does have its place.
That’s why I try to leverage four types of control whenever possible in my smart home: mechanical switches or buttons, apps, voice, and automations that just run in the background. One type often works better than another in a particular situation, or for particular users.
For example, mechanical switches and buttons are intuitive to any guest or younger person in your home, or for anyone who just likes a physical input. Apps are great when it would otherwise be inconvenient or impossible to physically control something, such as arming the alarm when you’re already in bed for the night, or adjusting the thermostat when you’re away from home. Voice can be the fastest and most convenient option when mechanical and app options aren’t nearby or might take longer, and when discretion doesn’t matter, such as telling the robot vacuum to clean the kitchen. But most of the time, having an automation just run in the background without requiring any intervention from you is the way to go.
Tip #3
This brings me to tip number three: Build in automation overrides. You may think that you’ve created the perfect home automation for every possible scenario, but chances are there will be times when you don’t want a particular automation to run.
Maybe you have an automation to turn the bedroom lights on when motion is detected and it’s dark in the room between a certain time window. Well, what if you go to bed early one night because you’re sick, or even worse, what if another family member does…but the lights keep turning on?
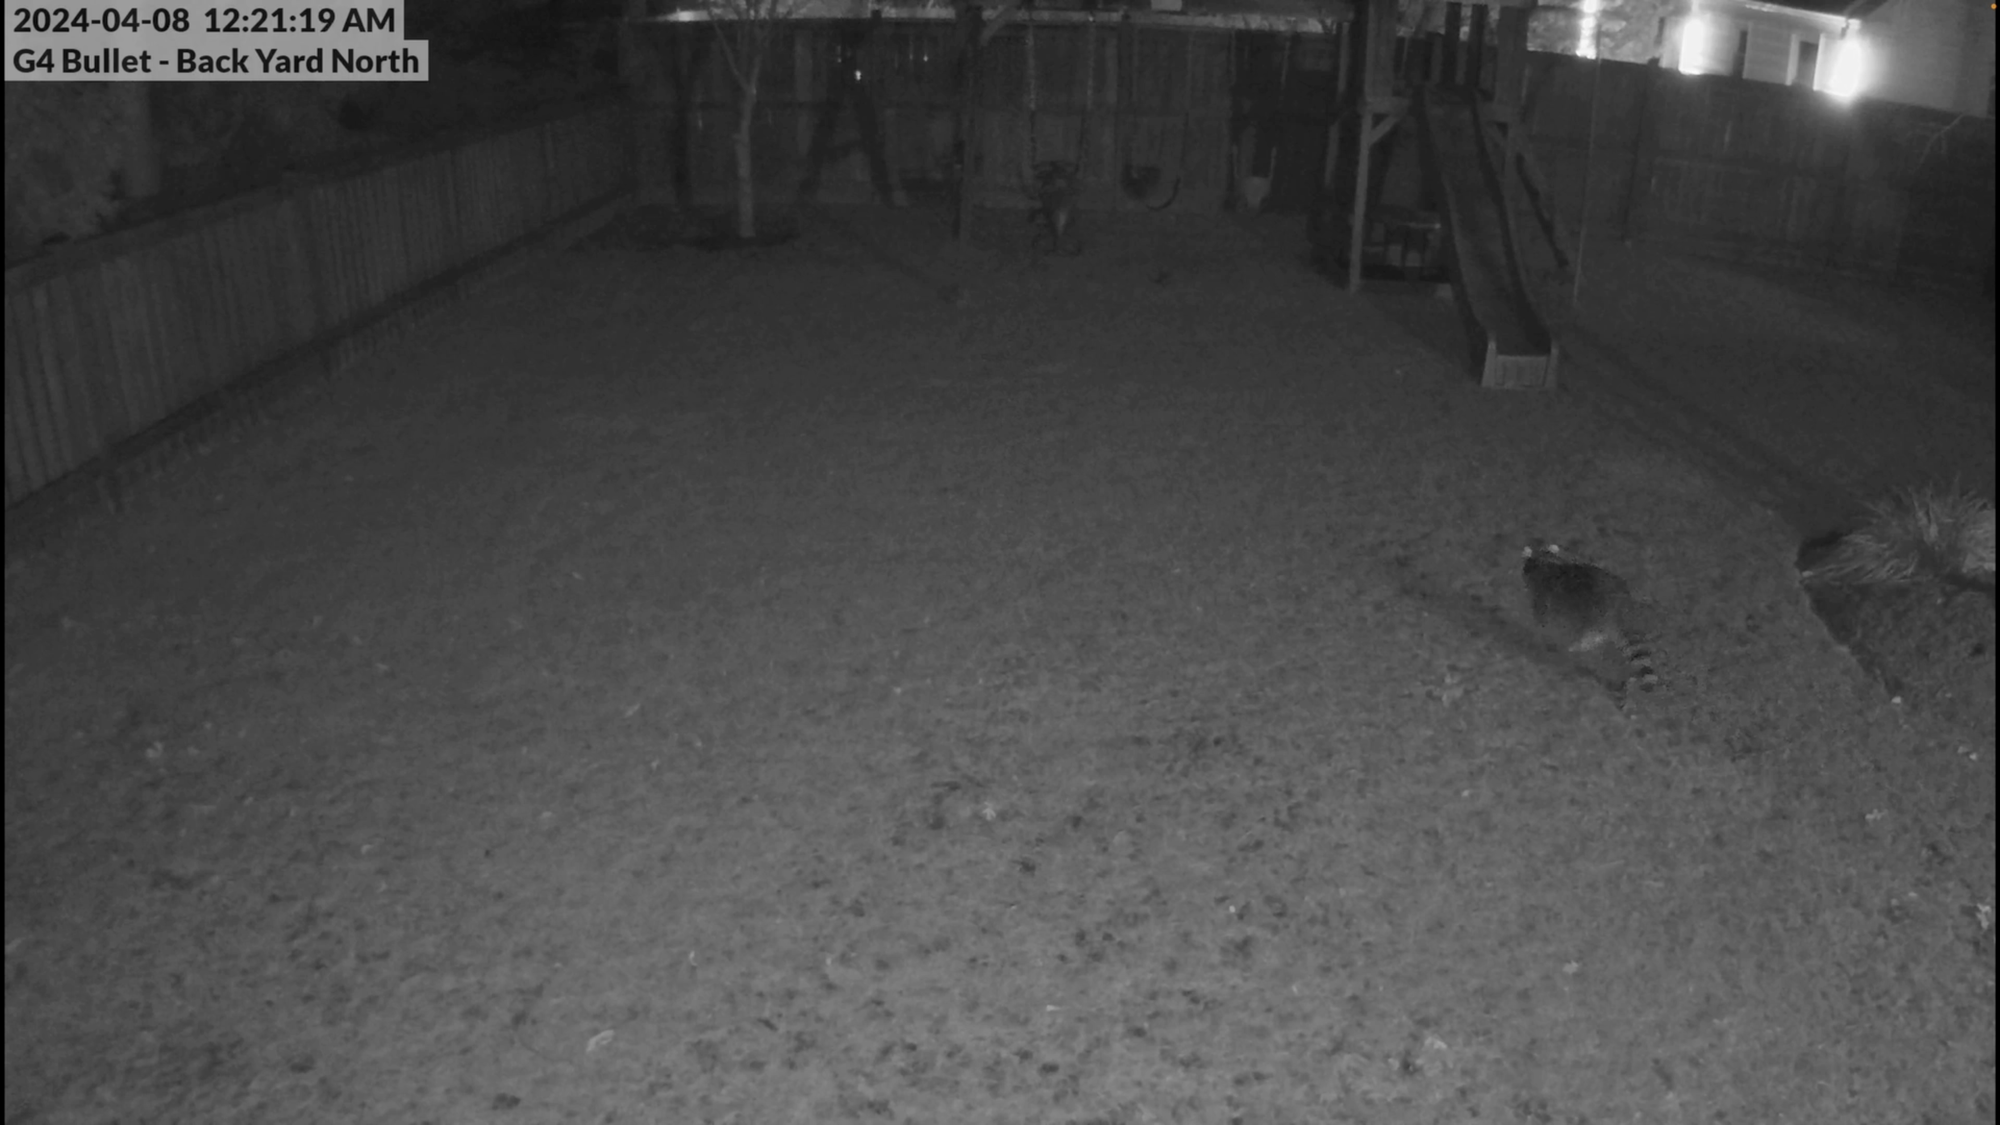
Or what if you have an automation to run the sprinkler whenever motion is detected in the backyard at night in hopes of chasing away raccoons…but a spider plants itself on the motion sensor, causing the automation to run over and over?
Okay, that was really specific.
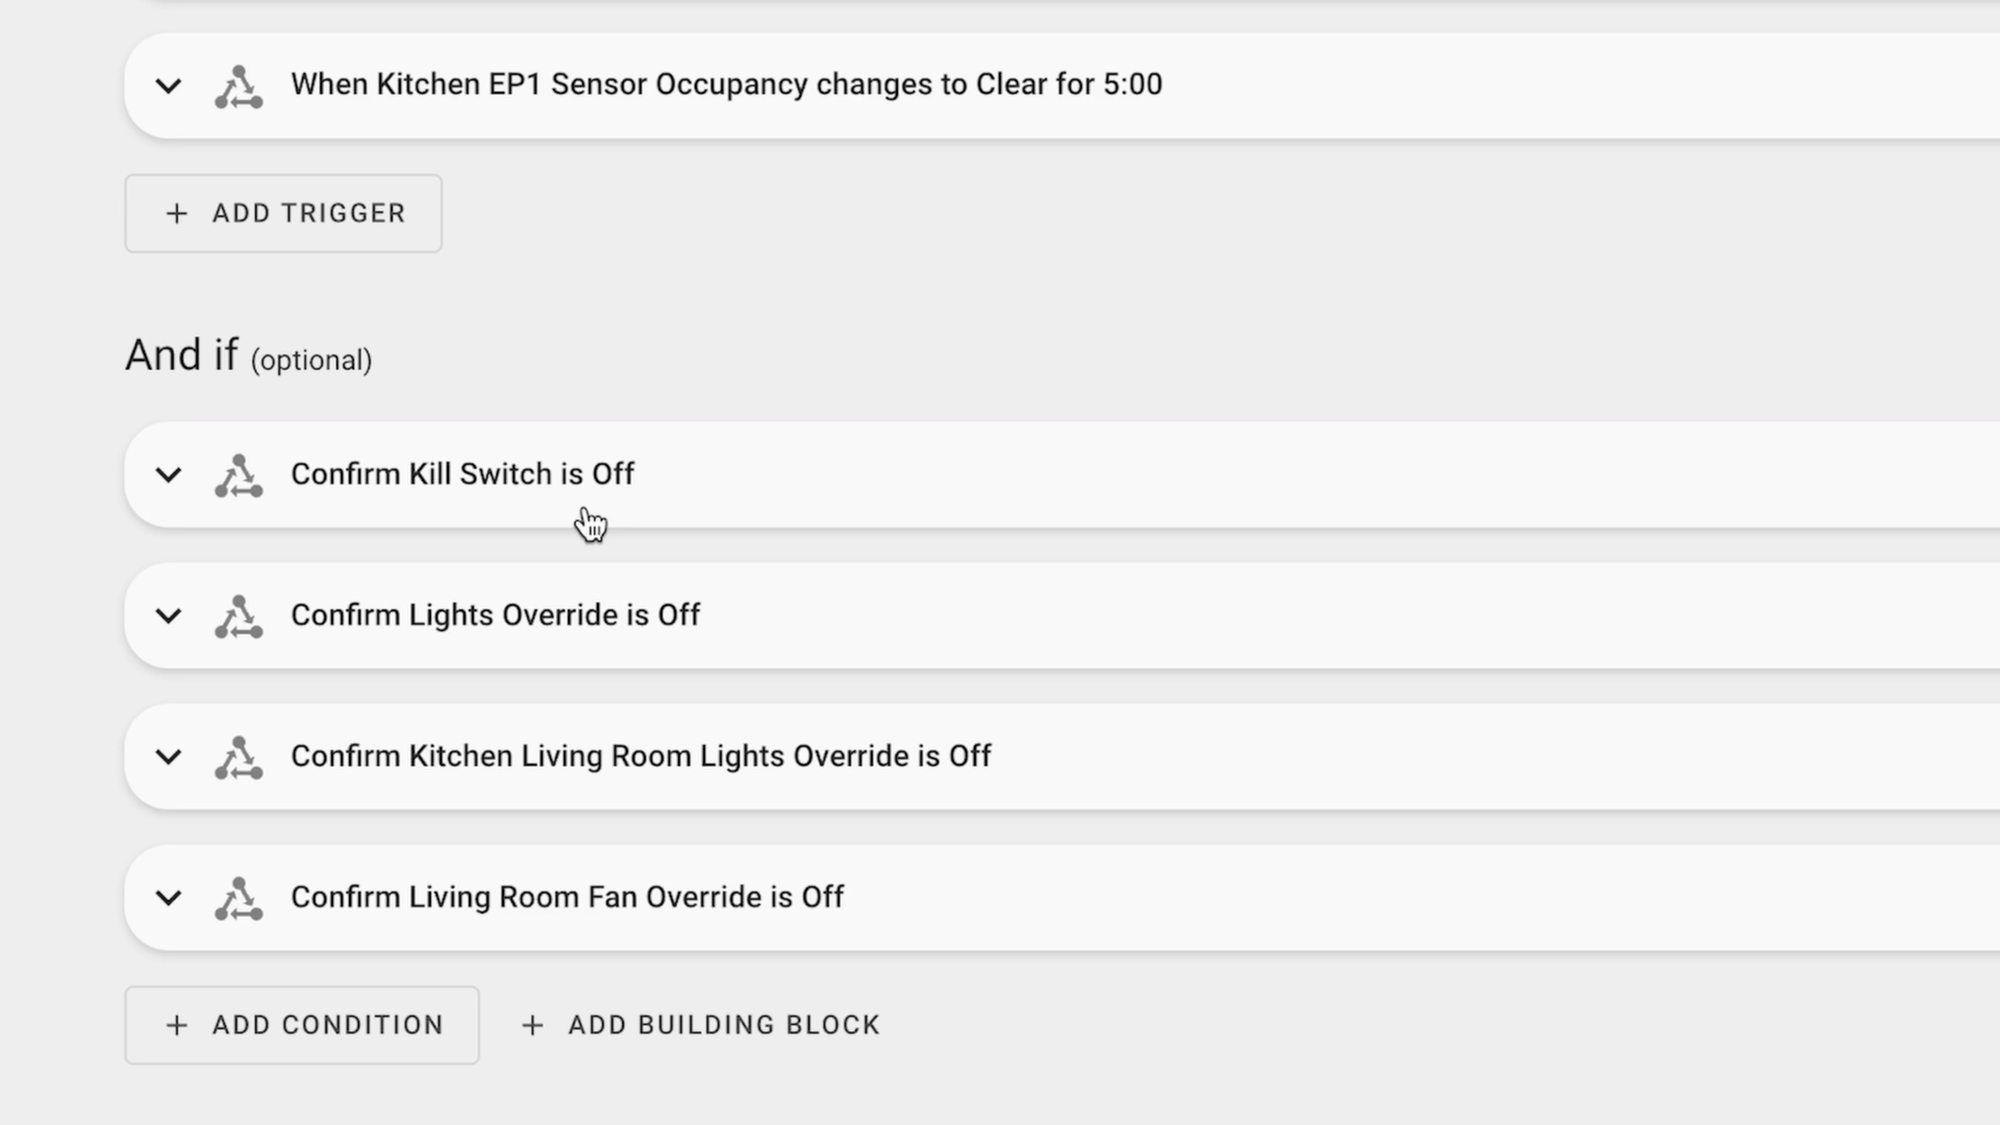
But the point is there will be exceptions when you don’t want an automation to run, and you need to plan ahead for how you will handle this. In my case, I add an override option for every automation. The override is a virtual switch, also known as an input boolean. If the switch is on, then the automation will not run.
Ashley and I can quickly flip on the override switch by pressing a button on our smart home dashboard, or by scanning an NFC tag hidden behind the light switch plates for that room. I have a kill switch that will stop all automations, a general lighting override that will prevent all lighting automations from running, and then separate overrides for individual automations, such as the primary bedroom lights. This approach is faster and more convenient than finding the automation in the platform’s software and then disabling it. It’s also more accessible for others who are not the one’s actively managing the smart home.
Tip #4
The fourth tip is know the power of multiple conditions. One of the reasons that I switched to Home Assistant years ago is because of its powerful automation editor and the ability to set virtually any kind of condition. Turning on the lights sounds like a simple automation, and it can be, but chances are you may only want the lights to turn on at a certain time of day, or when it’s dark in the room, or other factors.
Conditions allow you to tailor an automation to the preferences of your household. But you also want to make sure the automation truly only runs when you want it to. This is especially important if an unexpected automation trigger may result in making your home less secure. For this reason, I like to include multiple conditions that all must be true for the automation to run. I’ll have what I call the primary condition, and then the backup condition. The primary condition is what you originally had in mind for the automation to trigger. The backup condition is a failsafe to avoid something going wrong.
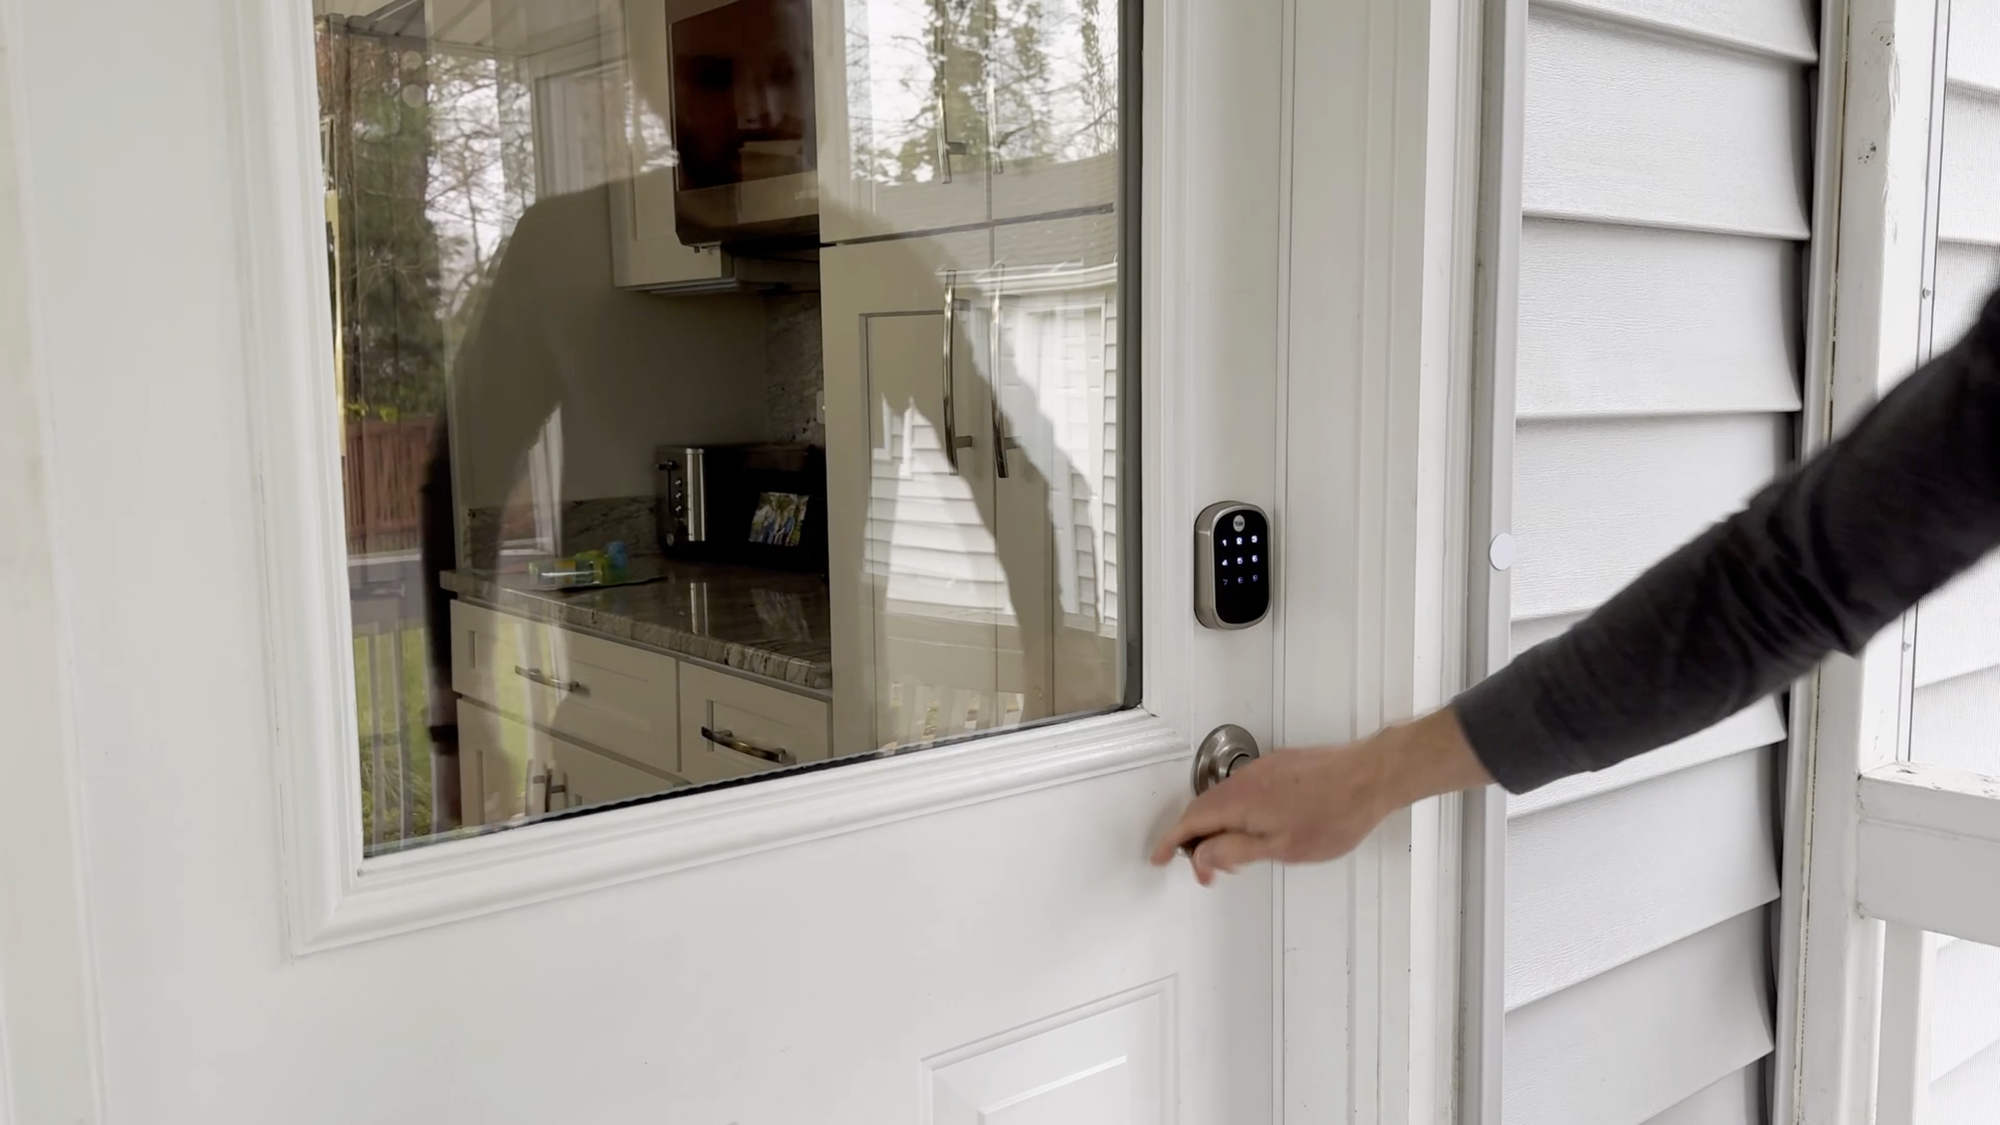
Let me give an example. Let’s say you want to create an automation that unlocks your door when you arrive home. This can be great if you are getting of the car with your hands full and wild, impatient kids in tow. But, you wouldn’t want the door unlocking if you weren’t physically at home. In this case, the primary condition may be you entering a geofence zone around your home. And the backup condition may be when your phone connects to your home’s WiFi network. Only when both of these are true can the automation unlock your door, because of the confidence that you are actually on your property.
Tip #5
This brings me to the fifth tip: When to send push notifications. You can tell an automation to send you or others a push — or app — notification when an automation runs. Broadly speaking, there are two types of push notifications that you may want to send: notifications to inform, and notifications to take action.
A notification to inform is great for a scenario like I shared about automatically unlocking your door. I like to get push notifications that inform me about the security of my home. For example, locking a door, opening the garage, and arming the alarm. These can also be useful for things like reminders: taking out the trash, picking up the kids from school, moving the laundry from the washer to the dryer.
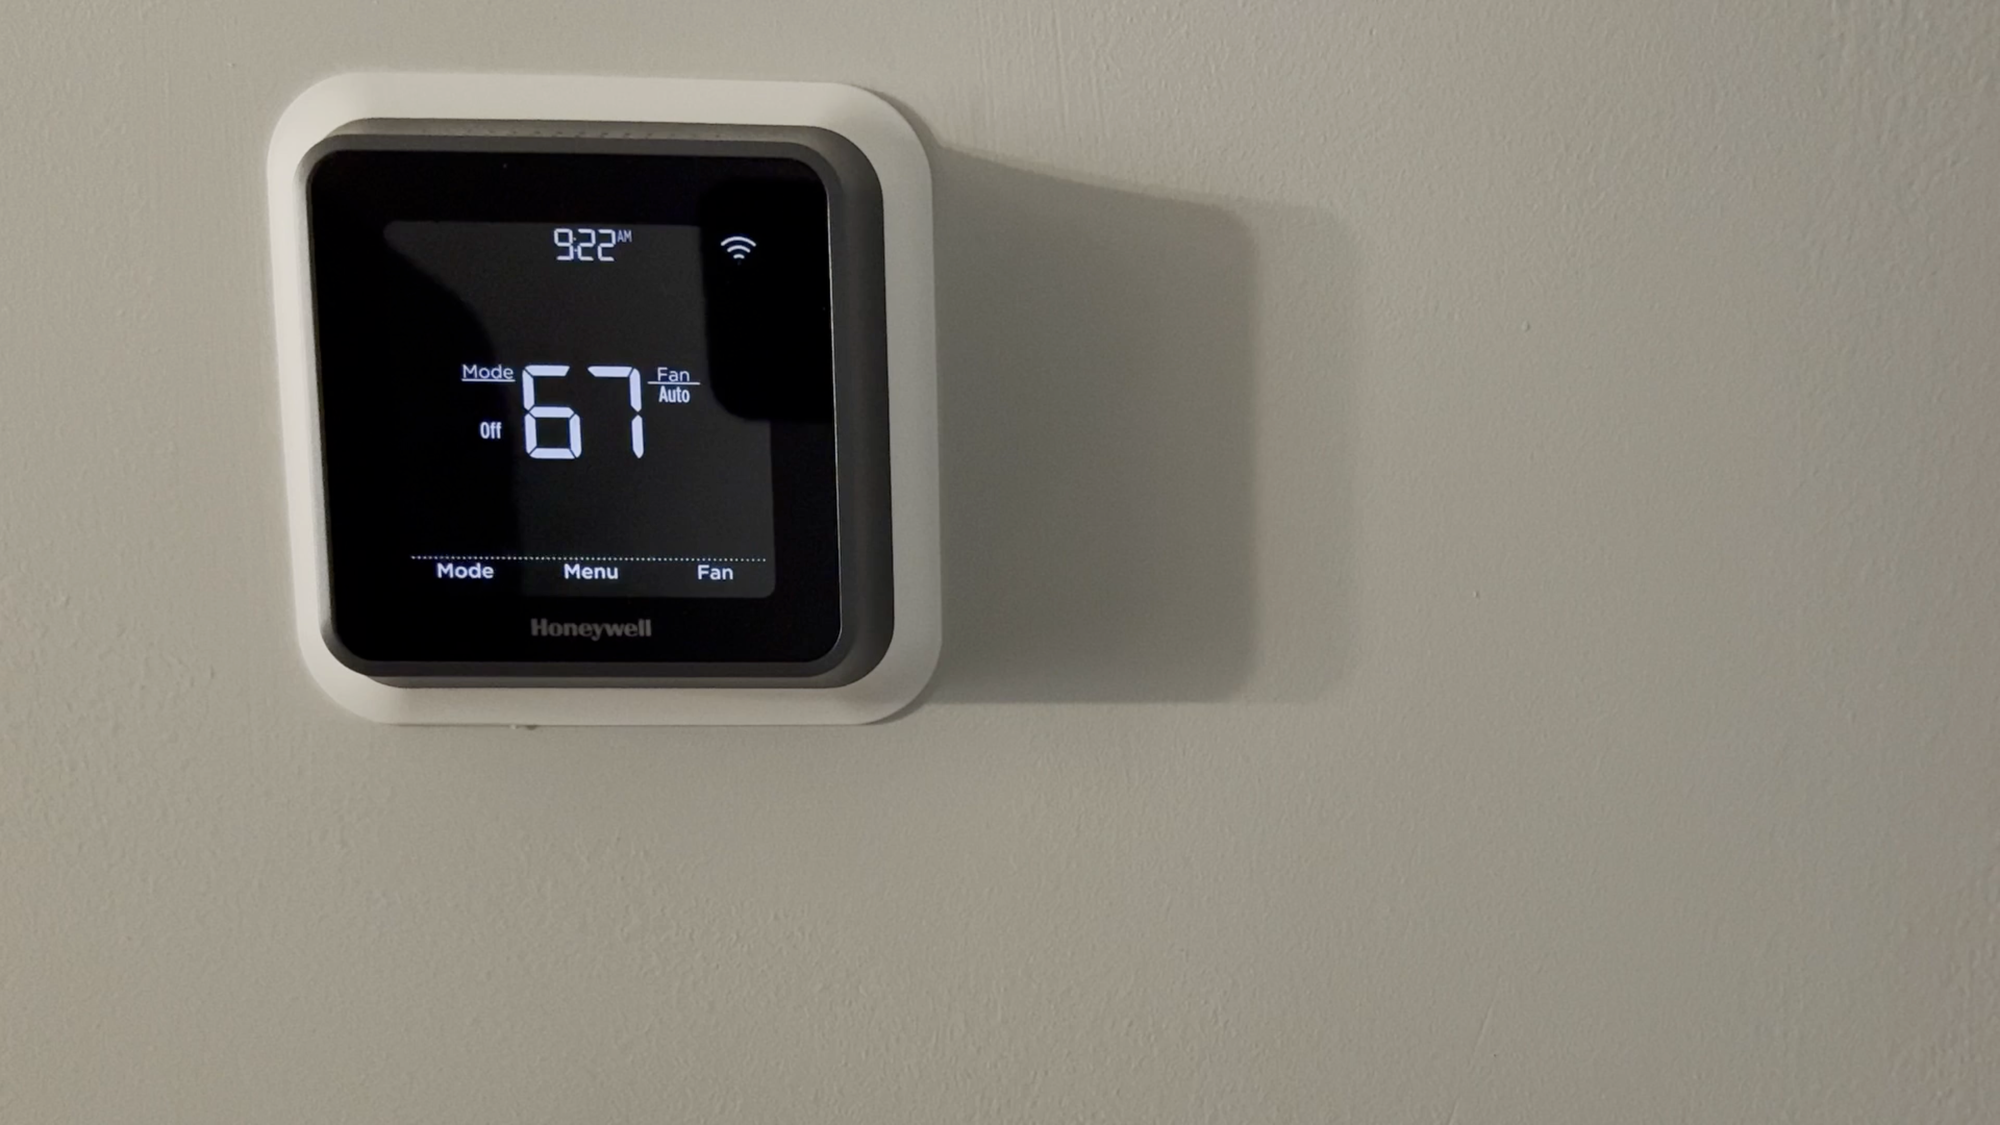
However, sometimes you want actionable notifications. These do not simply present you information, but demand a response from you. For example, everyone has left home, and you get an actionable notification asking if you’d like to arm the alarm. You can click the notification and immediately select the desired action without needing to ever open an app. Or maybe you got home, and the thermostat was off. You can get an actionable notification asking if you’d like to turn on the heating or cooling based on the present climate with just a tap.
The key takeaway is notifications to inform or to take action should add value; they do not spam my phone’s notification center every time an automation runs.


Home automation tips for auto-unlocking your door, playing announcements, saving energy, controlling smart home devices, turning on notification lights, adding automation conditions, chasing away animals, and much more.
Tip #6
Staying on the theme of notifications, tip number six is when to display light notifications. Here again we have two types of light notifications: lighting effects, and lighting colors.
A lighting effect would be something like when the lights flash a few times, versus lighting colors which is having a light change color to communicate something. Lighting effects are good when they are meant to communicate a short-term message. For example, someone rings the front doorbell, but you have an automation to prevent the doorbell from ringing when the kids are sleeping. You can have the kitchen lights flash a few times to get your attention that someone is at the front door without disrupting the ambiance with a harsh red color, or an audible noise that might disturb sleeping children.
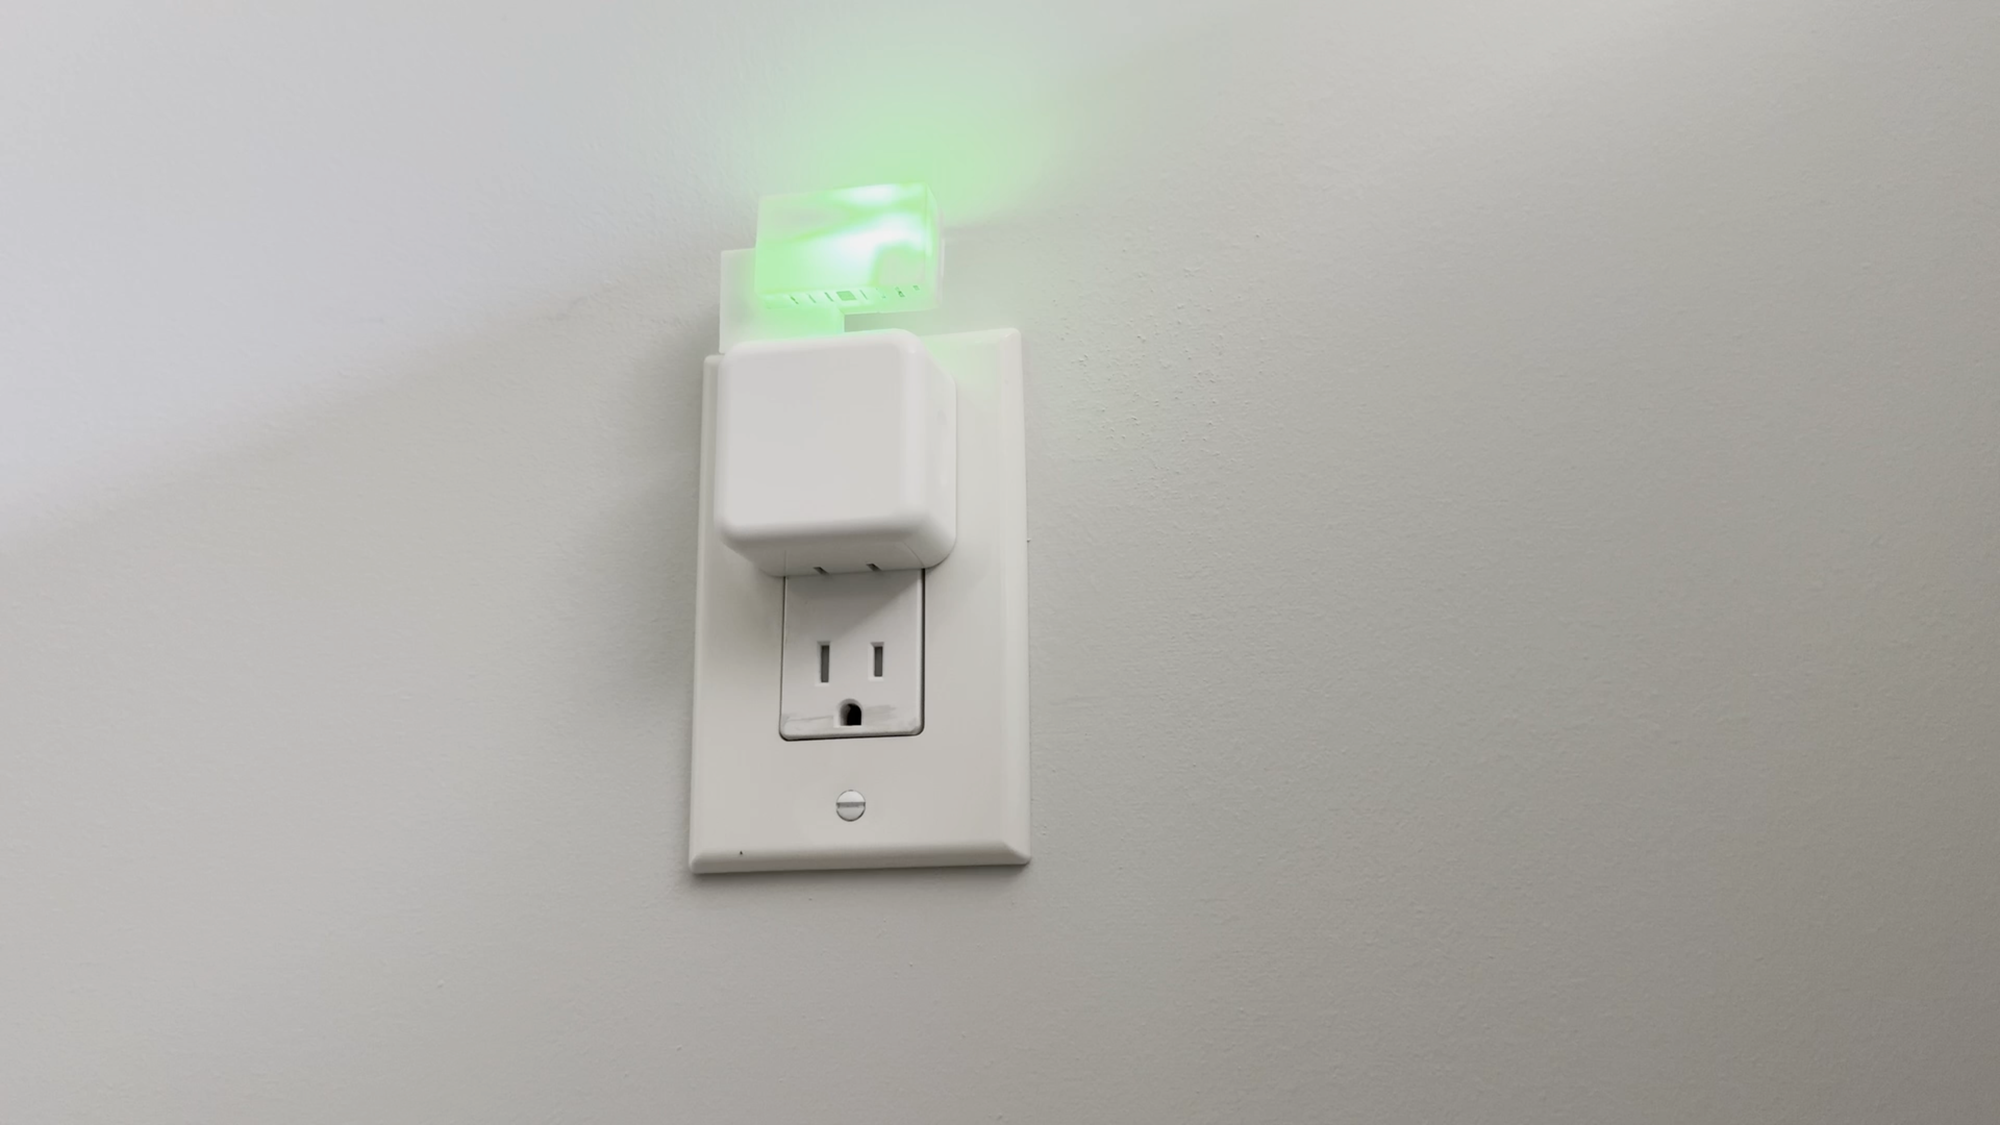
Lighting colors are good when you want the notification to persist. For example, it’s the weekday night to put the trash bins out, and as a reminder I have an RGB light turn green until the task is done. Or, I’m recording a video, and to notify the family I have an RGB light turn red until I stop filming. I find it best to implement this on secondary lights, not the main source of lighting in a room.
Tip #7
There is one more category of notifications, which is covered by tip number seven: when to play announcements. An announcement would be an audible message that is broadcast over a smart speaker, like an Amazon Echo or a Sonos media player.
Announcements are great when you want everyone in the home to be aware of something, and you need to take prompt action. For example, announcing when the washing machine is done so you can move the clothing to the dryer…or when the dryer is done so you can remove and fold the clothes before becoming wrinkled. Other examples include announcing that someone is at the front door, or to close the refrigerator because it was left open, and many more. As alluded to earlier, I only let announcements play when it’s outside of our sleep timeframe.
Tip #8
Tip number eight is to keep it simple. When I first started creating automations, I would create a separate automation for every separate action. One automation to turn lights on. Another automation to turn lights on, but with different conditions. Another automation to turn lights off. I quickly had over 120 home automations, which made it more complicated to manage and to troubleshoot if things went wrong.
In Home Assistant, you can use the Choose function — or a template — to streamline and consolidate many automations into one. The Choose function will look at several potential triggers, and depending on which trigger was triggered, take the action that you specify, but only if all the desired conditions are true.
Tip #9
Home automations are like a potato chip: you can’t have just one.
Another helpful way to manager your home automations brings me to tip number nine: get organized from the start. Home automations are like a potato chip: you can’t have just one. As the number of home automations grows, so too does the complexity of managing it all.
You can take a long-term mindset from the start by organizing your devices into rooms, assigning your home automations to categories, and even adding labels for certain features of your automations. These actions take just a few seconds, and can make it much easier to find the right smart home device or automation with a quick search or filter by room, category, or label.
You might assign a few smart lights to a kitchen room, categorize all your lighting automations as lights, and add a label such as announcement to any automation that includes an announcement. This is especially helpful when you want to make an update to a bunch of related automations.
Tip #10
And finally, tip number ten: testing, testing, testing. If you followed tips one through nine, no doubt you will have some killer home automations. But you won’t know for sure without beta testing each one of them before releasing into the wild. This tip is mandatory if you live with other people. A home automation gone haywire is a real trust buster for you and your smart home.
Be sure to test each new home automation under various scenarios to ensure it operates as expected. Without testing, you may be surprised how often you are surprised by an unexpected result.
Final Thoughts
So that’s a look at my top 10 tips for creating smart home automations the right way.
It’s what works for me and my household, and I hope you found something useful as well.
10 Tips for Creating Smart Home Automations the Right Way
- Be useful (solve a pain point)
- Use all four types of smart home control (mechanical + app + voice + automation)
- Build in automation overrides (input boolean)
- Know the power of multiple conditions (Home zone + WiFi connection)
- When to send push notifications (inform, take action)
- When to display light notifications (flashing lights, RGB lights)
- When to play announcements (excluding sleep time)
- Keep it simple (using Choose or a template sensor)
- Get organized from the start (by room, category, label)
- Testing, testing, testing (and not when it will disturb others)
Watch on YouTube
Featured Tech
GoldenMate 8 Outlets UPS 1000VA/600W UPS LiFePO4 Battery Backup and Surge Protector:
Buy from GoldenMate: https://go.michaelsleen.com/goldenmate-ups-1000va
Get 15% off with code MICHAEL
Buy from Amazon: https://amzn.to/3PUi3a5