QUICKLY Detect Unhealthy Air: Apollo AIR-1 Air Quality Sensor
Review of the AIR-1 Air Quality Sensor for Home Assistant, including the features, setup, and recommendations.
Introduction
One of my earlier videos was a complete guide to everything you need to know about smart home sensors. In that video, I talked about air quality sensors, but noted that I was not currently using one. Well, that’s no longer true.
Here, I’m taking a look at the AIR-1 Air Quality Sensor from Apollo Automation. I’ll show you what it does, how you can use it in smart home automations with Home Assistant, and what I think of it.
Main Points
Features
So, what does the AIR-1 do?
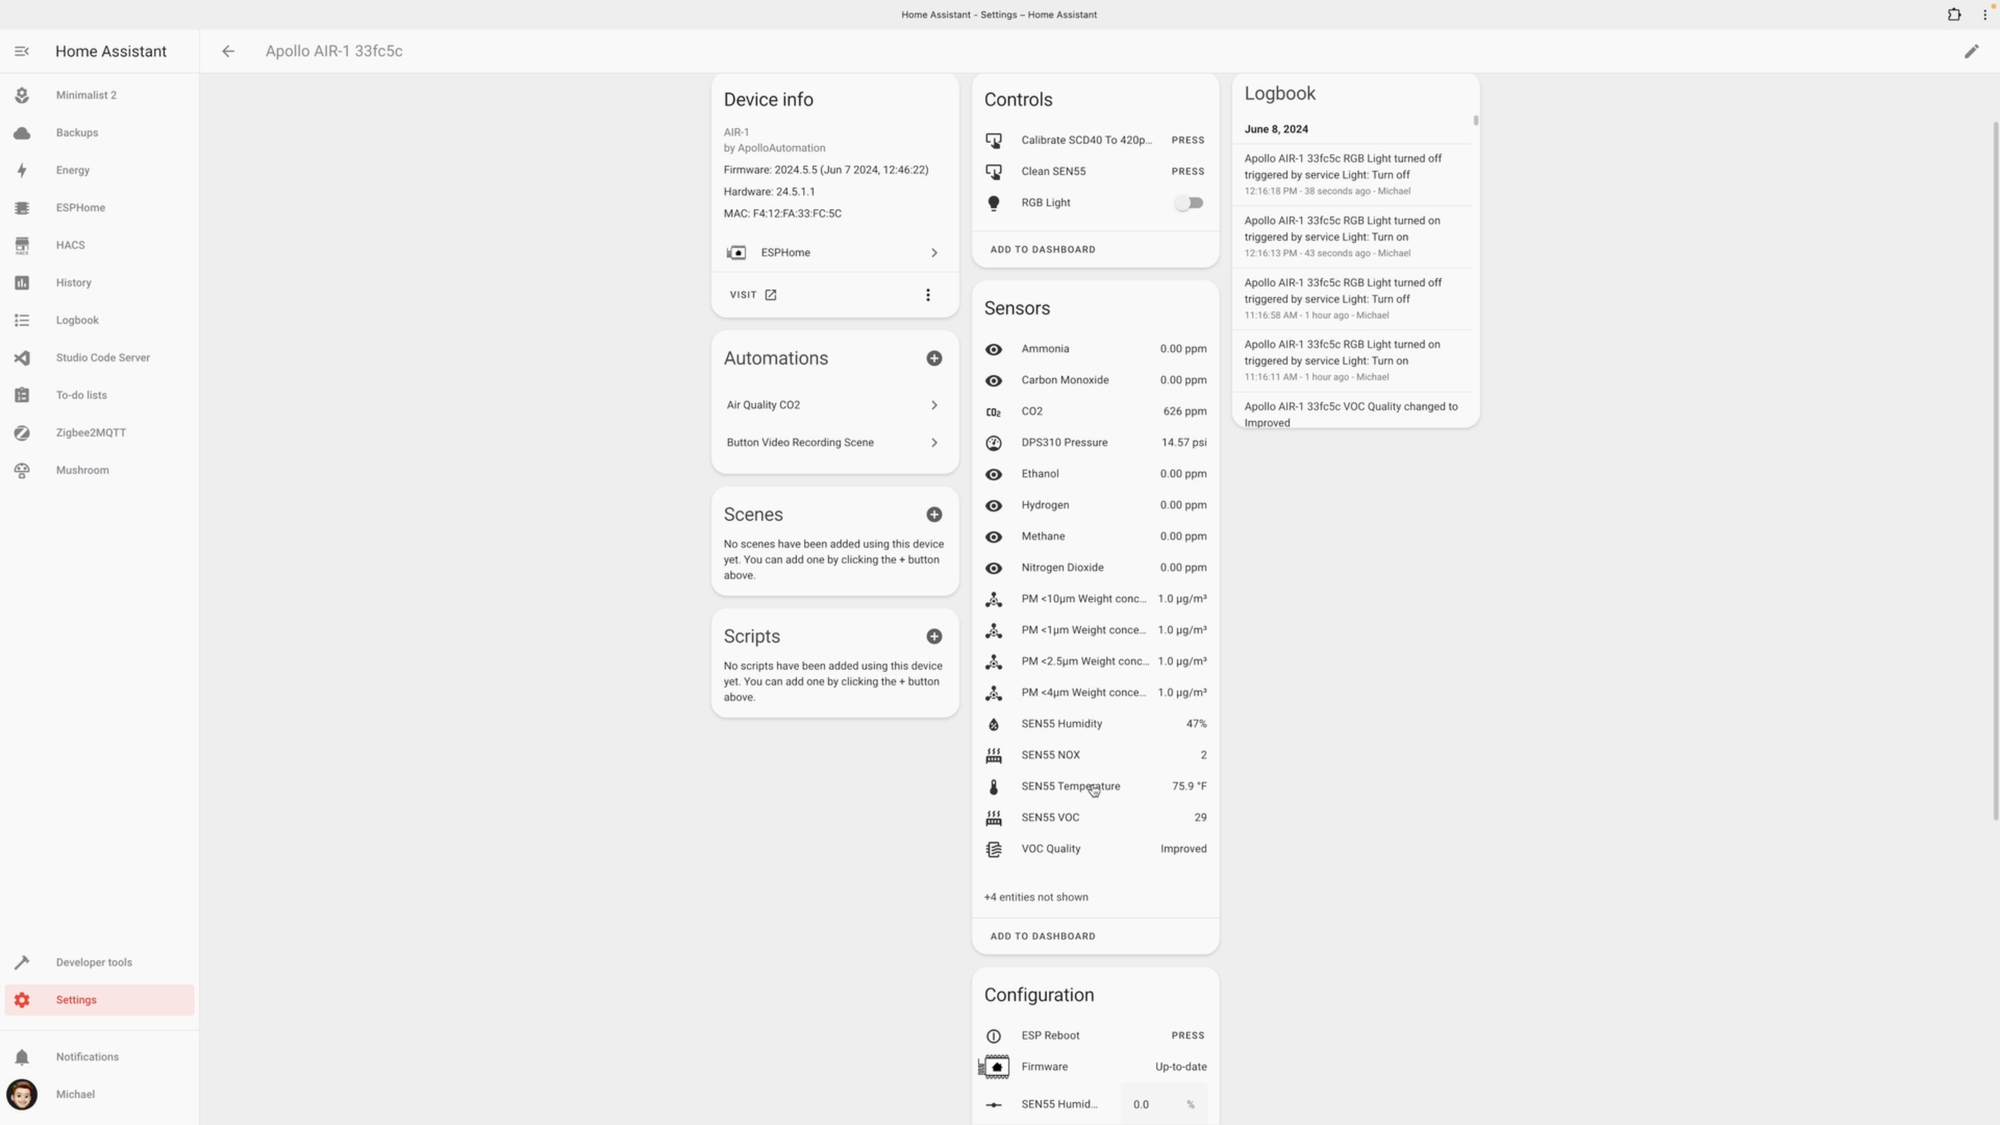
As the name suggests, it measures the air quality in your home. Depending on the configuration that you select, it has sensors for detecting particulate matter, volatile organic compounds, nitrogen dioxide, carbon monoxide, ethanol, ammonia, methane, and CO2. The AIR-1 also measures barometric pressure, temperature, and humidity levels.
It also comes with a Bluetooth tracker for detecting nearby devices such as a phone or smartwatch. This could be useful if you wanted to know who entered a room, for example. And it has RGB pixels which can light up based the air quality, or any home automation use case. As an example, it can light up red when the air quality is unhealthy.
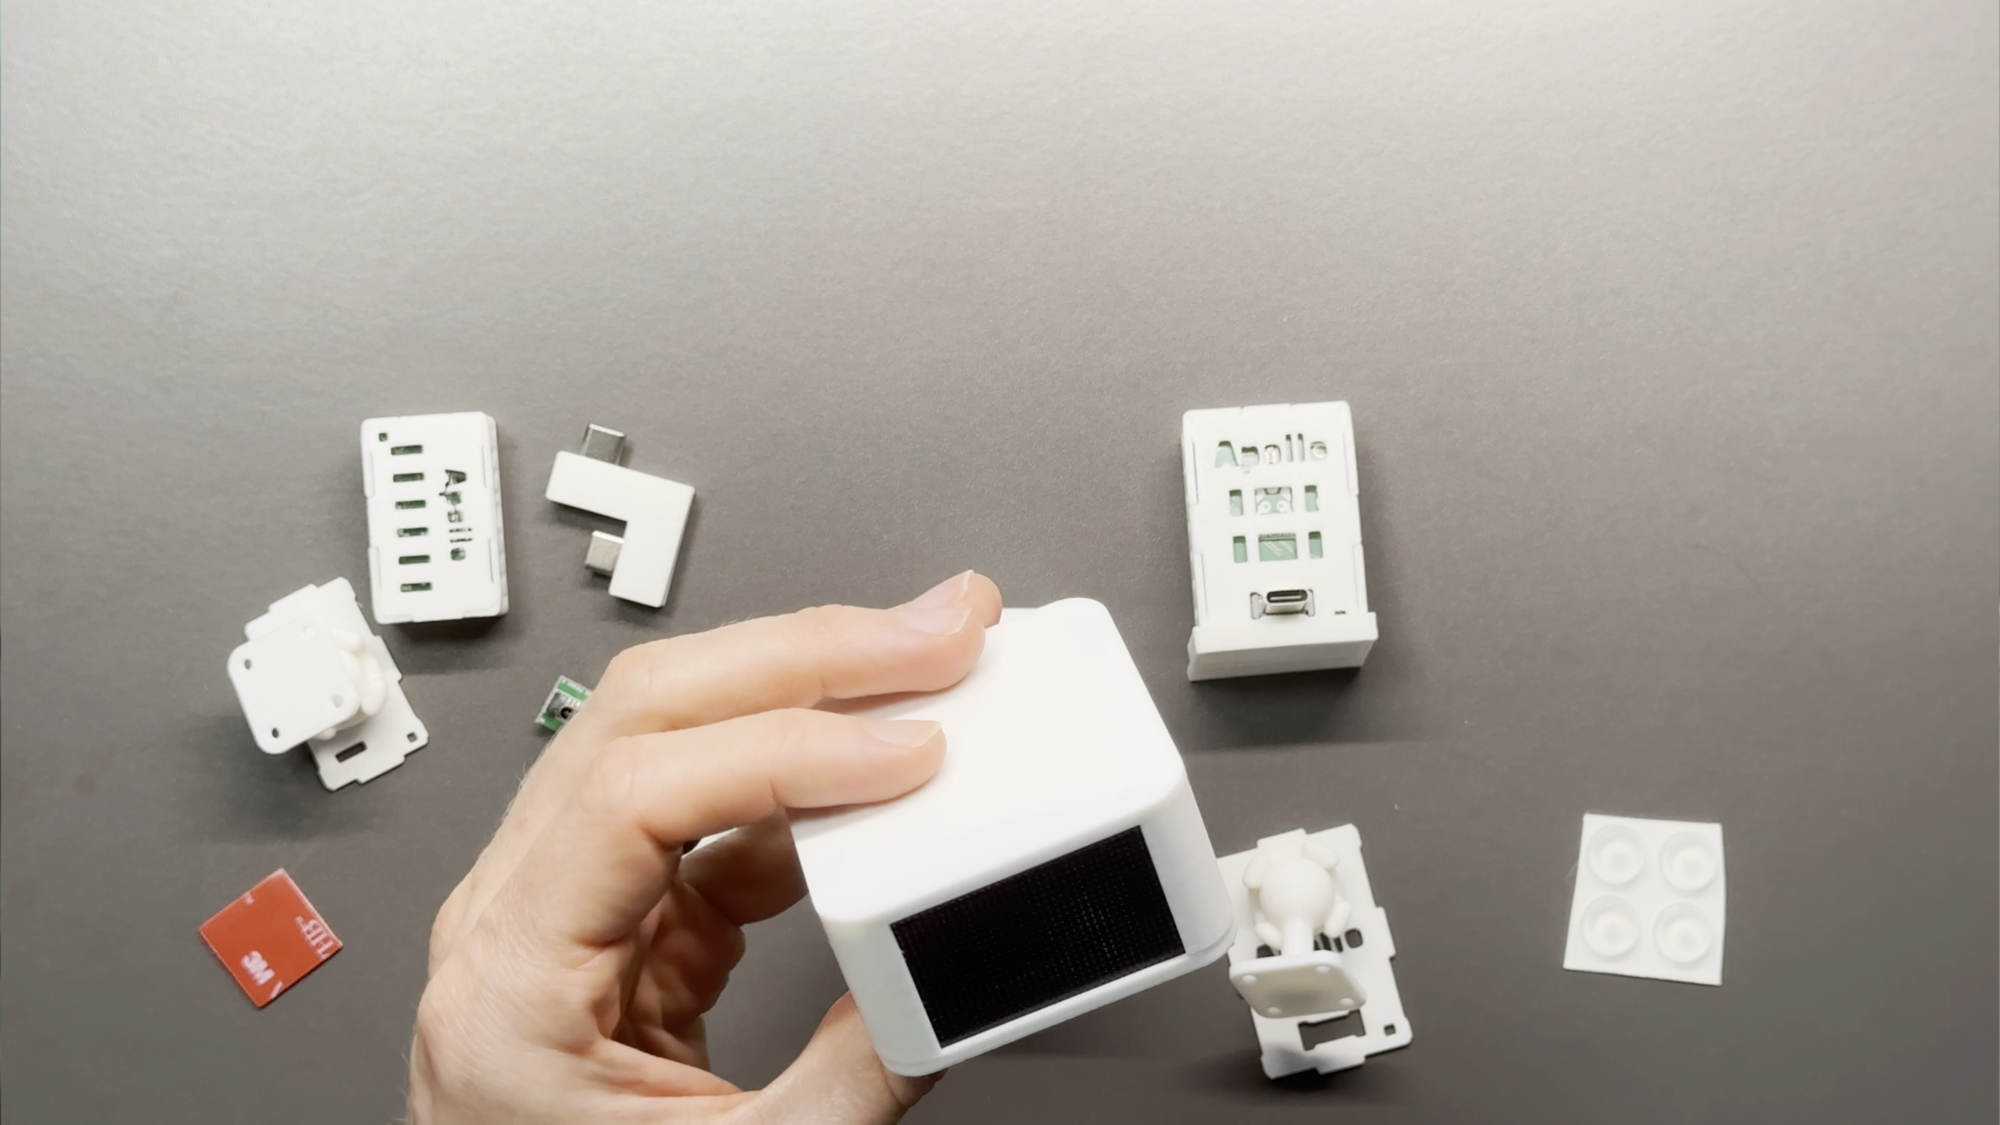
The AIR-1 measures 61mm x 61mm x 30mm, with a 3D-printed, white case and black mesh on three sides. It is powered by a USB-C connector on the back.
Setup
Setting up the AIR-1 is the same process as the MSR-2 and MTR-1 sensors, which I already reviewed. It’s quick and easy to setup in Home Assistant.
Plug the sensor into a power brick. Connect to the device’s WiFi network from your phone or computer. A pop-up screen allows you to select your home’s WiFi network for the sensor to connect with. After entering your WiFi password, open up Home Assistant and go to the Devices & Services page. The sensor is auto-discovered by ESPHome in Home Assistant. Click configure and submit, and the device is added to the ESPHome integration, and ready for use in your home automations. Once added, you can see the various entities and what this device is capable of measuring.
For the most accurate CO2 readings, you’ll want to calibrate its sensor first. To do that, just take it outside, plug it in for 3-5 minutes, and then press the Calibrate SCD40 button at the top of the entities on the device page in Home Assistant. Then, you can bring it back inside, and it’s ready to go.
Use Cases
Unlike a motion, or door and window contact sensor, it may not be as intuitive how to use an air quality sensor in home automations. Let’s go over some ways to get the most of this device.
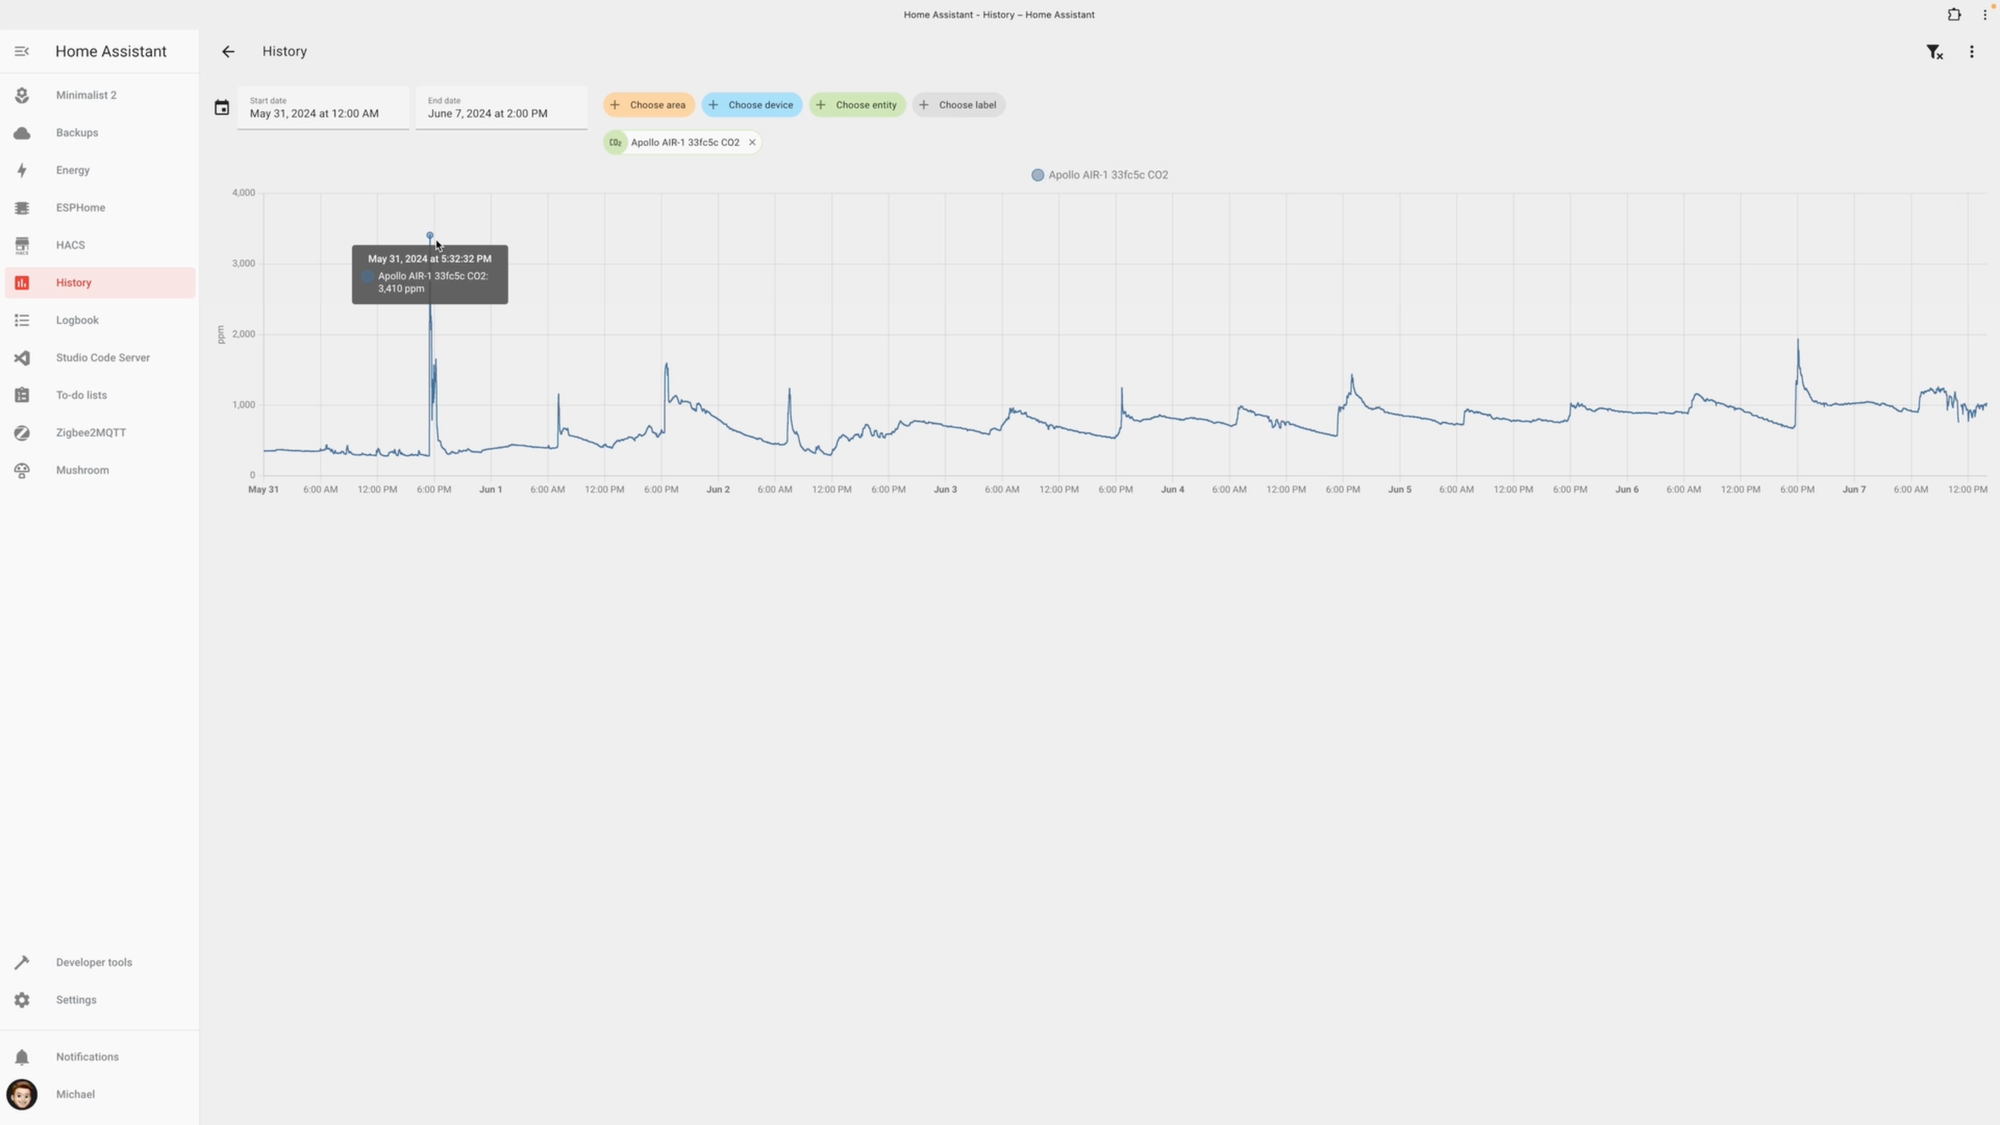
By knowing the air quality in your home, you are not only more informed, but also you can take actions to make your home air healthier. The onboard particulate sensor can alert you about dust and pollen particles, and then run an automation to run the HVAC fan to circulate and filter your home air. If CO2 levels become too high, it can lead to drowsiness, poor concentration, and headaches.
This sensor can let you know when CO2 rises to unhealthy levels. You can use this to understand what is causing CO2 to rise in your home, and let you take action by opening a window or running an automation to turn on a fan. A healthy CO2 range indoors is between 400 and 1,000 ppm. I observed that the CO2 in our kitchen went from 542 to 2,663 when I turned on the gas oven and stove top. I had an automation that turned the RGB pixel purple when CO2 reached an unhealthy level. When this occurred, I turned on the exhaust fan over the stop top, which rapidly cut the CO2 from 2,663 to 1,156. As soon as the cooking was over, the CO2 fell to 879.
Of course, you can use the RGB pixel in any home automation, even if it’s unrelated to air quality. I have the light turn red to let the family know I’m currently recording a video. On trash night, the light turns green to remind me to bring the bins out.
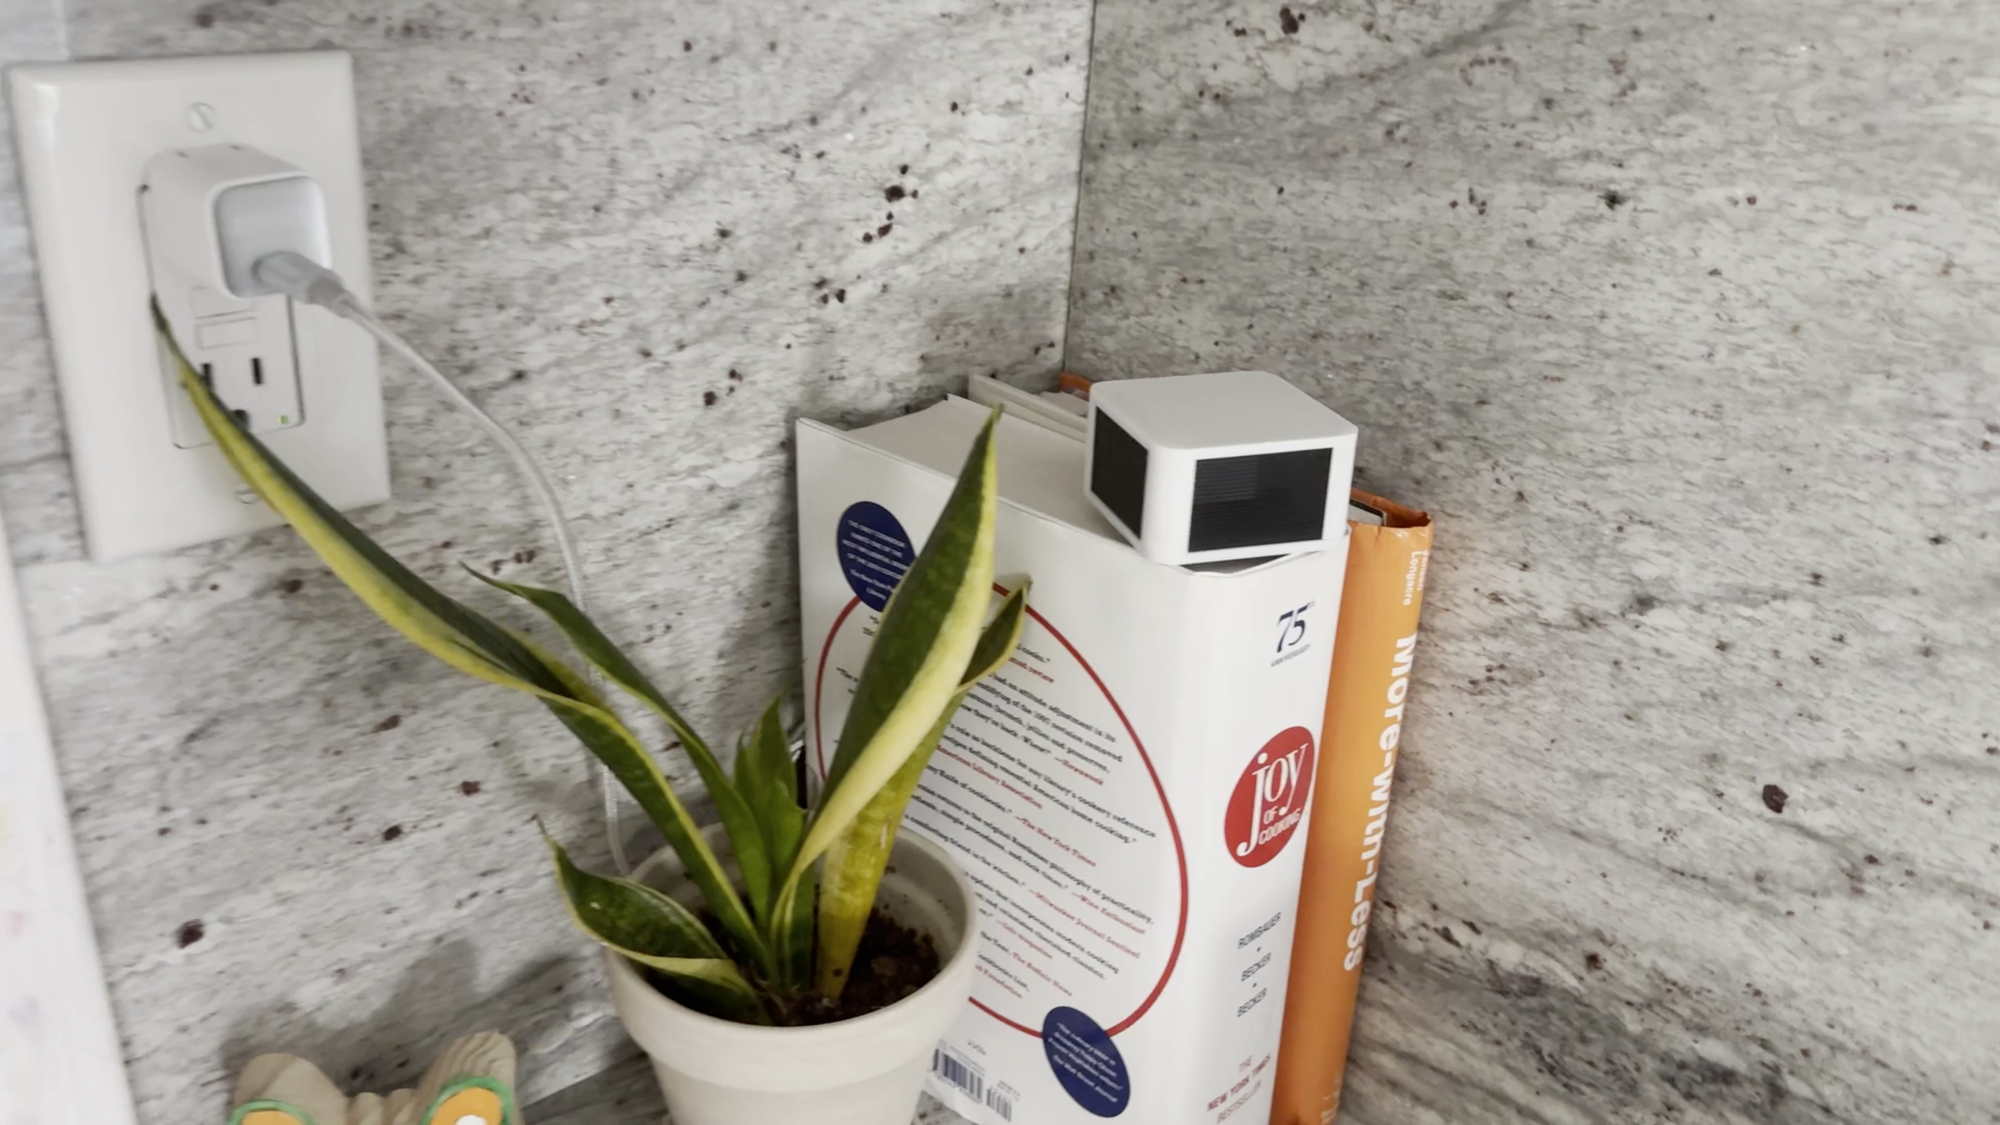
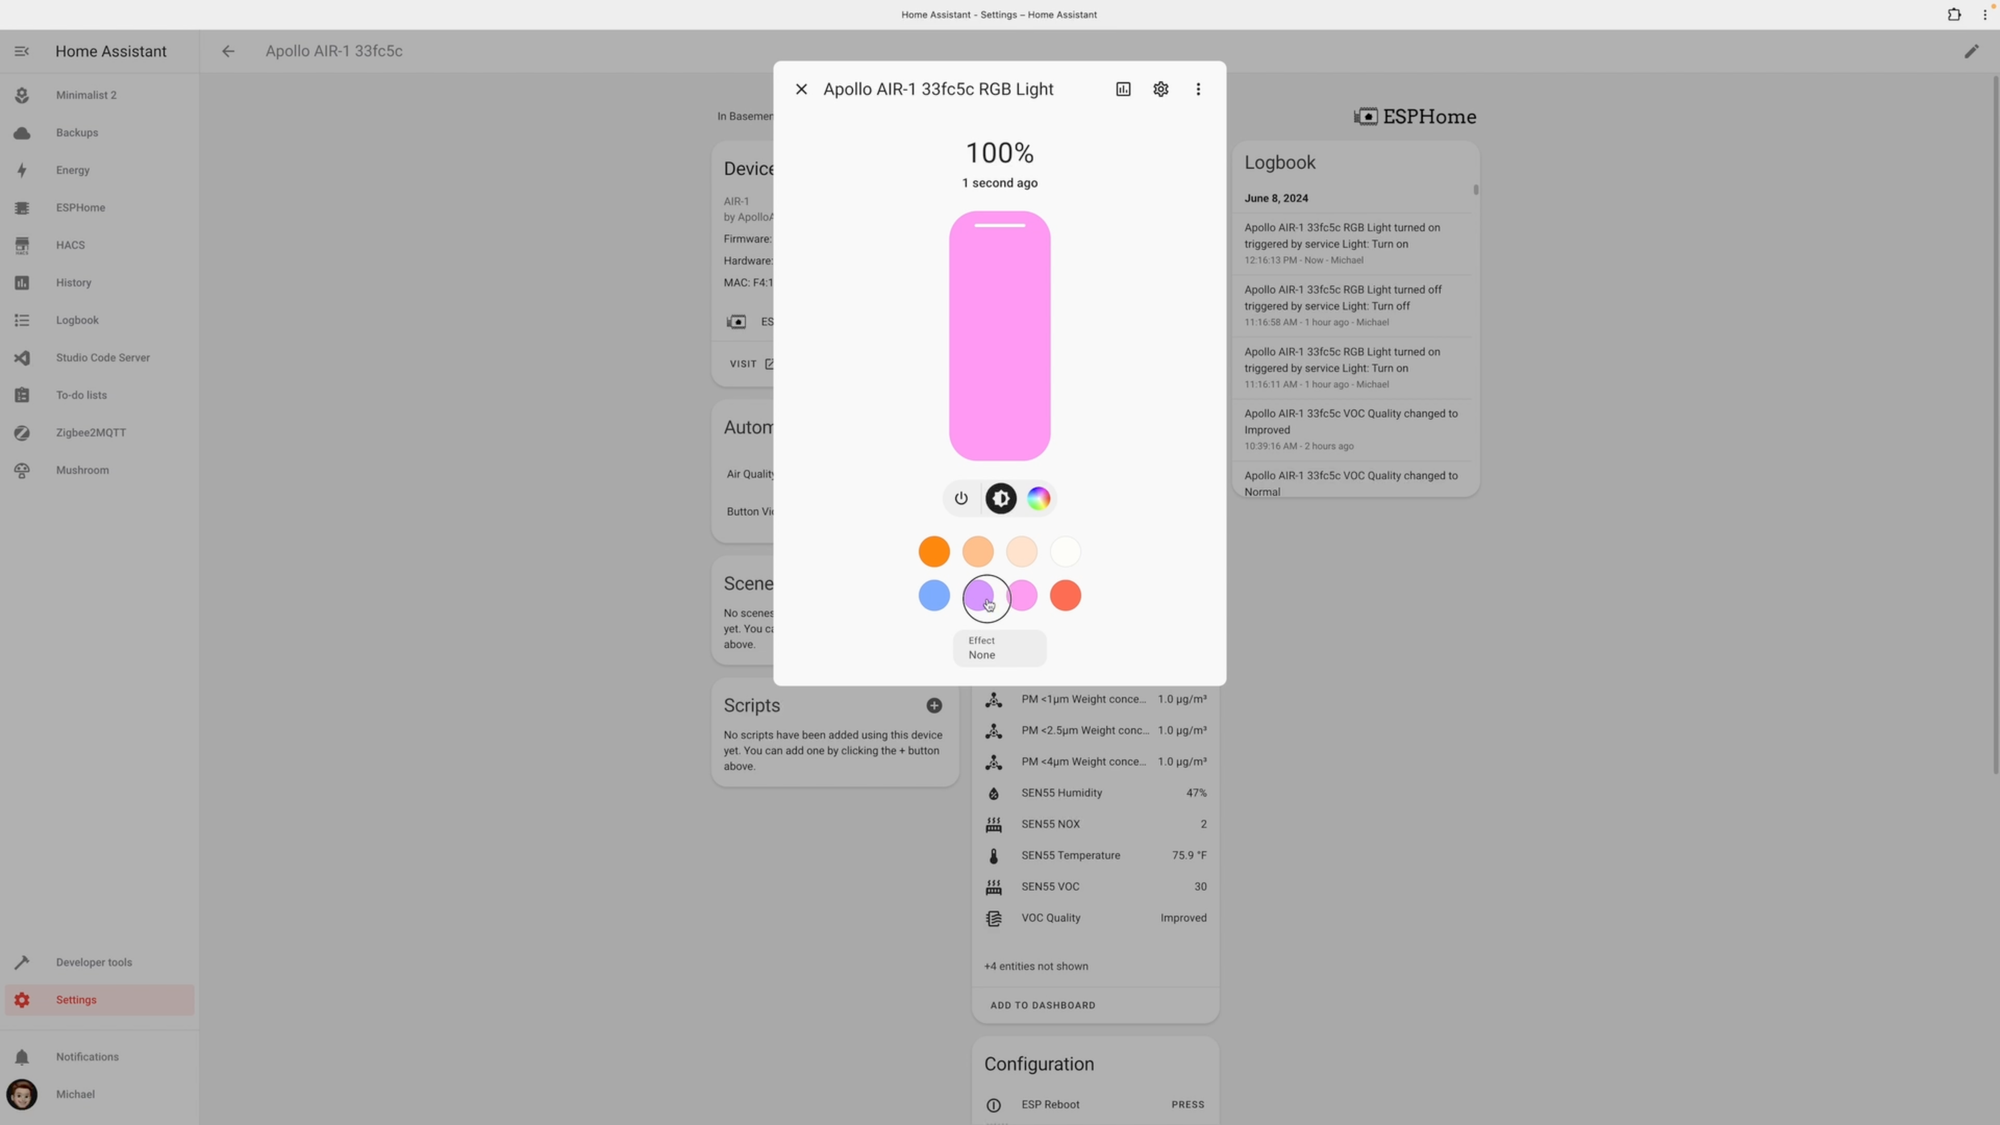
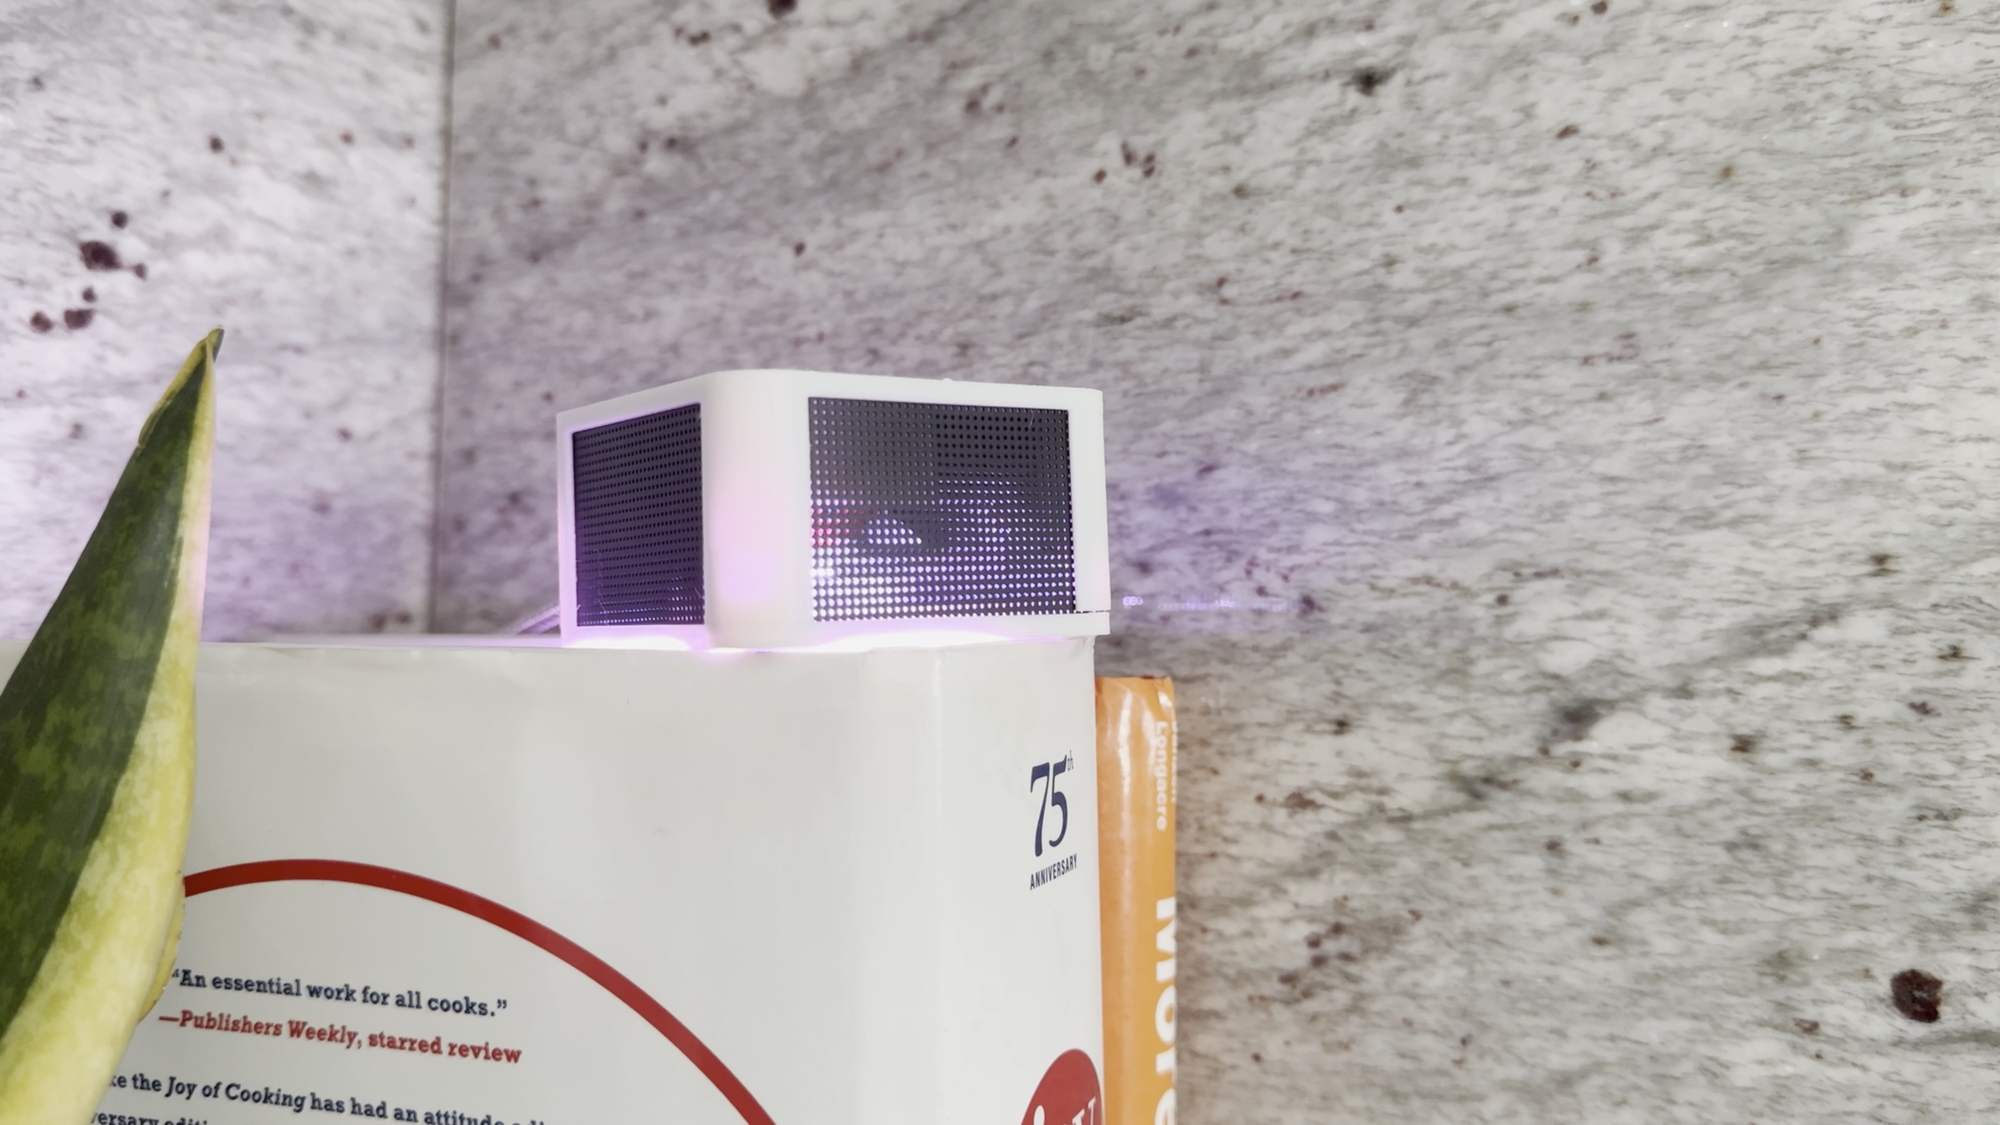
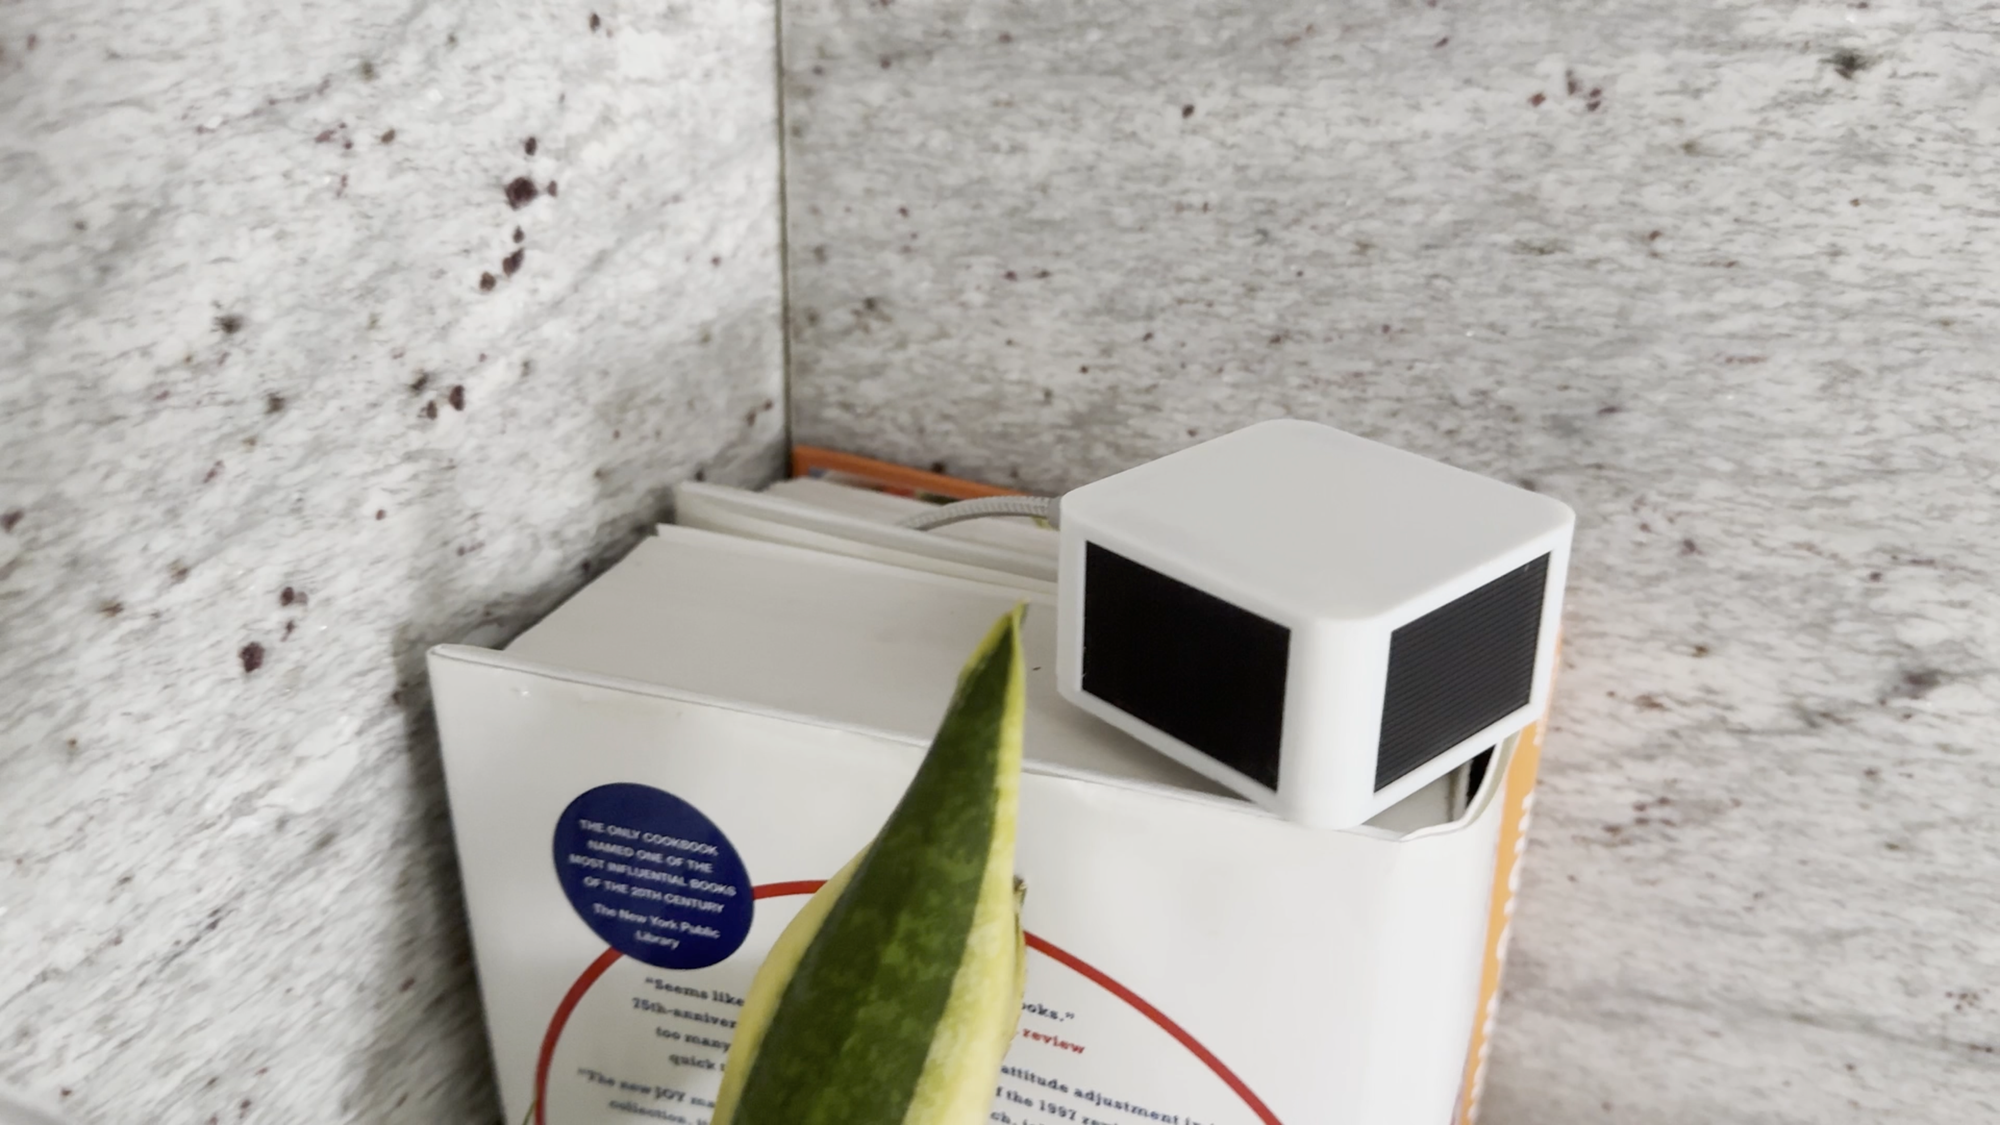
The AIR-1 can alert you about the air quality in your home, or just about anything else using the built-in RGB pixel.
What I Like
I was previously a skeptic about the utility of air quality sensors. But the AIR-1 makes me re-think that. It provides helpful insight into the current air quality of my home, and how specific activities, like cooking, affect this. It was really interesting to see the impact gas cooking had on our indoor air quality. I could see in real time how unhealthy air levels rose when cooking began, and then fell when turning on an exhaust fan, and again when finishing cooking.
The included RGB pixel makes it easy to alert your household about such changes in air quality, so you can take action to improve it. And the ability to use the RGB pixel as a smart indicator for any of home automation is really useful.
If you need troubleshooting help or ideas, Apollo Automation is quick to respond on their Discord. And they have lots of helpful articles for device setup and configuration on their wiki.
What to Improve
The biggest thing that I’d love to see with the AIR-1 is a plug-and-play Blueprint for automations in Home Assistant. Otherwise, you need to research the typical levels for things like CO2 and all the gases this can measure. And then, configure automations to alert you when one or more measurements goes outside the normal range, and then stop alerting you when it returns to normal, and balance this logic across numerous readings. It gets complicated quickly, and a Blueprint to simplify this would be incredible. I envision being able to customize the light colors, trigger points, and actions to take across each of the measured entities.
Final Thoughts
If you’re interested in an air quality sensor, this is a compelling choice, though it’s not cheap. For $89, it packs numerous sensors into a compact form factor for measuring the real-time air quality in your home, and in a way that allows you to take action.
If you want to measure CO2, that’ll cost an extra $20. And if you want the gas sensor, that’s another $40. So, the price can quickly jump from $89 to $149, depending on what you want. In general, full featured air quality sensors can run you over $100, though some of the competition includes a screen. If a screen is not important to you and you’re looking for easy setup and compatibility with Home Assistant, the AIR-1 is worth considering.
Watch on YouTube
Featured Tech
Apollo Automation AIR-1 Air Quality Sensor: https://go.michaelsleen.com/air-1